



DIY Solar Panel Installation: A Beginner's Guide to Cutting Your Electric Bill
Difficulty: Expert
Time: 2-3 days (weekend project)
Cost: $15,000-$25,000 for an average home system
Why You'll Like This (Quick Intro)
Installing your own solar panels can significantly slash your electric bill and pay for itself in 6-10 years. While this is definitely an advanced project requiring permits and electrical knowledge, DIY installation can save you $5,000-$10,000 compared to professional installation costs. This guide walks you through the complete process, but remember—when in doubt, call a licensed electrician.
Important: This project requires building permits, electrical permits, and utility company approval in most areas. Some regions require a licensed electrician's involvement for the final connections.
What You'll Need
Materials
Solar panels (typically 20-30 panels for average home)
Mounting rails and hardware
Power inverter (string or micro inverters)
DC and AC disconnect switches
Electrical conduit and wiring
Production meter
Grounding equipment
Sealants and flashing
Tools
Drill with masonry and wood bits
Socket wrench set
Wire strippers and crimpers
Digital multimeter
Chalk line
Measuring tape
Safety harness and hard hat
Non-contact voltage tester
Safety First
Adult supervision required - This is an expert-level electrical project
Power OFF at main breaker during all electrical connections; verify with non-contact tester
Fall protection mandatory - Use proper safety harness when working on roof
Check local codes - Most areas require permits and inspections
Weather awareness - Never work on wet or icy roofs
Professional consultation recommended for electrical connections to main panel
Note: Many insurance companies and local codes require professional installation or inspection. Check requirements before starting.
Steps
Apply for permits and check utility interconnection requirements. Contact your building department and utility company first.
Tip: This process can take 4-8 weeks, so start early.
Calculate your system size by reviewing 12 months of electric bills to determine average monthly kWh usage.
Why it works: Solar systems are sized to offset your actual usage patterns.
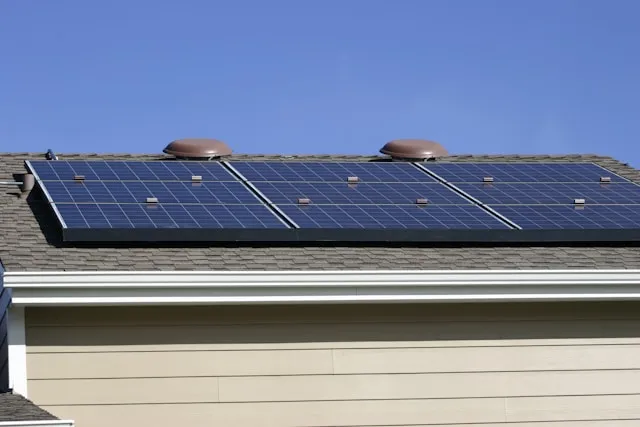
Design your panel layout using your roof measurements and accounting for obstacles like vents and chimneys.
If your roof faces east/west: You'll need more panels than south-facing installations.
Mark mounting points using chalk line, ensuring rails run perpendicular to roof rafters and are properly spaced.
Tip: Use a stud finder to locate rafters—mounting into sheathing only will fail.
Install mounting rails by drilling pilot holes and securing with lag bolts and proper flashing.
Safety check: Each mounting point must hit solid wood and be properly sealed.
Ground the mounting system according to local electrical code requirements.
Critical: Improper grounding creates serious shock and fire hazards.
Install panels onto rails working systematically across the roof to maintain balance.
Tip: Panels are heavy (40-50 lbs each)—use proper lifting technique and get help.
Connect DC wiring between panels following manufacturer's series/parallel configuration.
If using microinverters: Install these now before final panel placement.
Run conduit and wiring from array to inverter location and main electrical panel.
Code requirement: All outdoor wiring must be in approved conduit.
Install main system components including inverter(s), DC disconnect, AC disconnect, and production meter.
Professional recommendation: Have a licensed electrician handle main panel connections.
Test system operation using multimeter to verify proper voltages before final utility connection.
Cleanup & Disposal
Store extra materials in dry location for future maintenance
Dispose of packaging materials through normal recycling
Keep all documentation for permits, warranties, and tax incentives
Schedule required inspections before system activation
Troubleshooting
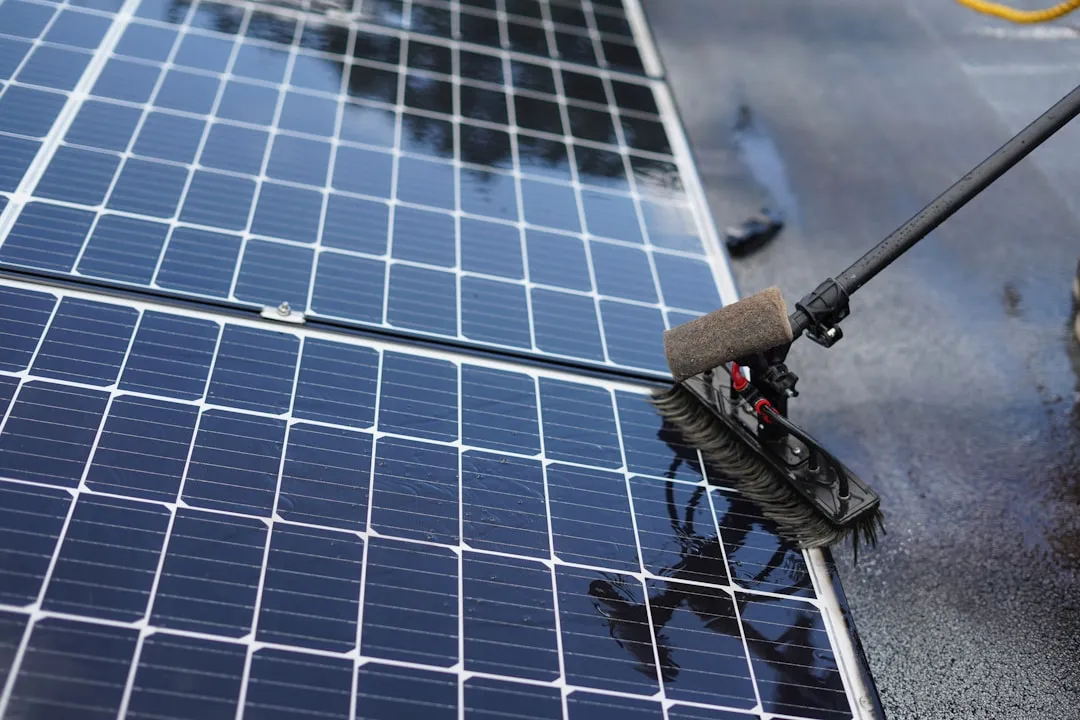
Problem: Panels not producing expected power → Fix: Check for shading, loose connections, or dirty panels
Problem: Inverter showing error codes → Fix: Consult manual—often indicates wiring or grounding issues
Problem: Utility won't approve interconnection → Fix: Verify all permits and inspections are complete
Variations & Upgrades
Ground-mount option: Easier installation but requires more space and concrete footings
Battery backup system: Add battery storage for power during outages (adds $10,000-$15,000)
Start smaller: Begin with partial system and expand later if electrical panel allows
FAQ
Can I do this without permits? No—unpermitted systems create insurance, safety, and resale issues. Always get proper permits.
Will this damage my roof? Proper installation with quality flashing actually protects the roof. Poor installation can cause leaks.
How long do solar panels last? Most panels carry 20-25 year warranties and often produce power for 30+ years.
What if I need roof repairs later? Panels can be temporarily removed, but this adds cost and complexity.
This is definitely the most complex DIY project most homeowners will tackle. Take your time, follow all safety procedures, and don't hesitate to bring in professionals for the electrical connections. The long-term savings make the effort worthwhile, but safety always comes first.










Comments
Be the first, drop a comment!