


Most failed DIY backyard fire pit projects are not build failures. They are siting and fuel-choice failures projects where someone picked materials before confirming the yard could support the thing they were building. By the end of this guide, you will know whether your space actually works, which fuel type makes sense for your situation, and how to build and use the pit without creating a hazard for your household or a smoke problem for everyone nearby.
The numbers behind these projects are significant. Industry data cited by General Code puts the fire pits market at $3.09 billion in 2024, with nearly 60% of U.S. homes already having an outdoor unit. Worth noting: that figure comes from an industry analysis, not a government survey. Still, the lifestyle pull is real. So is the gap between a pit that gets used every weekend and one that sits idle because it was placed wrong, triggered a burn-ban conflict, or generated enough smoke to make the neighbors miserable.
The EPA has documented that backyard recreational fires can become a considerable source of fine-particle air pollution, particularly in metro areas. Children, teenagers, older adults, and anyone with asthma, COPD, or heart disease face elevated risk from wood smoke. That is not a reason to skip the project. It is a reason to make the fuel decision early rather than after the concrete has set.
The core argument here: a fire pit is worth building only if your yard can physically accommodate code-compliant placement, your fuel choice keeps it usable through the season, and you have done the ten minutes of code research that keeps the whole thing legal. For a meaningful number of small-lot or densely populated situations, that calculation points toward gas. This guide will tell you which category you are in before you spend anything.
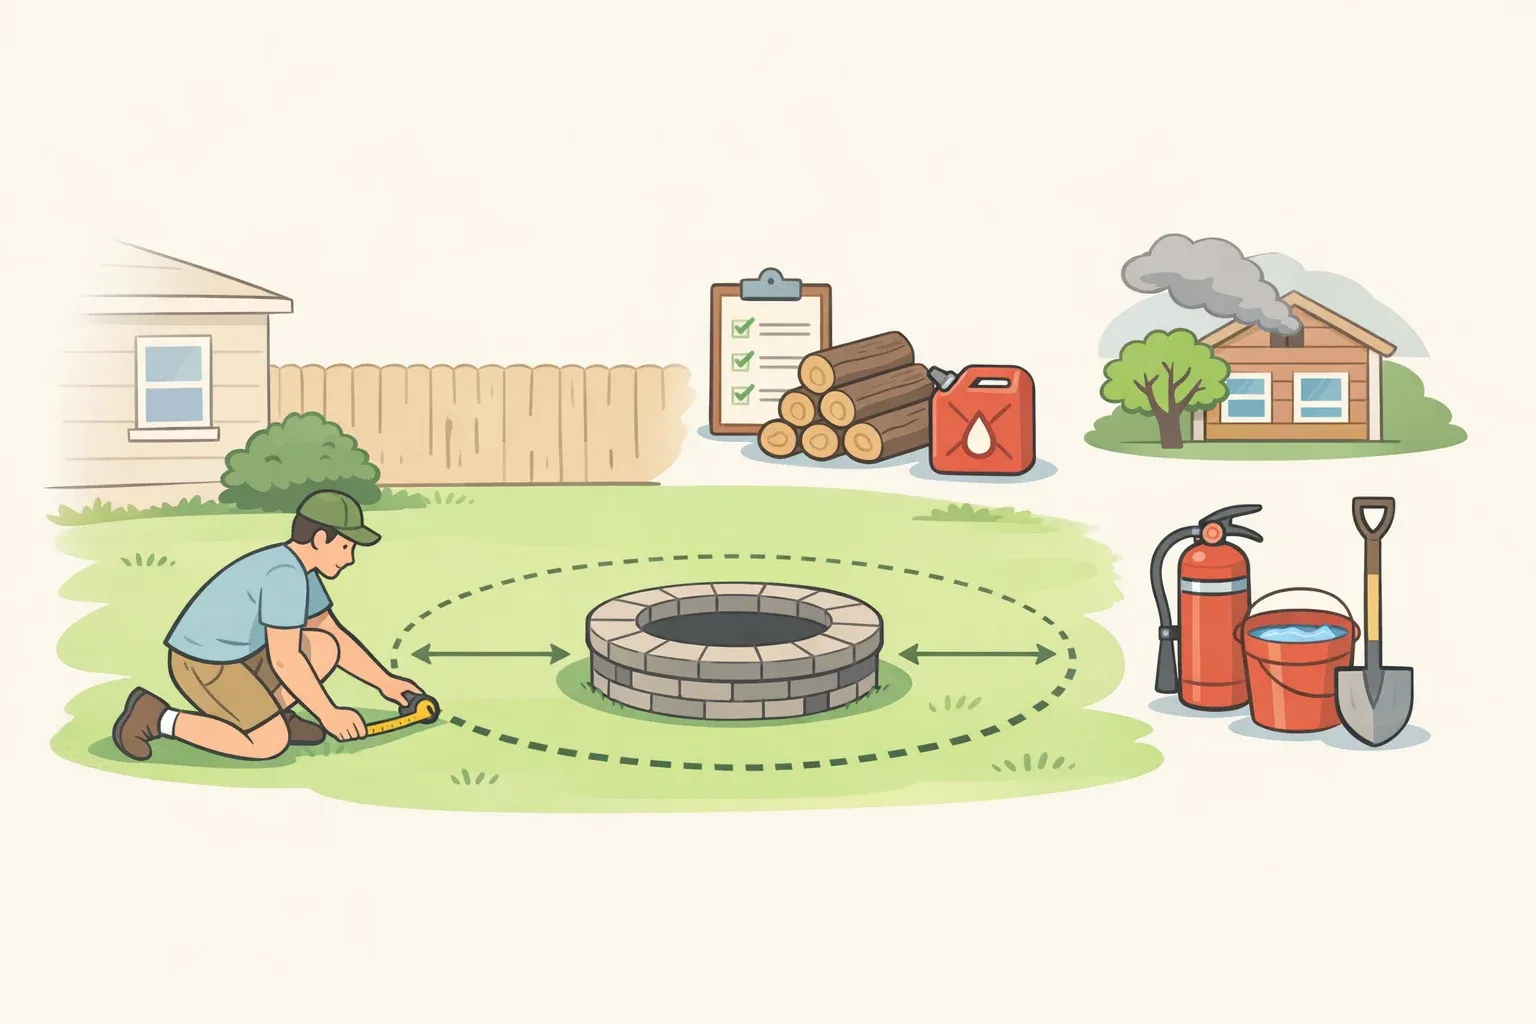
Step 1: Backyard fire pit safety — measure before you build
Most backyard fire pit disappointments trace back to one skipped step: confirming the space works before the project starts. Do this before looking at any materials.
Map your usable yard area against three clearance requirements at the same time:
Horizontal setback from structures: Safety guidance puts a wood-burning fire pit at least 20-25 feet from any structure, fence, tree, or other flammable surface. The regulatory range for permanent installations is generally 20-30 feet, and those are minimums, not targets. If you cannot draw a 20- to 25-foot radius circle and still have room for chairs, stop planning a wood pit. Gas units have more flexibility: many codes require as little as 10 feet from burning hazards for natural gas, while portable wood-burning pits typically require 15 feet or more.
Vertical clearance: Most safety guidelines require at least 21 feet of clear space above the pit to clear overhanging branches, power lines, and pergola covers. This eliminates most covered-patio placements for a wood-burning unit outright.
Seating radius: Leave 3-6 feet between the pit edge and where guests will sit. Then visualize four chairs. If the seating circle crowds your setback zone, the yard is too tight for comfortable wood-burning use.
Neighbor geometry matters here too. An air quality advocacy group cites a PurpleAir monitor reading at a home in British Columbia that recorded PM2.5 jumping from a background level of under 5 µg/m³ to 206 µg/m³ when a neighbor's wood-burning fire pit was in use well into hazardous territory. If prevailing winds push toward neighboring windows, HVAC intakes, or outdoor living spaces, note that now. It factors into both placement and fuel choice.
If your yard does not clear these measurements for a wood-burning pit, that is not the end of the project. It is an early redirect to gas, a smaller portable propane unit (where local code allows), or a different backyard focal point entirely. All of those outcomes are better than a pit you cannot legally or practically use.
Step 2: Check local rules and pick your fuel in that order
Fuel type affects permits, siting flexibility, build complexity, and how often you will actually use the pit. Make this decision before designing anything.
Check your local code first. Permanent installations often need permits before construction begins, and requirements vary enough between municipalities that generic guidance, including this guide, cannot substitute for a five-minute call to your local building or fire department. Also verify: any HOA covenants, your local air district's burn-day calendar, and whether your area's wildfire risk profile makes burn bans a seasonal fact of life rather than a rare exception. Violating a burn ban can result in monetary fines, legal actions, or jail time, depending on local guidelines.
Then choose fuel type using this framework:
Small lot or nearby neighbors
Wood: Difficult
Propane/gas: Workable
Frequent local air-quality alerts
Wood: Limits use
Propane/gas: Far fewer air-quality concerns
HOA restrictions common
Wood: Often prohibited
Propane/gas: Often permitted
DIY-friendly?
Wood: Yes
Propane/gas: Propane: yes. Natural gas line: hire a pro
Ongoing friction
Wood: Wood storage, ash, ember management
Propane/gas: Minimal
Smoke exposure
Wood: Significant
Propane/gas: Negligible
Upfront cost
Wood: Lower
Propane/gas: Higher
The EPA recommends switching to natural gas or propane as the most effective way to cut harmful air pollutants from backyard fires, and notes that conversion kits for existing rings are available at most hearth and patio retailers.
One firm boundary on gas: a propane tank-fed fire pit is a reasonable DIY project. Running a new natural gas line to an outdoor burner is not. That work typically requires a licensed plumber or gas fitter. If natural gas is the goal and there is no existing outdoor line, budget for professional installation before committing to that design.
Decision checkpoint:
Choose wood if your yard clears the setbacks, neighbor exposure is low, and burn-day restrictions are infrequent in your area.
Choose propane or gas if your lot is small, neighbors are close, or burn bans are a regular seasonal reality. An easy DIY fire pit with a propane burner removes most of the ongoing friction.
Reconsider the project entirely if you cannot meet clearance requirements and the local code does not give you a compliant alternative.
This is the right moment to make that call, before spending anything on materials.
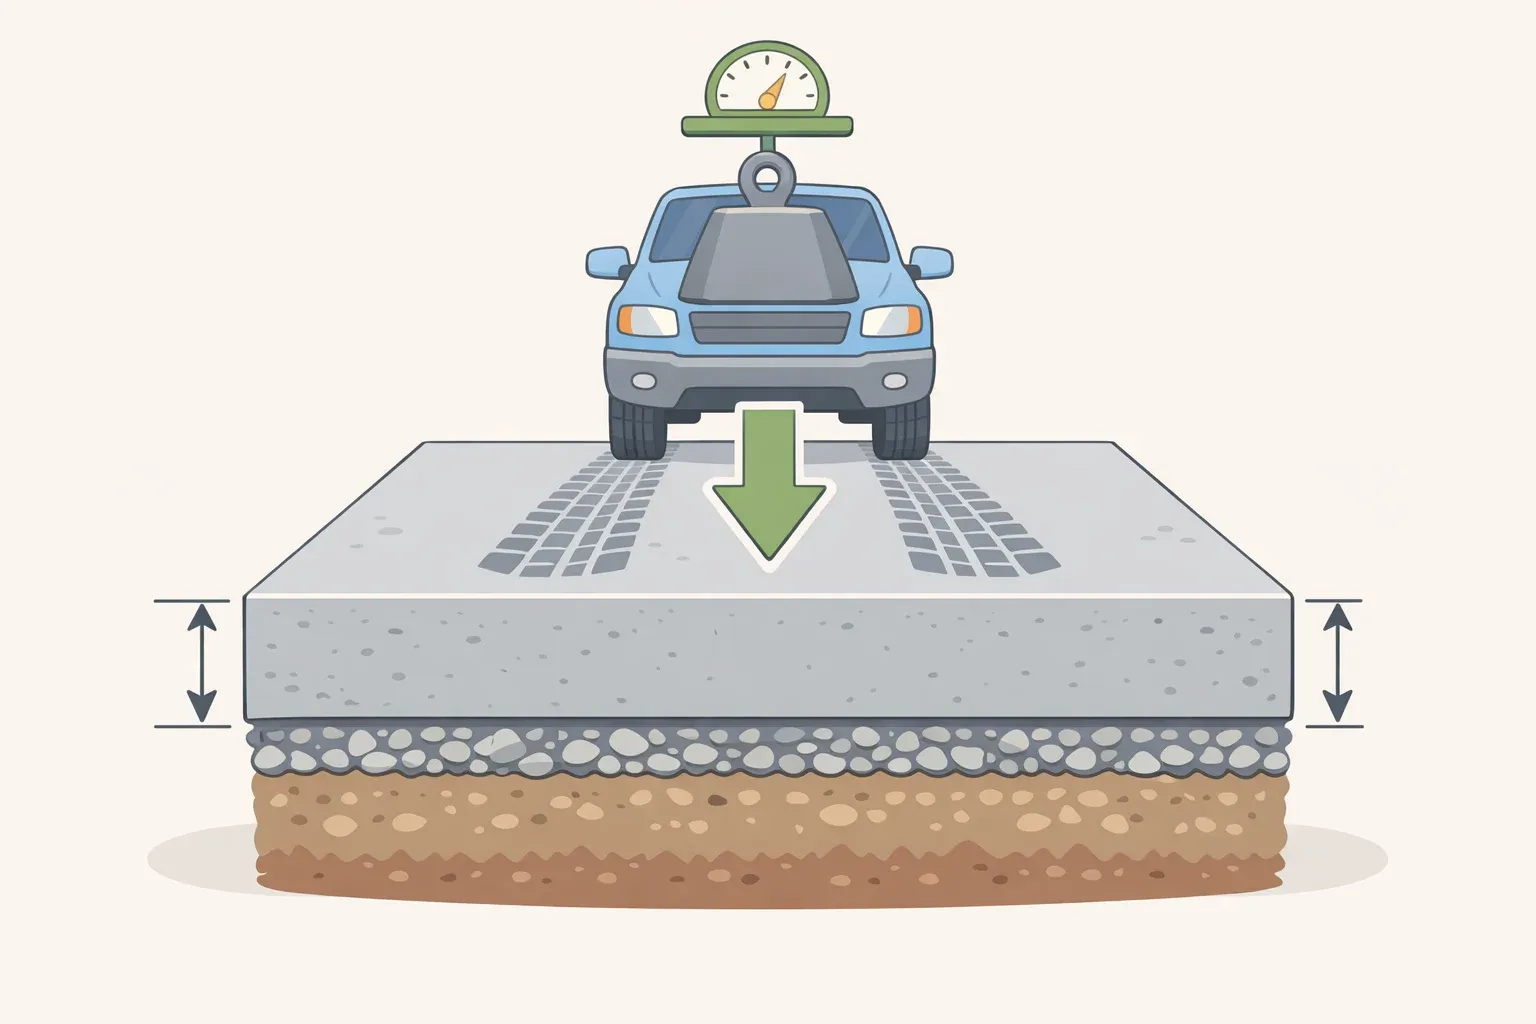
Step 3: Build the base and ring
The difference between a fire pit that holds up for a decade and one that cracks and shifts in two seasons usually comes down to what is underneath it, and what fuel type you are building for.
A note on sourcing in this section: The construction figures below come from a stone fire pit kit manufacturer, not an independent engineering standard. They represent a widely-cited practice for casual backyard builds. If you are submitting for a permit, confirm specifications with your local building department. This guidance also applies specifically to stone or interlocking-block DIY builds; poured concrete, metal bowl kits, and custom gas systems have different requirements.
Foundation for both wood and gas builds:
Start by marking the footprint of your pit, then excavate to stable, level ground. Lay a 3-inch layer of compacted ¾-inch-minus gravel as your base. According to the manufacturer, this provides drainage, fire safety, and long-term durability for casual backyard use. From there, set your first course of blocks, check for level, and stack the ring to your desired height.
For wood-burning builds:
Most DIY kits use interlocking blocks dry-stacked or adhered with high-temperature masonry adhesive; follow the manufacturer's guidance for your specific block. For occasional, moderate fires, the gravel base alone inside the ring is adequate. If you plan to burn frequently or run hotter hardwood fires, add a 2-4 inch layer of lava rock or 1-2 inches of fire-rated sand inside the ring. Both materials provide a buffer between the flame and the block walls and help extend the life of your fire pit. A steel insert is optional but a smart upgrade if you burn regularly; it sits inside the ring and shields the masonry from direct heat.
For gas builds:
Same gravel foundation, same stacking sequence. Seat a steel burner tray or insert inside the ring to contain the burner assembly and protect the walls, then fill the interior with lava rock or fire-rated ceramic media rated for gas applications. Propane line connections and fitting requirements vary by kit and local code. Consult your kit instructions and confirm compliance with your local building or fire department before first use.
Step 4: Fuel practices, burn-day awareness, and maintenance
A well-built fire pit used carelessly is still a problem. These are the habits that keep it enjoyable for your household and not obnoxious to the people around you.
If you are burning wood:
Use only seasoned, dry hardwood. The EPA recommends checking moisture content with an inexpensive moisture meter; around 20% is the target for clean combustion. Store wood with a cover on top but open sides so air can circulate and drying continues. Never burn green wood, construction lumber, treated wood, plastic, garbage, or yard waste. All produce more smoke, and some release toxic compounds. Never light a fire on an air-quality alert day; your local air district's website or a free air quality app will tell you before you go outside.
The smokeless marketing caveat is worth stating plainly. Multnomah County air quality expert Brendon Haggerty lit a fire in a pit marketed as smokeless, using properly seasoned wood, and watched his monitor drop from healthy to unhealthy and shoot through hazardous until it maxed out its ability to measure. Smokeless pits are an improvement over a standard open ring under the right conditions. They are not a pass on any of the practices above.
Operating any fire pit:
Keep a spark screen in place during wood fires, particularly in any wind. To let a fire go out naturally, stop adding fuel about an hour before you want it out. For quick extinguishing, use a snuffer lid to smother the fire. Default to the lid over water for routine use; pouring water on a hot fire pit can damage the stone. Keep a hose accessible for emergencies, but the snuffer lid is the standard tool.
Clear ash after every use to prevent buildup. Check the ring for cracks periodically and cover the pit when not in use to limit weather damage.
What makes this project worth doing
A fire pit genuinely changes how a backyard gets used. If your lot clears the setbacks and you are in a lower-density area with infrequent air-quality restrictions, a wood-burning build is achievable and satisfying with the practices above.
If you are on a smaller lot, in a denser neighborhood, or somewhere burn bans run through half the warm-weather months, a gas or propane design removes most of the friction: no burn-day conflicts, no wood storage, no ash cleanup, and dramatically less smoke exposure for guests and neighbors. The EPA recommends the switch on air quality grounds alone. The usability case makes the same argument.
Before finalizing any plan: confirm your municipality's permit requirements, check your HOA policy if applicable, and pull up your local air district's burn-day calendar for the past season. Then measure your yard against the clearances in Step 1. That research takes thirty minutes and will determine whether this project pays off for years or sits underused after the first summer.


Comments
Be the first, drop a comment!