



What to Remove Before a Home Renovation: 4 Expert Tips
Most renovation damage doesn't happen because something went wrong with the work. It happens because of what was still in place when the work began. Knowing what to remove before a home renovation and doing it early enough to matter is the single most useful thing a homeowner can do before demo day.
The four categories in this guide share a common vulnerability. Each can be damaged by dust migration, lost or broken in the disorder of an active job site, or in the case of the HVAC system, turned into a mechanism that redistributes construction debris through every room in the house. Remove or isolate each one before work starts, and the project's collateral damage shrinks considerably.
Start this process two to three weeks before construction begins. SATX Remodeling puts it plainly: begin that far out so you have enough time to pack, declutter, and arrange temporary storage without scrambling. Scale shapes the strategy here. Designer Gutierrez, quoted by Architectural Digest, applies a practical threshold: if more than 60 percent of your home is under renovation, or you can't divide the house into a clean living zone and a work zone, plan for off-site storage from the start. Designer Baker, in the same piece, is direct about what that scale demands: professional movers are worth every penny. For smaller, single-room projects, more flexibility is available. This guide flags which steps are non-negotiable regardless of scope.
1. Everything stored in the active work zone
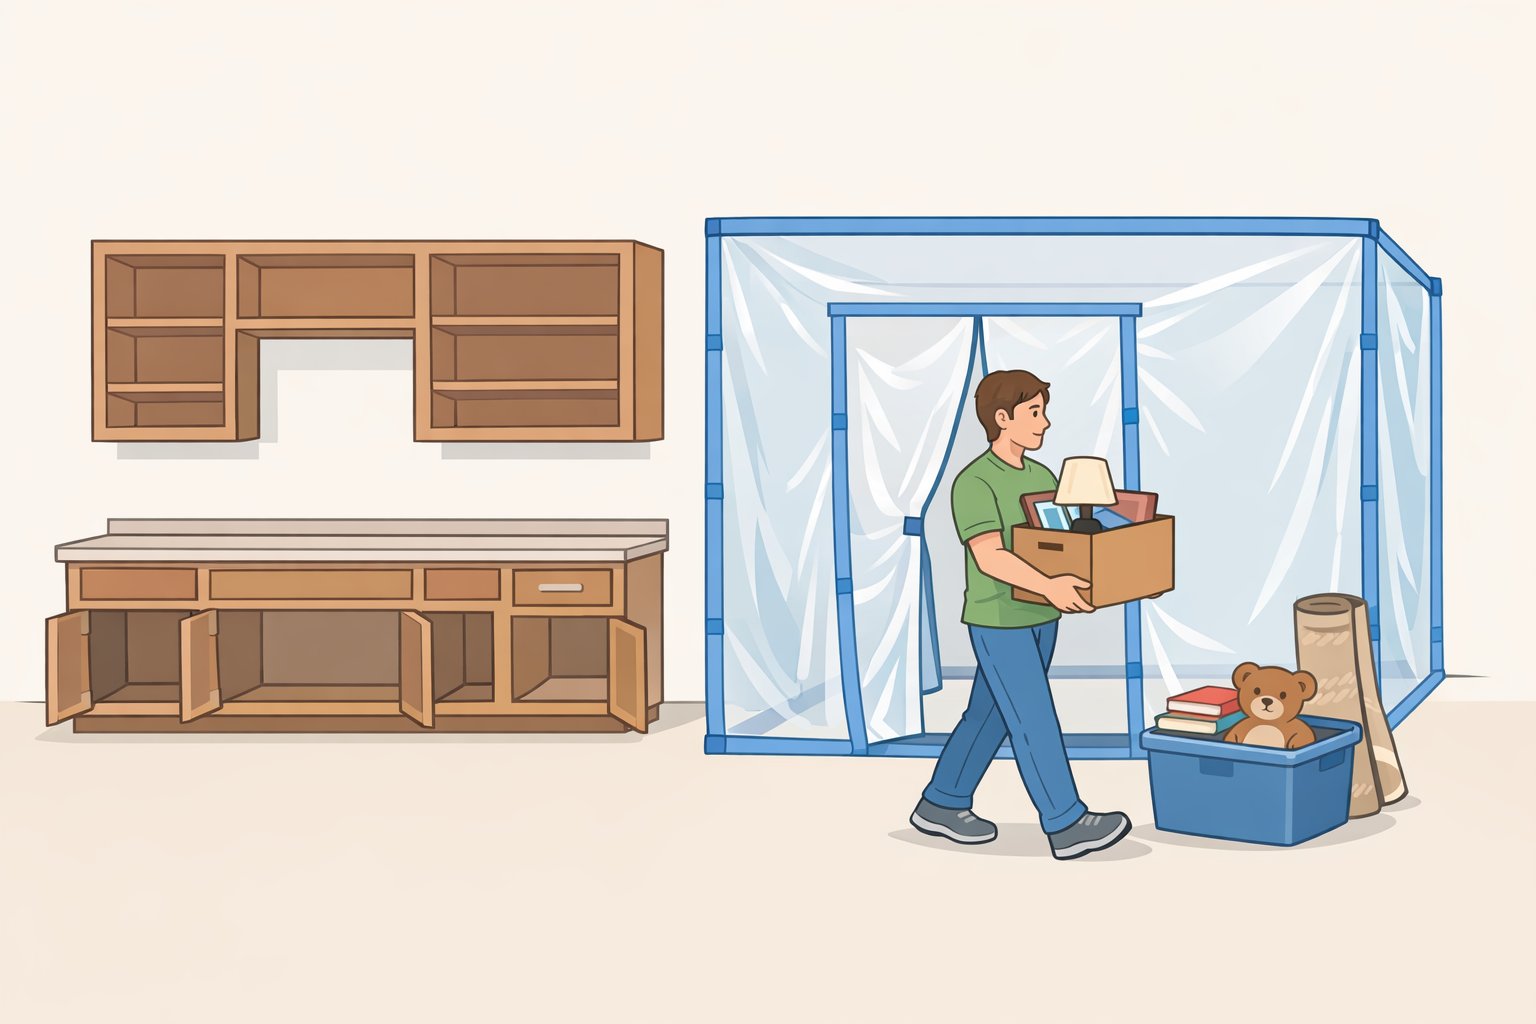
Empty every cabinet, drawer, shelf, and closet in the renovation zone before any contractor sets foot in the space. Not tidied. Not partially sorted. Fully cleared. SATX Remodeling is direct about this: go through storage areas and remove everything you want to keep. Fine construction dust can work its way into enclosed spaces, and the vibration from demolition work creates its own hazards for anything sitting on a shelf. Neither outcome is hard to prevent.
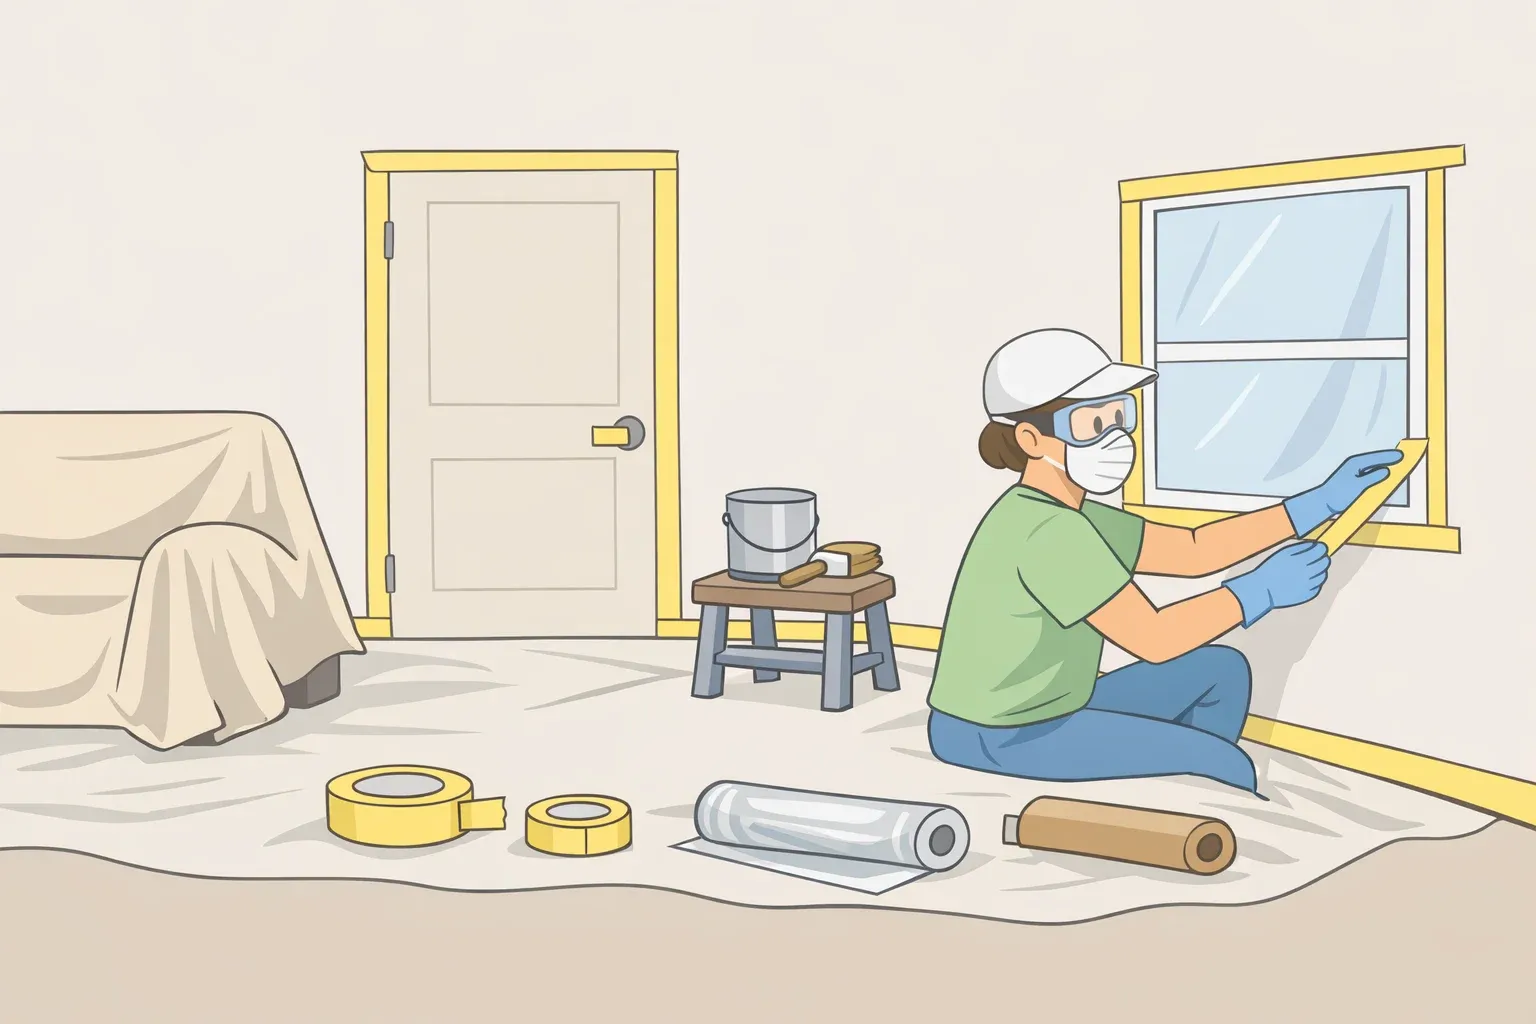
For homes built before 1978, this step carries regulatory weight. The EPA's Lead Renovation, Repair and Painting Rule requires all belongings to be removed from the immediate renovation area before work begins. NARI's lead safety checklist specifies what compliant contractor practice looks like: plastic sheeting taped six feet beyond the perimeter of any disturbed surface, daily cleanup using wet mopping, HEPA vacuums rather than standard shop vacs, and all contaminated materials bagged in heavy-duty plastic before disposal. In a pre-1978 home, these aren't courtesy measures they're required practice under federal rules designed to protect children and pregnant women from lead dust exposure.
For packing, designer Jessica D'Itri Marés, quoted by Architectural Digest, recommends treating the process like a partial move: wrap glass carefully, keep boxes to a manageable weight, label everything. Write a room-by-room inventory before you start. The post-renovation scramble of not knowing where anything went is avoidable, and it starts with a list.
One mistake that's easy to make: moving items to a corner of the same room is not clearing them. Anything within the dust radius of the work is at risk. Physical removal from the zone is the goal, not repositioning inside it. If another room isn't available, temporary off-site storage is the next step. Leaving contents in place is not a contingency plan.
This step is non-negotiable for any renovation involving demolition, regardless of project size. Even a single-room bathroom remodel generates enough particulate to cause problems for whatever's left inside the space.
2. Furniture, rugs, and soft furnishings outside the work zone
Items inside the work zone get removed because they're directly in harm's way. Items in adjacent rooms need to move for a different reason: renovation dust travels farther than most homeowners expect. As SATX Remodeling notes, even the most careful contractors cannot fully prevent dust from reaching surrounding areas.
The specific problem during drywall work is gypsum particulate. HomeWorld Design explains that drywall dust consists primarily of gypsum particles, significantly finer than typical household debris. That fine particle size is what makes soft furnishings so vulnerable. Upholstery fibers, rug pile, and fabric window treatments trap it in ways that routine vacuuming may not fully address. Think of a heavy area rug as a large stationary filter, one that's surprisingly hard to empty after the fact.
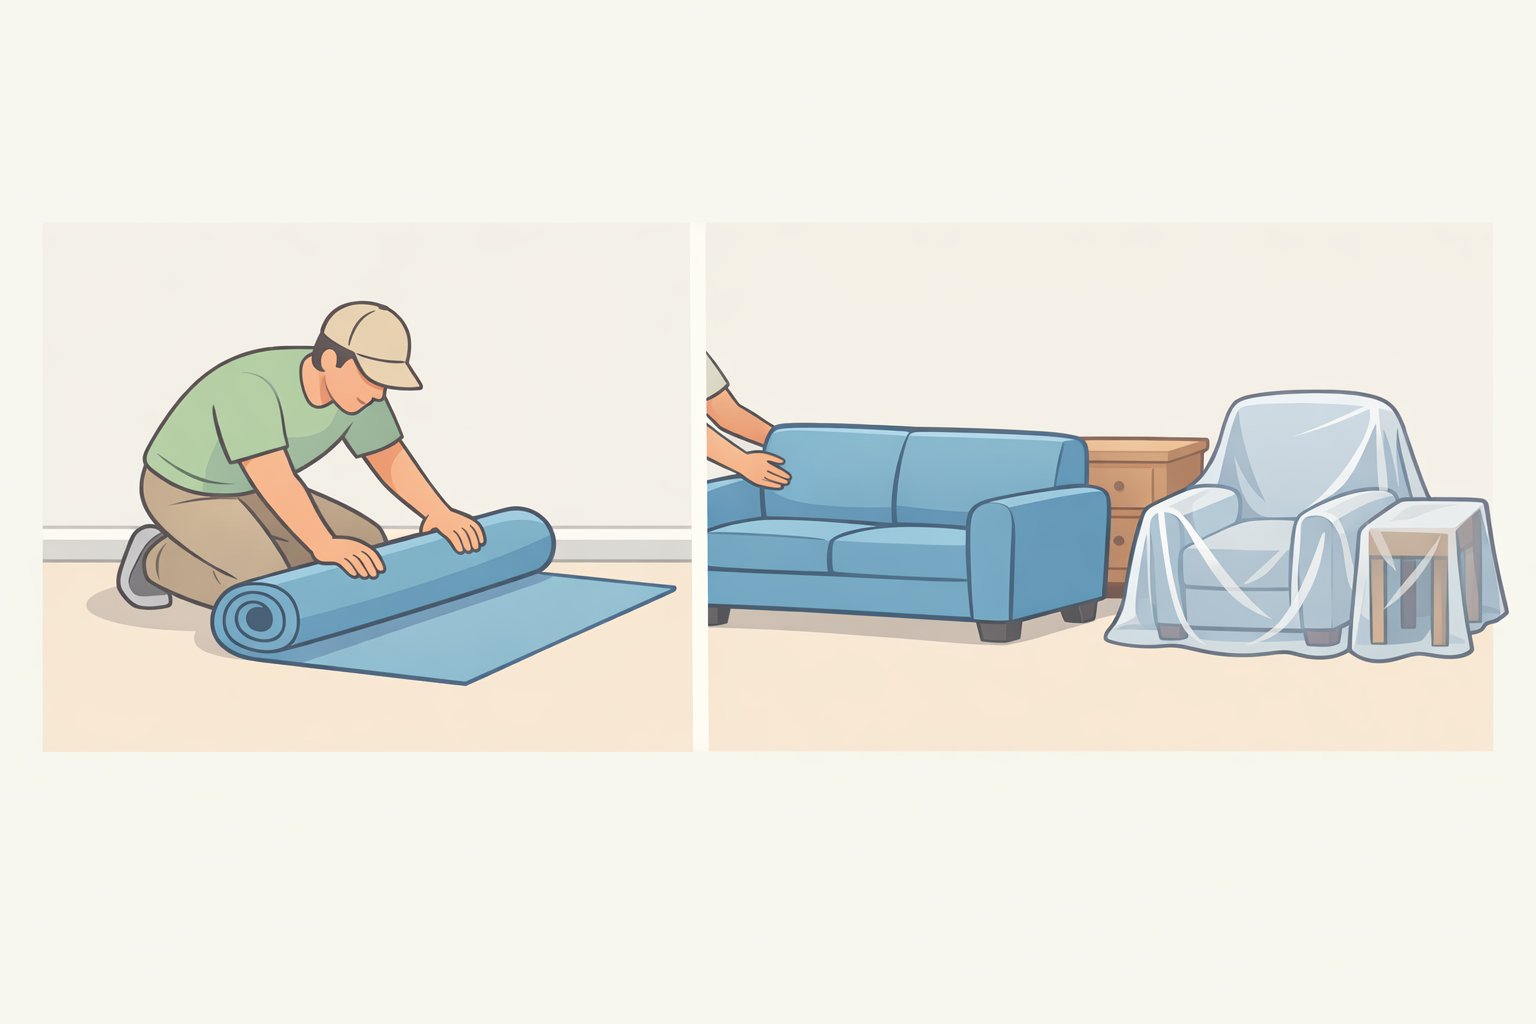
Move area rugs, curtains, upholstered sofas and chairs, throw pillows, and any textile wall hangings that fall within plausible dust range of the work zone. Relocate them to unaffected rooms or, for larger projects, off-site storage. Rugs are frequently left in place on the logic that they'll protect the floor. They do the opposite: they accumulate construction dust and are considerably harder to clean than the hard flooring underneath. Roll them up before demo starts.
If full removal is genuinely impossible, cover upholstered pieces entirely with sealed plastic sheeting. Drop cloths are permeable and won't cut it. Sealed plastic is a fallback, not a substitute, and some cleaning will still be required afterward. For scope decisions, use the 60 percent threshold from Architectural Digest as the dividing line between shuffling things room to room and planning for off-site storage from the outset.
3. Valuables, documents, and electronics
Renovation sites create conditions that ordinary daily life doesn't. Multiple contractors moving through the home over several weeks, power interruptions during electrical work, tools and materials staged in unexpected places. This is what an active job site looks like, and it's nobody's fault. The point is to account for it before it becomes a problem.
Electronics face a specific practical hazard when electrical upgrades are in scope. SATX Remodeling advises being prepared for short power interruptions and securing electronics accordingly. Anything sensitive computers, monitors, audio equipment, gaming systems should be unplugged and relocated before electrical work begins.
Documents are a separate concern. Designer Gutierrez, quoted by Architectural Digest, recommends buying an in-home safe to protect important documents during the project. Passports, deeds, birth certificates, financial records: consolidate them and lock them down before contractors arrive. The right time to do this is during the two-to-three-week preparation window, not mid-project when the relevant spaces may already be disrupted.
The category extends beyond the obvious. Prescription medications on a bathroom counter during a bathroom renovation. Irreplaceable photographs stored in a room adjacent to the work zone. Sentimental objects on shelves within reach of vibration. These all belong in the "remove and secure" column, and most homeowners don't think of them until something goes wrong. If no room is sufficiently secure or separated from the work, use a safe for documents and move electronics off the job site entirely. An active renovation is a chaotic environment, and chaos finds what's unprotected.
This step is non-negotiable regardless of project size. Even a modest kitchen update involves enough foot traffic and disruption to put unsecured valuables at risk.
How to protect your HVAC during renovation: seal registers before demo starts
This is the one item on the list that doesn't get removed. It gets sealed. The distinction matters because the risk is less visible than the others, and the consequences extend well beyond the renovation zone.
HVAC ductwork is designed to function as a closed distribution network. Renovation work compromises that closure. Demolition, drywall cutting, sanding, and flooring removal all generate fine particulate that can migrate through unsealed supply and return registers and into the duct system, according to HomeWorld Design. That same source notes something counterintuitive: this can happen even when the HVAC is switched off, because pressure differences between rooms can pull airborne particles into duct pathways regardless of whether the system is running.
Once particles enter the ductwork, the problem compounds. They adhere to internal duct surfaces and flexible duct liners, then get redistributed through every room in the house when the system restarts. HomeWorld Design identifies the downstream effects: reduced airflow efficiency, accelerated filter loading, and in ductboard systems, which have fibrous interiors, contamination that is difficult to clean out fully. Prevention before work begins is substantially easier than remediation after.
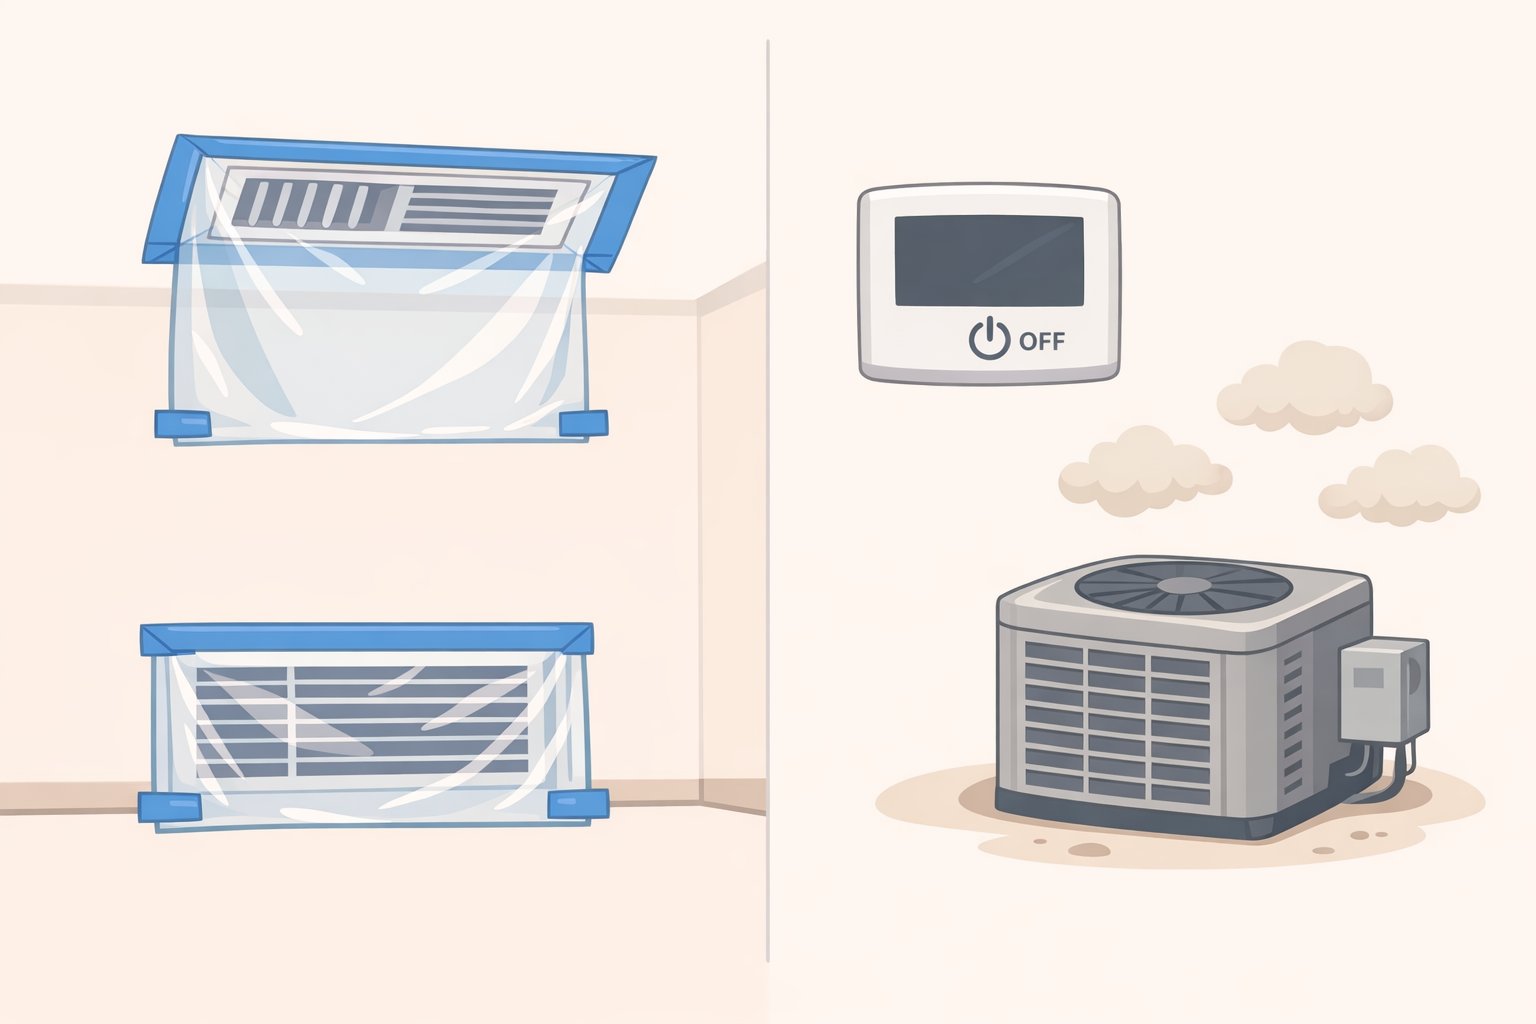
Before demo starts, seal supply and return registers in the construction zone and avoid running the HVAC during any high-dust activity. Designer Gutierrez, quoted by Architectural Digest, recommends an additional barrier: a plastic wall with a zipper between the construction zone and the living area to limit air movement between spaces. Designer Marés, in the same piece, adds a lower-tech layer for rooms that aren't regularly used: close the vents and place a towel or cloth at the gap beneath the door.
Turning the system off is a supporting step, not sufficient on its own. Contractor fans and the pressure differentials created by open doors can still draw particles into unprotected registers. Sealing is the actual protection; switching the system off just reduces the risk of the system actively pulling dust in.
This step matters most during demolition, drywall cutting, sanding, and flooring removal. Smaller cosmetic projects with no demo present lower risk. Sealing registers costs almost nothing in time or materials, and if it goes wrong, the contamination gets distributed to every room in the house.
Home renovation prep checklist
Four categories to remove or isolate before work begins:
- All contents of built-in storage in the active work zone fully cleared, not tidied
- Furniture, rugs, and soft furnishings in adjacent rooms or in the dust path moved out or covered in sealed plastic
- Valuables, documents, and electronics secured, inventoried, and removed from the disruption zone
- HVAC registers in the construction zone sealed before demo starts, with the system kept off during high-dust activity
Begin the process two to three weeks out. Pack as you would for a partial move: labeled boxes, a written inventory, glass wrapped carefully, per SATX Remodeling's guidance.
Once the work is done, evaluate the HVAC before returning to normal operation. HomeWorld Design recommends inspecting accessible duct sections and registers visually, replacing filters used during construction, and verifying airflow balance across rooms. Duct cleaning is not automatically warranted; it's recommended after major demolition, prolonged system operation during construction, or when visible debris at registers or noticeable airflow changes suggest the system was exposed. Get a professional assessment first. In many cases, targeted cleaning of affected branches is sufficient, and a full system cleaning isn't necessary.













Comments
Be the first, drop a comment!