




Home repair tips for beginners: DIY vs. when to call a pro
New homeowners consistently make one of two expensive mistakes: paying a service call for a 20-minute fix, or attempting work that creates a code violation, flood risk, or fire hazard. Both are avoidable. This guide is about learning to tell the difference.
A running toilet can quietly waste up to 200 gallons of water per day, and the fix usually takes less than 30 minutes with parts that cost well under a single service call, per Show Me Step by Step. That ratio trivial effort, real consequence of inaction defines every repair covered here.
This guide walks through five beginner-appropriate DIY home repairs, one clear framework for knowing when to stop, and a short pre-repair setup that applies to every job after it. The governing rule, drawn from Show Me Step by Step: if a mistake means cosmetic damage, do it yourself; if it touches the building envelope, a gas line, or requires a permit you're not ready to pull, call a pro.
One practical note before starting: begin with whichever of these five repairs is already broken in your home. Don't wait until you've read everything twice.
Set up once: what to do before your first repair
Find and label your shutoffs. Locate your main water shutoff valve and mark it with a label large enough to read under pressure. Check whether the descriptions on your electrical panel are accurate This Old House recommends verifying each breaker individually, since panel labels are frequently wrong. While you're at it, start a home binder: shutoff locations, appliance manuals, warranty documents, maintenance logs, and contractor contacts all belong in one place. Find your gas meter outside too. If you ever smell a rotten-egg odor, you need to know immediately where it is, and you should leave before you start looking.
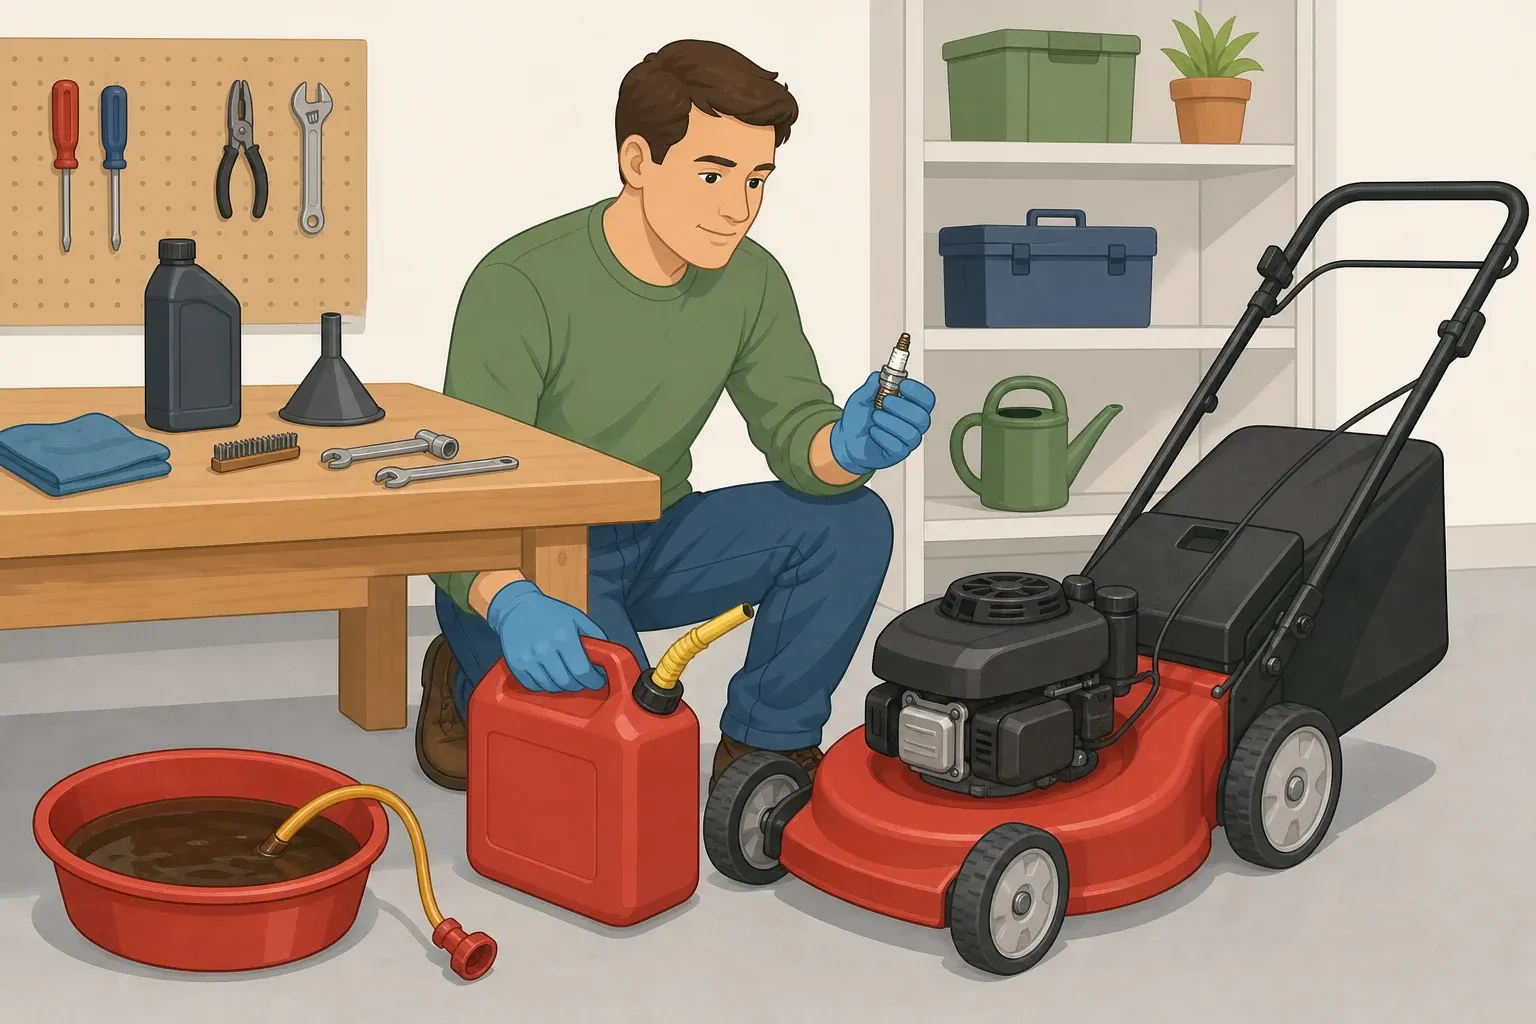
Assemble a starter kit. A cordless drill, tape measure, 24-inch level, stud finder, screwdriver set, utility knife, adjustable wrench, and small hammer handle the vast majority of basic home repairs, per Show Me Step by Step. Don't buy the cheapest drill. A $40 model that fails in six months costs more over time than one in the $80–$120 range that lasts a decade.
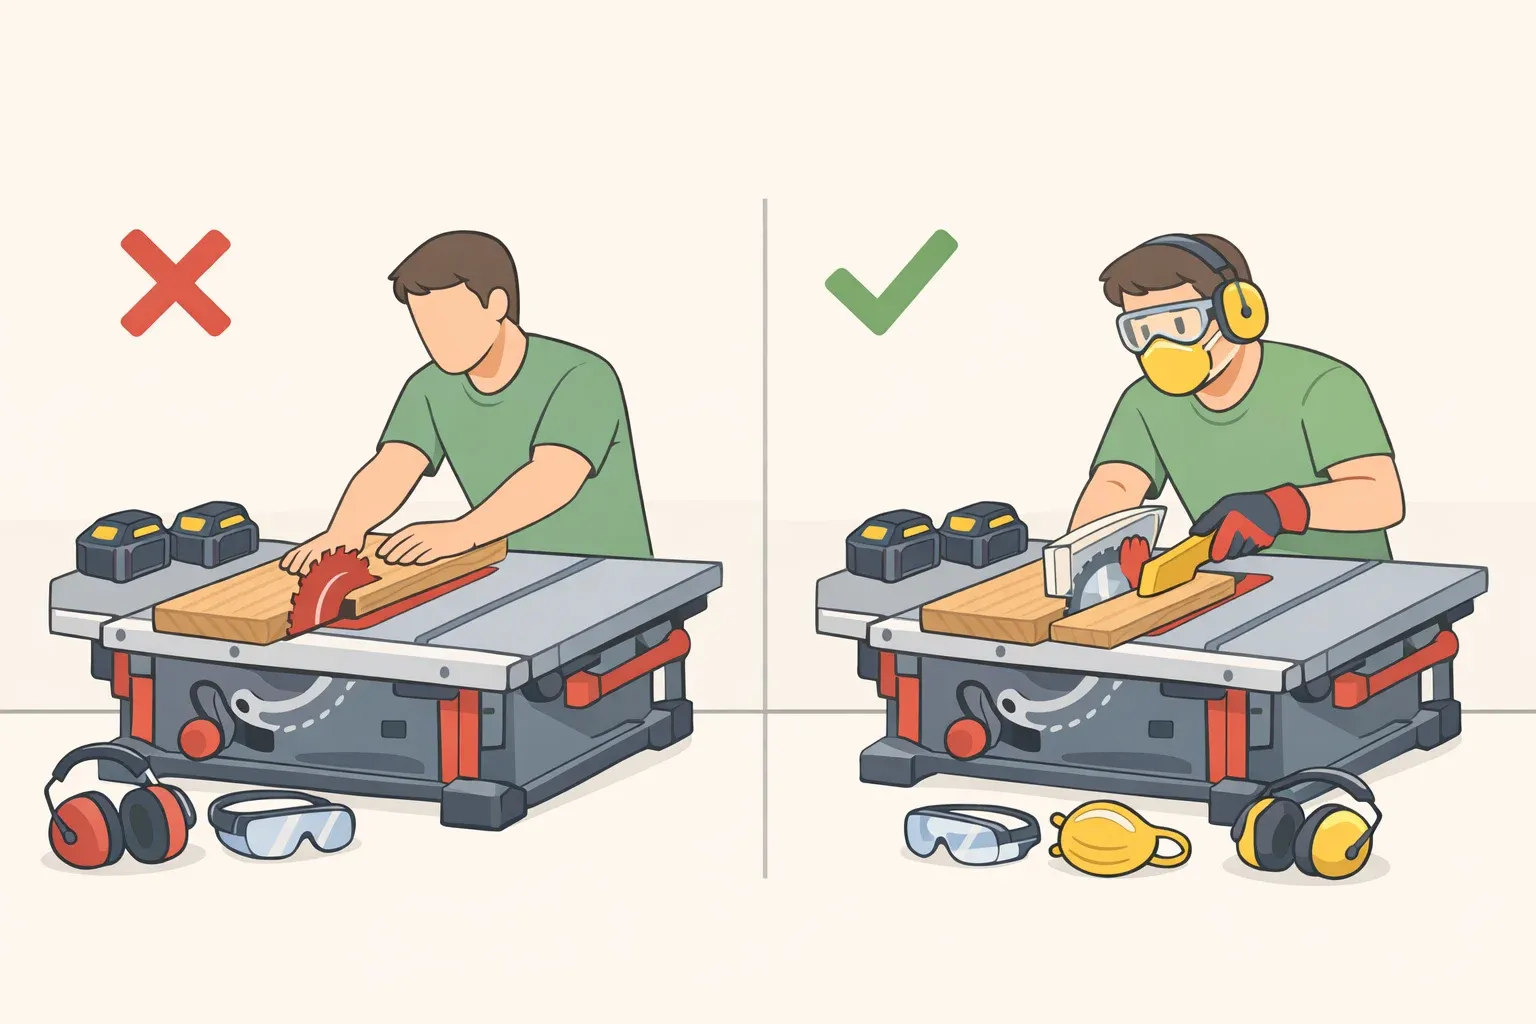
Read the instructions before picking up a tool. Preparation accounts for roughly 60% of project time on every well-executed repair, per Show Me Step by Step. Budget two to three times longer than you think a task will take. Eye injuries from flying debris are the most common DIY accident and entirely preventable safety glasses, work gloves, and a dust mask are non-negotiable.
Walk through every system while you're at it. Most homeowners know to change the furnace filter. Many don't realize their home has others they've never touched. Don Sivigny, a building codes supervisor at the Minnesota Department of Labor and Industry, describes opening heat recovery ventilators and finding the manufacturer's directions still leaning against the filter inside unread, per ICC. Open every panel. Read every label. Knowing what's in your house is the baseline that makes every other repair safer.
Home repair tips for beginners: the first five jobs worth learning
The repairs below share four traits: the problem is visible before it gets worse, the tools required are minimal, a mistake stays cosmetic or reversible, and there's a clear point at which you stop and call someone. Show Me Step by Step identifies fixing a running toilet, replacing a light switch, patching drywall, resetting a tripped breaker, and unclogging a sink as repairs that pay for themselves within the first year of homeownership each completable in under 30 minutes, each cheaper than a single service call.
This guide substitutes recaulking for the breaker reset. Failed caulk is among the most consequential things beginners overlook, and among the easiest to fix before the damage compounds. Breaker resets are genuinely simple, but they don't teach anything transferable recaulking does. The logic holds: low tool burden, visible payoff, limited downside.
1. Fix a running toilet
A constantly running toilet wastes up to 200 gallons of water per day enough to show up on a bill within weeks, per Show Me Step by Step. In most cases, you're replacing a worn flapper valve or adjusting the fill valve. Neither requires soldering, special tools, or shutting off the main water supply.
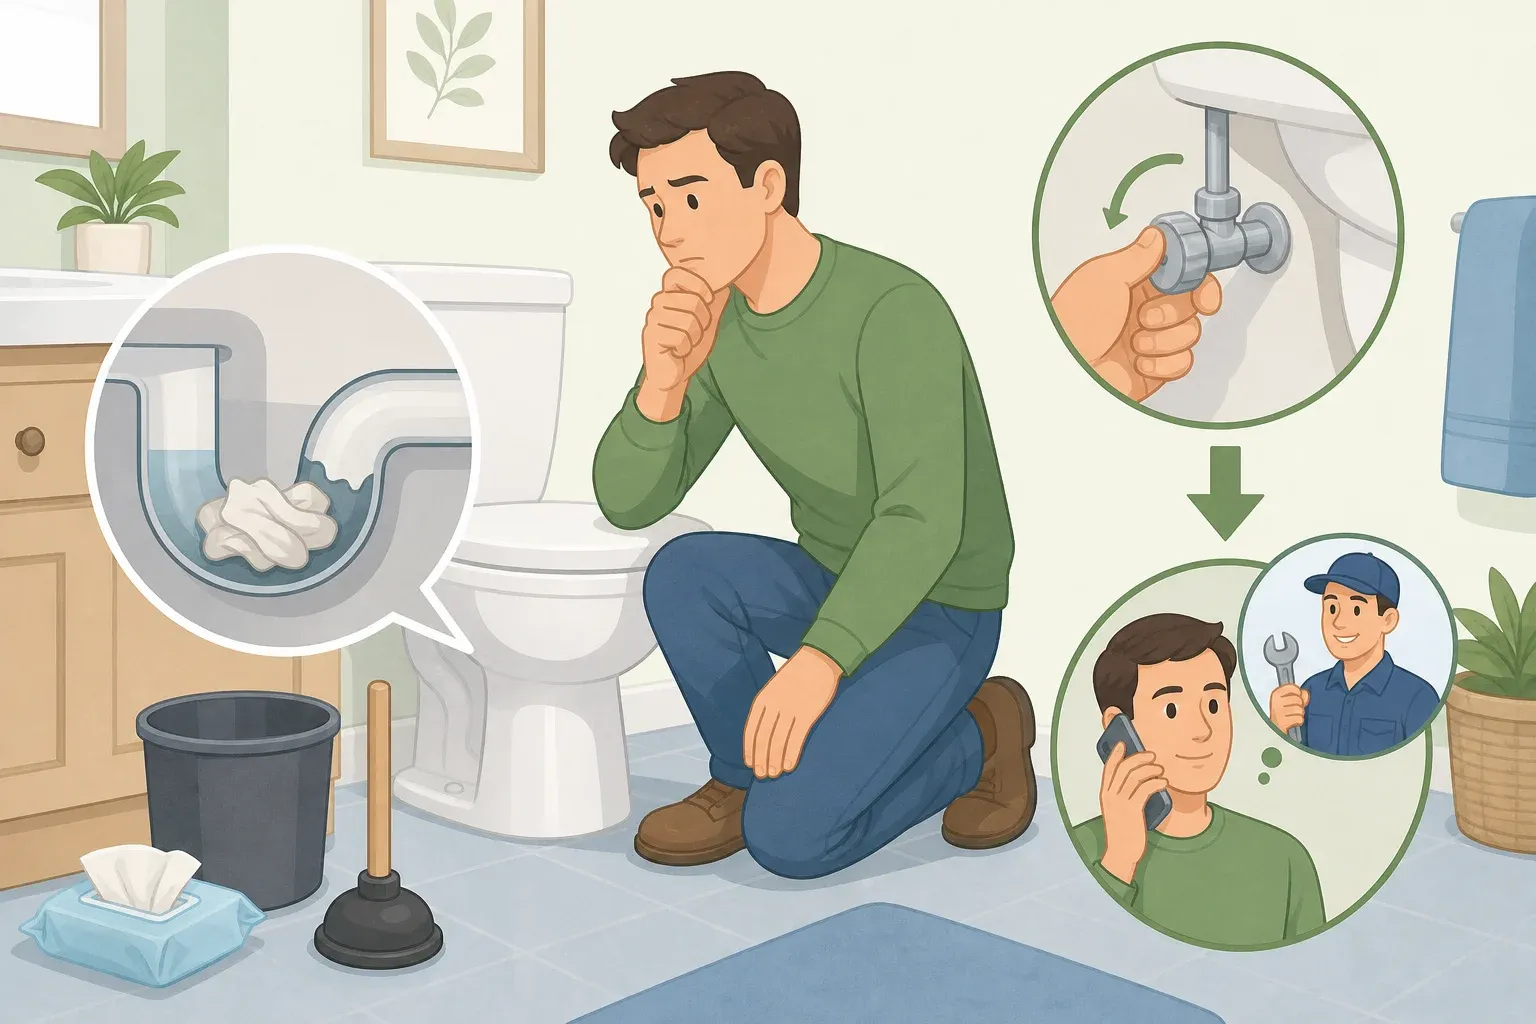
- Step 1: Turn off the supply valve at the base of the toilet before lifting the tank lid.
- Step 2: Identify the source. Lift the float arm. If the running stops, the fill valve needs adjustment or replacement. If water is flowing over the overflow tube, the float is set too high. If neither of those, the flapper is the problem.
- Step 3: Replace the relevant part. Turn the supply back on and wait for the tank to fill completely. Silence means success.
Stop and call a plumber if: The porcelain is cracked, there's water pooling at the base of the toilet, or multiple repair attempts haven't resolved the running.
2. Unclog a drain
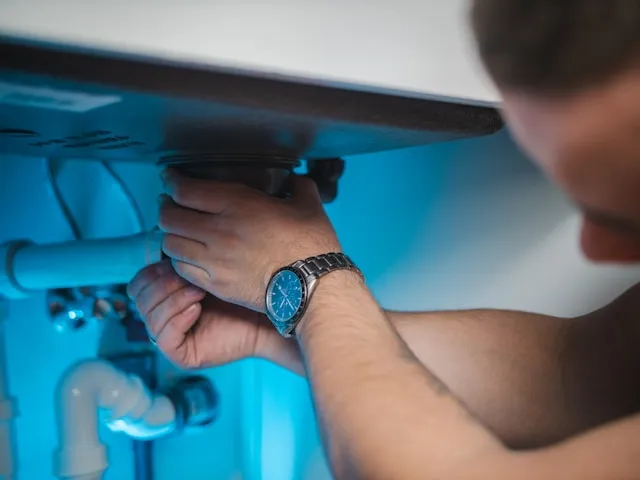
A slow drain compounds. Partial blockage becomes full blockage, and standing water creates mold conditions. The tools are cheap, and most fixes require nothing more than what's already under the sink, per Better Homes & Gardens.
- Step 1: Remove and clean the drain stopper. Many slow sinks are fixed at this step alone accumulated soap and hair on the stopper is the entire problem.
- Step 2: If that doesn't work, use a plunger. For persistent slow drains, try a baking-soda-and-vinegar flush followed by boiling water before reaching for a chemical cleaner.
- Step 3: Chemical drain cleaners work on non-porcelain sinks, showers, and tub drains avoid them on porcelain surfaces. A drain snake handles deeper clogs that plunging won't reach, per Better Homes & Gardens.
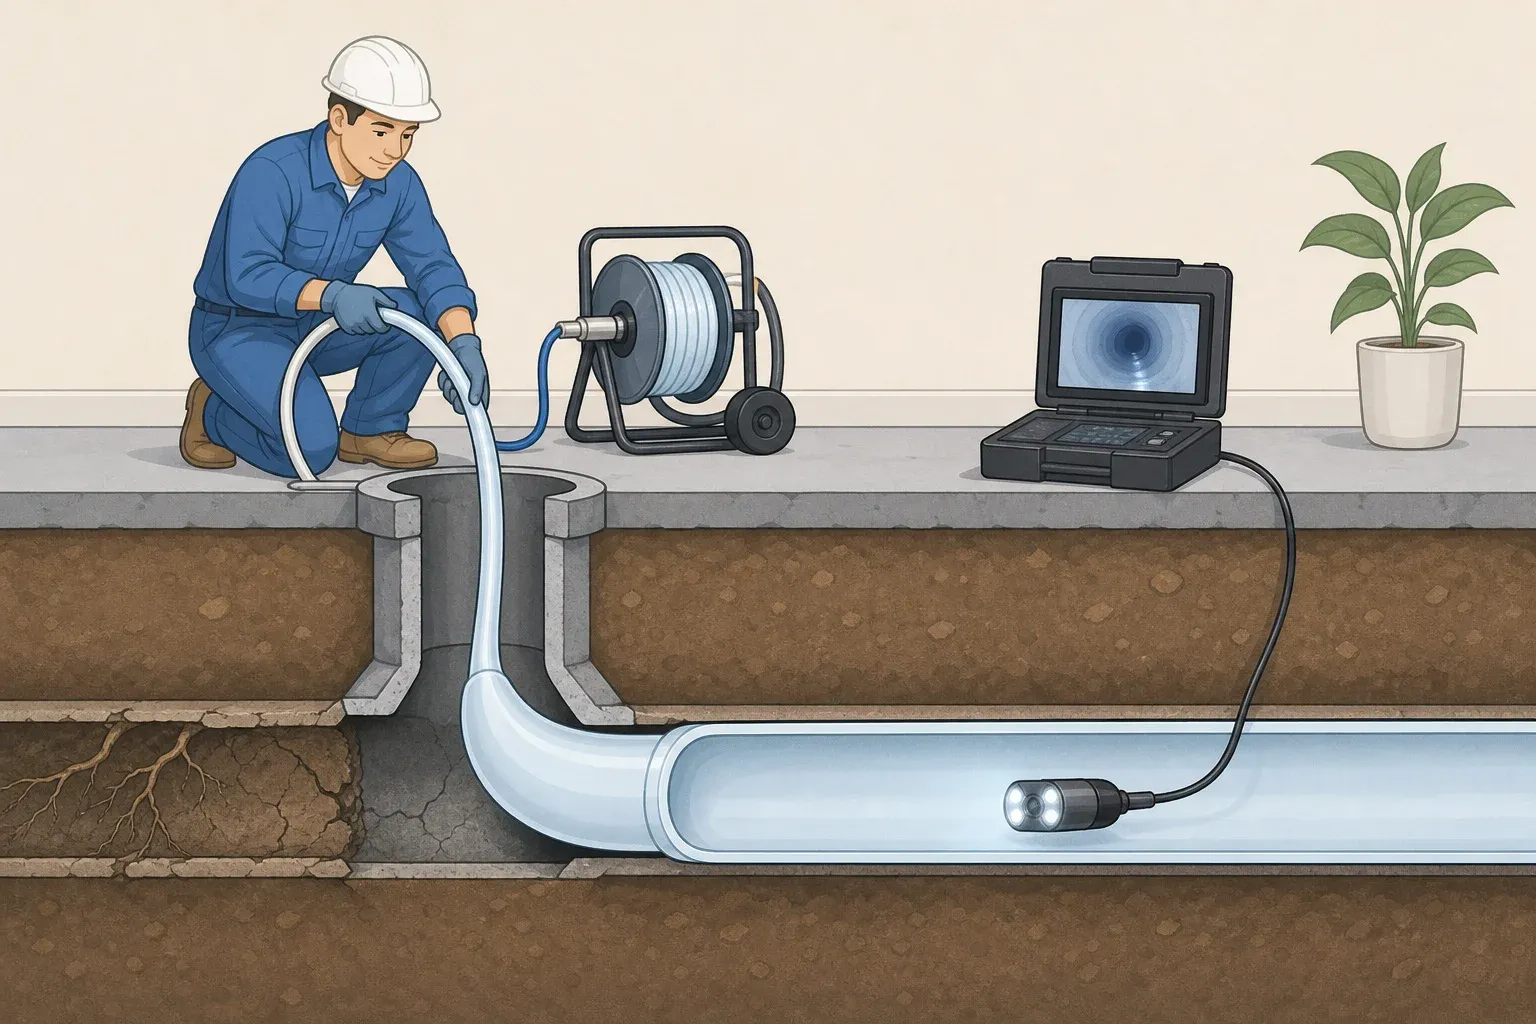
Stop and call a plumber if: Multiple drains are backing up simultaneously. That's a main-line blockage, not a fixture problem. Don't attempt a second DIY pass on a main-line issue; you risk pushing the clog deeper.
3. Replace a light switch
Swapping a standard light switch is a reasonable first electrical task. More than the switch itself, it teaches the habits that apply to every electrical job after it: breaker off, verify power is dead before touching any wire, per Better Homes & Gardens.
Prerequisite: Add a multimeter and a basic wire stripper to your kit before any electrical work, per Show Me Step by Step.
- Step 1: Turn off the circuit breaker for the relevant circuit. Verify power is off using your multimeter before touching anything. Never assume the label on the breaker panel is accurate.
- Step 2: Remove the switch plate, unscrew the switch from the electrical box, and photograph the existing wiring before disconnecting. The photo is your reference.
- Step 3: Connect the new switch, matching the wiring from your photo. Secure it back into the box, replace the plate, and restore power. Test before closing up.
Have a second person present for this and any electrical work if something goes wrong, you want someone there, per Better Homes & Gardens.
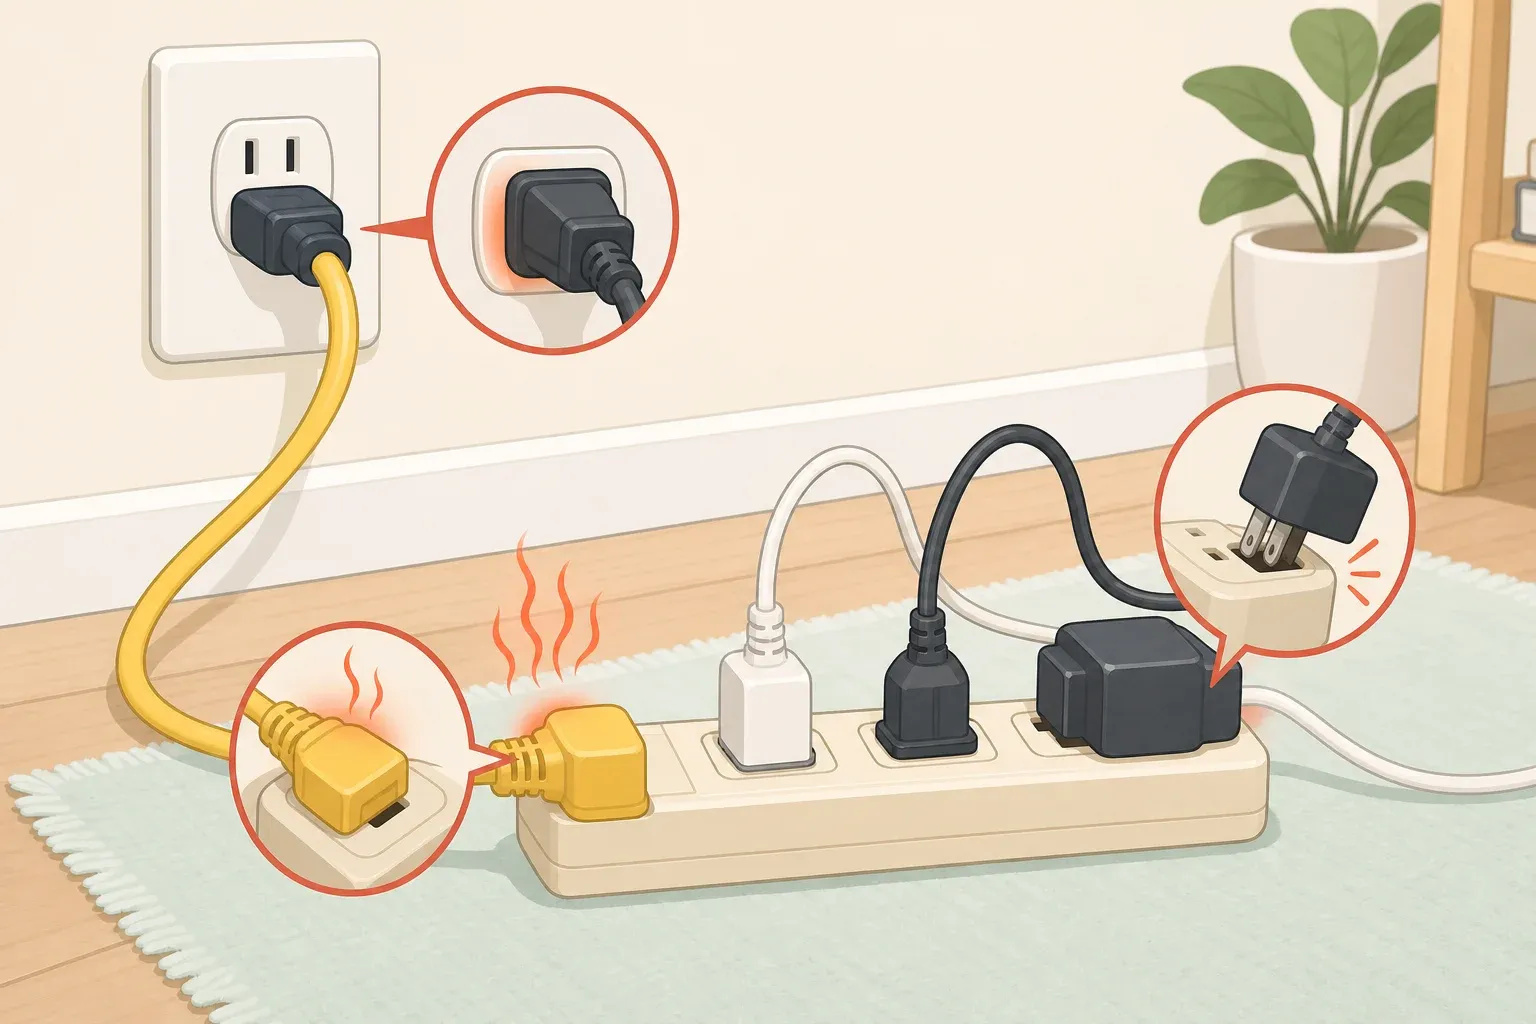
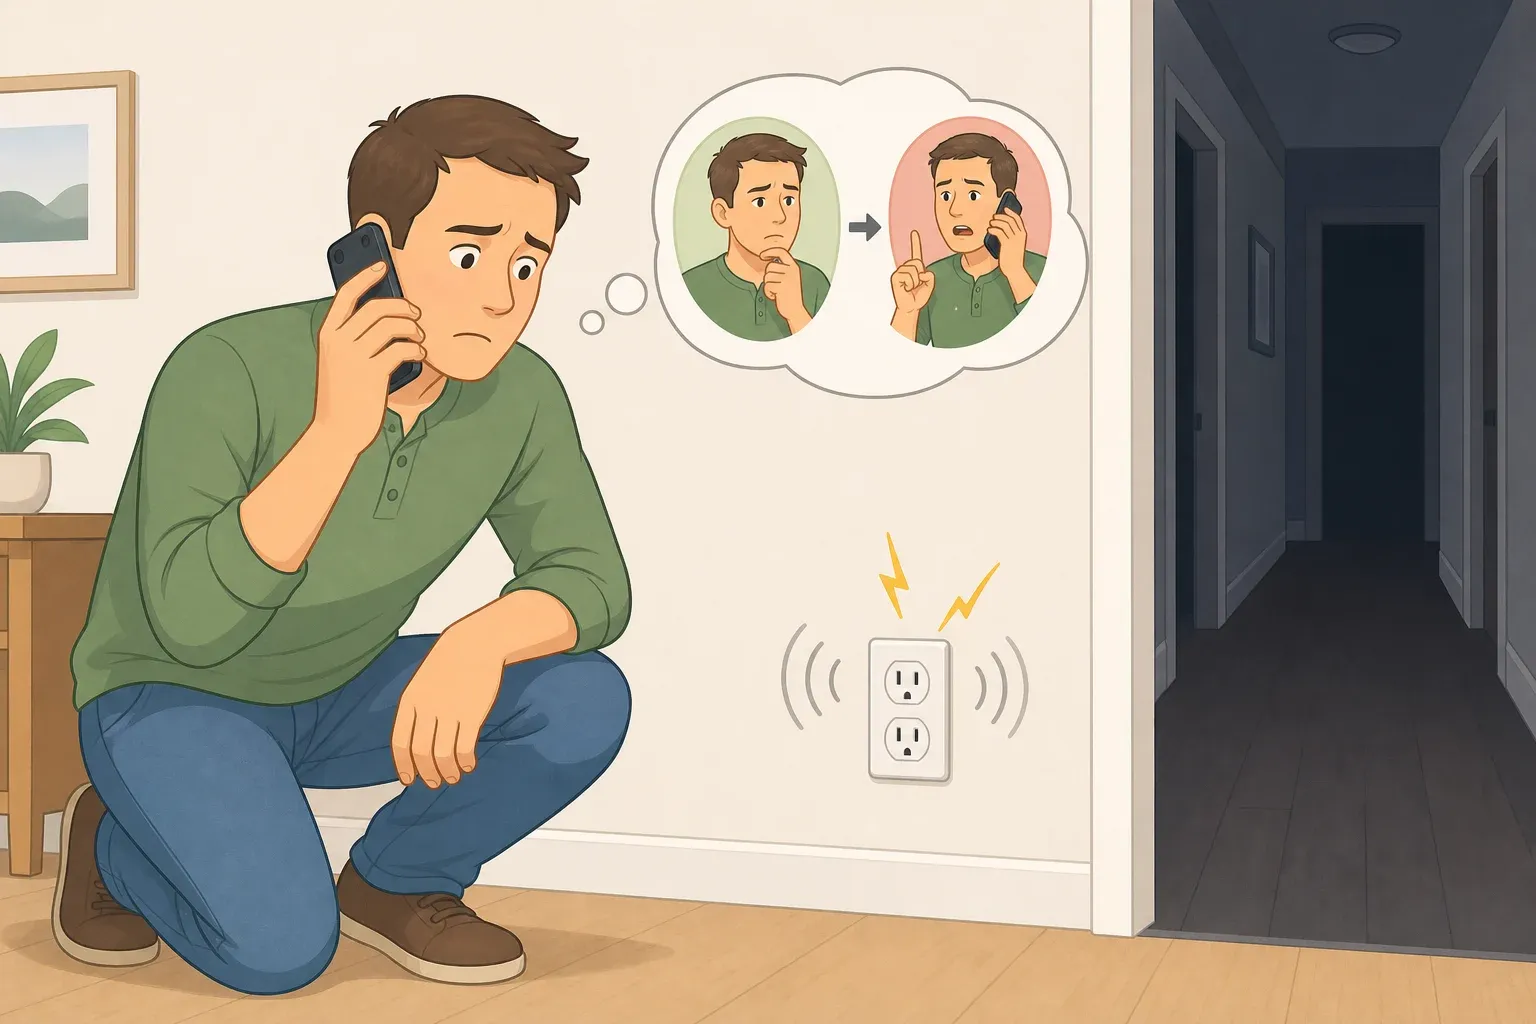
Stop and call an electrician if: You smell burning, the breaker trips again immediately after resetting, or the wiring inside the box looks scorched, melted, or unfamiliar. Burning or melting indicates damaged wiring and past electrical shorts, per Angi that's a job for a licensed electrician, not a second attempt.
4. Patch a small drywall hole
Holes in drywall are common, visible, and a straightforward fix. Hardware stores carry ready-to-use repair kits with mesh patch, putty, and instructions included, per Better Homes & Gardens. Once patching feels routine, painting over it is the logical next job you see the result immediately, and it pairs directly with what you've already done.
- Step 1: Clean the hole edges. Apply a self-adhesive mesh patch over the opening, then spread joint compound with a putty knife, slightly wider than the patch.
- Step 2: Let it dry completely. Rushing this step is the most common beginner mistake. Sand flush with the surrounding wall once dry.
- Step 3: Prime before painting. Without primer, even matched paint will look noticeably different over joint compound under most lighting conditions.
Stop and call a pro if: You see wiring or insulation in the wall cavity, or the surrounding drywall feels soft to the touch. Soft drywall means moisture damage. That's not a patching problem.
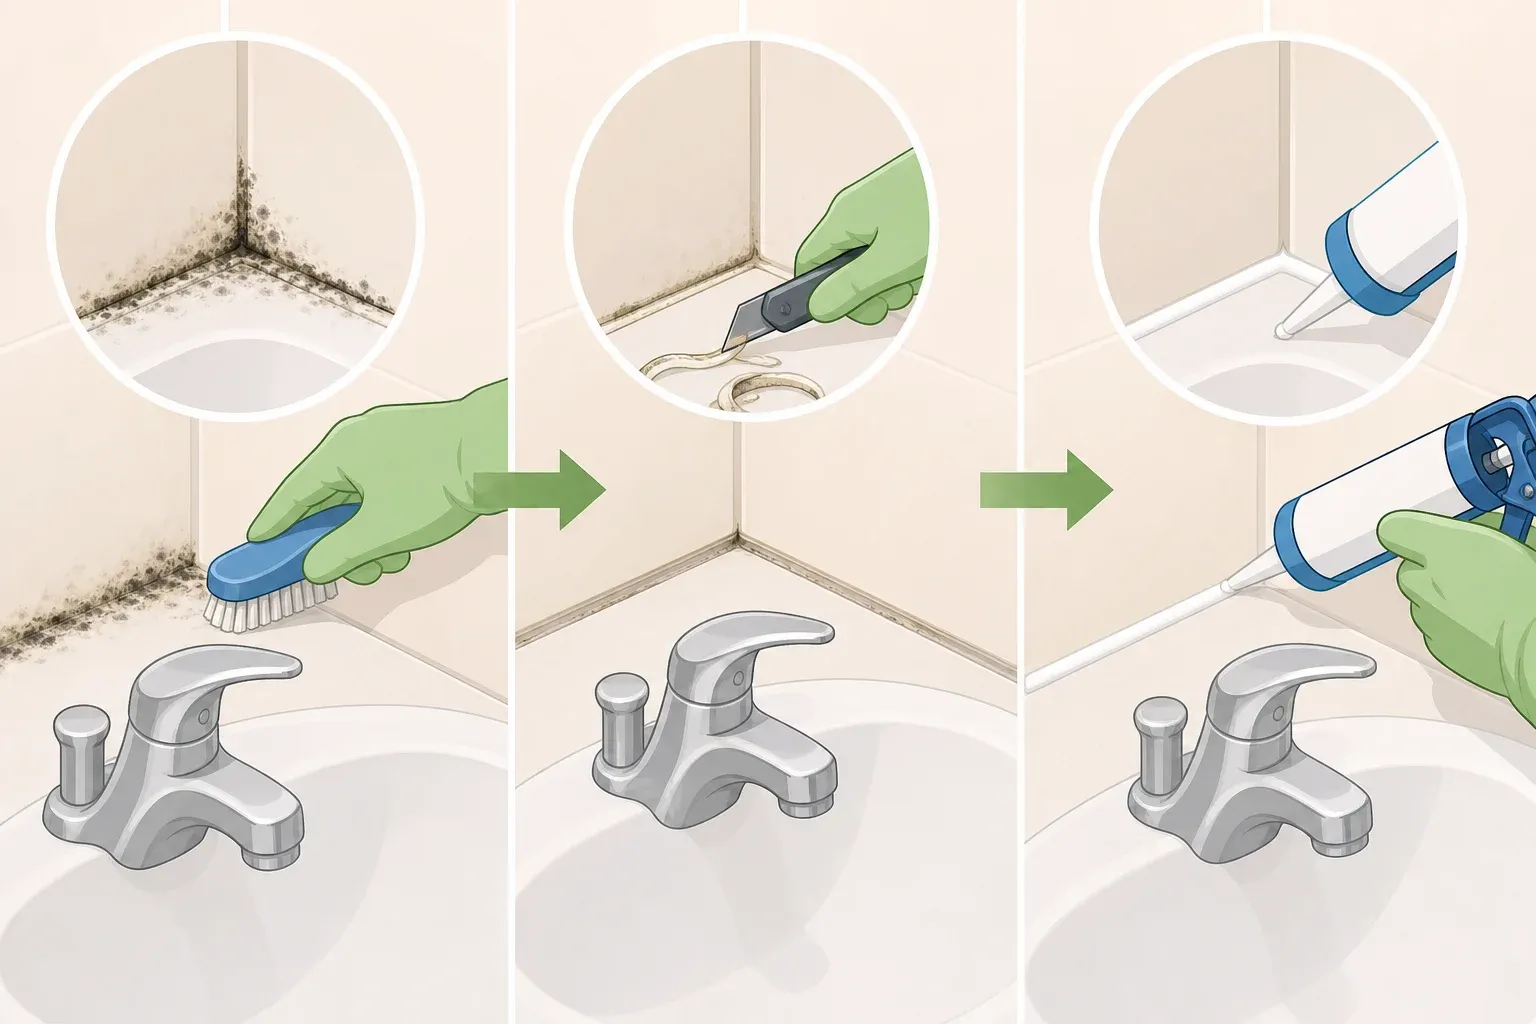
5. Recaulk around windows, sinks, and tubs
Recaulking is the most underestimated task on this list. Caulk is found around windows, sinks, bathtubs, showers, and doorways when it fails, it becomes one of the main ways moisture gets into a home, per Better Homes & Gardens. Ashley Bassoco, a code enforcement officer for the City of Corona, California, put it plainly: ignore a leak long enough and it becomes mold, then one night the ceiling falls in, per ICC.
- Step 1: Remove all old caulk before applying new material. Caulking over degraded caulk traps moisture underneath and fails faster than the original seal. A utility knife and a plastic removal tool handle most jobs without damaging tile or fixtures.
- Step 2: Choose the right product. Use silicone caulk for wet areas showers, tubs, sinks. Use paintable latex caulk for window frames and door trim. Using the wrong type in the wrong location is the most common recaulking error, per Better Homes & Gardens.
- Step 3: Apply in one smooth continuous bead and tool it with a wet finger or a caulk finishing tool. Let it cure fully before exposing to water check the product label for the manufacturer's recommended cure time.
Stop and call a pro if: You find black mold under the old caulk, or the substrate beneath tile or around the tub surround feels soft or spongy. That's a structural moisture problem, not a caulking problem.
Easy home maintenance tips that prevent future repairs
These aren't fixes. They're the habits that keep repairs off the calendar entirely.
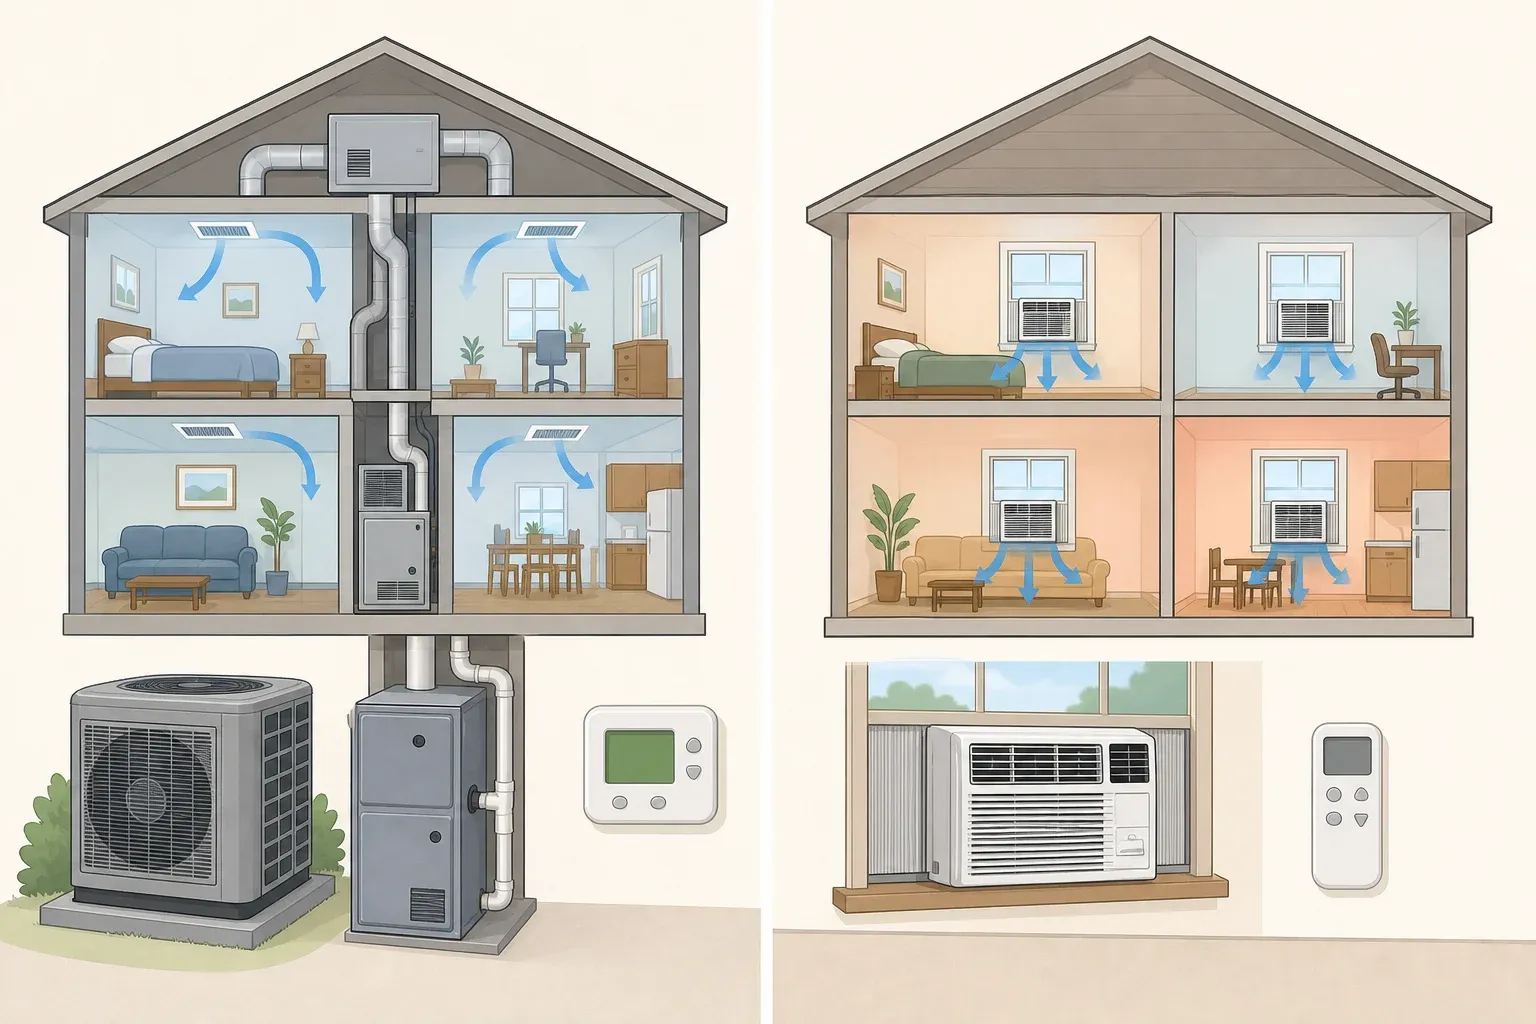
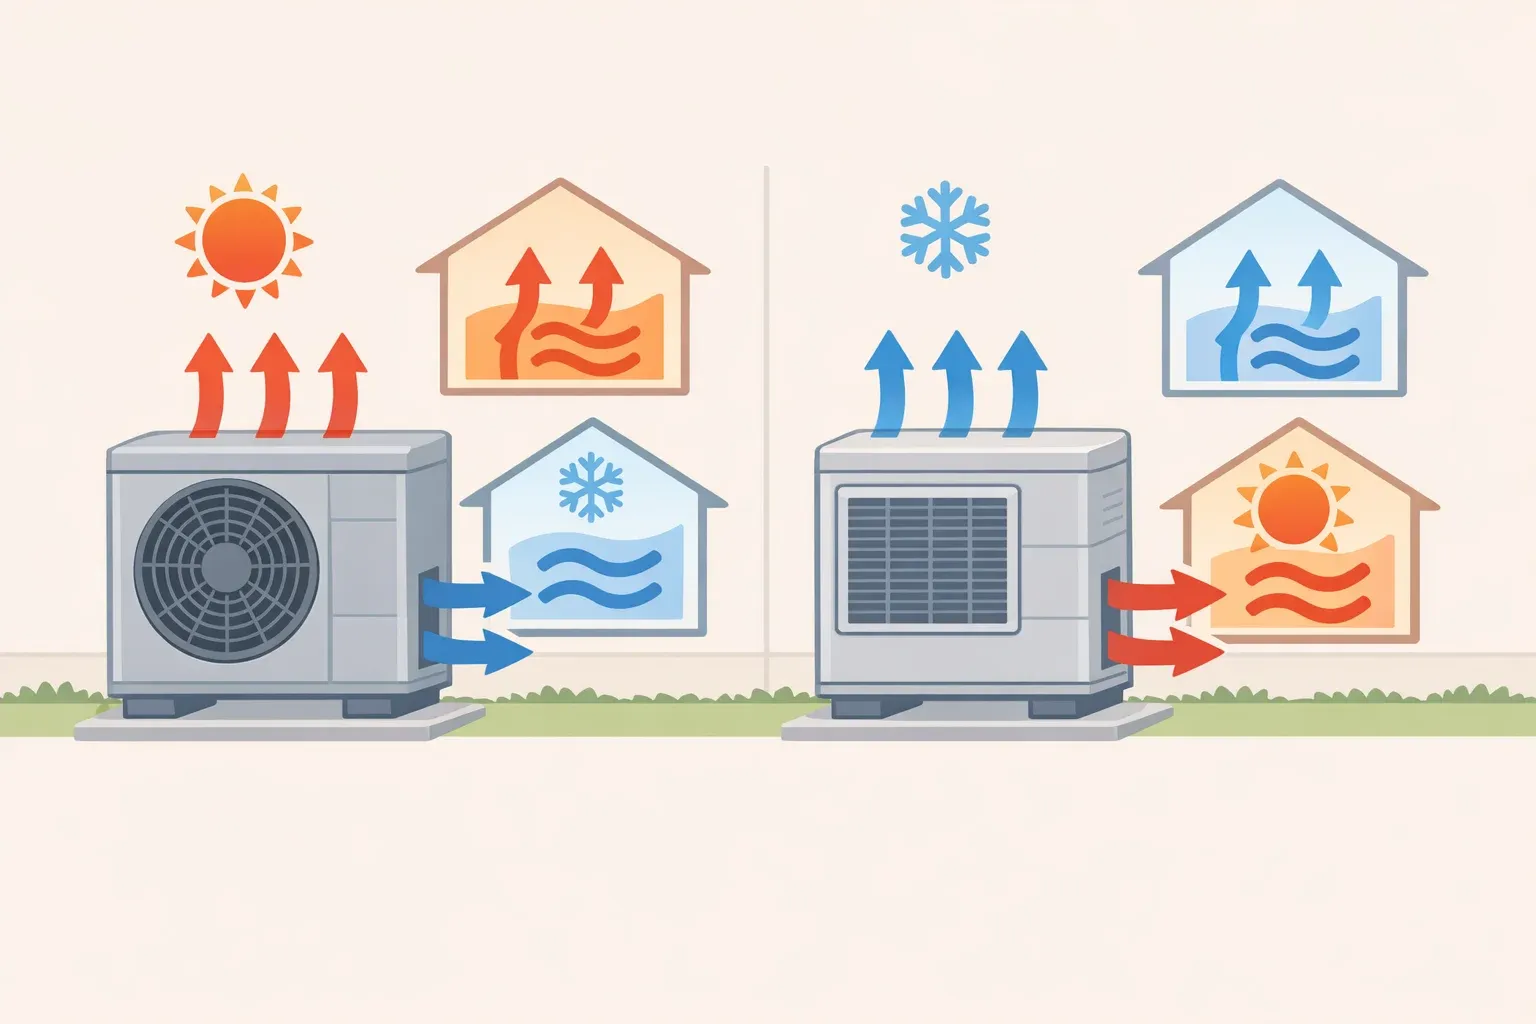
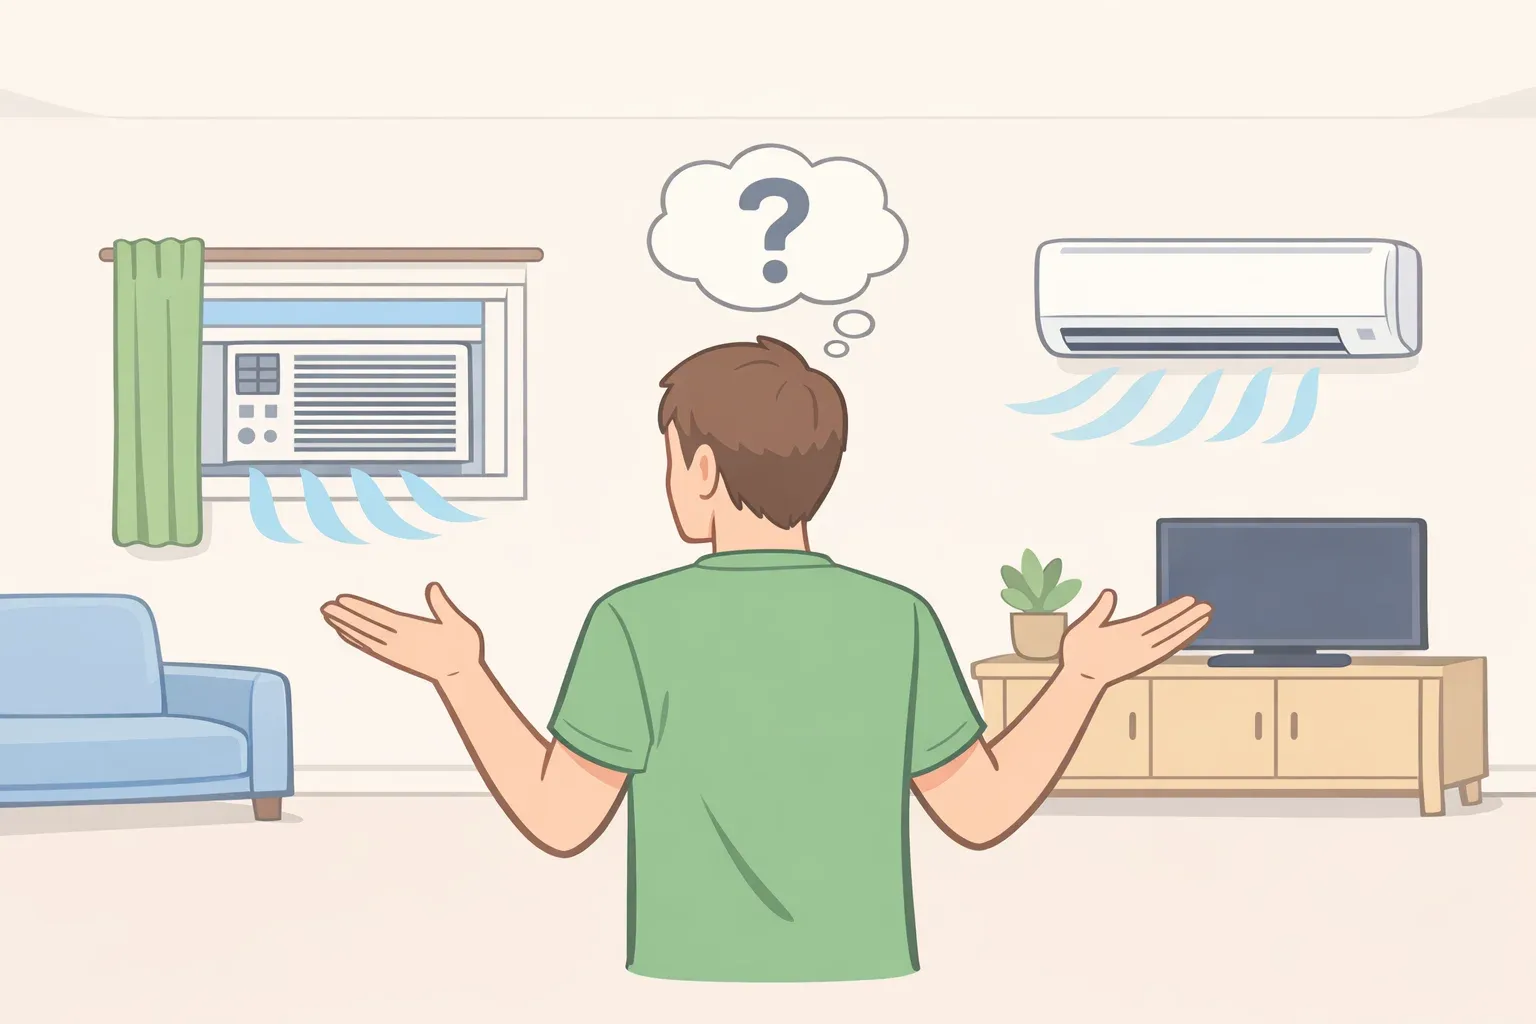
HVAC and system filters check monthly. Furnace, air conditioner, and wall return-duct filters should be inspected every month and replaced when dirty, per Better Homes & Gardens. Power the unit down before pulling the filter. Write the replacement date on the filter's edge. Then go through your appliance manuals and look for filters you might not know exist hood vents, HVAC humidifiers, heat recovery ventilators. ICC building safety experts have repeatedly encountered homeowners who'd never changed these filters because they didn't know they were there, per ICC.
Smoke detectors test monthly, replace every ten years. Press the test button each month. Replace the entire unit every decade, not just the battery, per Better Homes & Gardens. Write the installation date on the unit's edge so future owners know where the clock started.
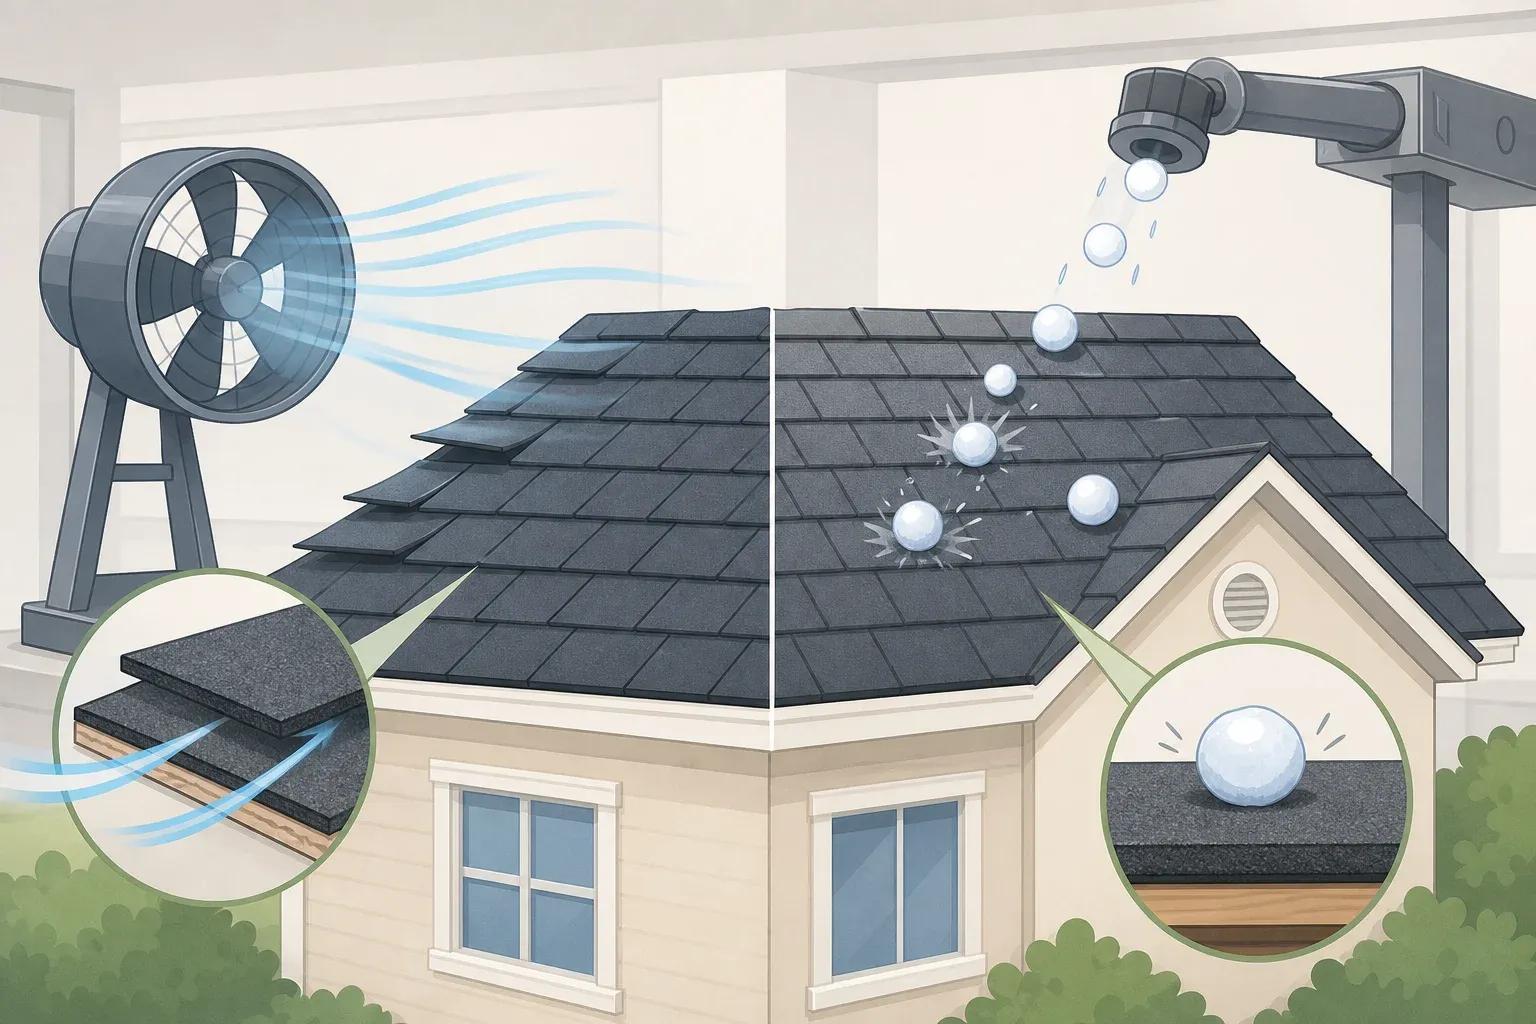
Gutters and exterior at least annually. Debris-clogged gutters trap water that backs up onto the roof and can cause ice dams and water intrusion at the fascia. Gutter cleaning is a two-person job one on the ladder, one stabilizing it. Flush with a hose from the top, not the bottom, per Better Homes & Gardens. While outside, do a full exterior check: inspect siding, caulk around window frames, and look for grit below downspouts, which indicates roof shingle deterioration. This Old House recommends pairing this with an attic check for water stains, pest entry points, and insulation gaps.
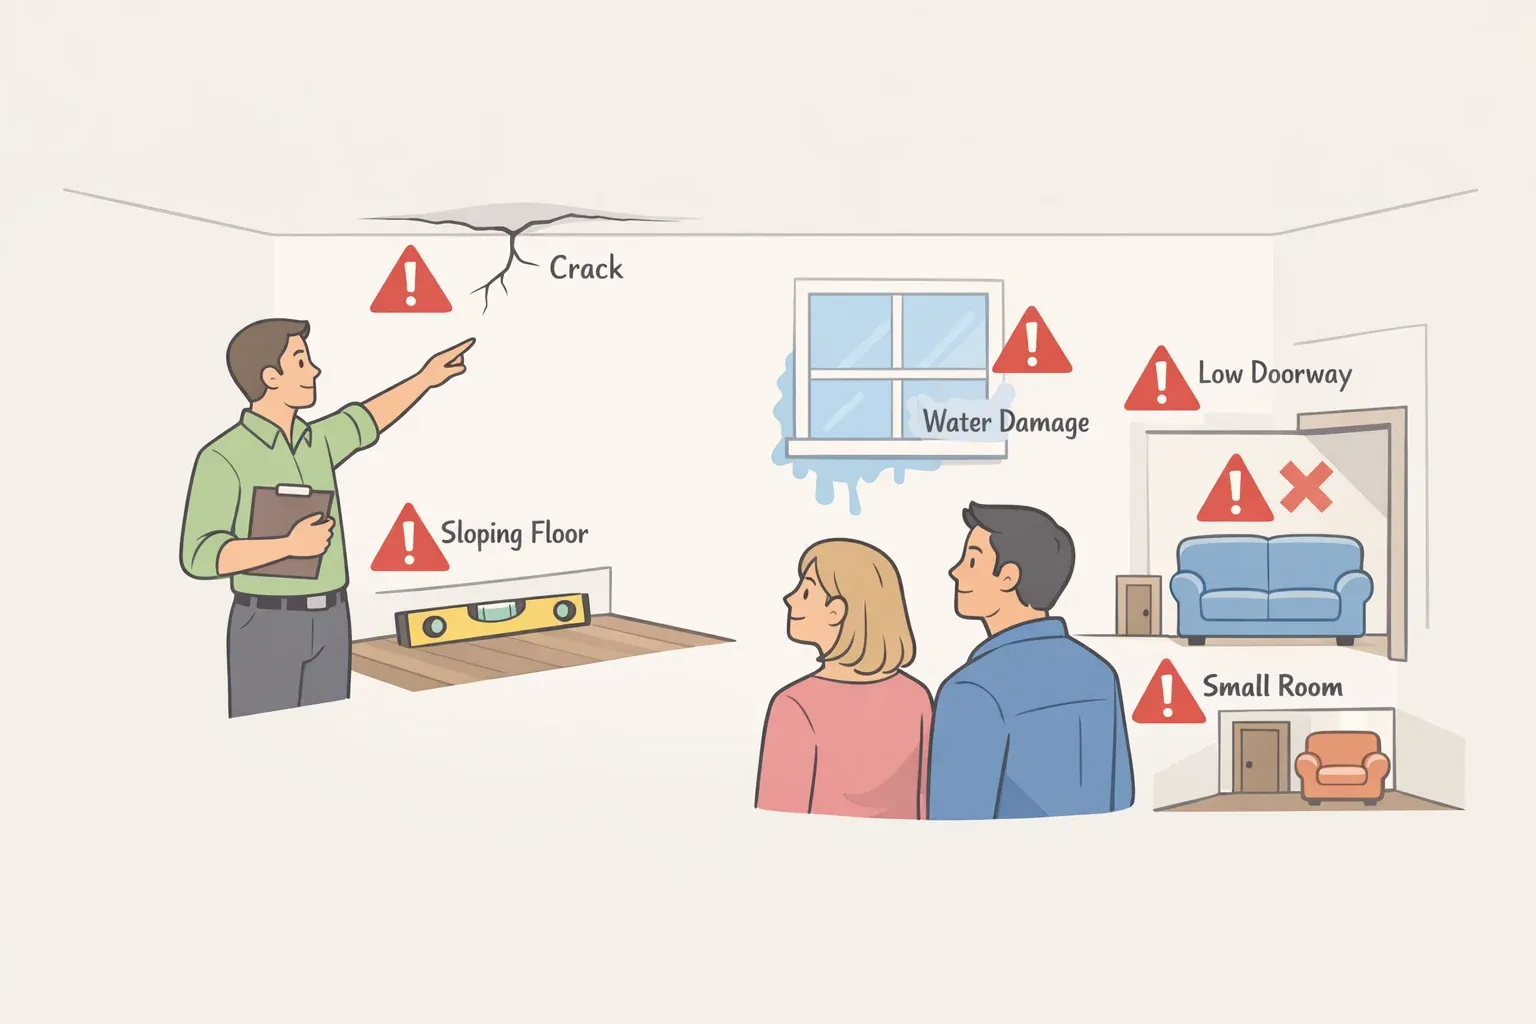
The hard stops: when to call a professional instead
Each repair above includes its own stop rule. These are the overarching warning signs that cancel the DIY default entirely, regardless of which task you're attempting.
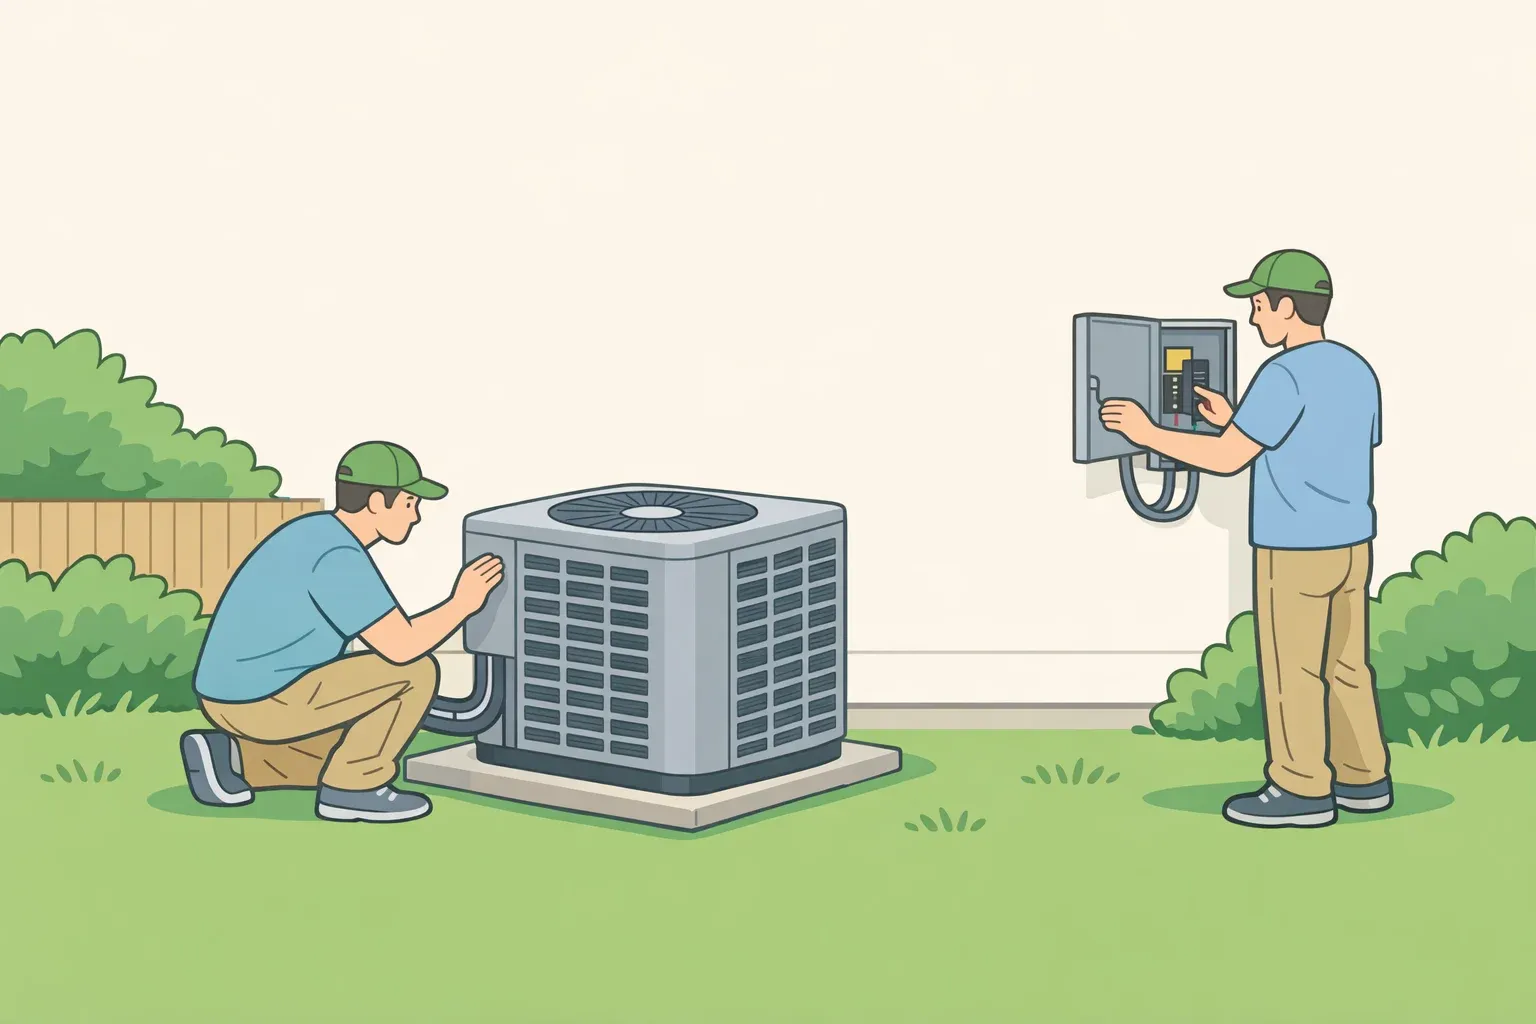
Burning smell, flickering lights, or a breaker that won't hold. Stop immediately and call a licensed electrician. Rewiring circuits, adding breakers, upgrading electrical service, and running outdoor cables are not beginner tasks under any circumstances, per Angi. Any significant wiring change requires a permit and inspection under the National Electrical Code. If DIY wiring contributes to a fire, homeowner's insurance may not cover the damage. Licensed electricians run $50–$100 per hour for non-emergency work; emergency rates run $100–$200, per Angi.
Rotten-egg odor. Leave immediately. Call your gas company from outside, not from inside the house. There is no beginner-appropriate gas line work. Bassoco, the ICC code enforcement officer quoted above, has documented homeowners rerouting gas lines with standard PVC pipe a decision that creates explosion risk, per ICC.
Extensive mold spreading through drywall, wood, or under tile. Mold ruins drywall, paint, and wood you cannot paint over it, and the moisture source must be found and fixed before any remediation begins, per Better Homes & Gardens. If mold has spread through materials rather than sitting on a surface, treat it as a professional remediation job.
Multiple drains backing up at once. Main sewer line blockage. Call a licensed plumber.
Any structural work. Modifications to load-bearing walls, the roof structure, or the foundation require permits and a licensed contractor. Bassoco once had to red-tag a home declaring it unfit for occupancy after discovering an owner had used a crutch to hold up one side of an unpermitted garage. When someone knocked it, the structure collapsed, per ICC. Structural shortcuts don't hold.
Conclusion and first-month checklist
Experience comes from doing, not waiting. "The biggest misconception is that you need experience before you can try," contractor Danny Niemela told Better Homes & Gardens. "That is backwards. You get experience by screwing things up, fixing them, then doing it cleaner the next time, even if it takes three trips to the hardware store." The five repairs here are the right starting point because the downside of a mistake is limited and fixable.
The decision rule scales as skills grow. Cosmetic damage means DIY; building envelope, gas, or permits means call a pro. Apply it to every new task you consider, per Show Me Step by Step. Once these five feel routine, paint over the patched wall it's low stakes, and you see the result immediately. Document each repair in the home binder: what the problem was, what fixed it, and when. That record becomes useful faster than most new homeowners expect, both for future troubleshooting and for anyone who buys the house later.
Your first-month checklist:
- Find and label the main water shutoff, gas meter, and electrical panel
- Assemble your starter tool kit
- Check all HVAC filters and note their replacement schedule
- Test every smoke detector; write the installation date on each unit
- Walk the exterior note any failed caulk, damaged siding, or gutter debris
- Fix whichever of the five repairs is already broken in your home





Comments
Be the first, drop a comment!