



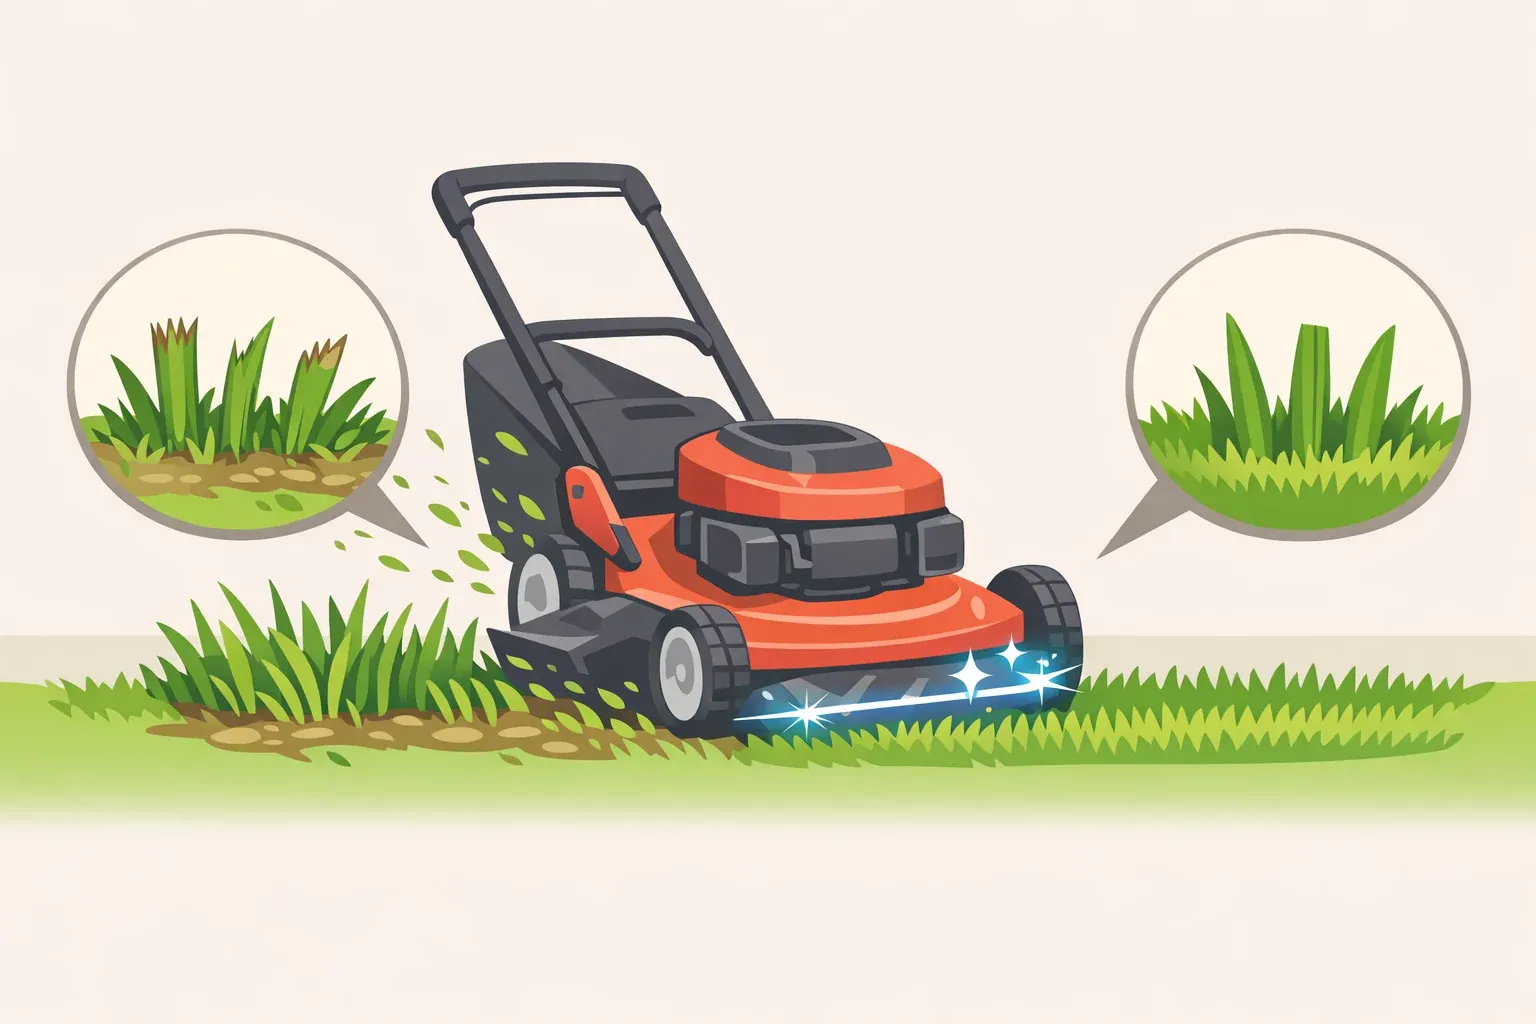
When to Sharpen Lawn Mower Blade: Signs & Schedule
That grayish-brown haze across your lawn after mowing isn't fungal disease, drought stress, or grubs. There's a good chance it's a dull mower blade, and the fix takes less time than whatever treatment you'd otherwise be buying at the garden center.
A dull blade tears and frays grass tips instead of slicing them cleanly. The torn tissue dries and dies, leaving a whitish-brown discoloration across the entire mowed surface, as Kansas State University Extension noted earlier this spring. The University of Maryland Extension goes further, explicitly listing dull mower blades alongside mowing too low as a primary cause of lawn problems that homeowners routinely misattribute to pests or disease.
The misdiagnosis matters because the wrong diagnosis leads to the wrong fix. Fungicide and pesticide treatments don't repair mechanically damaged tissue.
By the end of this guide, you'll know exactly when to sharpen, how to tell whether the blade is the problem before treating for anything else, and which three mowing habits determine whether a sharp blade actually pays off.
When to sharpen lawn mower blade: the short answer
Sharpen now if any of these apply:
- Grass tips look frayed or fibrous after mowing, rather than cleanly cut
- The lawn has a uniform whitish or light-brown tinge within a day of mowing
- The blade has contacted rocks, sticks, or debris since the last sharpening
For everything else, the baseline is straightforward. University of Maryland Extension recommends sharpening after every 10 hours of use, or twice a year early spring and late summer for most home lawns.
Soil type is the major variable that compresses that interval. Sandy soils are abrasive and wear down blade edges significantly faster than loam. N.C. Cooperative Extension in Sampson County advises sharpening or replacing the blade every single season under sandy conditions.
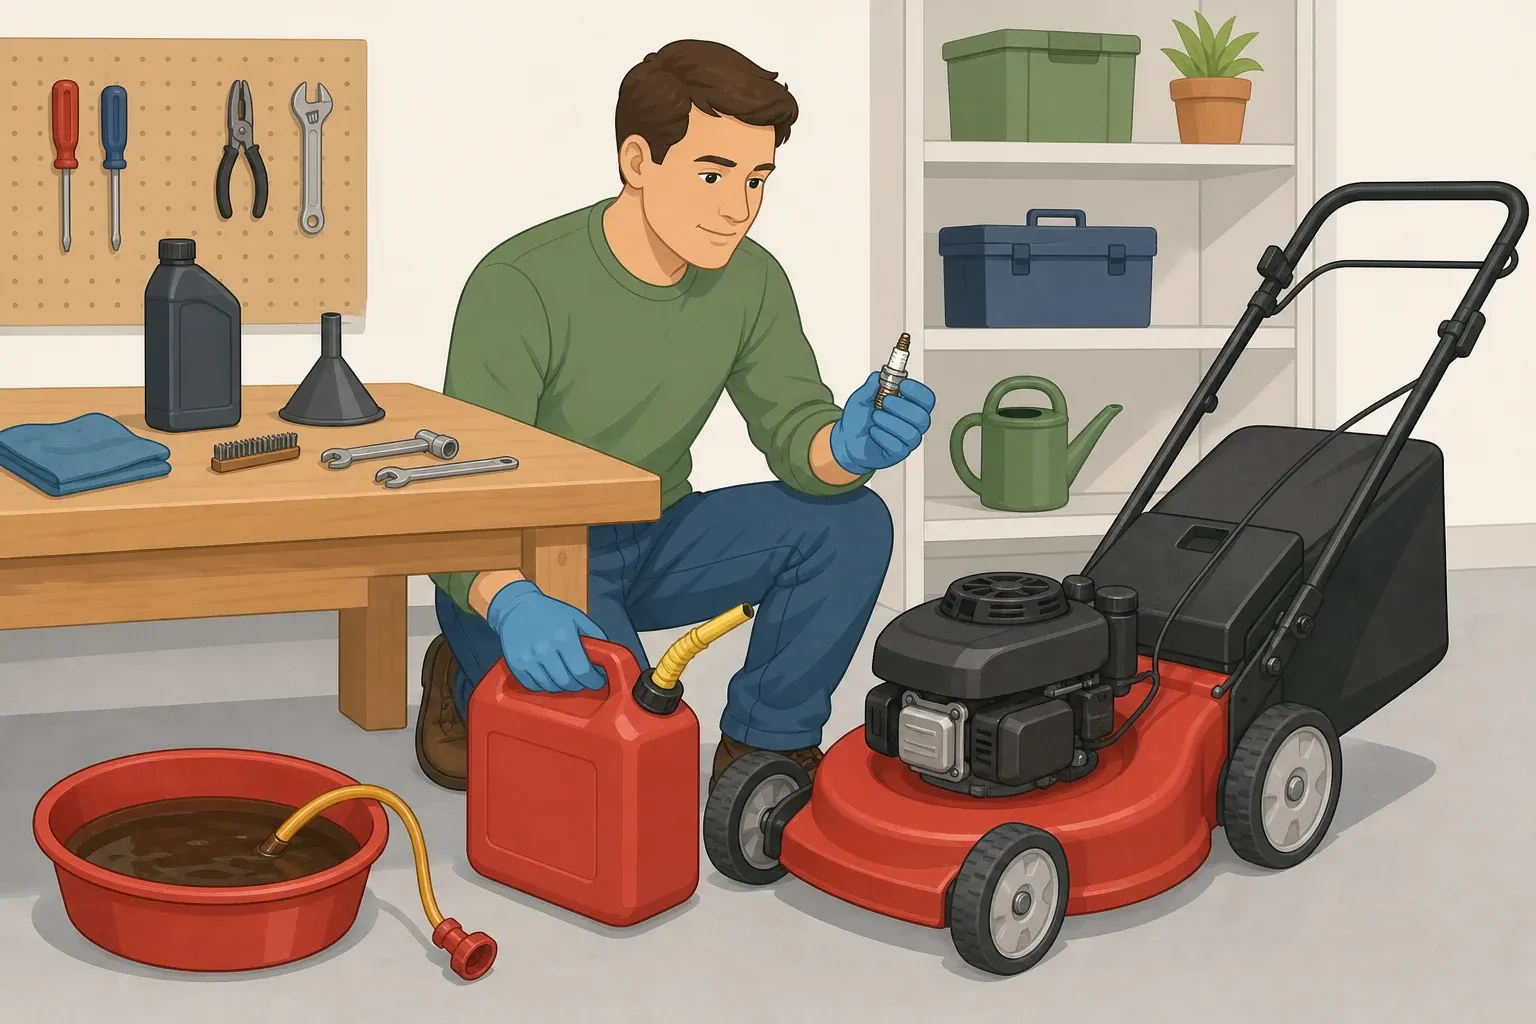
Before inspecting or removing a blade: Turn off the mower and disconnect the spark plug. Texas A&M AgriLife is unambiguous on this point. No exceptions.
Signs your lawn mower blade needs sharpening
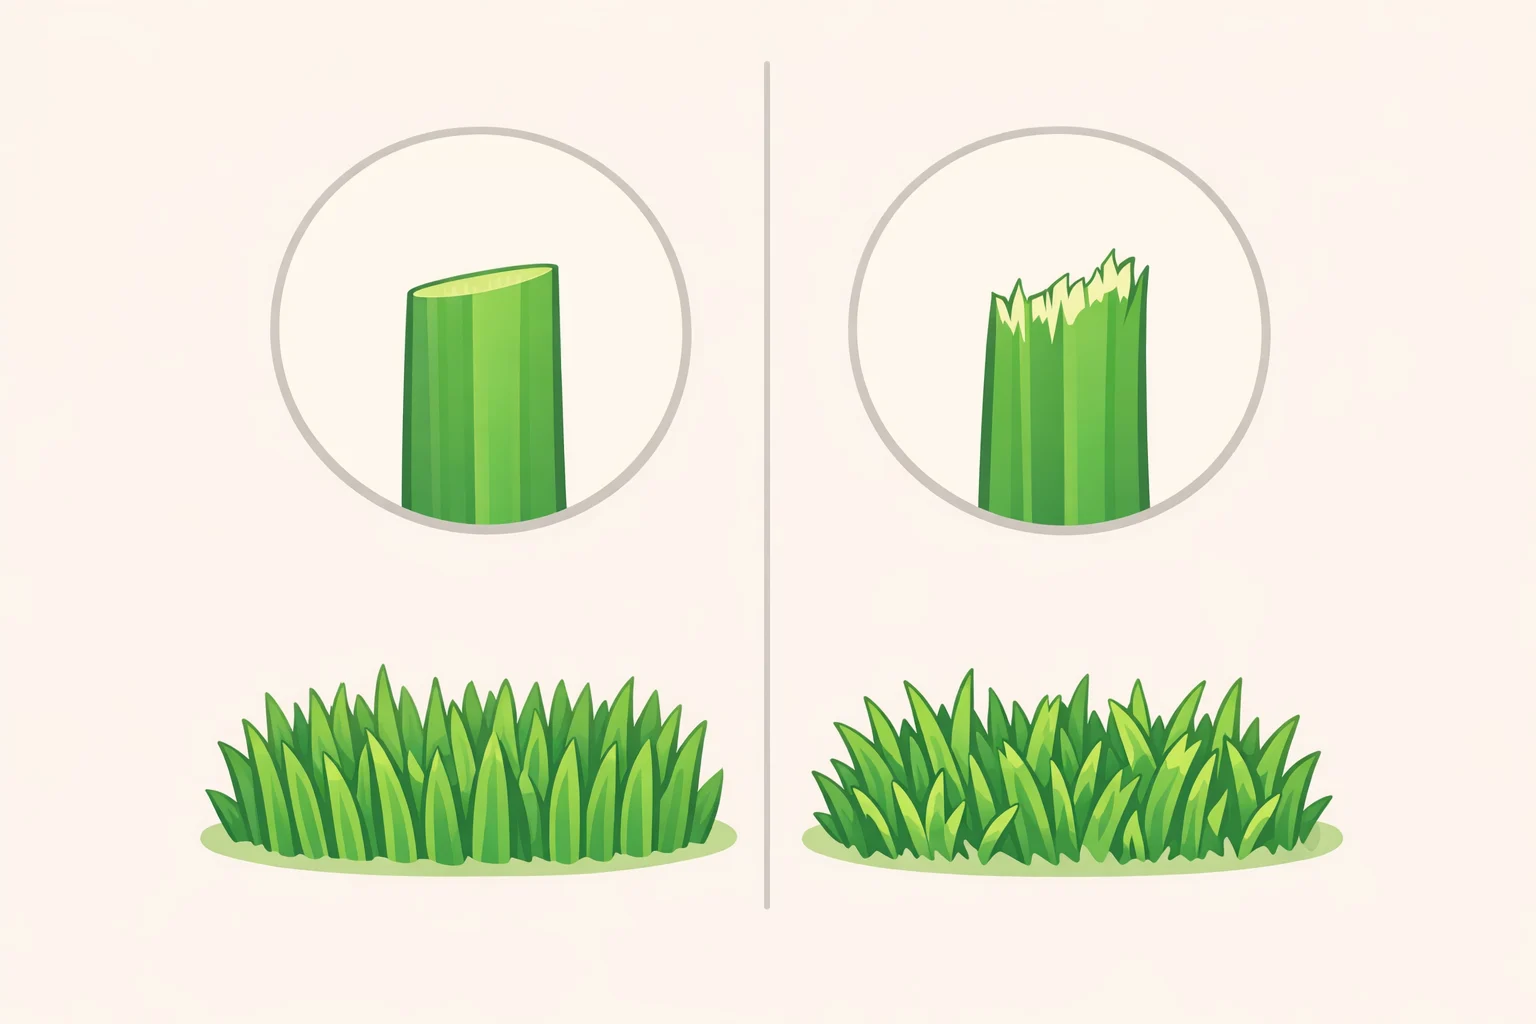
The test is simple. Check individual grass blades the day after mowing, not during, when clippings cloud the picture.
A sharp blade produces a clean, smooth edge across the cut. A dull blade leaves visible fraying loose fibers and ragged ends sticking out from the tip, as if the grass was chewed rather than sliced. N.C. Cooperative Extension in Carteret County describes it plainly: if the top of the grass blade is cut smooth like a knife went over it, the blade is sharp; if it's jagged with fibers coming out of the top, it's time to sharpen.
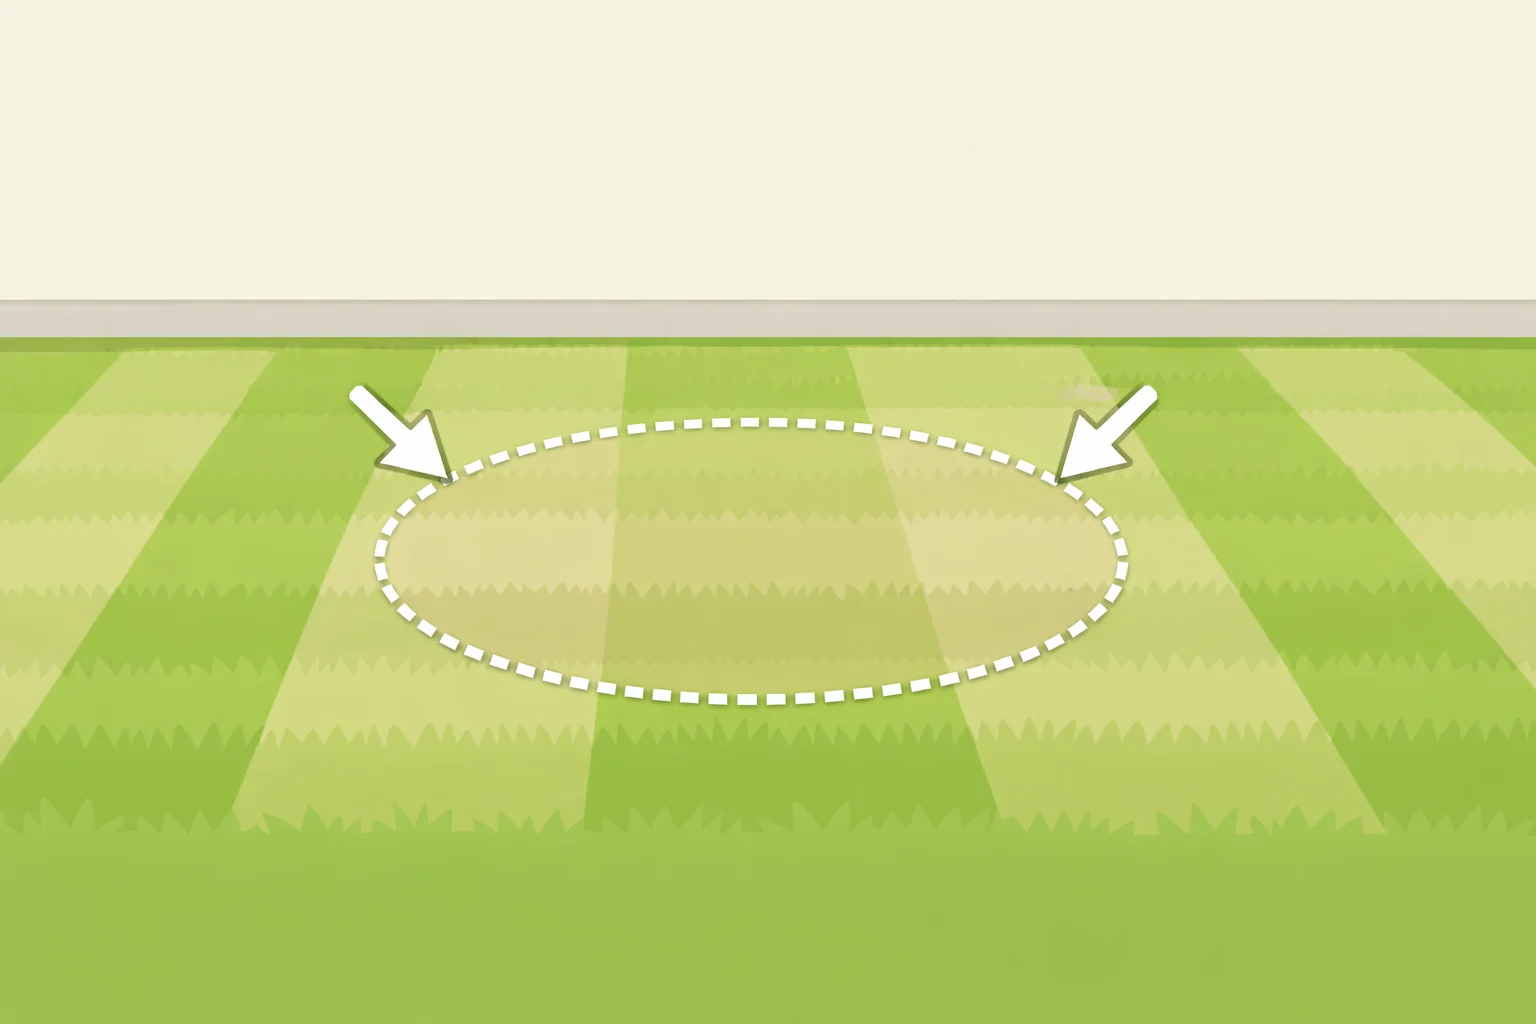
At the lawn level, the signal is a uniform whitish or light-brown cast spread across the entire cut surface not in patches, not in spots, but consistent wherever the mower passed. That discoloration is dead tissue where frayed tips have dried, per University of Maryland Extension. Dull blades can produce more than one type of injury, including crushing, shredding, and jagged uneven cuts depending on blade condition and turf species, as Texas A&M AgriLife notes.
Where the logic breaks down: Dull-blade damage presents consistently across the whole lawn at the cut line. If discoloration is patchy, circular, appears between mowing sessions, or doesn't track with the mowing pattern, the cause is probably something else drought, disease, compaction, or fertilizer injury. Use this distinction as a diagnostic starting point, not a final answer.
What a dull blade does to the grass and why the damage compounds
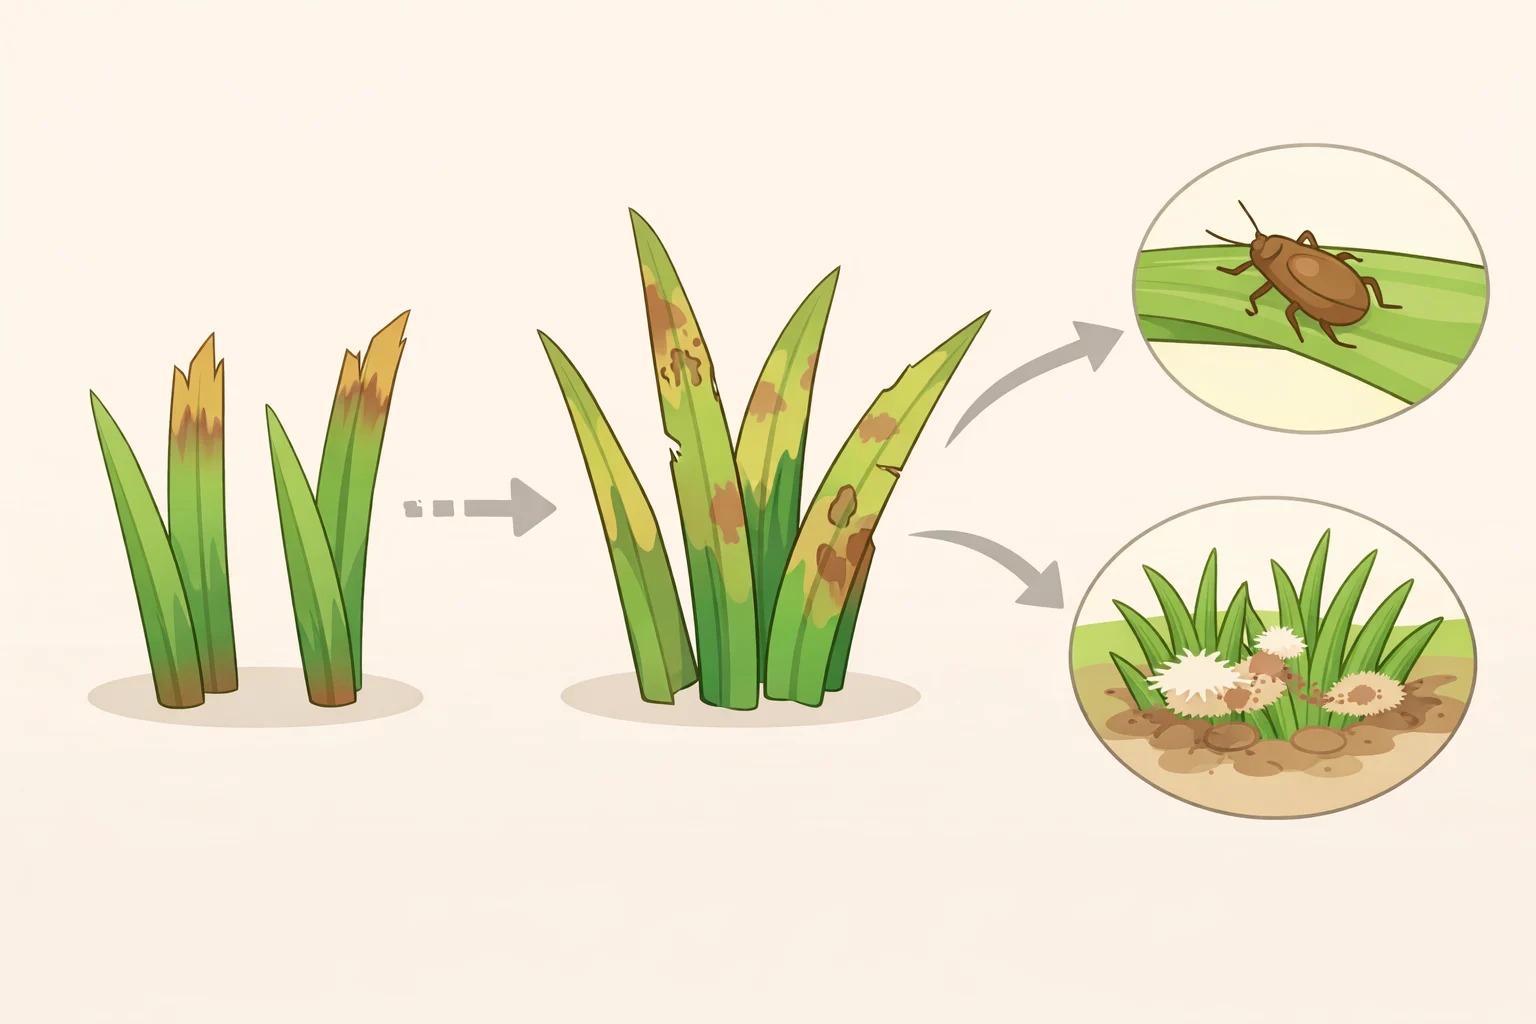
Grass tolerates mowing, but only within limits. Every cut is a stress event. A sharp blade minimizes that stress with a clean slice; a dull blade multiplies it by tearing through tissue rather than parting it, according to Texas A&M AgriLife.
The frayed tip isn't just unsightly it's a wound. That dead, dried tissue at the top of each blade is now vulnerable to disease and insect damage. N.C. Cooperative Extension is direct about it: tearing rather than cutting leaves grass exposed to both. This is why dull-blade lawns don't just look worse; they become more susceptible to the exact problems homeowners assume are the original cause.
The misdiagnosis cycle is worth spelling out. Homeowner sees brown, ragged lawn. Assumes disease or pest. Applies treatment. Lawn doesn't improve because the actual cause blade damage is still operating every time they mow. Cycle repeats. University of Maryland Extension calls this out directly, listing dull blades as a mechanical cause that masquerades as biological damage.
Timing makes it worse. Spring is when growth is fastest and general lawn stress is already building. Both N.C. Cooperative Extension in Carteret County and Kansas State University Extension point to the spring mowing window as when blade sharpness matters most. That makes spring a bad time to ignore blade condition.
Best time to sharpen a lawn mower blade and three habits that make it count
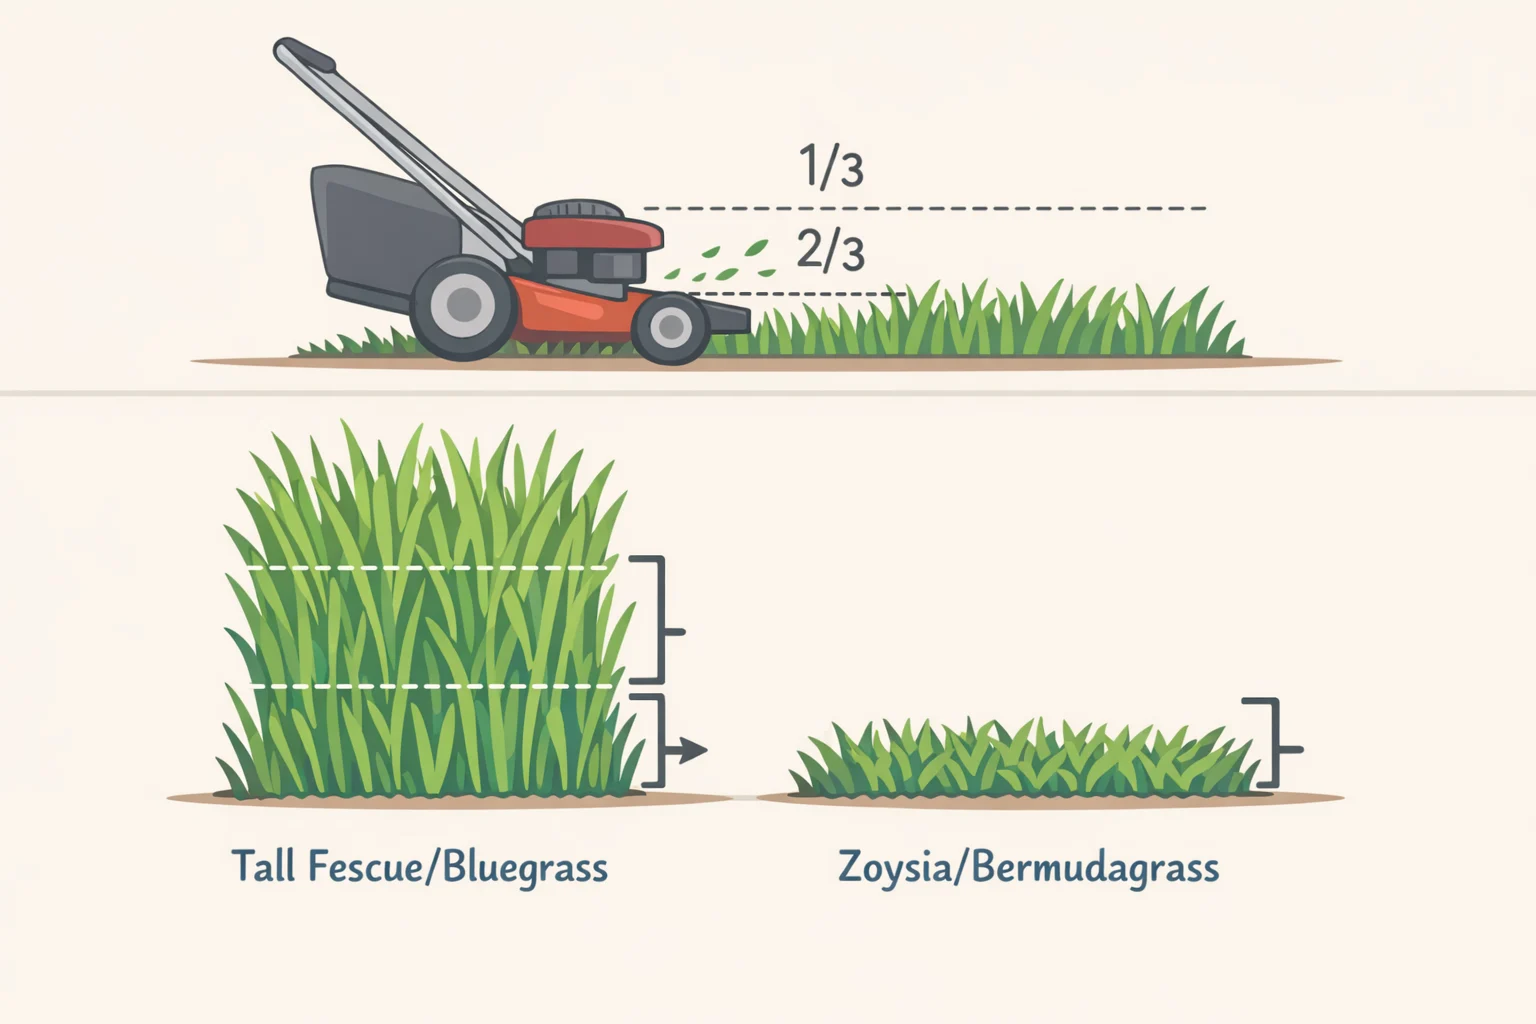
Sharpening at the start of spring and again in late summer covers most home lawn situations. But a sharp blade only performs if the other mowing variables are working with it.
1. Mow high for the species
For tall fescue, Kentucky bluegrass, and buffalograss, the target height is 3 to 4 inches. For zoysia and bermudagrass, roughly 2.5 inches. Taller canopy growth drives deeper root development, supporting drought resistance and water efficiency, per Kansas State University Extension and Texas A&M AgriLife. In some species, a higher cut also suppresses weed pressure by shading out competition.
Low-mowed turf increases the risk of scalping particularly over uneven ground stripping away the photosynthetic tissue the plant depends on. A lawn that looks bad with a dull blade looks significantly worse when mowed at 1.5 inches, as University of Maryland Extension notes.
2. Follow the one-third rule
Never remove more than one-third of the grass blade in a single mow. If the target height is 3 inches, mow before the grass exceeds 4.5 inches. Cutting past that threshold strips photosynthetic capacity and forces the plant to draw on root reserves to recover, per Kansas State University Extension and Texas A&M AgriLife.
If the lawn has gotten ahead of schedule, bring it down gradually across several mowings spaced a few days apart. One aggressive pass will do more damage than a week of neglect.
3. Mow by growth rate, not the calendar
A fixed weekly schedule can stress lawns because growth rate changes with the season. Frequency should track actual growth, which can require mowing twice per week for warm-season grasses during peak summer growth, per Texas A&M AgriLife. Purdue University Extension finds that lawns mowed according to growth rate tend to be thicker with fewer bare areas.
Growth-rate mowing also keeps clippings short enough to return to the lawn rather than clump. Those clippings contain 2 to 4 percent nitrogen and can offset up to half of supplemental fertilizer needs, according to Texas A&M AgriLife.
Avoid mowing when grass is damp from dew or irrigation. Wet grass cuts unevenly, clippings clump and mat, and heavier mowers compact wet soil more readily.
A decision framework for this week
After the next mow, pull a few grass blades and look at the cut end. Clean and smooth means the blade is fine. Frayed, fibrous, or followed by a whitish tinge across the lawn within a day means sharpen before treating for anything else.
The standard baseline twice a year, spring and late summer covers most home lawn situations. Shorten the interval if the lawn sits over sandy soil or the blade has hit rocks or debris, as N.C. Cooperative Extension advises. Lengthen it only when the grass-tip test consistently confirms clean cuts.
Most spring and summer lawn problems that look biological are mechanical in origin the result of dull blades, cut height set too low, or mowing too infrequently. A sharp blade paired with the right height and frequency won't solve every lawn problem, but it will eliminate the ones homeowners are most likely to misread, per both Kansas State University Extension and University of Maryland Extension.
Most mower blades can be sharpened at home or taken to a small-engine shop. Before attempting the job, consult the owner's manual for the correct bevel angle and balancing procedure for the specific blade.






Comments
Be the first, drop a comment!