



Home Features That Make Life Easier: 4 Pro-Backed Ideas
Ask designers and builders what clients are requesting these days, and the priorities look different than they did a decade ago. Home features that make life easier, rather than features that just look impressive, have become the new must-haves, and the people designing and building homes are watching that shift play out with real clients.
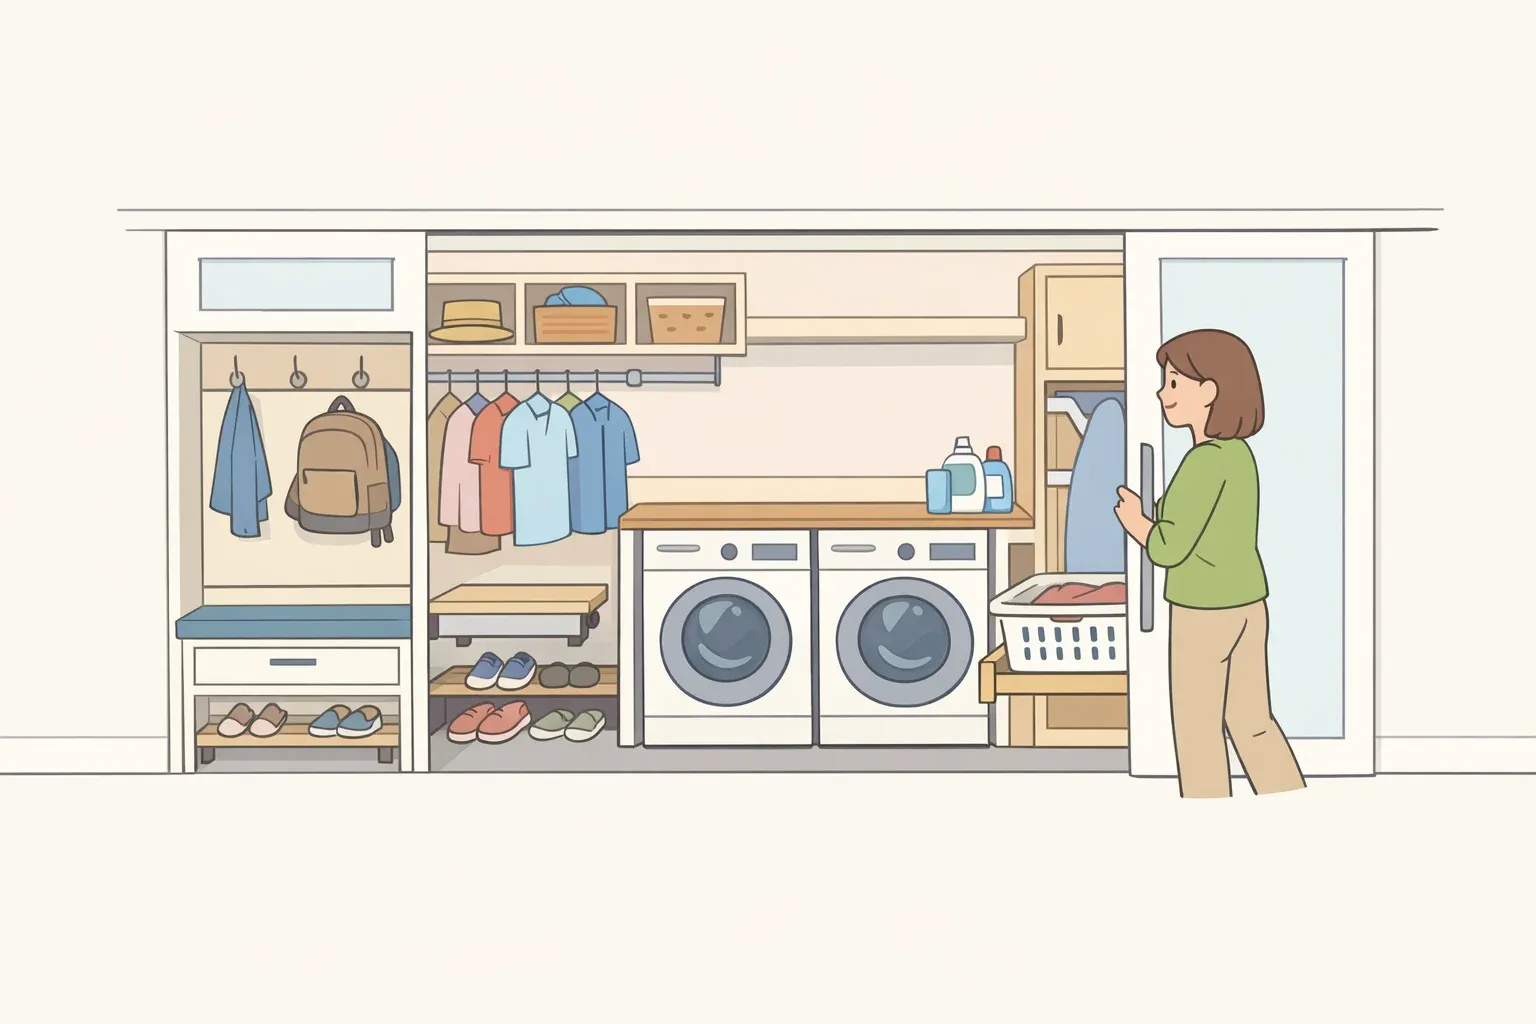
"Luxury has become much less about status and much more about supporting the way we live," designer Kerrie Kelly, CEO of Kerrie Kelly Studio, told Good Housekeeping last week. Mudrooms, prep kitchens, and dedicated laundry rooms were once treated as upscale extras. Now clients ask for them because they make a home function better for the way families actually live, according to designer Ballard in the same report.
That shift lines up with a broader trend the National Association of Home Builders has been tracking. The NAHB/Westlake Royal Remodeling Market Index found that 73% of industry leaders reported more requests for aging-in-place features over the past five years, and 56% of remodelers are currently doing some kind of home-modification work tied to aging in place, according to NAHB last year. Much of this falls under what the building industry calls universal design: features usable by people of all ages and abilities without needing special adaptation, according to NAHB. A wider doorway helps someone using a walker and someone carrying a folded stroller equally well.
Four features show up again and again in both the design-trend coverage and the accessibility guidance: a no-step entry, a mudroom or drop zone, a barrier-free bathroom, and easier-to-use kitchen hardware and storage. Here's what each one actually involves, what's realistic to tackle without a contractor, and where the work crosses into professional territory.
Start at the door: a no-step entry and better lighting
Difficulty: beginner-friendly for hardware and lighting swaps; professional planning required for grading, ramps, or threshold changes.
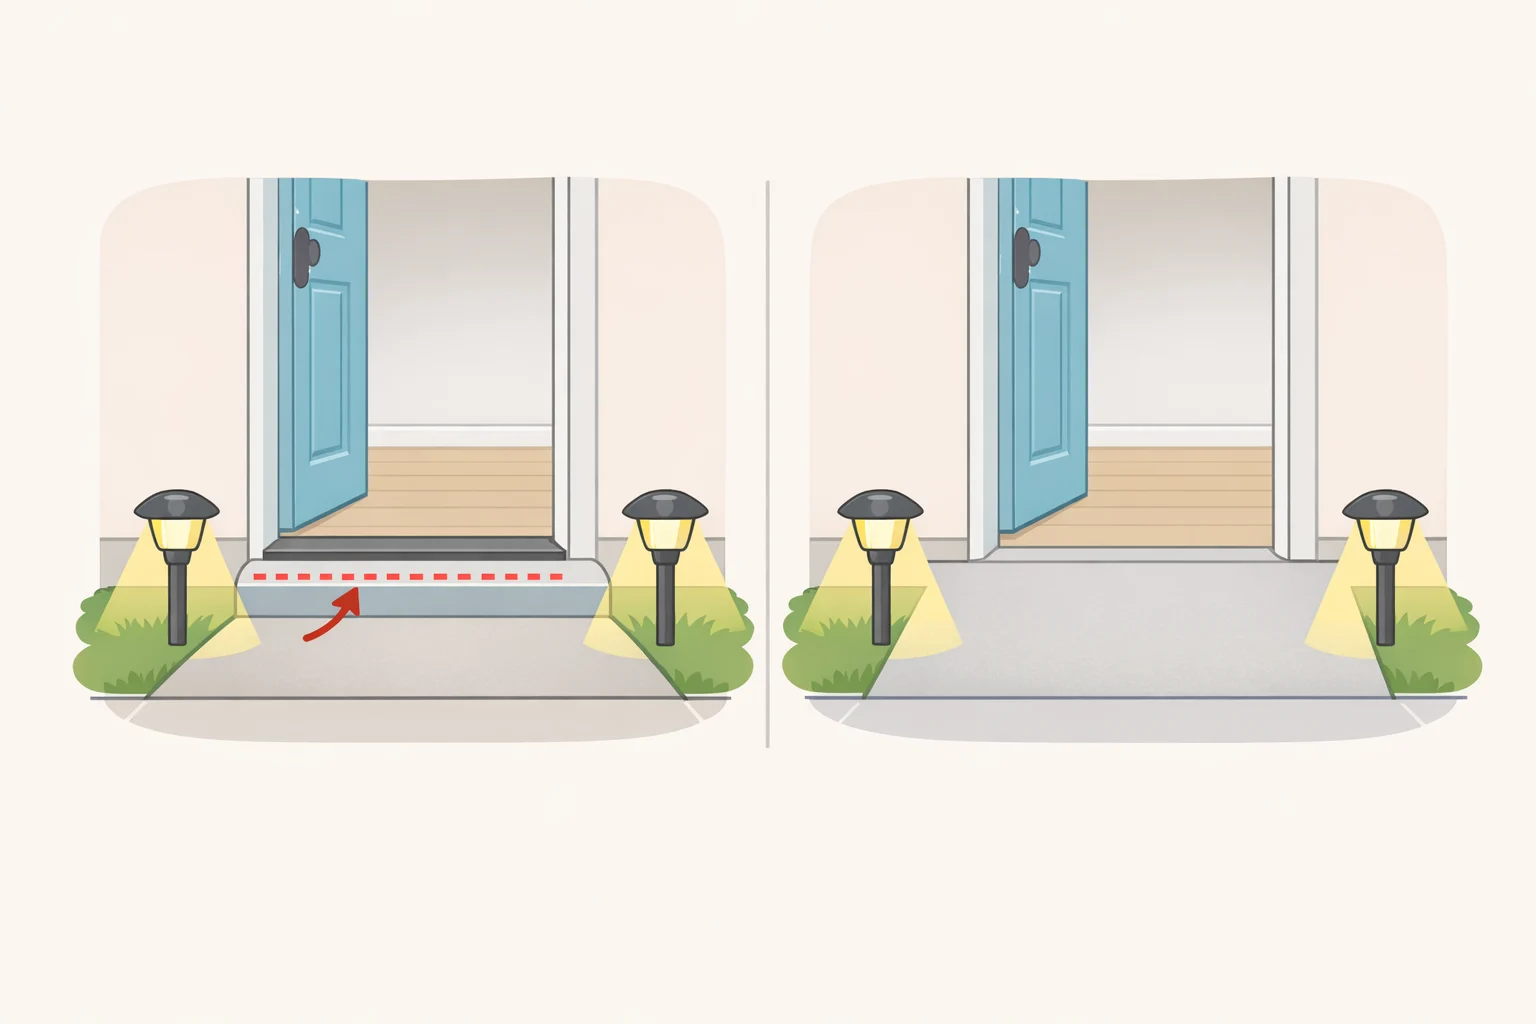
A no-step entry removes the level change, whether that's a single stair or a raised threshold, between the outside and the front door. It's one of the accessibility features NAHB lists first, because it helps far more people than the phrase "wheelchair access" suggests. Someone pushing a stroller, hauling groceries in both arms, or moving a dresser through the door benefits just as much as someone using a walker or wheelchair, according to NAHB.
A true no-step entry, eliminating the level change entirely, is a different project from a low threshold, which just means a shorter, flatter door sill instead of a tall one. NAHB's guidance recommends both: flat or very low thresholds at doorways, 36-inch-wide doors fitted with lever hardware, and better outdoor lighting to get from the car to the door, according to NAHB and its CAPS resource from last year.
Before ordering any hardware, measure the existing threshold height, the door width, and the door's backset and bore-hole size (check the manufacturer's spec sheet or ask at the hardware counter). Lever sets vary between brands, so this step saves a wasted return trip.
What's realistic without a contractor:
- Swap the door hardware for lever handles that match your measurements.
- Add a package shelf near the front door, one of NAHB's suggested lower-cost entry upgrades.
- Add or replace handrails on existing steps.
- Improve lighting along the walkway and at the door. Swapping an existing fixture is a straightforward job; adding a new fixture where there's no wiring is an electrician's job, not a same-day fix.
What needs a professional: leveling the ground outside the door, building a ramp, or removing a structural threshold involves drainage, foundation, or framing work that goes beyond a weekend project. If water pools near the door or the sill sits several inches above grade, that's worth a contractor's assessment before touching anything.
A mudroom is one of the simplest ways to make a home more functional
Difficulty: beginner-friendly for a bench-and-hooks drop zone; professional planning required for built-in cabinetry or wall changes.
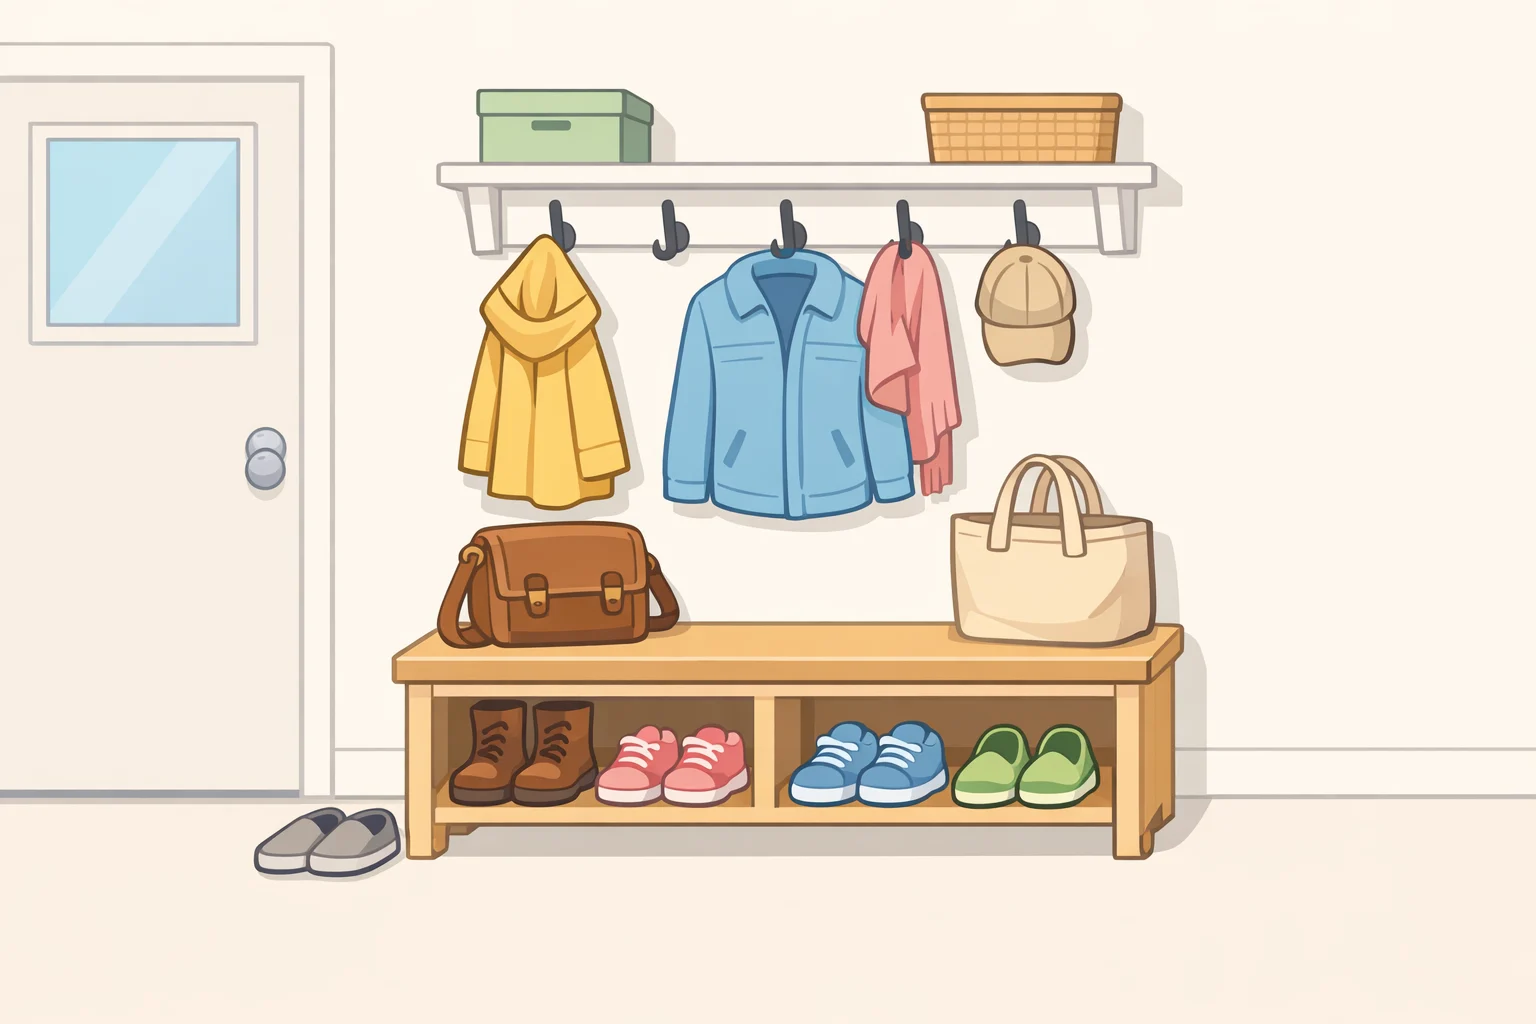
A mudroom, or even a small version of one, is a dedicated spot near an entry where coats, shoes, bags, and chargers land before they spread through the rest of the house. Designer Ballard says she started introducing mudrooms to clients in the early 2000s, when they were considered a luxury; now they're one of the first things clients ask for, "because it makes everyday life so much easier," she told Good Housekeeping last week.
The same report describes related organizational features, walk-in pantries, appliance garages, charging drawers, as tools for creating calmer, more functional homes that support daily routines, rather than just extra square footage.
A full mudroom build, with custom cubbies and built-in cabinetry, typically means reworking a wall or closet and is a job for a contractor. A smaller version asks less of you: a bench, a row of hooks, and a shelf near a side or back door. Before mounting anything, find the studs. Hardware anchored into a stud holds more weight than drywall anchors alone, and if you can't hit a stud, check the anchor's rated load on the packaging, since capacity varies by product and wall type. Leave enough clearance for the door to swing fully open before deciding where to hang anything.
Call a professional when the plan involves removing part of a wall, relocating a closet, or adding built-in cabinetry that needs to be scribed to fit the space exactly.
Bathroom upgrades worth planning for now
Difficulty: professional planning required. Most of what follows touches plumbing, waterproofing, or wall framing, so this is remodel-stage work rather than a weekend project.
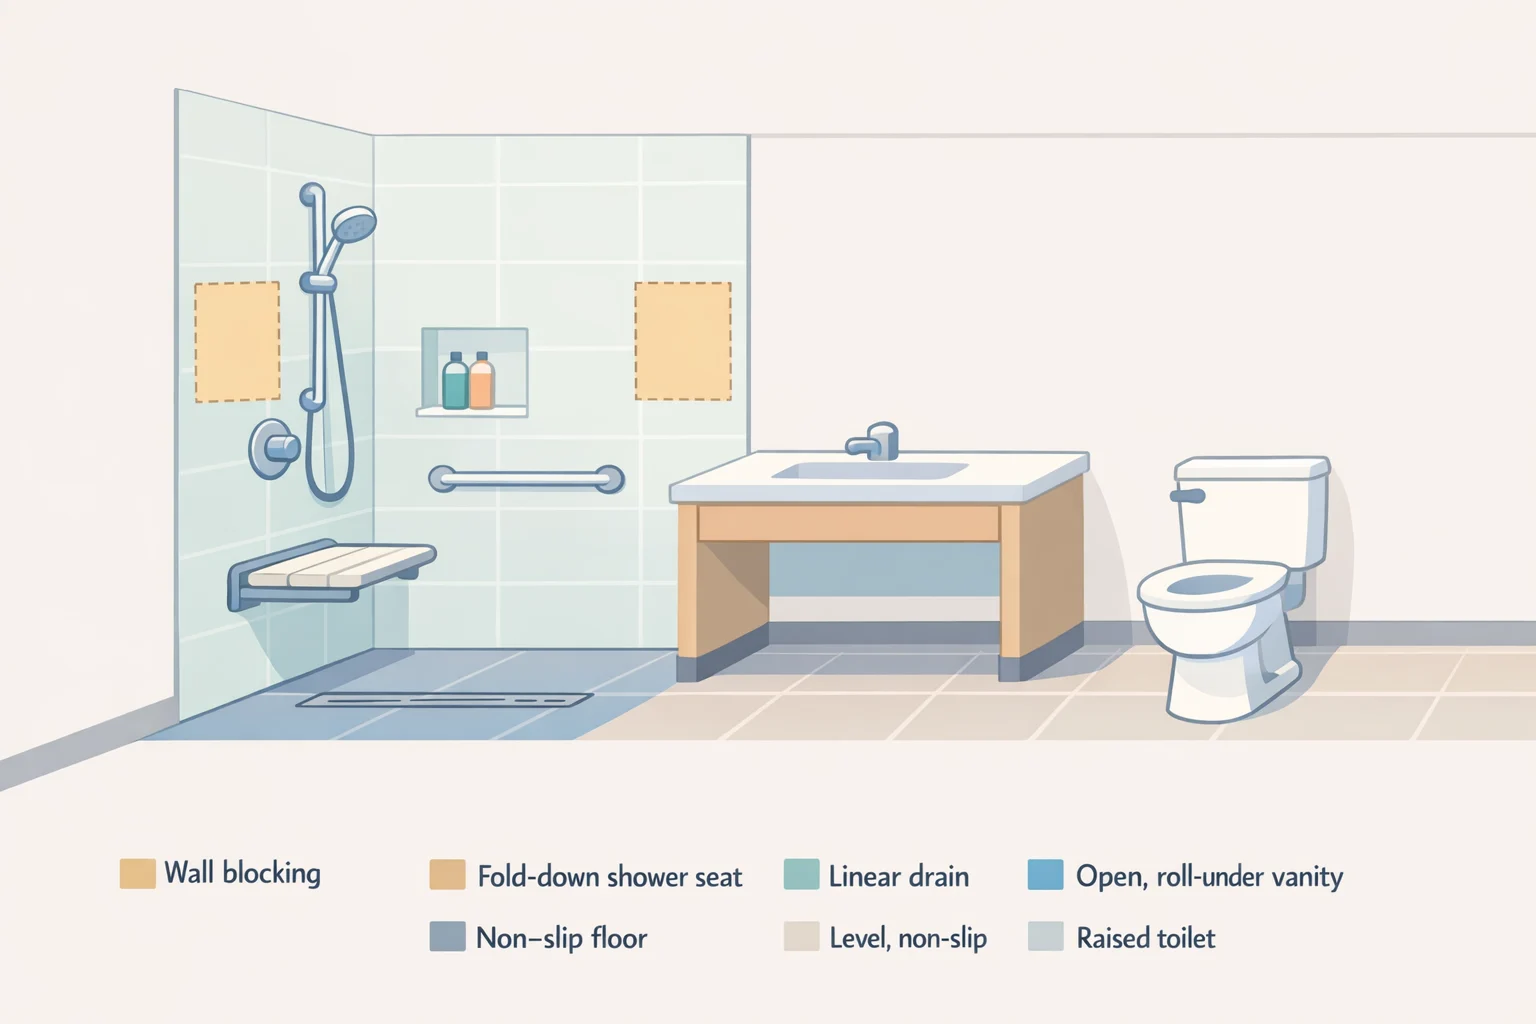
Bathrooms are where barrier-free design shows up most, and the reasoning is straightforward: it's the room where a shower curb or a tight turn comes up every day. NAHB's guidance recommends a curbless shower with a wide entry, a seat, a hand-held shower option, and a chair-height toilet, which together remove the need to step over a barrier and may accommodate a wheelchair later without another renovation, according to NAHB and its CAPS resource from last year.
The detail worth knowing before any bathroom remodel, even one that isn't about accessibility yet, is wall blocking. Adding three-quarter-inch plywood behind the wall board before it goes up means grab bars can be installed later, whenever they're needed, without cutting open a finished wall, according to NAHB. This only works during a remodel; it can't be added after the drywall and tile are finished. NAHB also suggests keeping extra tile from the original job on hand, since patching around a newly installed grab bar is easier with matching material.
A curbless shower also depends on getting the waterproofing and floor slope right so water drains properly instead of pooling in the room. That's plumbing and drainage work, and requirements vary by local code, which is why curbless conversions typically go through a licensed contractor rather than a DIY tile job.
On cost, NAHB estimates that widening a bathroom door, adding grab bars, and installing a roll-in shower runs roughly $6,000 to $8,000 as a one-time expense, a figure NAHB contrasts with the cost of moving to assisted living, cited at up to $60,000 a year, according to NAHB from last year. That's a broad, illustrative estimate rather than a quote for any specific home or a guarantee that a remodel replaces the cost of long-term care. Actual costs vary by region, materials, and the scope of the existing bathroom.
NAHB's own examples of this work, including a barrier-free bathroom remodel with flat, even flooring and lowered fixtures, were completed by licensed remodeling contractors, according to NAHB last year. That lines up with the plumbing and waterproofing concerns above: curbless showers, wider doorways, and chair-height toilets are worth bringing to a contractor rather than tackling piecemeal.
Practical home features in the kitchen and closets
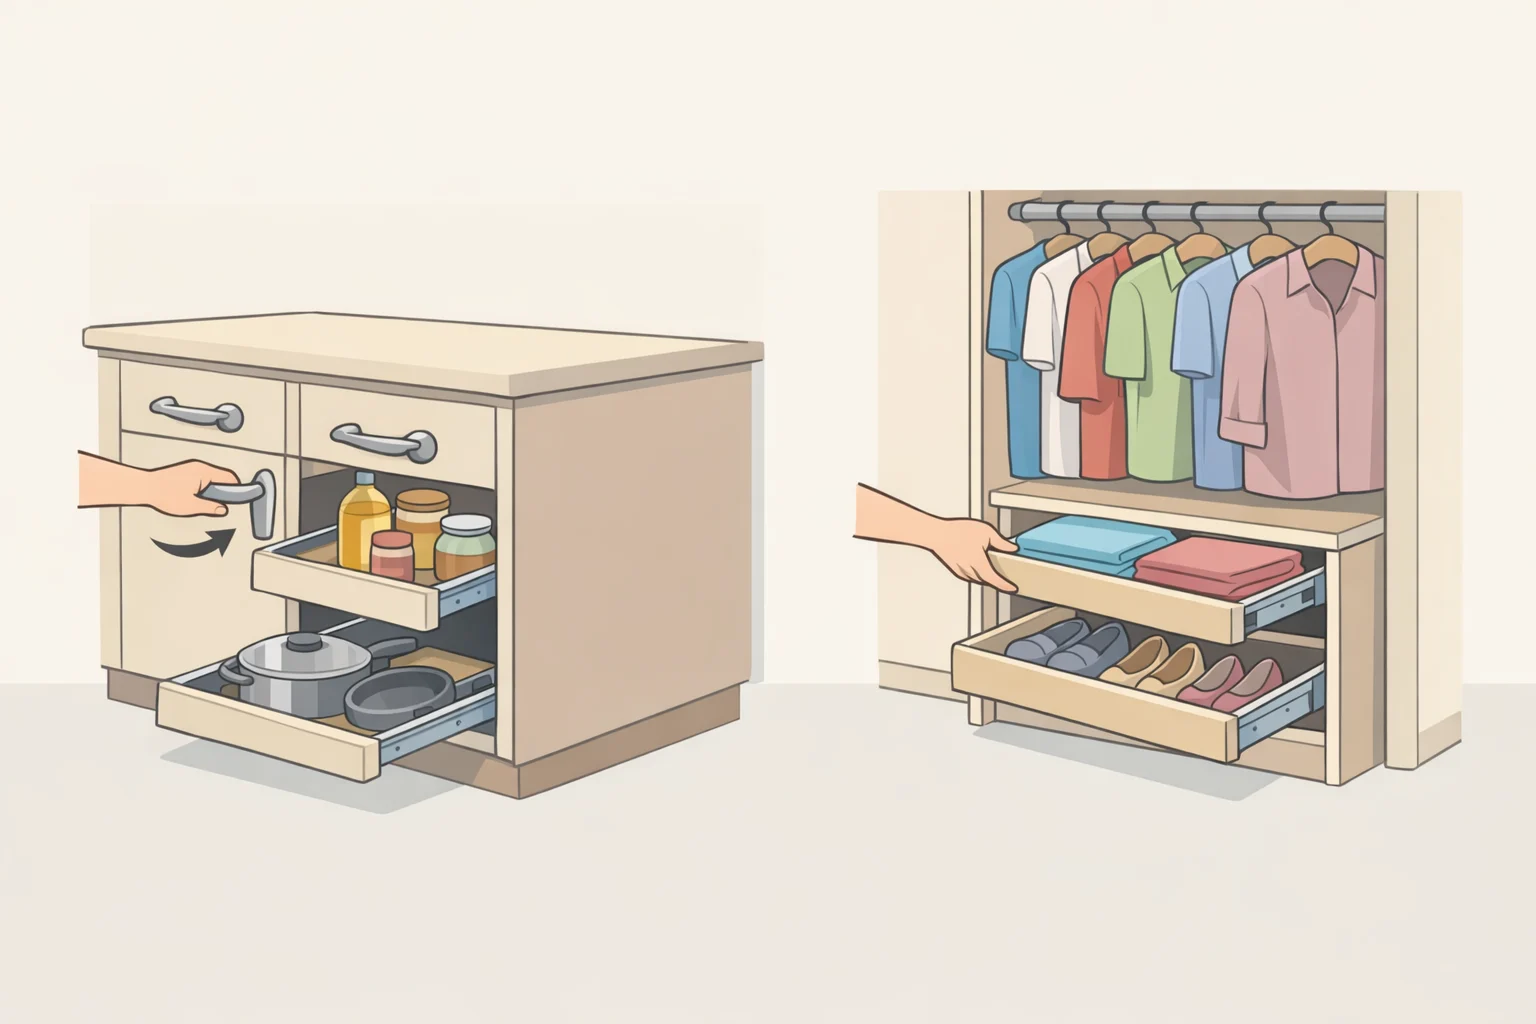
Difficulty: beginner-friendly for hardware swaps; intermediate for pull-out shelving; professional required for cooktop relocation or circuit work.
The kitchen is where the cheapest, lowest-disruption changes on this list live. NAHB recommends lever handles on faucets, doors, and windows, along with larger, easier-to-grip cabinet and drawer pulls, according to NAHB and its CAPS guidance from last year. Reachable storage, meaning full-extension drawers, pull-out shelves, and adjustable-height rods, is another recommended feature for kitchens and closets alike, per NAHB.
These aren't all the same project, even though they get lumped together. Cabinet and drawer pulls are a straightforward hardware swap: measure the screw spacing on the existing pulls and buy new ones that match, or plan to fill and redrill the holes. Lever door handles are a separate fix, with their own backset and bore-hole measurements, same as the entry-door hardware covered earlier. A pull-out shelf is a bit more involved: measure the cabinet's interior width, depth, and height before buying, since a shelf sized for a standard cabinet depth won't necessarily fit a shallower or deeper one, and most pull-out kits list a minimum interior dimension on the box.
On the appliance side, designer Kerrie Kelly points to induction cooktops as an example of a formerly luxury feature moving into more kitchens, citing their speed, precision, energy efficiency, and cleaner indoor air quality, according to Good Housekeeping last week. That's a different scale of project than swapping a drawer pull. Relocating a cooktop, or converting from gas to induction, means checking the manufacturer's installation instructions for amperage and voltage requirements, then having a licensed electrician confirm the existing circuit and local code before anything gets installed.
The mistake to avoid in the kitchen is buying replacement hardware before measuring what's already there. Decorative pulls with the wrong hole spacing either don't fit or leave visible extra holes once installed.
Four home features that make life easier every day
Once the individual projects are clear, sequencing them comes down to disruption and skill level:
- Start this weekend: entry lighting, lever hardware, a package shelf, or a freestanding bench-and-hooks drop zone.
- Plan during a remodel: bathroom wall blocking, wider doorways, a curbless shower, built-in mudroom storage.
- Get a professional first: grading or drainage changes, threshold and framing work, plumbing for a curbless shower, and any electrical work tied to appliance upgrades.
After the smaller fixes go in, give them a week before deciding whether to invest in the bigger version. Check whether the mudroom bench actually catches what it's supposed to, whether the lever hardware still turns with an armful of groceries, and whether the entry light lands where it's needed after dark. If a feature keeps solving the same daily annoyance without creating a new one, like clutter just shifting to a different corner, it's worth budgeting for the larger project next. If it doesn't get used the way you expected, that's worth knowing before committing to a full bathroom or entry remodel.
















Comments
Be the first, drop a comment!