


Concrete Porch Makeover Ideas: Step-by-Step Stencil Guide
A featureless slab doesn't have to stay that way. This guide covers every stage of a concrete porch makeover: figuring out whether your porch is a good candidate, choosing a pattern that holds up to real use, gathering the right materials, and working through each step from pressure washing to optional sealing. The goal is a finish that lasts several years before it needs repainting-not one that requires a redo after a single season of neglect.
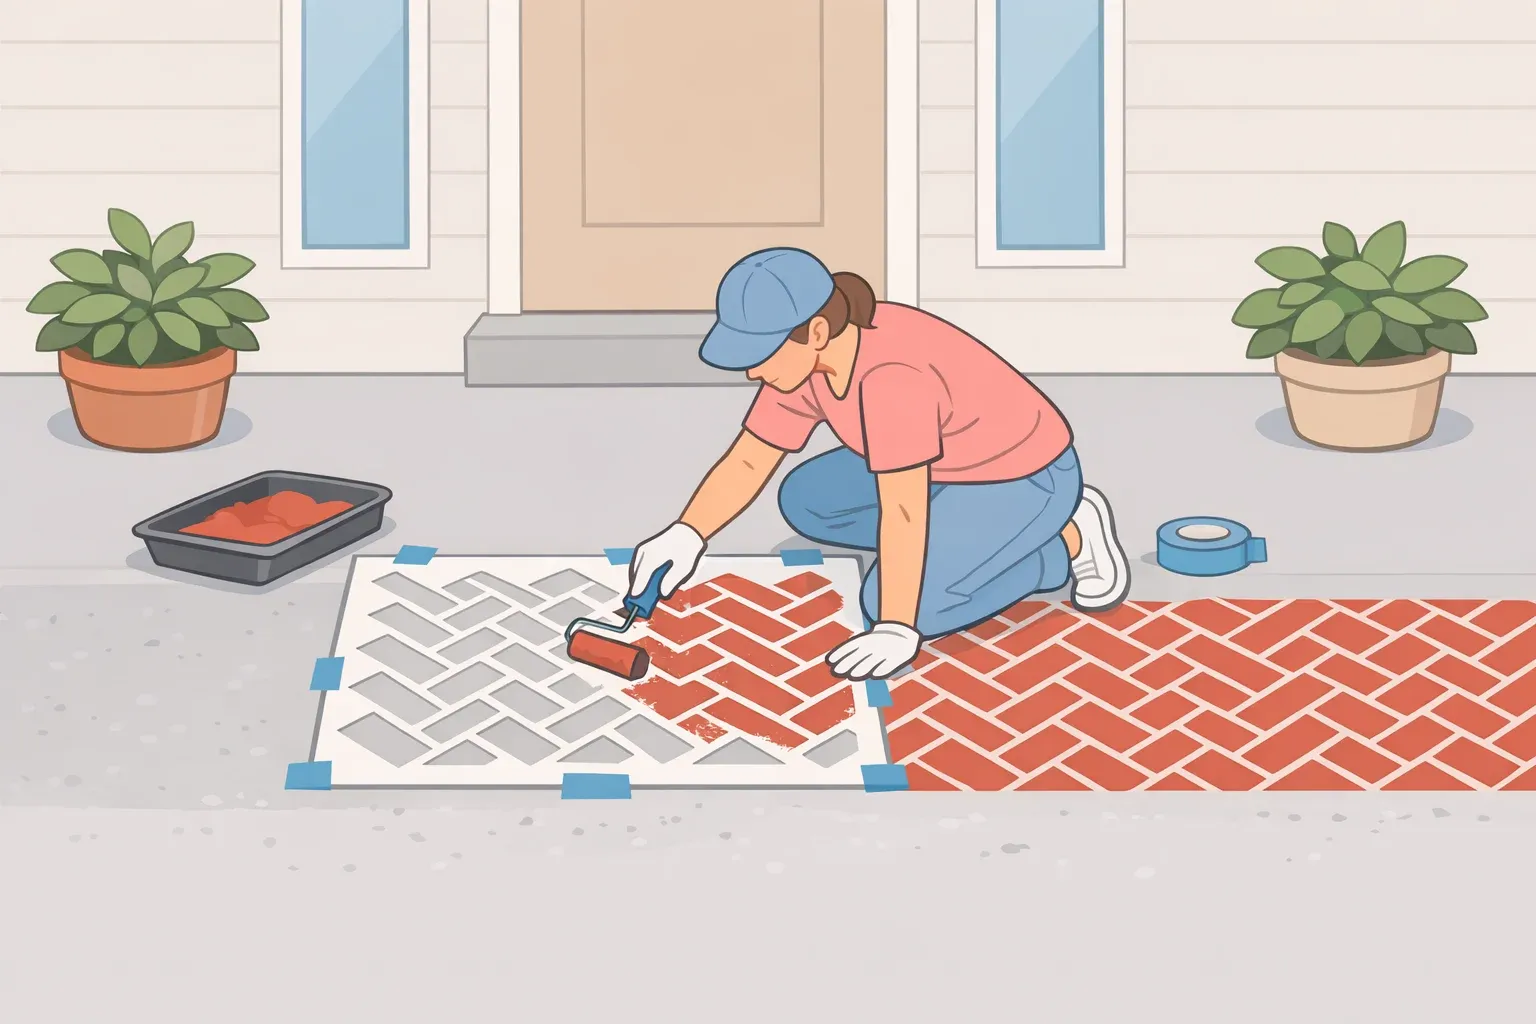
The reference project comes from a homeowner at The Morris Mansion who turned a 6-by-8-foot front slab into a faux-brick herringbone pattern using standard hardware-store materials and a stencil from Cutting Edge Stencils. Forty-eight square feet fits in a weekend. A porch twice that size is still a manageable solo project; the drying-time math just stretches a bit.
One thing to settle early: a stenciled paint finish is a temporary project, not a permanent installation. These projects can last several years but will eventually fade and need repainting, as The Morris Mansion notes. That's a reasonable tradeoff for a project that costs a fraction of pavers or tile, as long as you go in with that expectation.
Concrete porch makeover ideas: when paint and stencil are the right fix
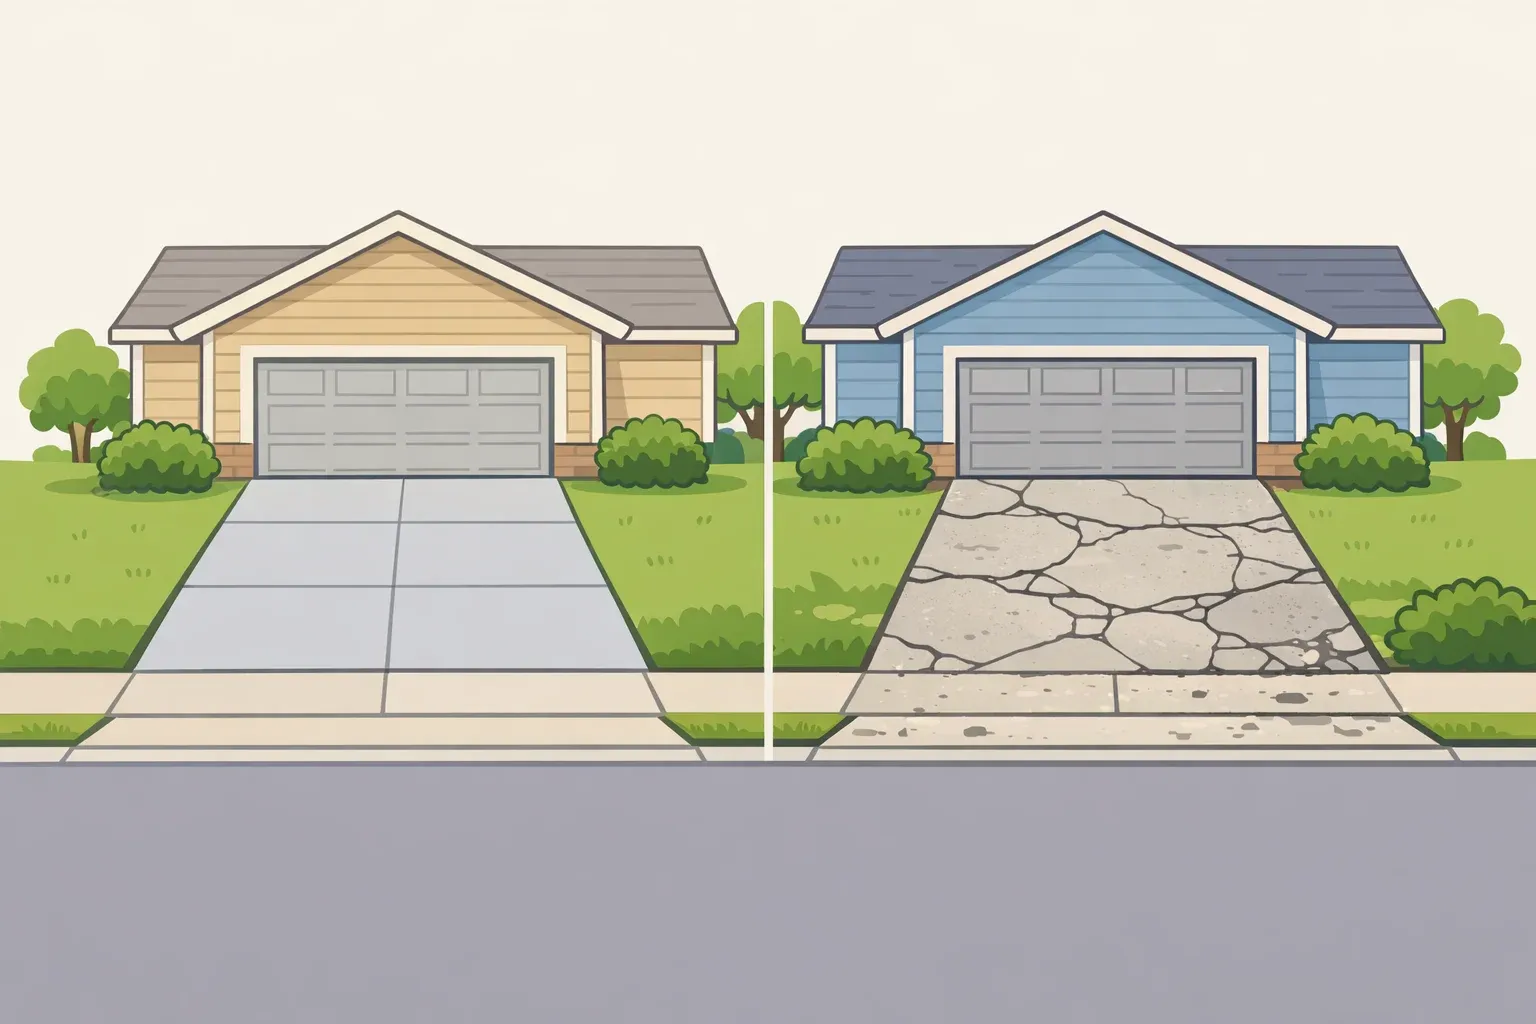
A stenciled paint finish works on cosmetically dull, stained, or weathered concrete. It produces a patterned surface faux brick, geometric tile, herringbone without the cost or commitment of the real materials. If pressure washing alone won't restore the appearance, this approach often will.
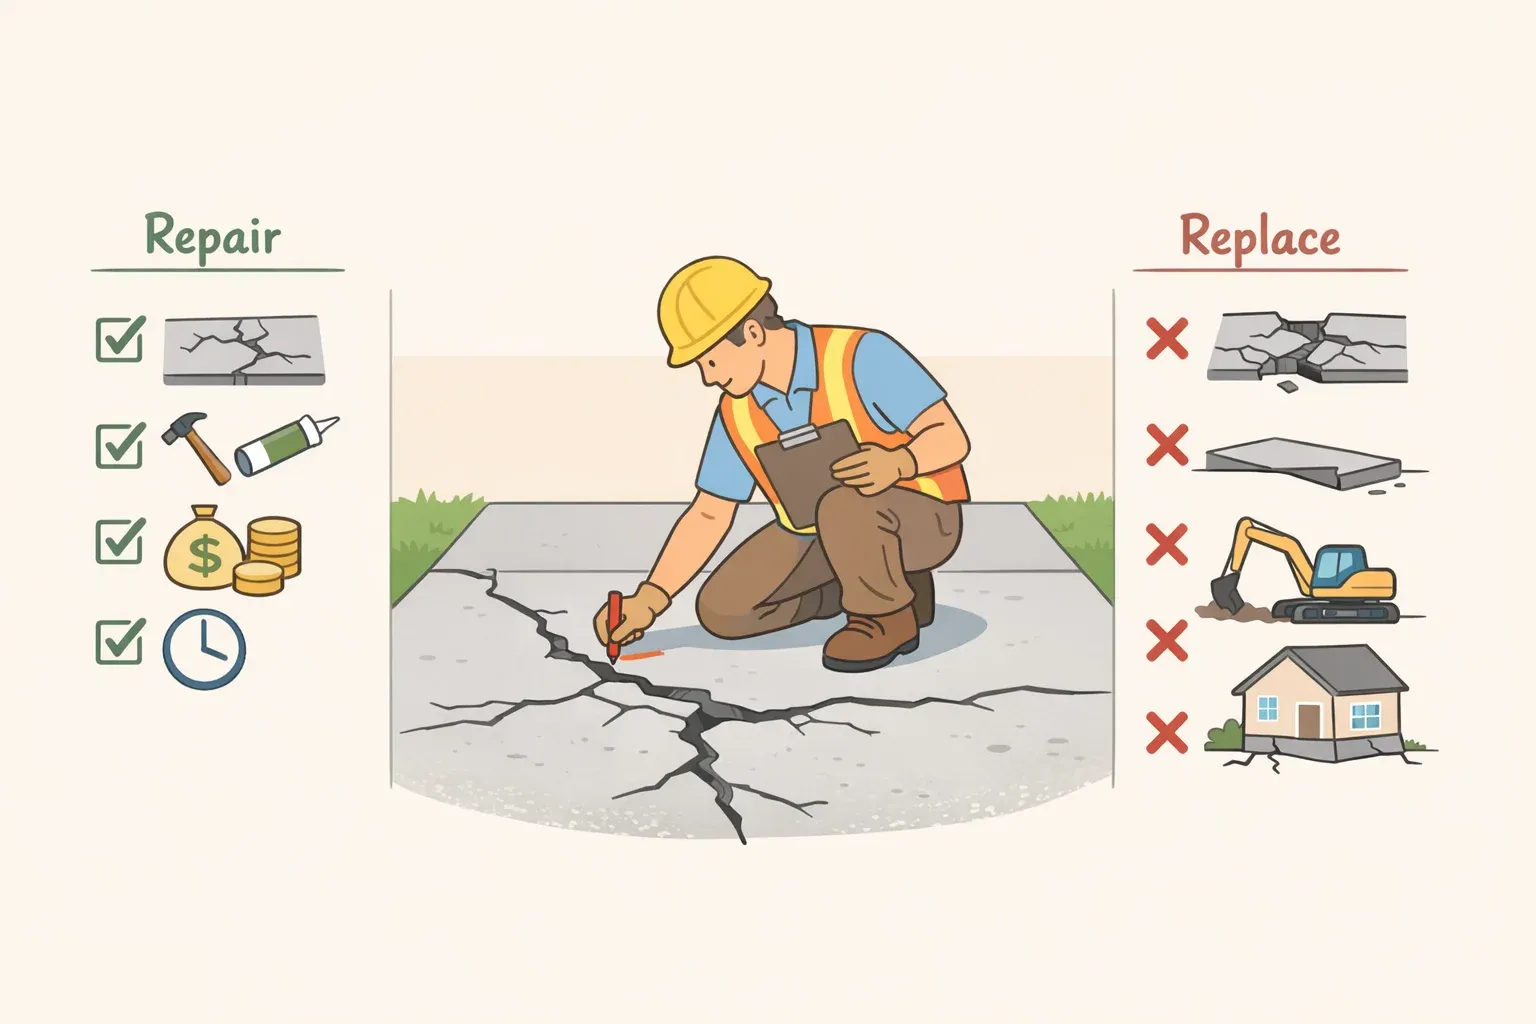
What it won't fix: cracks, spalling, active settling, or moisture intrusion. Those conditions need to be evaluated and addressed before any cosmetic work. Applying paint over a compromised surface is a way to defer a problem, not solve one. Previously painted or sealed concrete also introduces adhesion variables that standard porch-and-patio products aren't designed for; verify with the paint manufacturer before committing to a product on a pre-coated surface.
Two factors to evaluate before buying anything:
Slip resistance. Painted concrete can become dangerously slick when wet. The documented project doesn't address this directly, which is worth flagging plainly. Choose a porch paint with a built-in non-skid additive, or plan to finish with an anti-slip sealer. On any exposed front porch that catches rain, this is a safety consideration, not an aesthetic one.
Climate and freeze-thaw exposure. The durability data here comes from one homeowner in one region. If your porch is subject to significant freeze-thaw cycling or intense UV exposure, check manufacturer performance specs before selecting products rather than assuming results will match a project completed under different conditions.
If any longer-term plan includes laying pavers, tile, or decking over the slab, skip the paint entirely. As The Morris Mansion puts it directly: if you ever want to put something over the concrete, it isn't a good idea to paint it first. Save the weekend for something else.
Choosing a pattern: herringbone, faux brick, or geometric
Before touching primer, the stencil pattern decision shapes everything downstream, including how much the finish shows its age and how forgiving it is to execute.
Faux-brick and herringbone patterns are the most practical choice for a front porch. The variation in color between the "grout" lines and the brick face breaks up surface dirt and minor scuffing visually. Herringbone in particular tends to read as intentional even when the perimeter edges aren't perfectly symmetrical which makes it the most forgiving option for a first stenciling project on a surface that isn't perfectly square.
Geometric and tile-look patterns can be striking, but they demand more precision in two ways: tight, high-contrast grids amplify any drift between stencil placements, and a solid-color field shows surface wear more plainly than a pattern with built-in tonal variation. If the porch surface has minor imperfections or the edges aren't clean, a geometric pattern will advertise those facts. Herringbone on a slightly rough slab reads as texture; a grid on the same surface reads as error.
On color contrast: the gap between the base "grout" color and the top pattern color determines how bold the finished surface reads, and how much it will show grime between cleanings. The documented project used untinted white as the base with Sherwin-Williams "Mortar & Pestle," a warm mid-tone gray, as the stencil color, per The Morris Mansion. A restrained pairing that holds up well under real-world conditions. On an exposed slab that catches pollen and rain, a mid-contrast palette is easier to maintain than a dramatic light-on-dark combination that shows every smudge.
What you'll need before the first step
Gather everything before starting. Mid-project hardware runs break momentum and, more importantly, break drying schedules.
Tools:
Pressure washer. A basic hose-connected model handles the job fine; available to rent at Lowe's and Home Depot for those who don't own one, per The Morris Mansion
Paint roller with a 3/8-inch nap; an extension pole for slabs larger than about 50 square feet keeps coverage consistent and saves your back, per The Morris Mansion
Roller tray and paintbrush for edges and cut-ins
Small foam roller or stencil brush for applying the pattern color
Low-tack painter's tape or repositionable spray adhesive to secure the stencil during application
Materials:
Masonry bonding primer. The documented project used Zinsser Bulls Eye 1-2-3, per The Morris Mansion. Primer bonds the paint system to concrete; an extra base coat doesn't do the same job. Don't substitute one for the other.
Porch-and-patio paint in two colors: a lighter base that reads as grout beneath the stencil, and a top color for the pattern. The documented project used untinted white as the base and Sherwin-Williams "Mortar & Pestle" as the stencil color, both in Valspar Porch and Patio Paint. Valspar now sells this line in gallon quantities only after discontinuing the quart size, The Morris Mansion notes, so small-slab projects will have leftover material. Label both containers and store them; they become the touch-up supply for the next refresh.
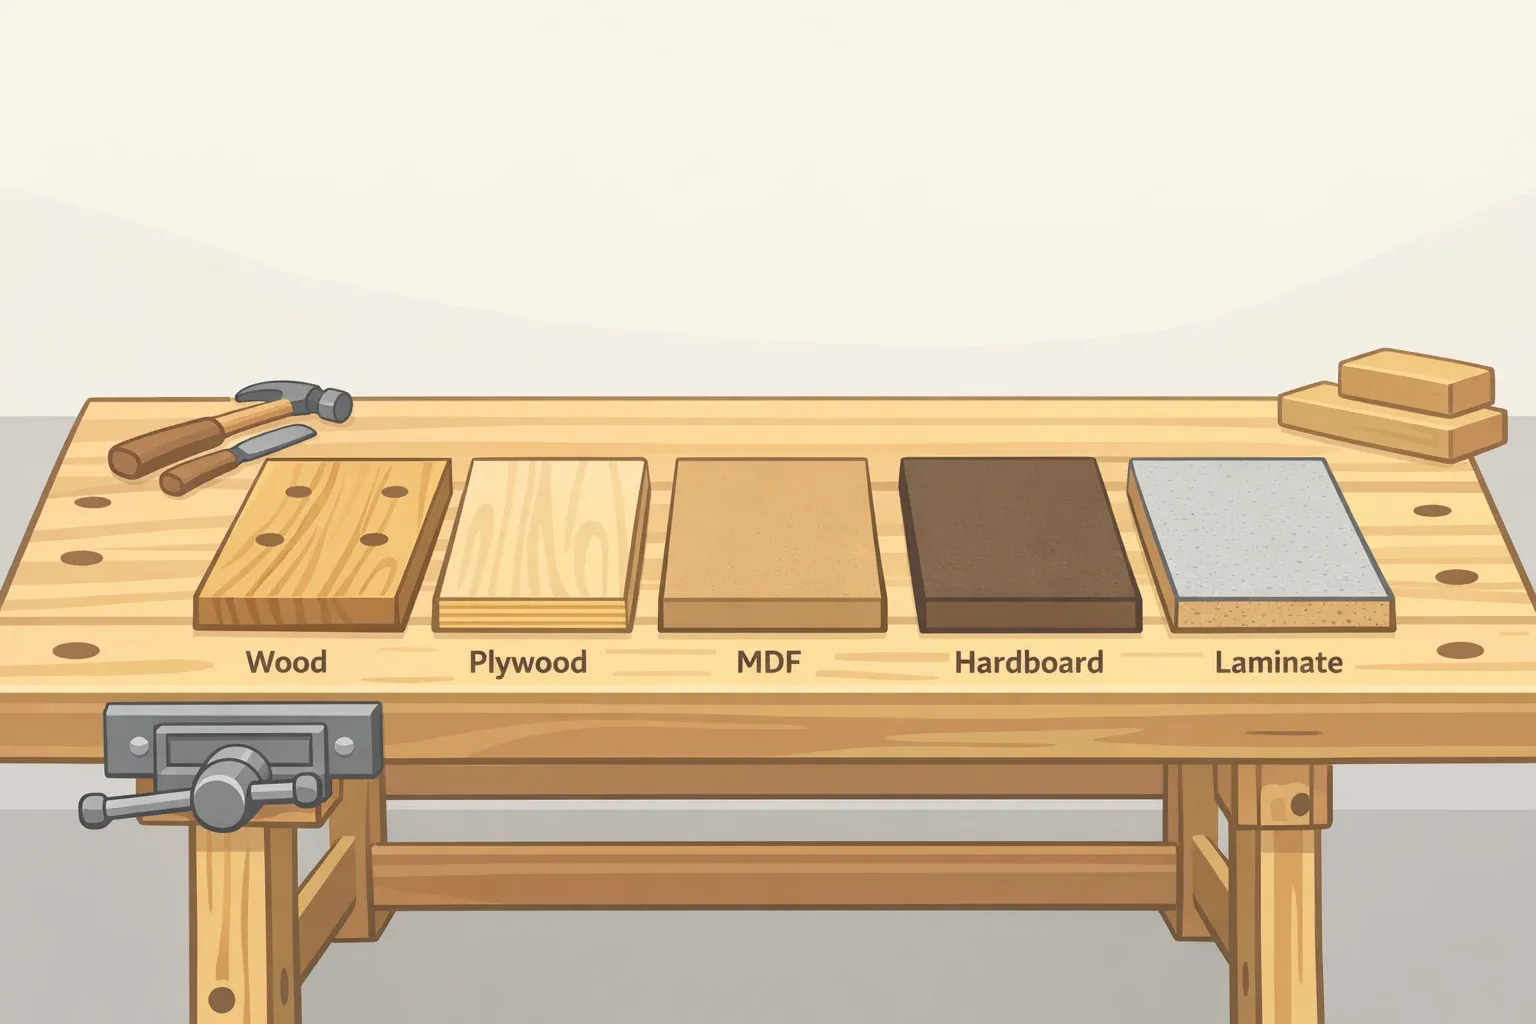
A purpose-built floor stencil in the desired pattern. The project used a herringbone design from Cutting Edge Stencils. Floor-specific stencils are stiffer and hold their shape across a full slab. General craft stencils flex, shift, and produce blurred edges on textured concrete. A quality stencil matters as much as the right paint, per The Morris Mansion; this isn't the place to cut costs.
Optional: a clear concrete sealer with a non-skid additive, applied after all paint is fully cured
How to paint a concrete front porch: the full process
Each step below is one clear action. Sequence matters, and so does patience between stages. Rushing any of the drying windows is how a weekend project turns into a redo.
Step 1. Pressure wash the full slab
Wash from one end in overlapping passes to remove dirt, pollen, grease, and any loose surface material. A hose-connected pressure washer handles the job fine; no industrial equipment needed, per The Morris Mansion.
Let the slab dry completely before touching primer. In direct sun, allow several hours minimum. In humid or overcast conditions, overnight is the safer call. Surface moisture under primer is a leading cause of adhesion failure, and there's no recovering from it mid-project.
Step 2. Apply masonry primer
Roll an even coat across the full slab, cutting in edges with a brush. Allow full drying time: a couple of hours in sun, overnight for larger surfaces, per The Morris Mansion.
Skipping primer and substituting an extra base coat is the most reliable path to peeling paint by the following season. They serve different functions. Don't skip it.
Step 3. Apply the base coat
Roll on the lighter color the one that will show through the stencil as grout lines in the finished pattern, per The Morris Mansion. Deeper or more saturated colors may need a second coat for uniform opacity; let each coat dry fully before adding another.
The most common mistake at this stage is stenciling over a base coat that isn't fully dry. Tacky paint lets the stencil color bleed under the edges and blur the design. There's no partial fix; the base coat has to come off and go back on.
Step 4. Plan the stencil layout before any pattern paint goes down
Lay the stencil dry across the slab and map where the pattern starts, where it ends at the perimeter, and how edge cuts will land. Starting from the center of the slab and working outward typically produces more symmetrical edge treatment than starting from a corner. Mark the starting position lightly with tape.
This step takes five minutes and prevents the most common stenciling error: arriving at the far perimeter with a pattern that ends at an awkward fraction.
For perimeter intersections risers, thresholds, door sills, step edges plan the cuts during dry layout while the surface is clean and readable. For very narrow strips where the stencil won't lie flat, apply the pattern color freehand with a small brush while holding the stencil firm by hand. Slower, but it produces a cleaner edge than forcing an ill-fitting sheet against a corner with wet paint on both sides.
Step 5. Apply the stencil color
Secure the stencil flat with low-tack tape or repositionable adhesive before each placement. Load the foam roller or stencil brush with the top color, then offload most of it onto cardboard before touching the stencil. Less paint per pass is what keeps edges crisp; light, dry pressure produces better results than a fully loaded applicator, per The Morris Mansion.
Use the registration marks built into most floor stencils to align each successive placement. Pattern drift compounds: a small misalignment at placement three is a visible error by placement ten.
Lift the stencil straight up to reposition it. Dragging or sliding smears wet paint under the edges and ruins clean lines.
Step 6. Apply sealer (optional, but worth considering for exposed porches)
Once all paint is fully dry, a clear concrete sealer can go over the entire surface. The documented project skipped this step; the creator notes it's a reasonable choice either way, per The Morris Mansion. A sealer adds protection against staining and surface abrasion. Any porch exposed to direct rain is a stronger candidate for a product with a non-skid additive or fine aggregate incorporated than one that stays mostly sheltered.
How long it lasts and what upkeep actually looks like
Three years of daily foot traffic family, children, pets, delivery drivers, plus seasonal rounds of pollen and dirt left one documented stenciled concrete porch in condition that cleaned back to near-original appearance, The Morris Mansion reports. That's a useful benchmark, and it comes with a scope built in: one homeowner, one climate. Treat it as a reasonable expectation under favorable conditions, not a universal performance guarantee.
The maintenance pattern is uncomplicated. Cleaning after spring pollen season and again after summer is what keeps the finish looking sharp between repaints. A full pressure wash handles most seasonal buildup; a diluted car-wash solution with a stiff brush works for lighter maintenance between seasons, per The Morris Mansion. Neither requires anything most homeowners don't already own.
When the finish eventually fades, the refresh cycle is straightforward: clean, spot-prime, re-coat, re-stencil. Leftover paint stored from the original project makes that round faster and cheaper. For a DIY concrete porch update at that stage, the second pass goes considerably quicker than the first the layout decisions are already made, and the surface is known. If the porch eventually calls for a more permanent upgrade, whether that's an acid stain, decorative overlay, or hardscaping, this project will have done its job in the meantime. What matters is going in with a clear picture of what it is: a smart, maintainable hold that transforms the entry for a fraction of what the alternatives cost.


Comments
Be the first, drop a comment!