


Common beginner DIY mistakes: 15 costly errors explained
Most common beginner DIY mistakes happen before the first tool leaves the bag. A skipped moisture check, a wall cut without knowing what's behind it, flooring installed without an expansion gap. Fix the planning, and most execution problems disappear before they start.
This guide covers 15 mistakes across plumbing, finish work, flooring, caulking, and structural judgment calls, organized by when they tend to happen: before work begins, during execution, and at the point where a project crosses into territory that requires a licensed professional.
Online tutorials have made home improvement more accessible, but This Old House notes that more inexperienced homeowners are now attempting work that exceeds their preparation, sometimes with serious and costly consequences. Rushing makes it worse. This Old House is direct: "Rushing will cause careless mistakes and cut corners," and can lead to unnecessary injury.
Throughout this guide, each mistake is tagged Fixable (addressable in the same session or shortly after) or Stop-now (continuing creates legal, structural, or safety consequences). When genuinely uncertain, stop-now is almost always the cheaper call.
DIY mistakes to avoid before you start
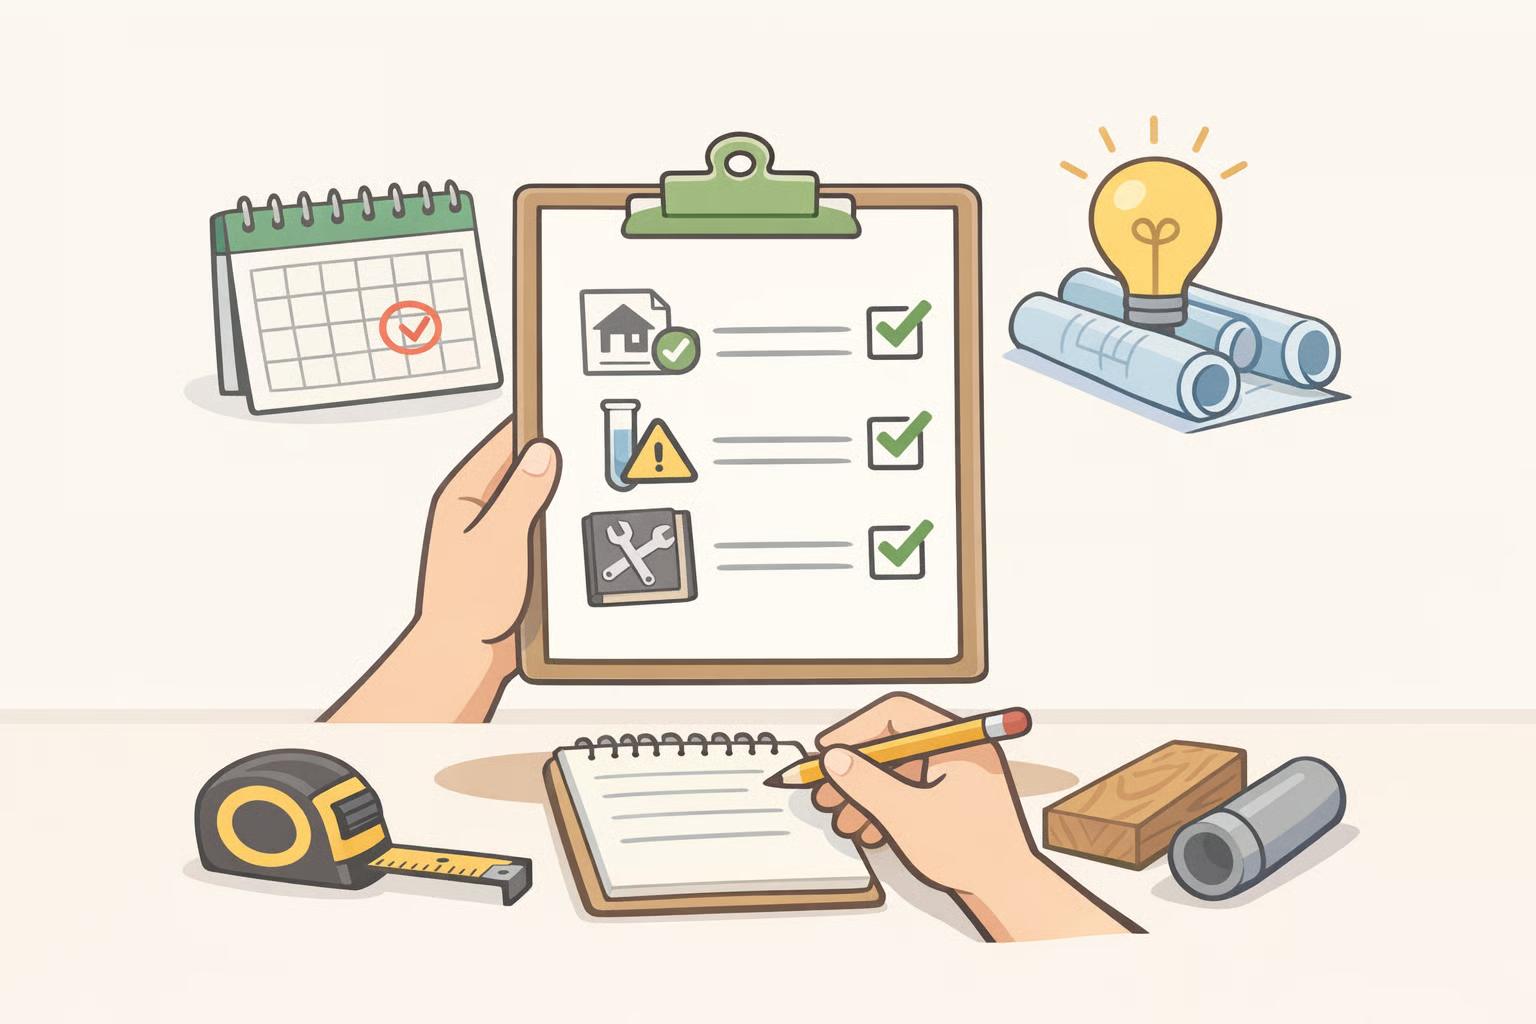
These errors happen before work begins. They're the most preventable category, and the ones most likely to cascade into expensive problems later.
Mistake 1: Starting without thorough project research
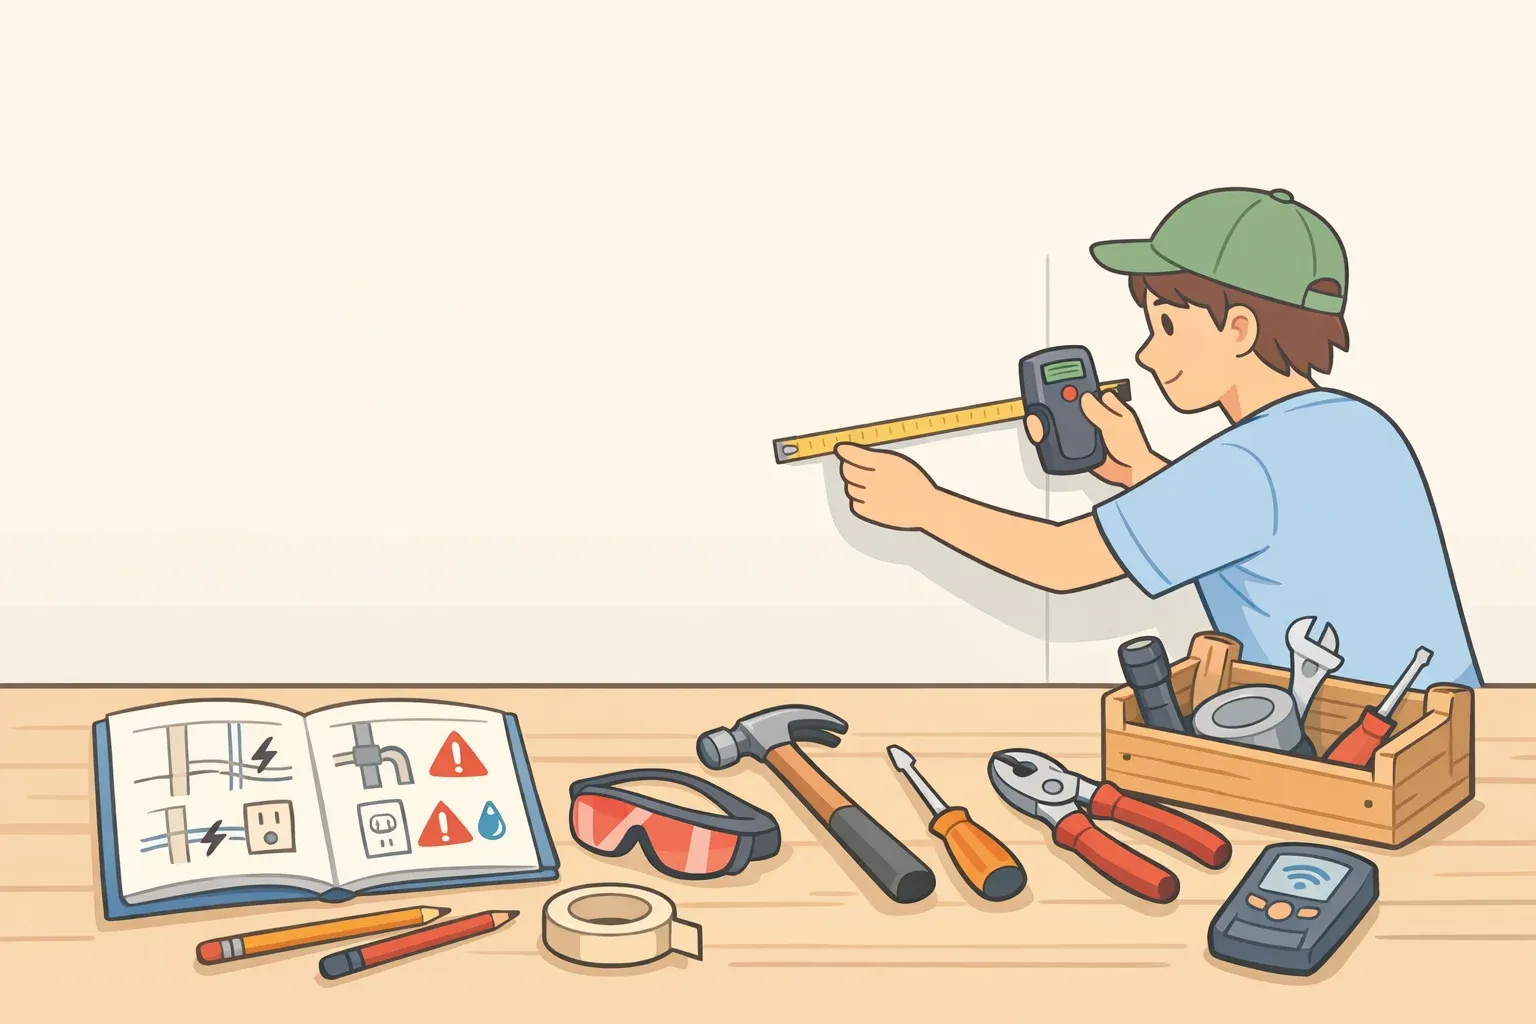
Thorough pre-project research is the first line of defense against errors across every trade, according to This Old House. Watching one video is not research. Understanding the full sequence, including what can go wrong mid-project and how to recover, is.
Read the manufacturer's installation instructions before purchasing materials. Know what a finished, correct result looks like before the first cut. Know where the shutoff valve is before disconnecting anything.
Fixable before you start. Not fixable once you're mid-project without this knowledge.
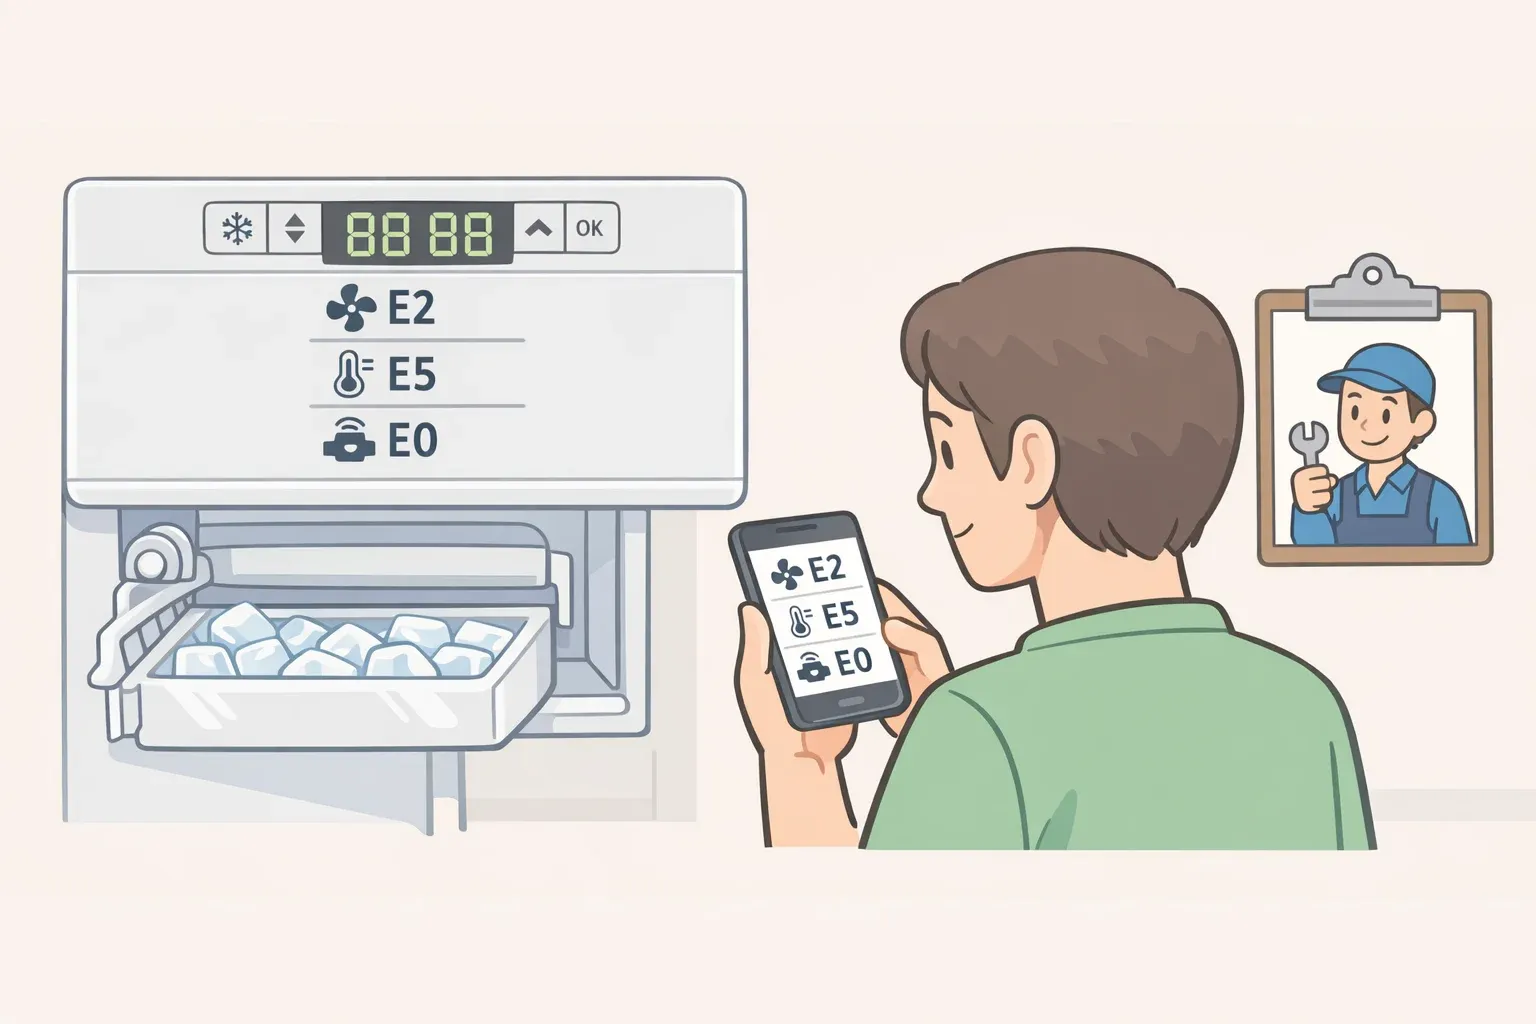
Mistake 2: Not identifying permits and licensed trade requirements up front
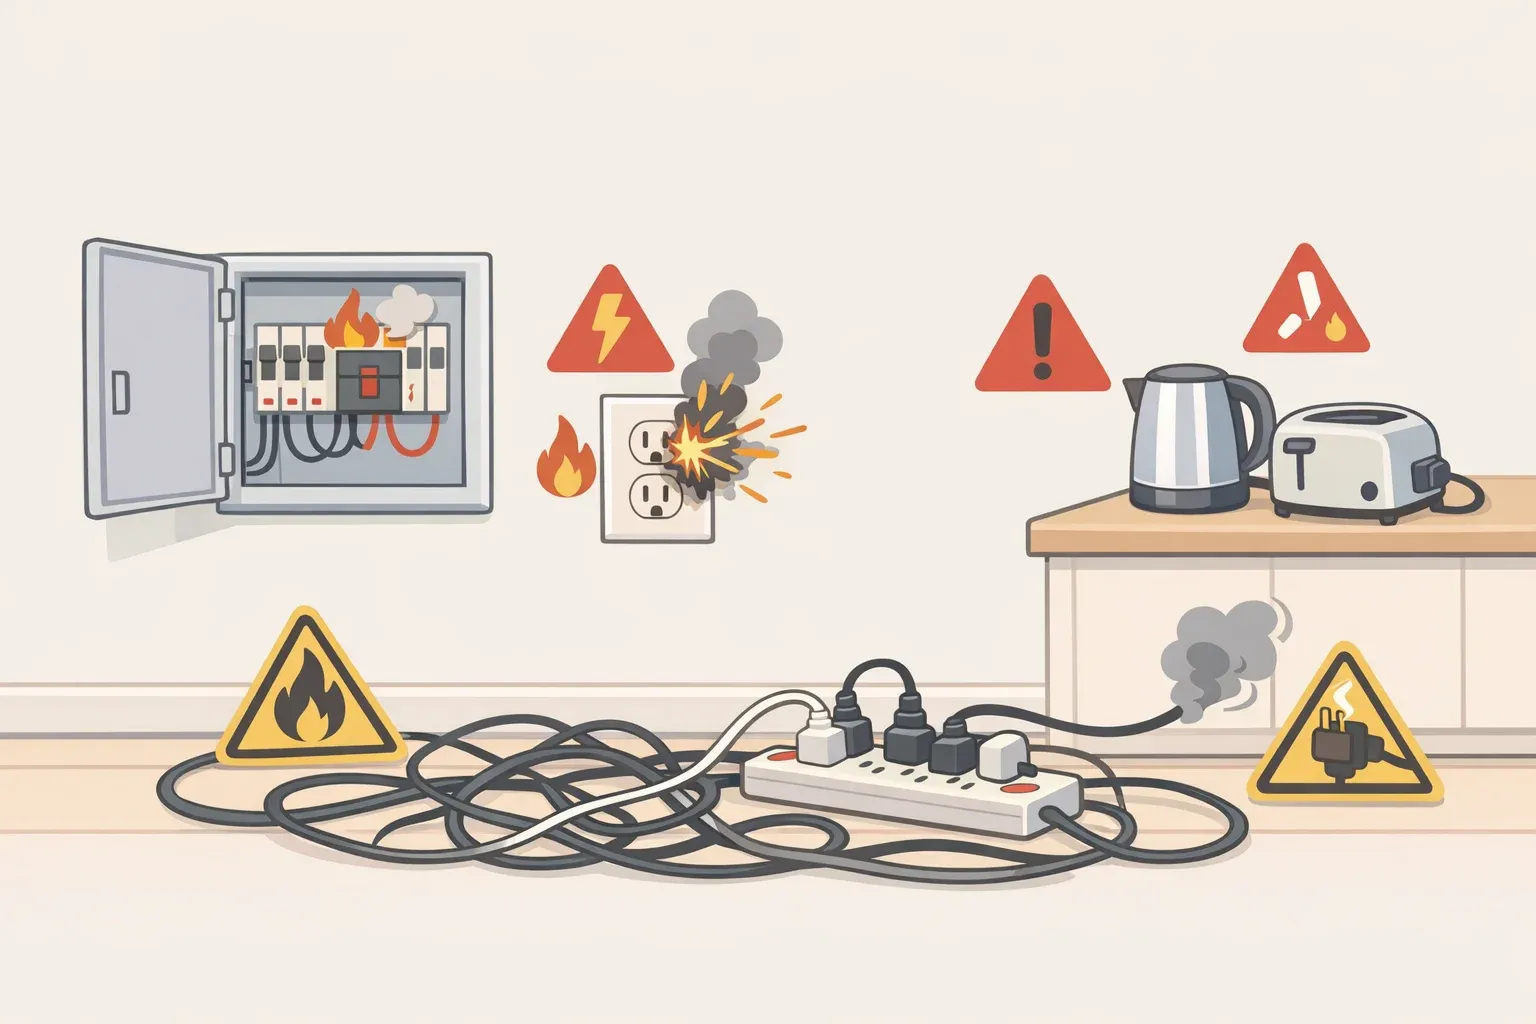
The three categories carrying the greatest risk for unlicensed work are electrical (electrocution and fire risk), plumbing involving gas lines or main sewer work, and roofing. Falls are the leading cause of construction worker deaths, per CDC data cited by This Old House. There are real reasons trade professionals are licensed in specific trades, and those reasons don't disappear because the job looks manageable from the outside.
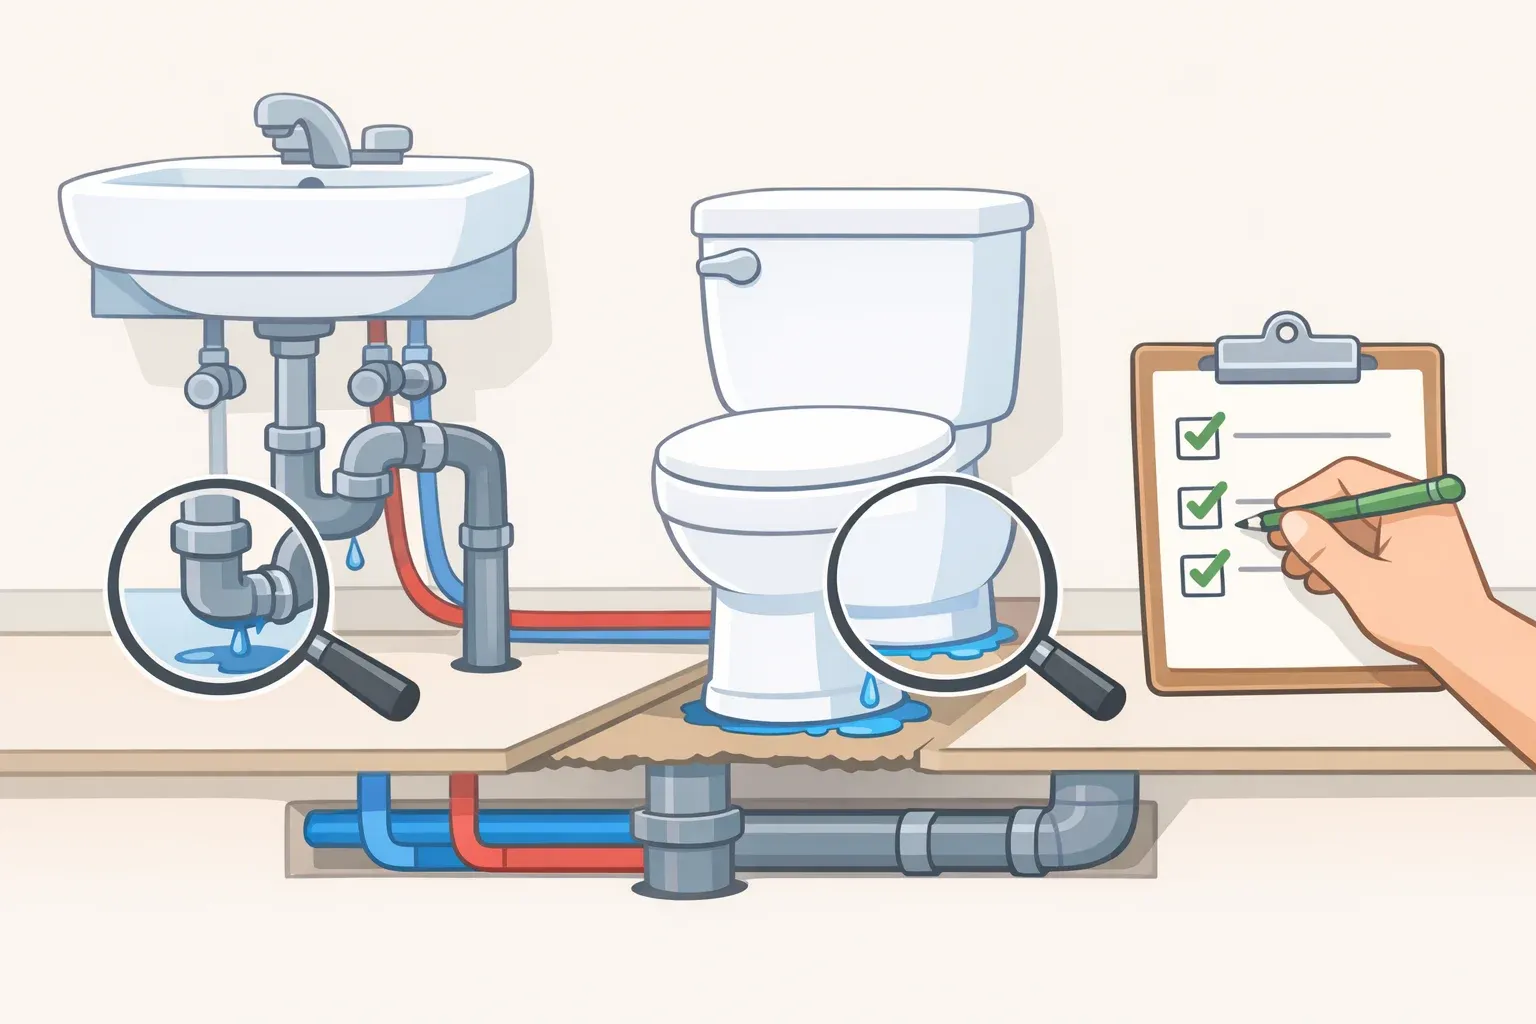
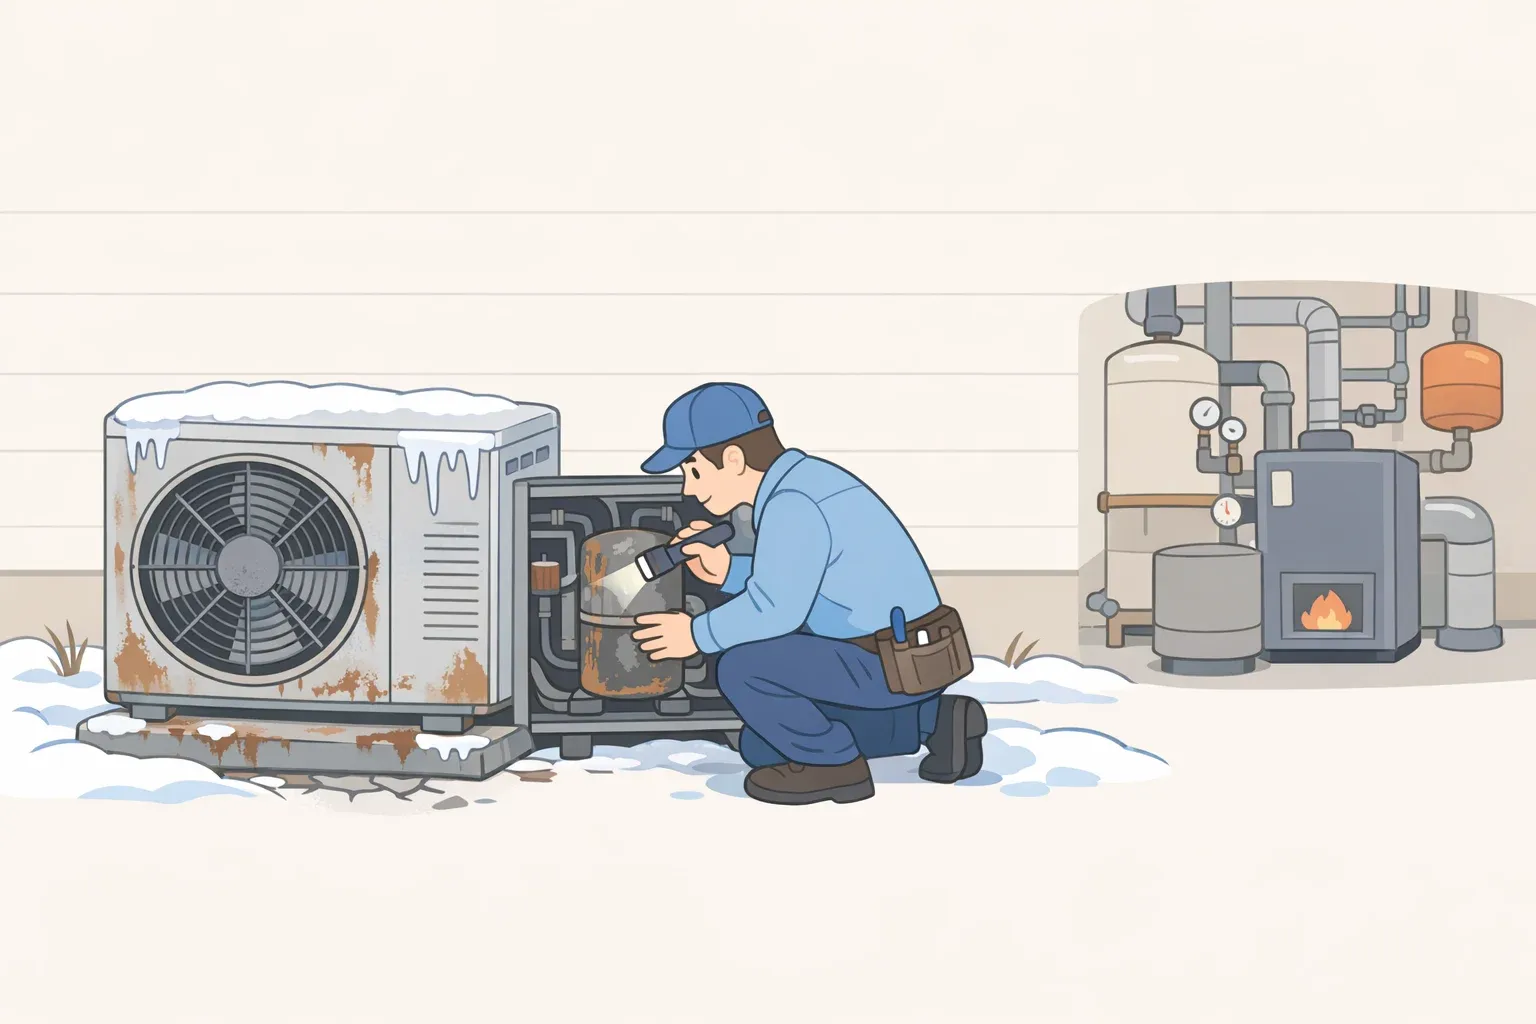
This Old House recommends calling a licensed plumber when a job requires specialized tools, involves gas or sewer lines, persists after an attempted fix, or when local code requirements are unclear.
Stop-now. Legal, physical, and financial consequences apply to all three categories.
Mistake 3: Working in pre-1978 homes without testing for lead
Homes built before 1978 most likely contain lead-based paint, per the EPA as cited by This Old House. Sanding, scraping, or demolition work disturbs particles that pose serious health hazards. Removal should be handled by a lead-safe certified firm or renovator. Homeowners can carefully collect paint chip samples and send them to an EPA-recognized lab for analysis, but abatement, once lead is confirmed, belongs to professionals.
This applies specifically to pre-1978 surface work. It's not a reason to avoid all DIY in older homes.
Stop-now on abatement. Test first, then decide.
Mistake 4: Skipping surface condition checks before installation
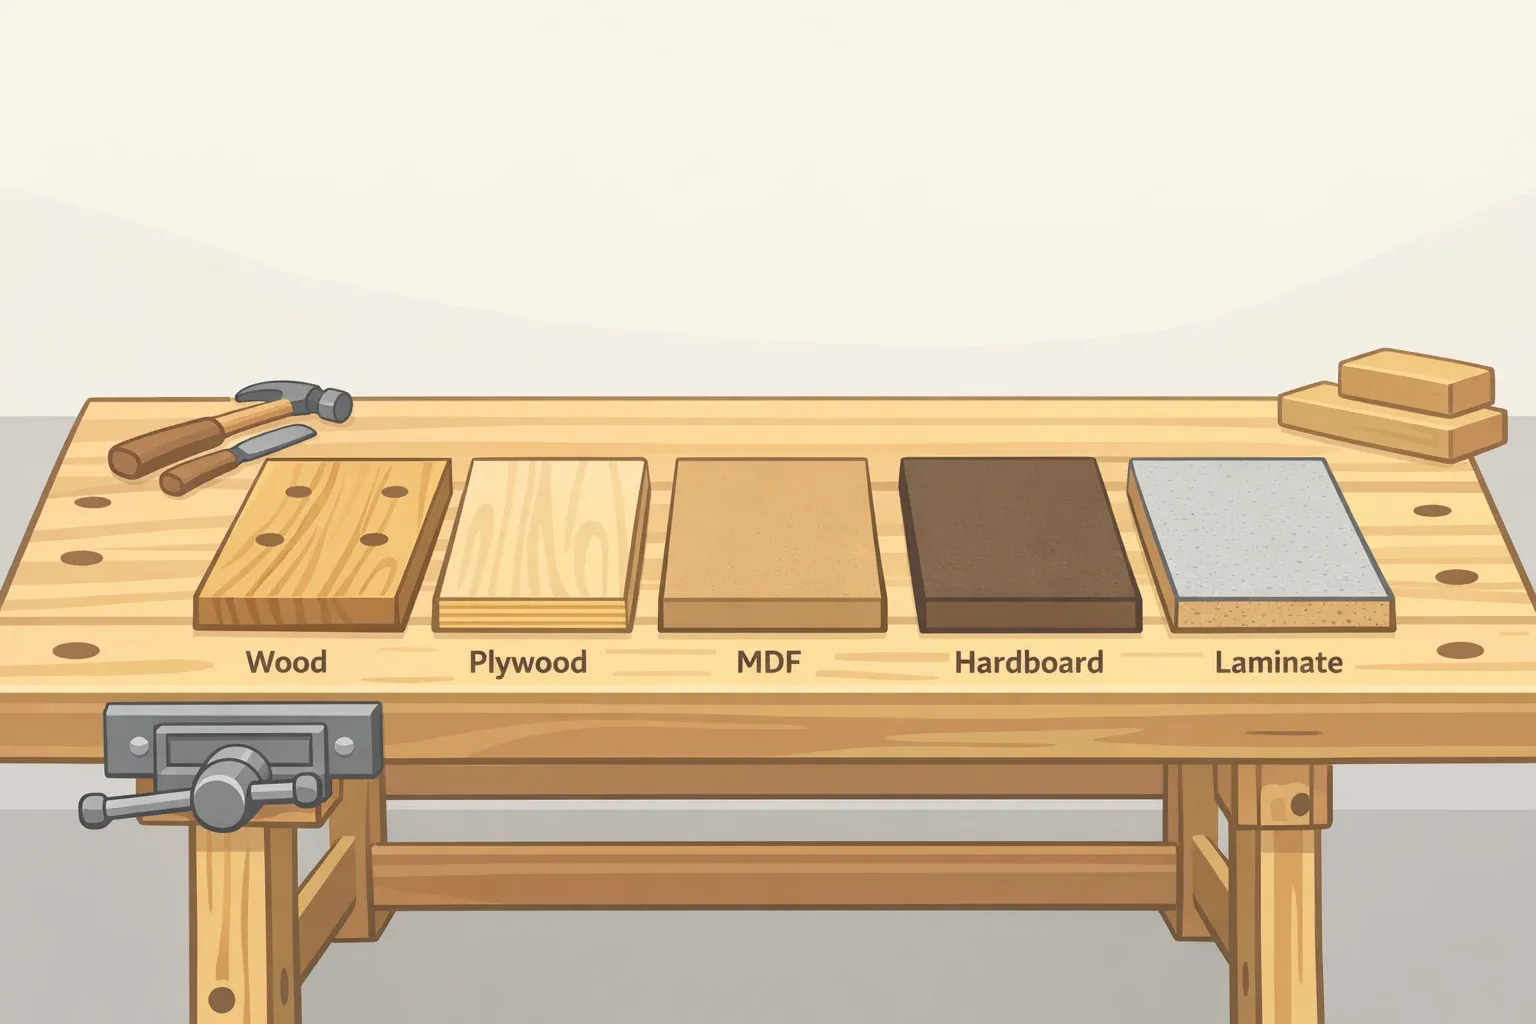
Wood paneling installed over a damp or uneven wall will warp, bubble, or show visible gaps at panel edges. Lowe's specifies cleaning walls, sanding down bumps, and checking for dampness before any adhesive or fasteners are applied surface irregularities affect both adhesion and the finished appearance. Walls that aren't straight require furring strips installed in a grid pattern before paneling begins; installing on a misaligned surface produces gaps that caulk alone won't fix.
The same principle applies to caulking. This Old House is explicit: moisture prevents caulk from bonding properly. Prep the surface before the tube opens, not after.
Fixable before installation begins. After panels or caulk are in place, surface problems typically require full removal.
Mistake 5: Not letting materials acclimatize
Wood moves with humidity and temperature. Install panels or flooring straight from delivery and they'll expand or contract once exposed to the room's conditions, lifting seams, buckling floors, and opening gaps at joints. Lowe's requires wood panels to lie flat in the installation room for at least 24 hours, or 48 hours in basement environments where moisture accumulation is higher.
This costs nothing but time. It's easy to skip when a deadline is pressing. That's exactly when it shouldn't be.
Fixable before installation. After the floor buckles, affected sections typically require full replacement.
Common beginner DIY mistakes during execution
Prep is solid. Work has started. This section covers the mistakes that ruin properly prepared materials: wrong tools, wrong technique, misapplied materials, and a work environment set up for injury.
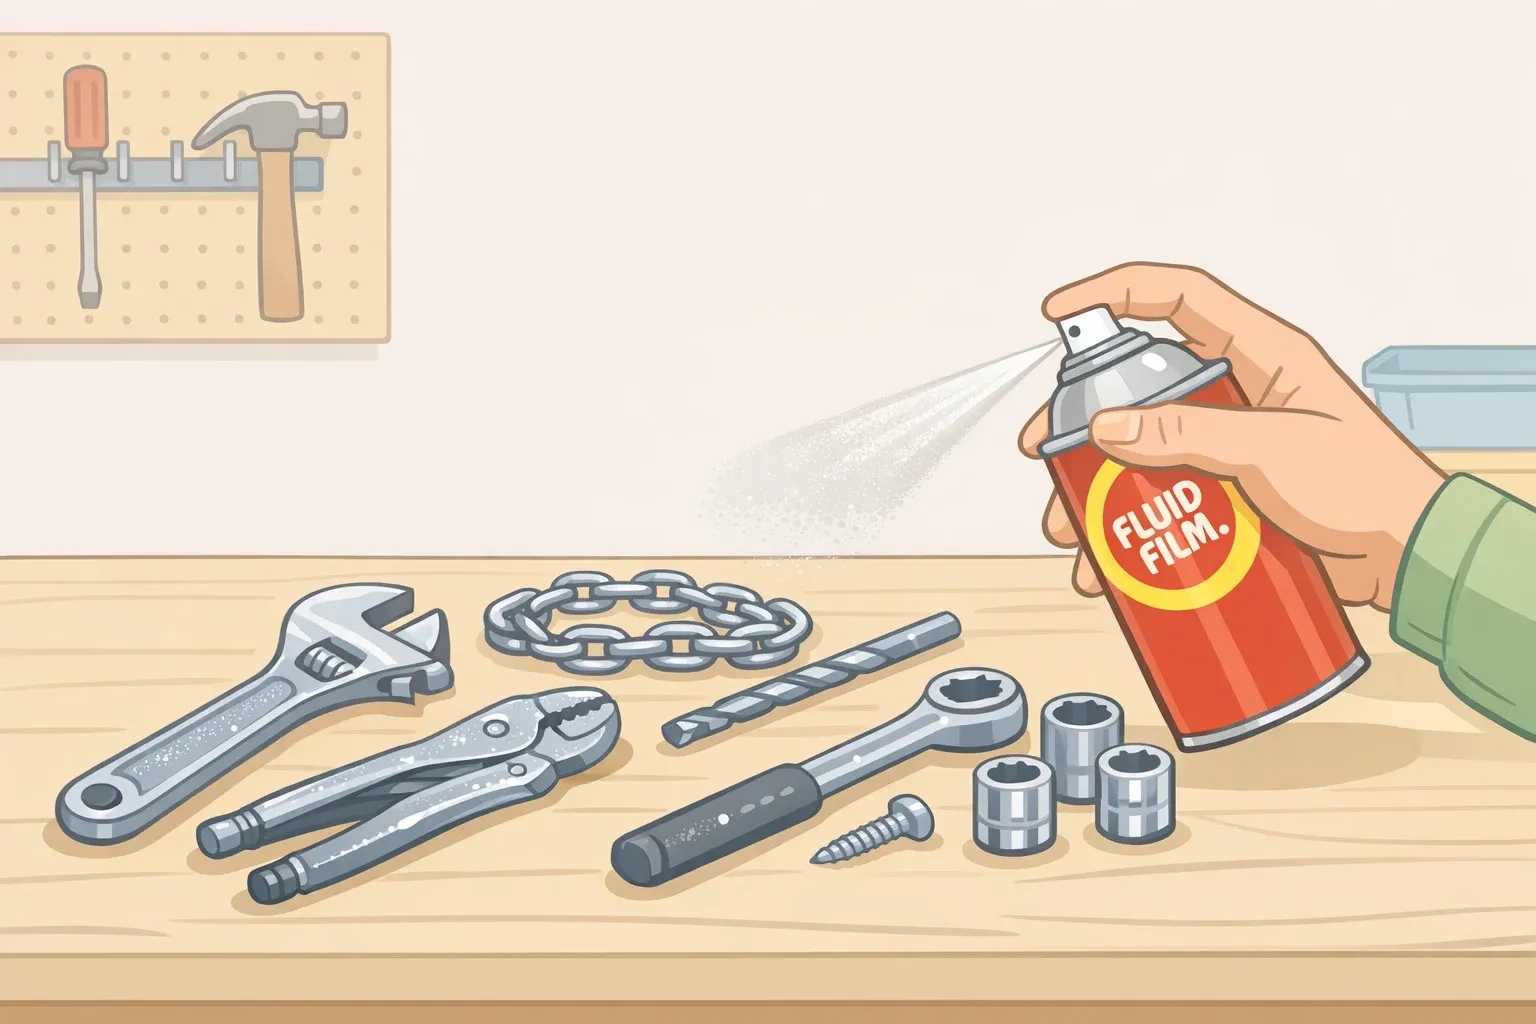
Mistake 6: Using damaged or dull tools, or working around safety guards
Dull blades require more force, which creates the conditions for slips and loss of control. Cracked handles, chipped blades, missing components, and frayed cords are all safety hazards. As This Old House puts it, working with damaged tools is a bad idea regardless of how minor the job seems. Replace broken tools before the job starts; borrow them if the budget is tight.
Power tools have guides and guards for a reason. Learn to work with them, not around them.
Stop and replace the tool. There's no safe workaround for damaged equipment.
Mistake 7: Using tools for purposes they weren't designed for
Chrome faucets and showerheads scratched by pliers or a pipe wrench often mean a damaged finish that requires replacement. A strap wrench, which grips without metal-on-metal contact, prevents that outcome entirely, according to This Old House. The broader principle holds across every trade: This Old House identifies using tools for their intended purpose as a core safety principle, not just technique. A paint can opener for paint cans, the correct blade for the material, a hammer for striking.
Before any tool touches a finished surface, confirm it's the right one.
Fixture finish damage may require replacement if the scratch is visible. Fixable only if caught before contact.
Mistake 8: Overtightening fittings or applying uneven wrench force
The instinct to tighten just a little more is exactly how beginners crack fittings, strip threads, and create the leaks they were trying to prevent. Overtightening plumbing connections causes damage, not additional security, per This Old House.
Old pipes, particularly those connected to steam radiators, deform under uneven force. A pipe wrench should contact the pipe at three points, top jaw, bottom jaw, and back of the wrench, and move with slow, even pressure. Use plumber's tape on threaded connections and stop when resistance becomes firm, not when force runs out.
Fixable if caught early. Stripped threads, cracked fittings, and deformed pipes require replacement.
Mistake 9: Misapplying caulk
Cutting the caulk tube tip too far back creates an oversized opening that deposits far more material than needed. The result is a thick bead that's difficult to smooth and wastes material, according to This Old House. Cut close to the tip at a 30-to-45-degree angle, apply steady pressure, and use a caulk tool or damp finger to press the material into the gap, not just drag it across the surface.
Laying caulk over a gap without pressing it in leaves room for moisture and air to seep through, per This Old House. For wide or deep gaps, insert a backing rod first and layer in stages, letting each layer dry before adding the next. Wipe excess immediately with a damp cloth before it sets.
Cosmetic and fixable in the same session if addressed before curing.
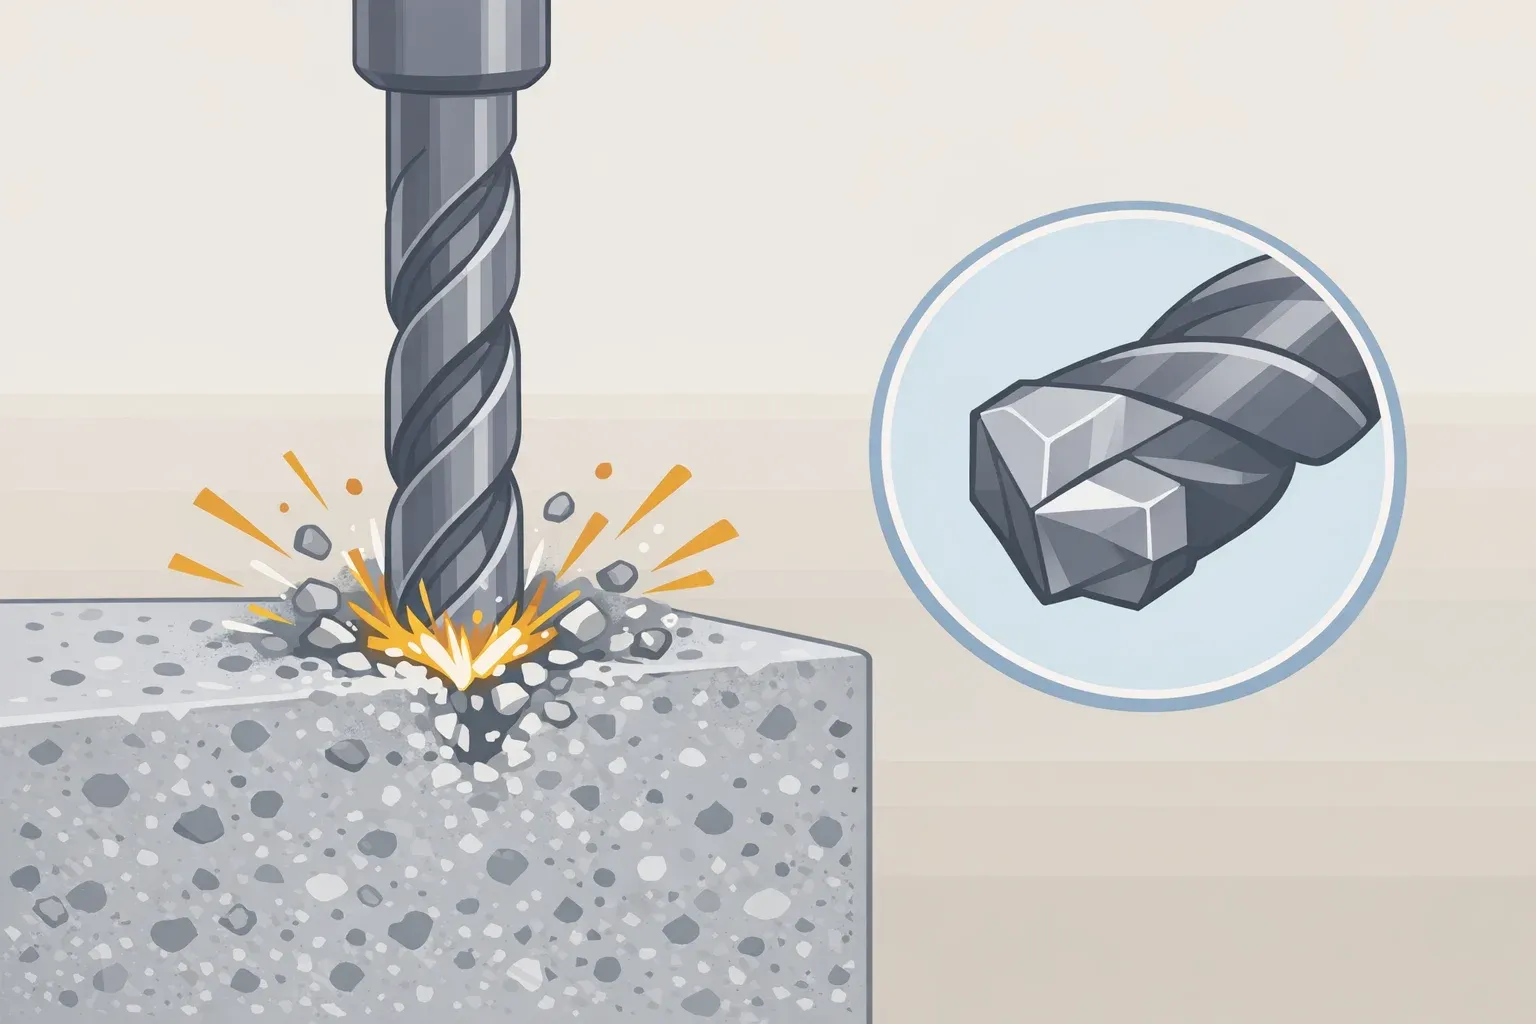
Mistake 10: Using the wrong blade for the material
A coarse blade frays and splits the face of paneling, producing rough edges that need additional finishing or a replacement panel. Lowe's specifies a fine-toothed saw blade for panel face cuts and a fine-cutting jigsaw blade for outlet and electrical box cutouts. Coarser blades belong on framing and rough cuts only.
Match blade to material before the cut, not after the edge splinters.
Minor edge damage is fixable with sanding. Severely split faces may require replacement.
Mistake 11: Letting the job site get cluttered and ignoring fatigue
Scraps on the floor, cords crossing walkways, tools left mid-task: all of these create conditions for slips and falls. This Old House recommends treating site cleanup as part of the job itself. Pick up cutoffs after each cut, wrap cords when not in use, keep walkways clear. A cleaner site moves faster, not slower.
Fatigue is a genuine hazard, particularly on Day 2 of a weekend project. This Old House is direct: stay hydrated, eat, take breaks, and stop when concentration drops. Getting hurt guarantees the job stops.
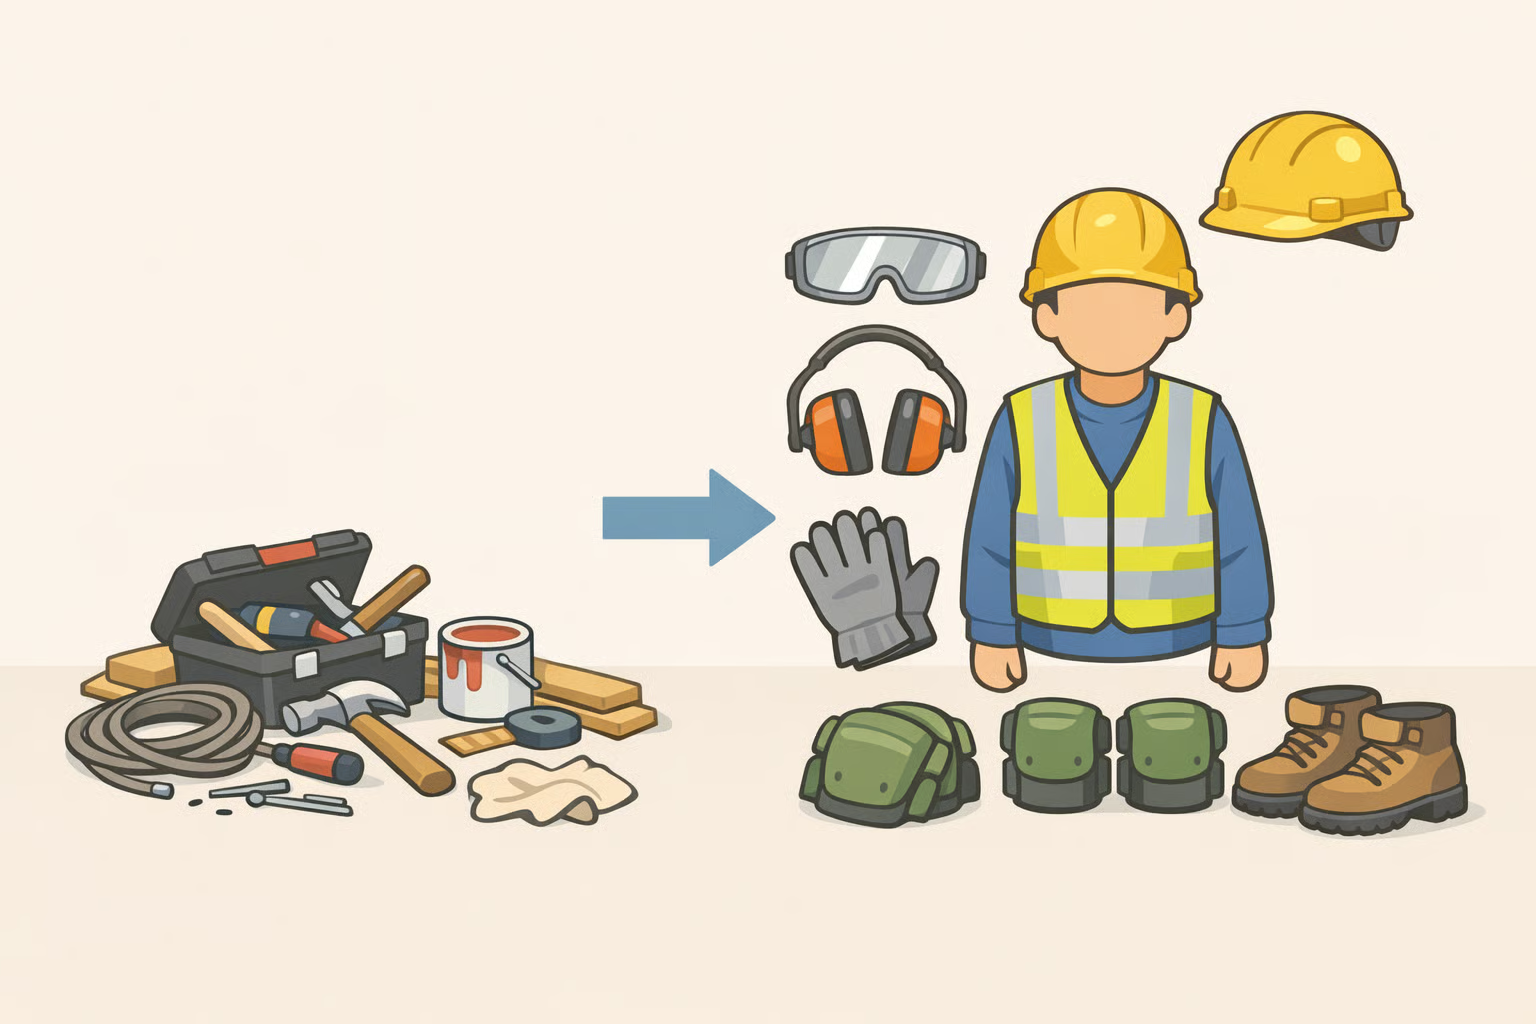
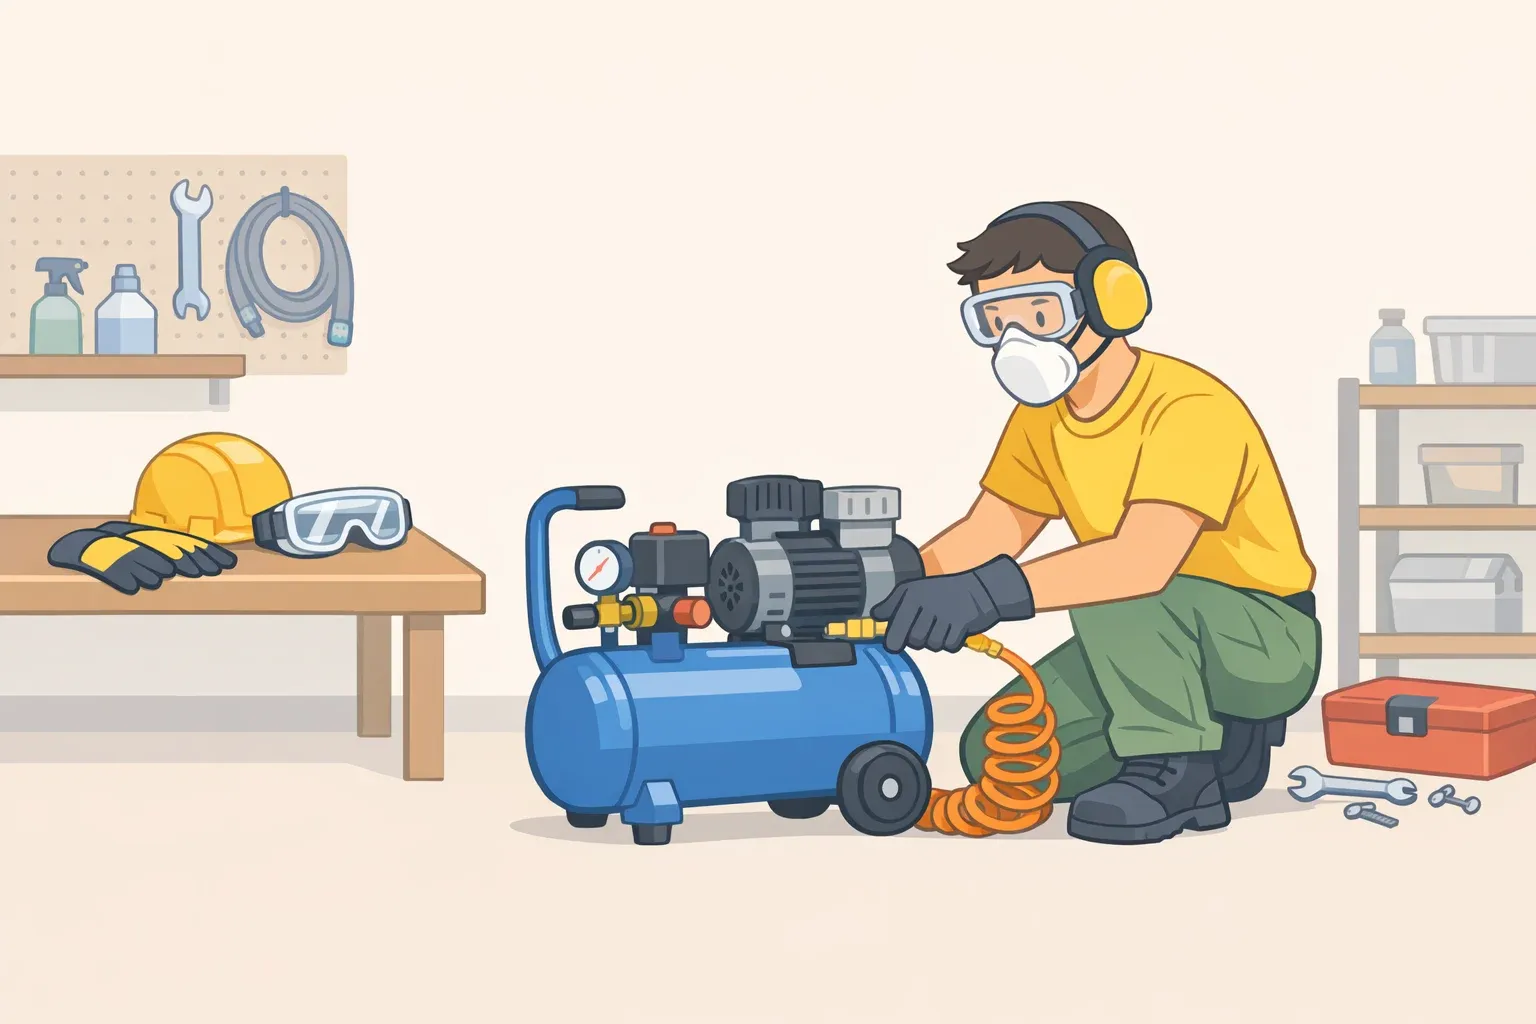
PPE scales with the task: eye and ear protection for saw work, a respirator and chemical-resistant gloves for painting or refinishing, full protective gear for chainsaw use. Work boots, not sneakers, are the one universal baseline.
Preventive. Injuries are not fixable in the same session.
Mistakes 12–15: Hidden damage and judgment calls that surface later
These mistakes don't announce themselves. They show up on inspection reports, in contractor estimates, or as a water stain slowly spreading behind a finished wall. They're the most expensive category because they compound silently.
Mistake 12: Not leaving expansion gaps in flooring
Wood floors expand and contract with temperature and humidity. Installing flooring tight against the wall creates a rigid system with nowhere to move, so it buckles upward, producing lifted, cracked, or split sections. This Old House notes that home inspectors are trained to spot this pattern. Follow the manufacturer's specified expansion gap around the perimeter, use spacers during installation, and cover the gap with baseboard or quarter-round once the floor is set. Easy to account for at installation; far more disruptive to correct afterward.
Buckling that has already occurred requires full removal and reinstallation of affected sections.
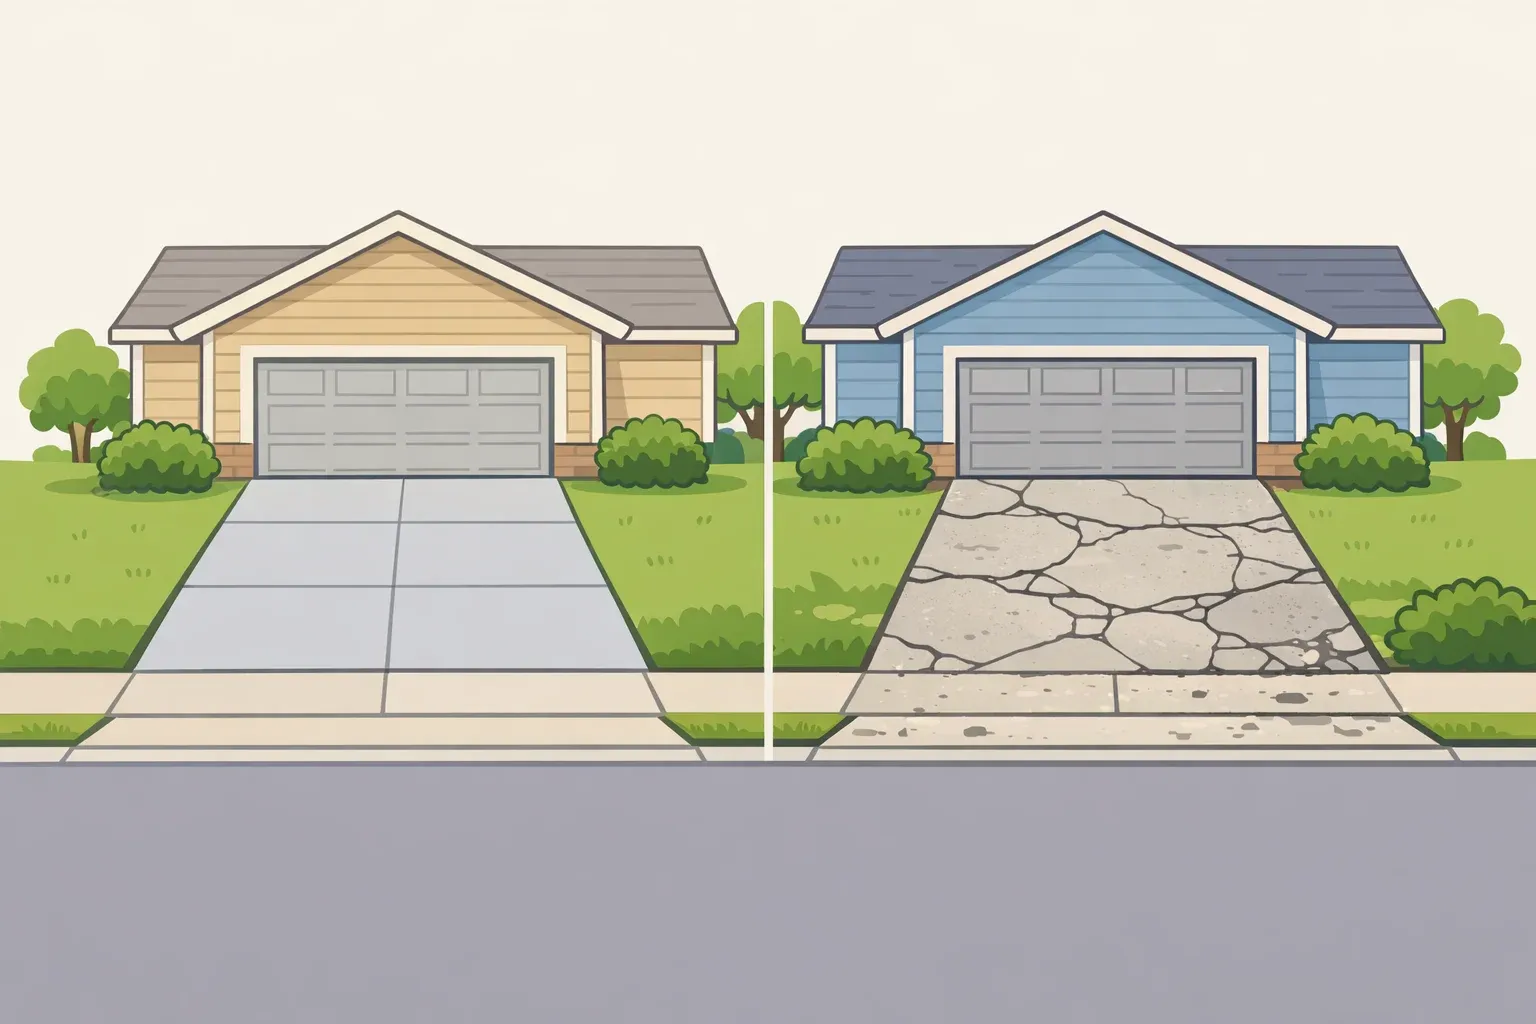
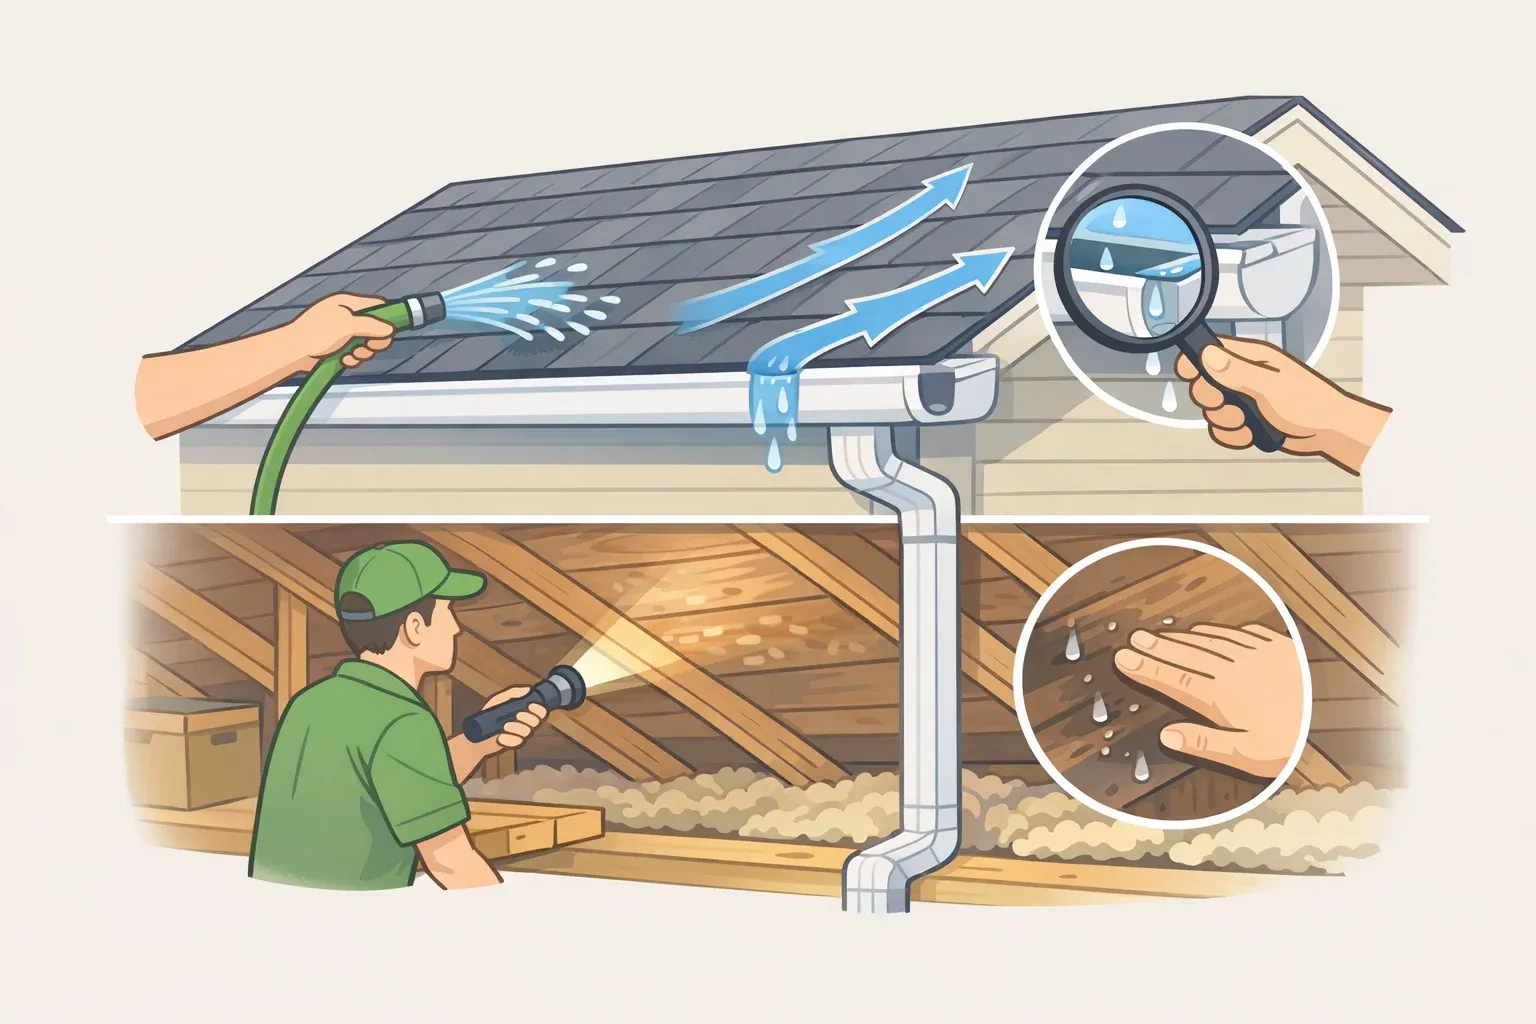
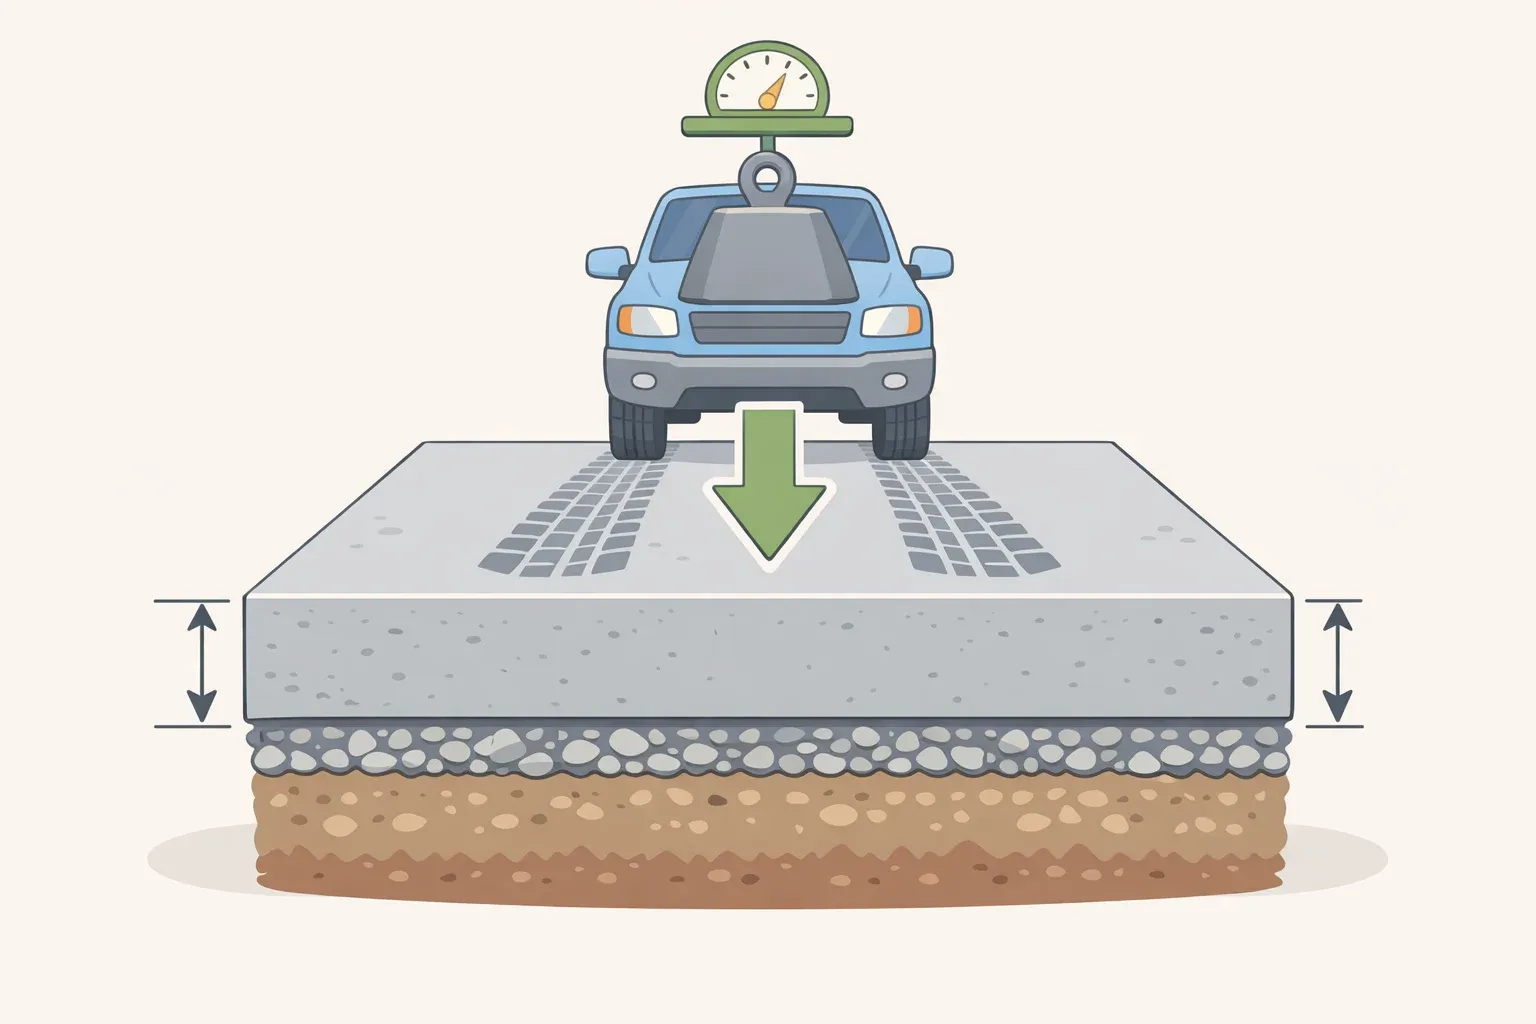
Mistake 13: Skipping drainage planning in exterior and landscaping work
DIY landscaping that slopes toward the foundation sends water directly toward crawl spaces and basements. This Old House identifies this as a frequently flagged home inspection concern, with downstream consequences including mold, wood rot, and pest infestation.
Drainage mistakes rarely look dramatic on day one. The damage develops over months, behind finished walls or under slabs. Before any major grading work, verify slope direction and confirm it moves water away from the structure.
Fixable, but requires full re-excavation and regrading of affected areas.
Mistake 14: Cutting into walls without knowing what's inside them
Walls may contain plumbing supply lines, electrical wiring, or load-bearing framing. Removing a wall without confirmation can compromise a home's structure, per This Old House, which recommends treating any wall as load-bearing until a contractor has confirmed otherwise. Before cutting, drilling, or removing any wall element, use a stud finder to locate framing and consult a contractor to verify structural status. Plumbing and electrical lines don't always run where logic suggests.
Stop-now for load-bearing walls and live utilities. Assess before cutting, not after.
Mistake 15: Removing code-required safety elements for aesthetic reasons
Removing a stair handrail for a cleaner look is a decision that appears minor and creates real liability. This Old House notes that missing handrails are flagged by home inspectors as both a physical safety hazard and a building code violation. The same logic applies to bypassing tool guards or eliminating any element that building code requires. Those requirements exist because the failure modes of non-compliant work are well-documented, which is also why trade professionals are licensed in specific trades.
Fixable, but requires reinstalling what was removed before the property is inspected or sold.
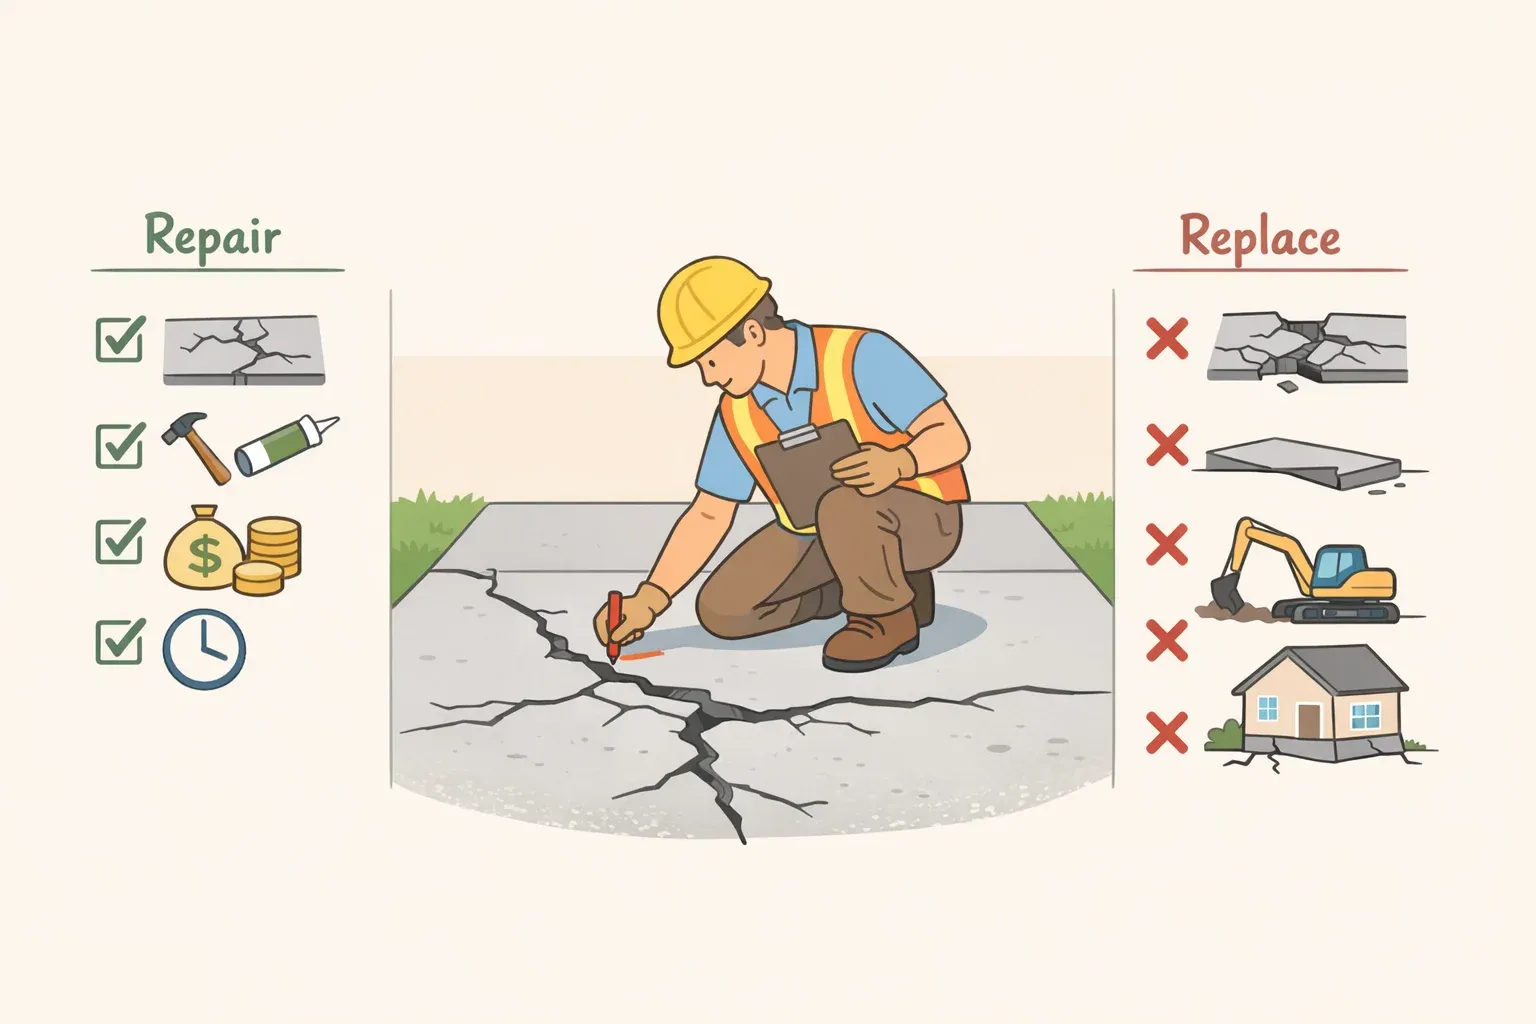
When a mistake has already happened
Before calling anyone or picking up a tool to fix it, run through four questions:
- Can you see what's behind or beneath the problem? If not, assume there's hidden damage and investigate before proceeding.
- Can you reverse this if you're wrong? If a misstep can be undone cleanly, fix it. If correction requires demolition or a licensed trade, stop.
- Does this involve code, structure, gas, or electrical? Any yes is a stop-now.
- Will failure stay visible or hide behind a surface? Hidden failures compound. Document the problem with photographs before any repair work begins; that record matters for repair estimates and future inspections.
Electrical wiring, gas lines, roofing, load-bearing wall removal, and pre-1978 surface abatement sit outside the DIY lane for concrete reasons. The risks are physical, financial, and legal, per This Old House. For everything else, the fixable/stop-now designations throughout this guide serve as the triage framework. When genuinely uncertain, stop-now is almost always cheaper than the alternative.


Comments
Be the first, drop a comment!