


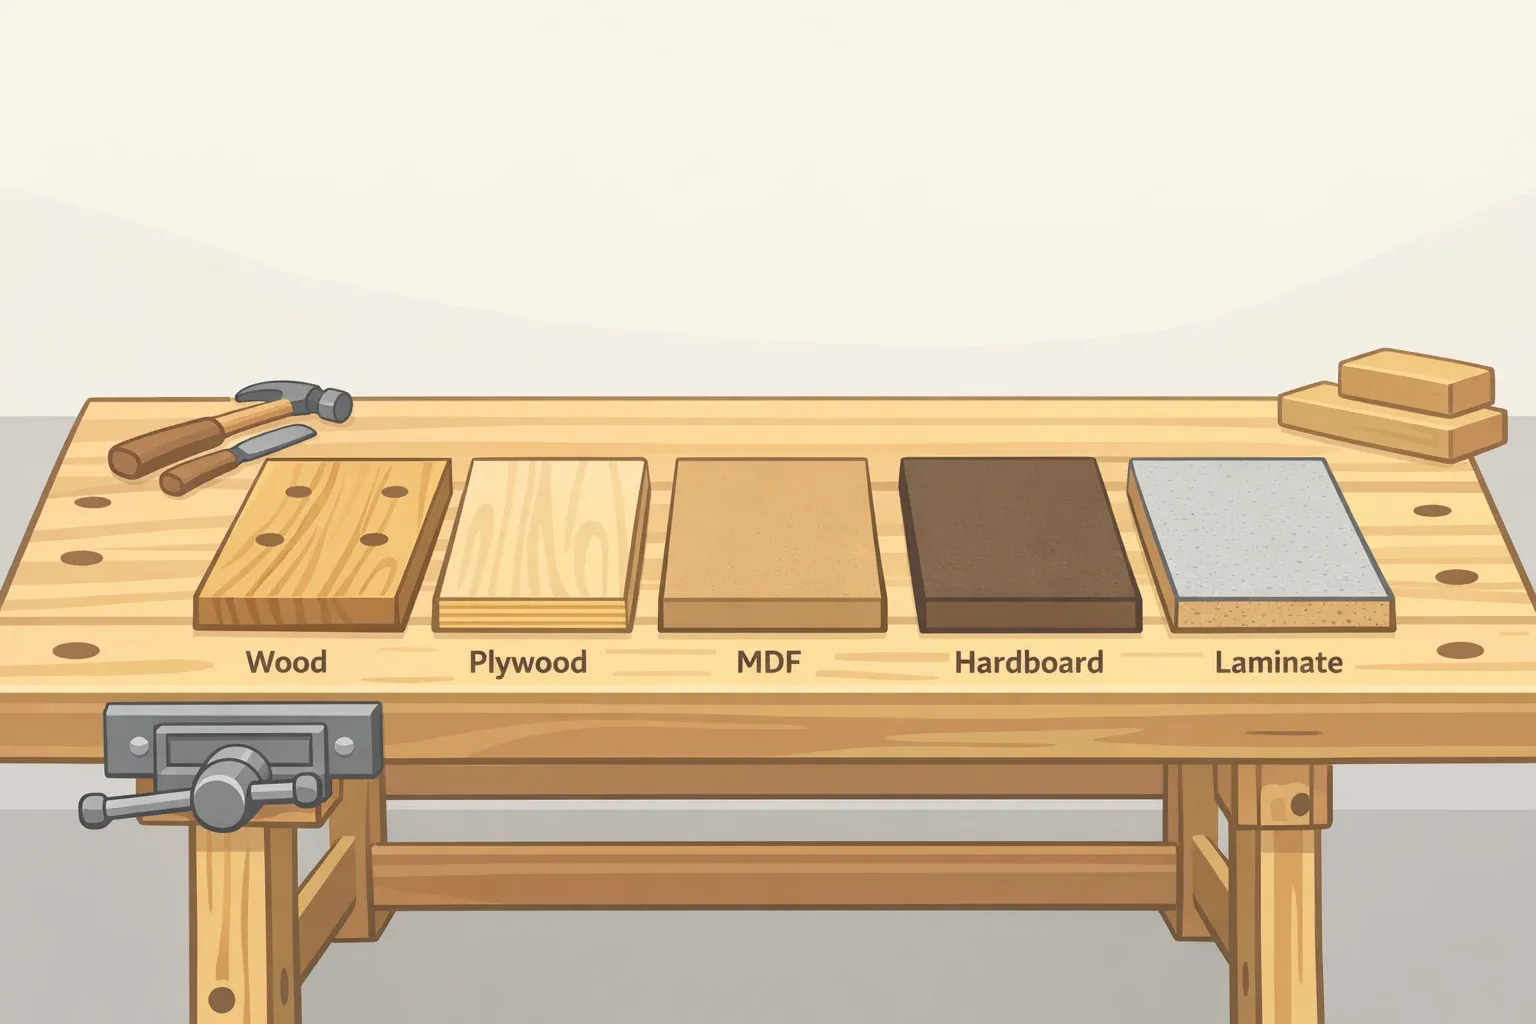
Best tools for drilling into concrete: drills, bits, and setup
This guide covers what you need to drill anchor holes, set shelf brackets, mount TV brackets, install handrails, and similar residential concrete work. It walks through the full sequence: assess the job, check for hidden hazards, choose the drill, choose the bit, then manage dust and PPE. Where the work crosses into professional territory, those lines are marked clearly.
The central question for selecting the best tools for drilling into concrete isn't brand or voltage. It's hole size and depth. That single variable drives every decision downstream.
One thing to address before the first step: an impact driver is not a substitute for concrete-specific tooling. Impact drivers use a 1/4-inch hex collet and are engineered for driving fasteners, not masonry percussion, as This Old House explains. If a cordless drill includes a genuine hammer mode, not just a clutch setting, it may handle a few small anchor holes. A standard drill/driver or impact driver will not.
Step 1: Assess the job before you touch a tool
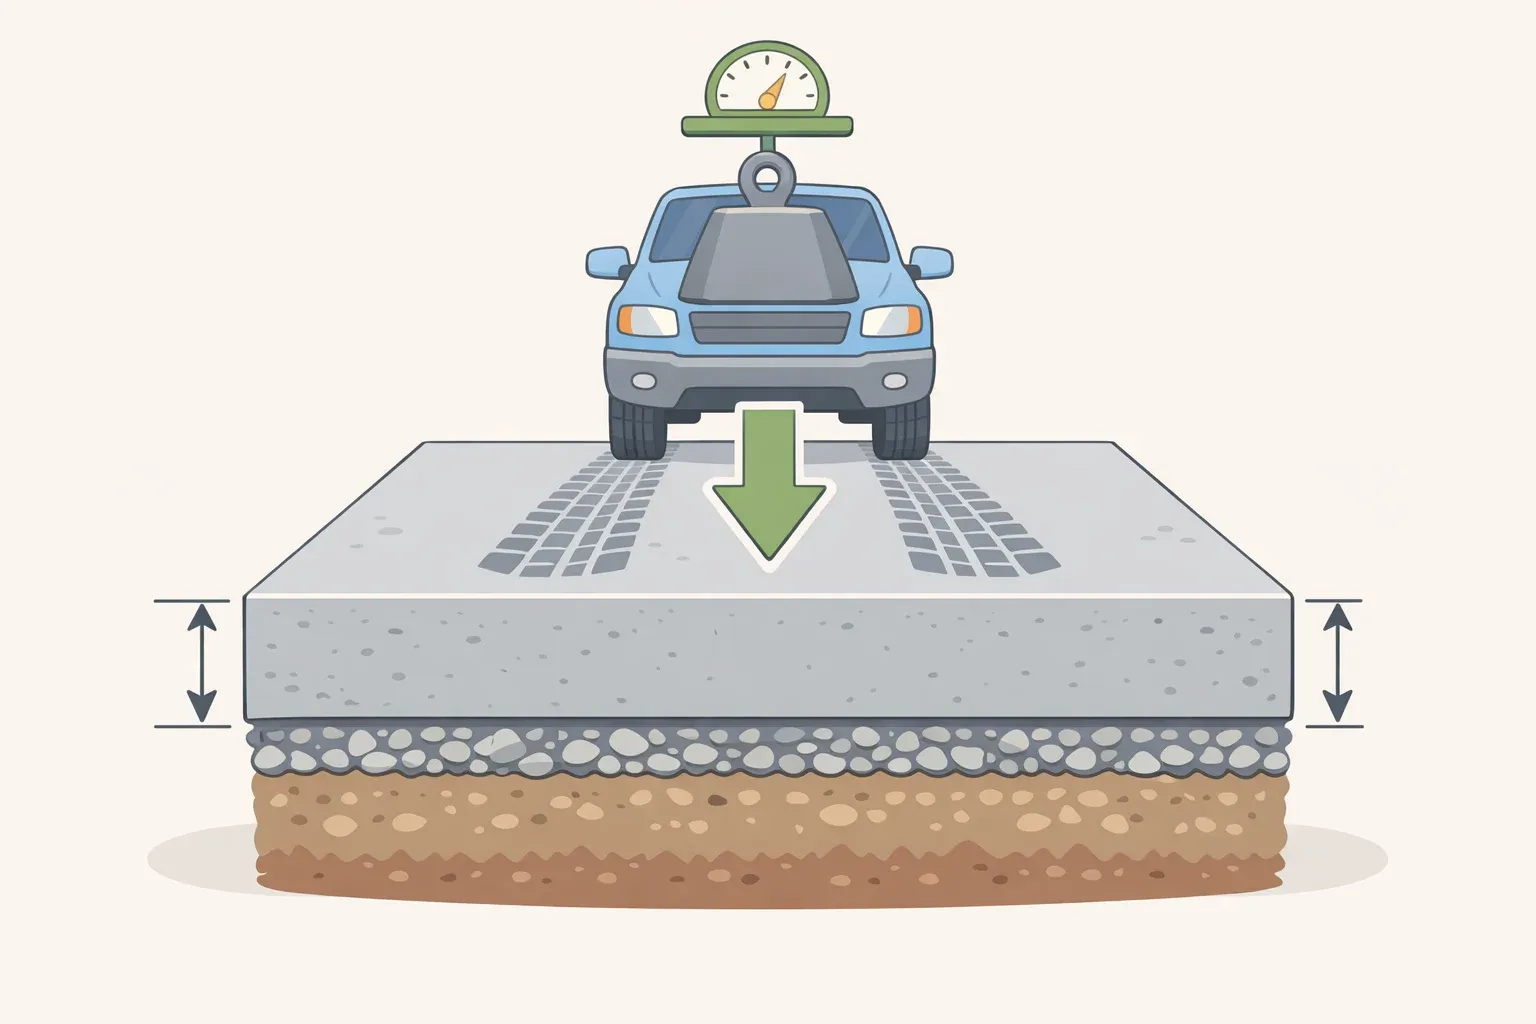
Start with three questions: How wide does the hole need to be? How deep? And do you know what's inside the concrete? The answers determine everything downstream. A 3/16-inch anchor hole in a poured basement wall is a hammer-drill job. A 5/8-inch hole through a garage slab is not.
Here's how the decision breaks down:
| Job | Right tool |
|---|---|
| Holes under ½ inch, shallow depth (anchor bolts, wall plugs, shelf brackets) | Hammer drill see Step 3 |
| Holes over ½ inch or deeper than 3–4 inches (handrails, post brackets, conduit sleeves) | Rotary hammer see Step 3 |
| Holes 50mm or larger (pipe penetrations, HVAC sleeves) | Diamond core drill rent or hire out |
| Unknown slab, structural wall, possible post-tension cables or embedded utilities | Scan before drilling see Step 2 |
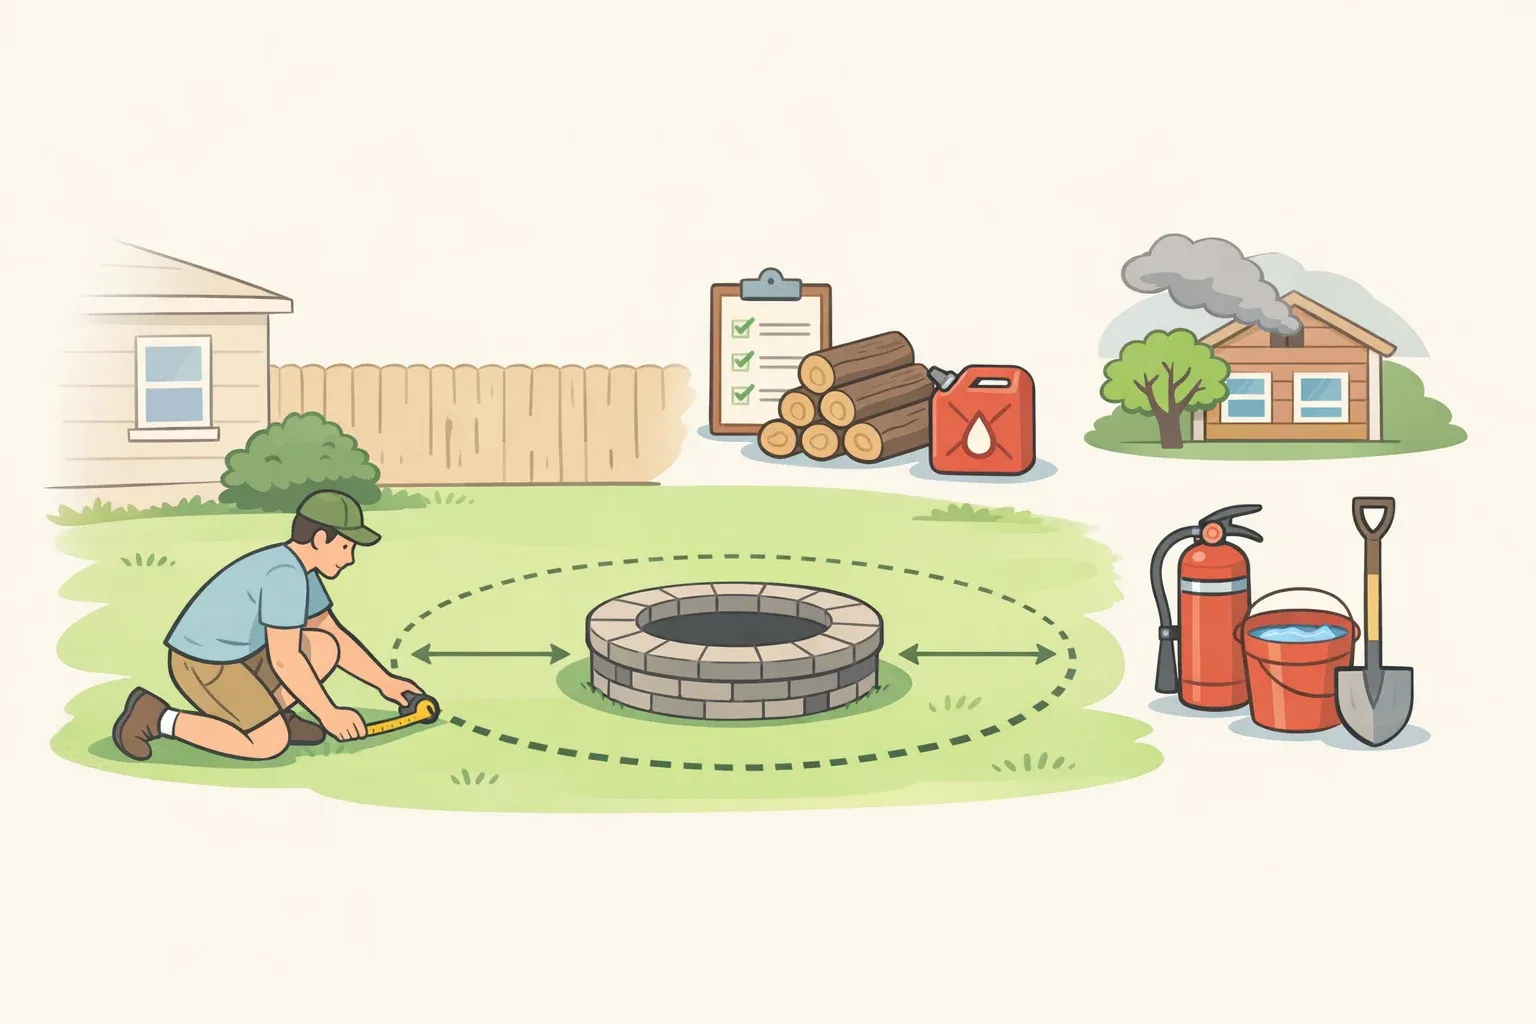
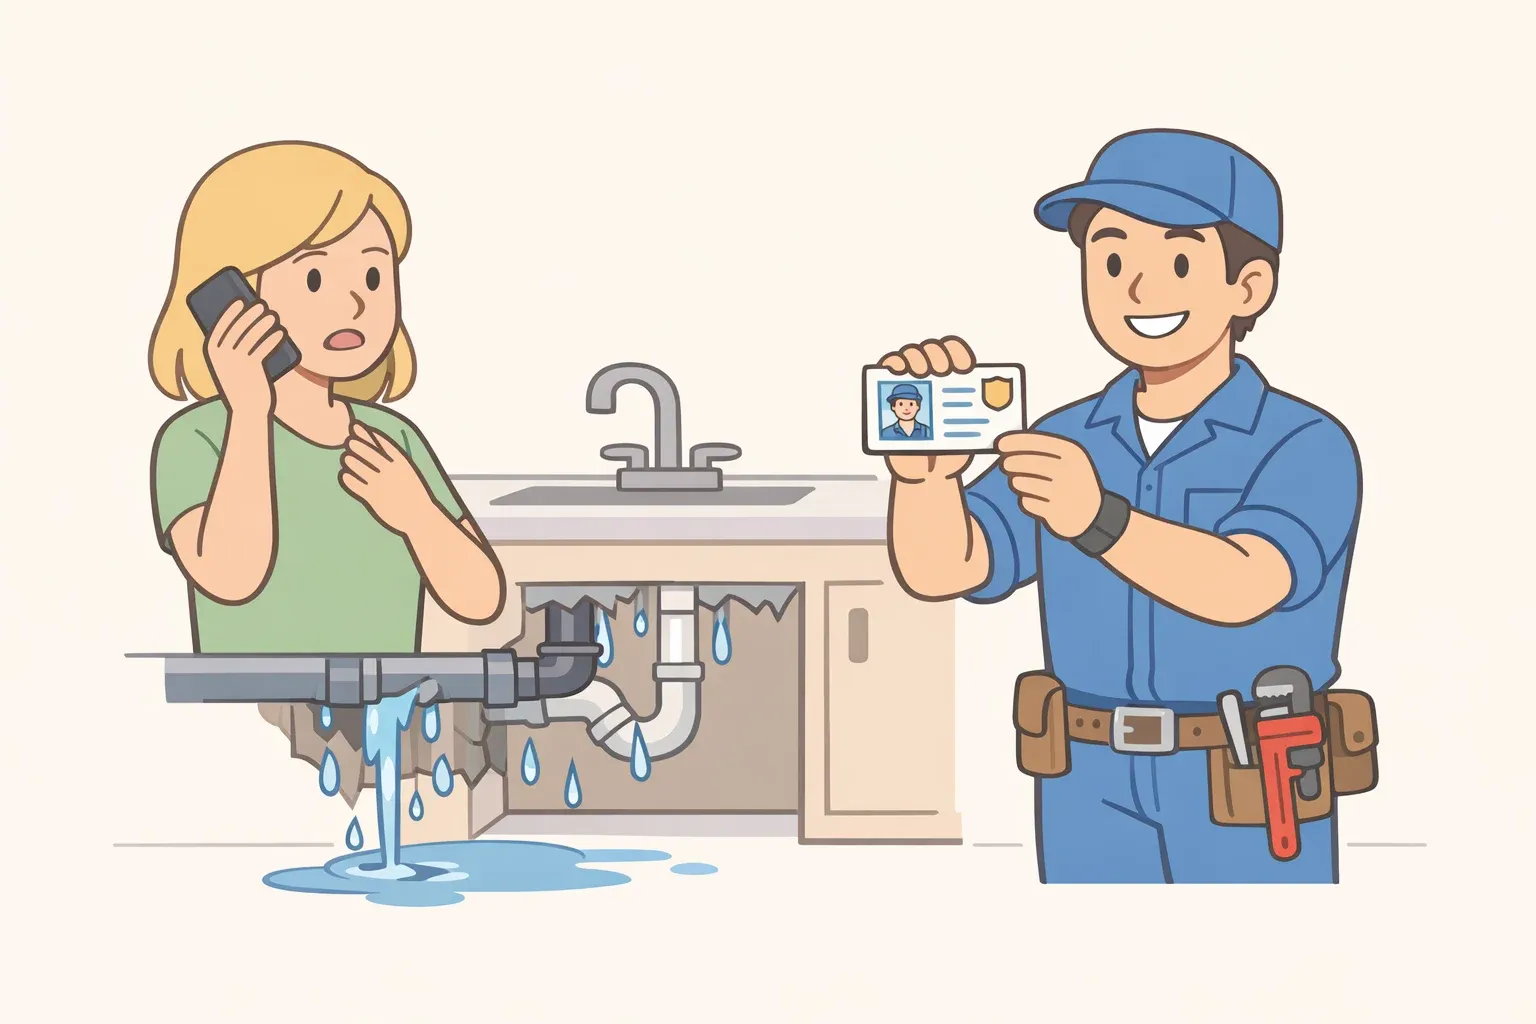
On load-bearing elements: building codes don't allow tampering with load-bearing concrete without permits, according to The Engineering Choice. Many homeowners skip checking whether a wall or slab carries load before drilling. If there's any doubt, that question belongs to a licensed contractor.
Step 2: Check for what's inside the concrete
Concrete can contain embedded rebar, electrical conduit, plumbing lines, and in some construction types, post-tensioned steel cables under enormous stored tension. Rebar in floor slabs is typically spaced 150–300mm apart and sits 25–75mm below the surface, according to Zhonghuan Tools. None of this is visible from the surface.
The consequences of hitting these elements are serious. Striking a post-tension cable can release stored energy catastrophically and has caused fatalities, Zhonghuan Tools notes. Cutting an embedded electrical line can cause electrocution. A single utility strike costs an estimated $56,000 in damage on average, per The Engineering Choice, and that's before accounting for the safety consequences.
When a consumer detector is enough, and when it isn't:
- For shallow anchor holes in clearly non-structural concrete, such as a basement partition wall, standard brick or block, or an above-grade garage wall, a consumer rebar detector provides a reasonable first check. These devices can locate steel up to 120mm deep and are available for $30–$150, per Zhonghuan Tools. A consumer detector may help locate shallow steel, but it is not a substitute for professional scanning where embedded utilities or post-tension cables are possible.
- For any floor slab, structural wall, older building with an unknown construction history, or any concrete where post-tension cables may be present: hire a ground-penetrating radar (GPR) scanning service. GPR requires access to only one side of the structure and can map rebar layers, slab thickness, voids, and embedded utilities, per The Engineering Choice. That same source notes GPR scanning has become the standard first step in professional concrete work before any drilling begins.
If the bit hits unexpected resistance and rebar is suspected: stop. Shifting the hole 50–100mm in any direction will typically clear the rebar without compromising the anchor's function, per Zhonghuan Tools provided the anchor location has any flexibility. Deliberately drilling through embedded rebar requires specialized bits and technique, and may require structural sign-off. It is not a standard homeowner operation.
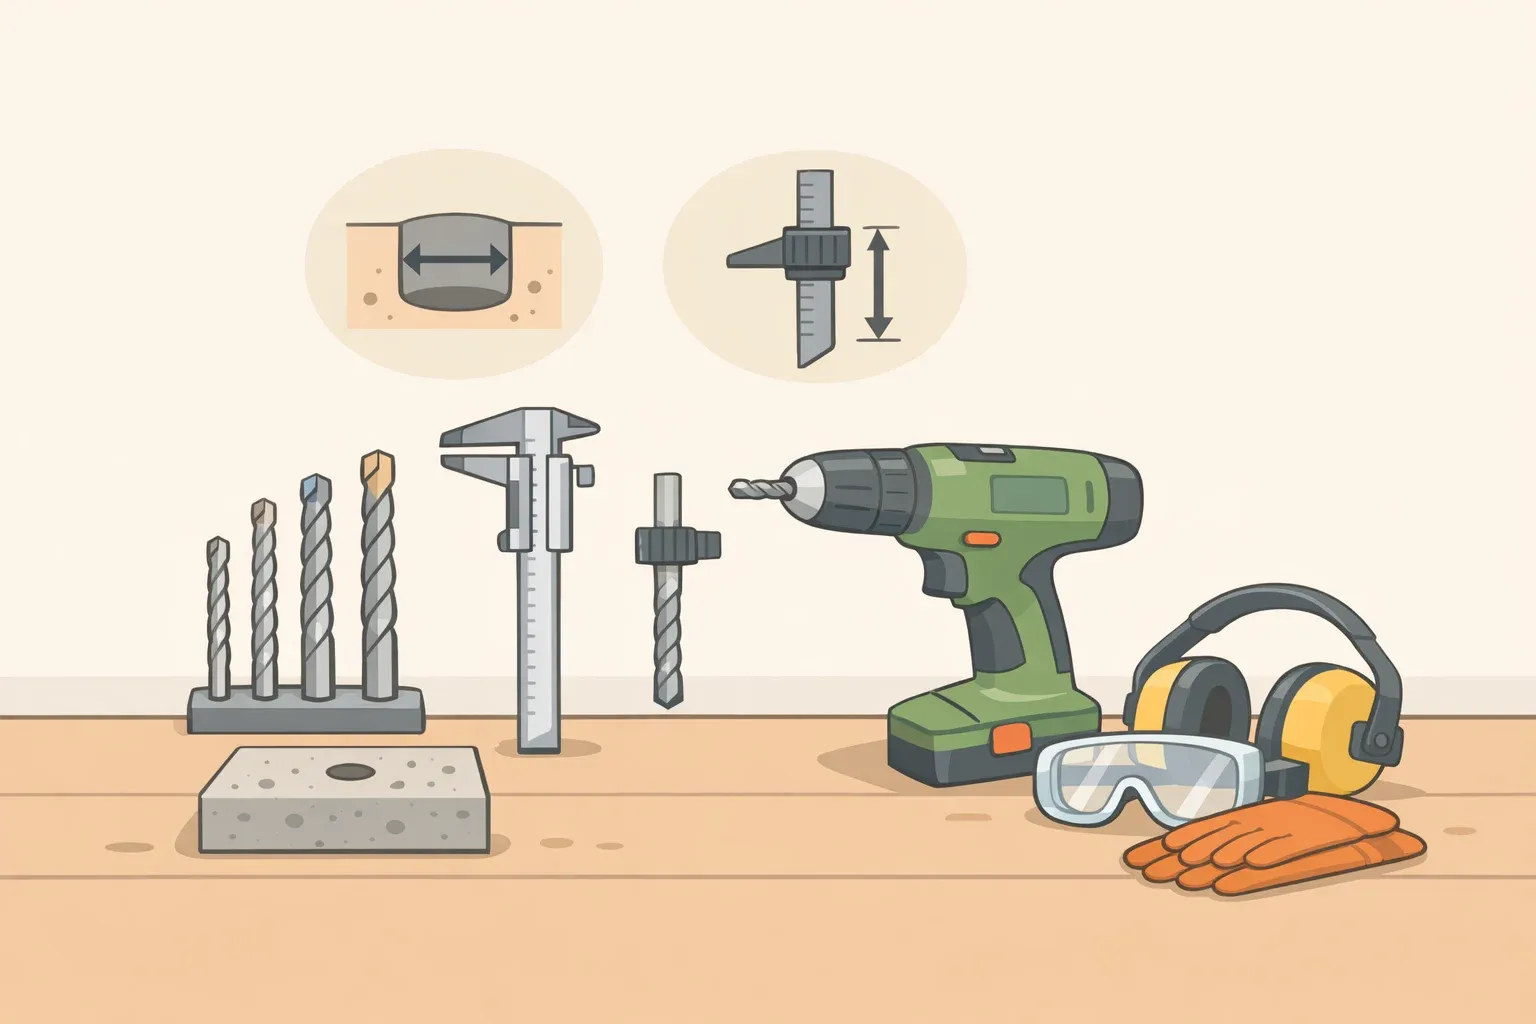
Step 3: Choose the right drill for concrete walls and slabs
A hammer drill is the correct tool for small anchor holes. It combines rotation with rapid axial percussion, spinning and striking forward simultaneously. This mechanism handles holes up to roughly half an inch in diameter in concrete, brick, or block. For typical home anchor tasks Tapcon screws, expansion bolts, shelf brackets, TV mounts a hammer drill is sufficient, according to The Engineering Choice. If a cordless drill includes a genuine hammer mode, not just a clutch setting, it may qualify. A standard drill/driver or impact driver does not.
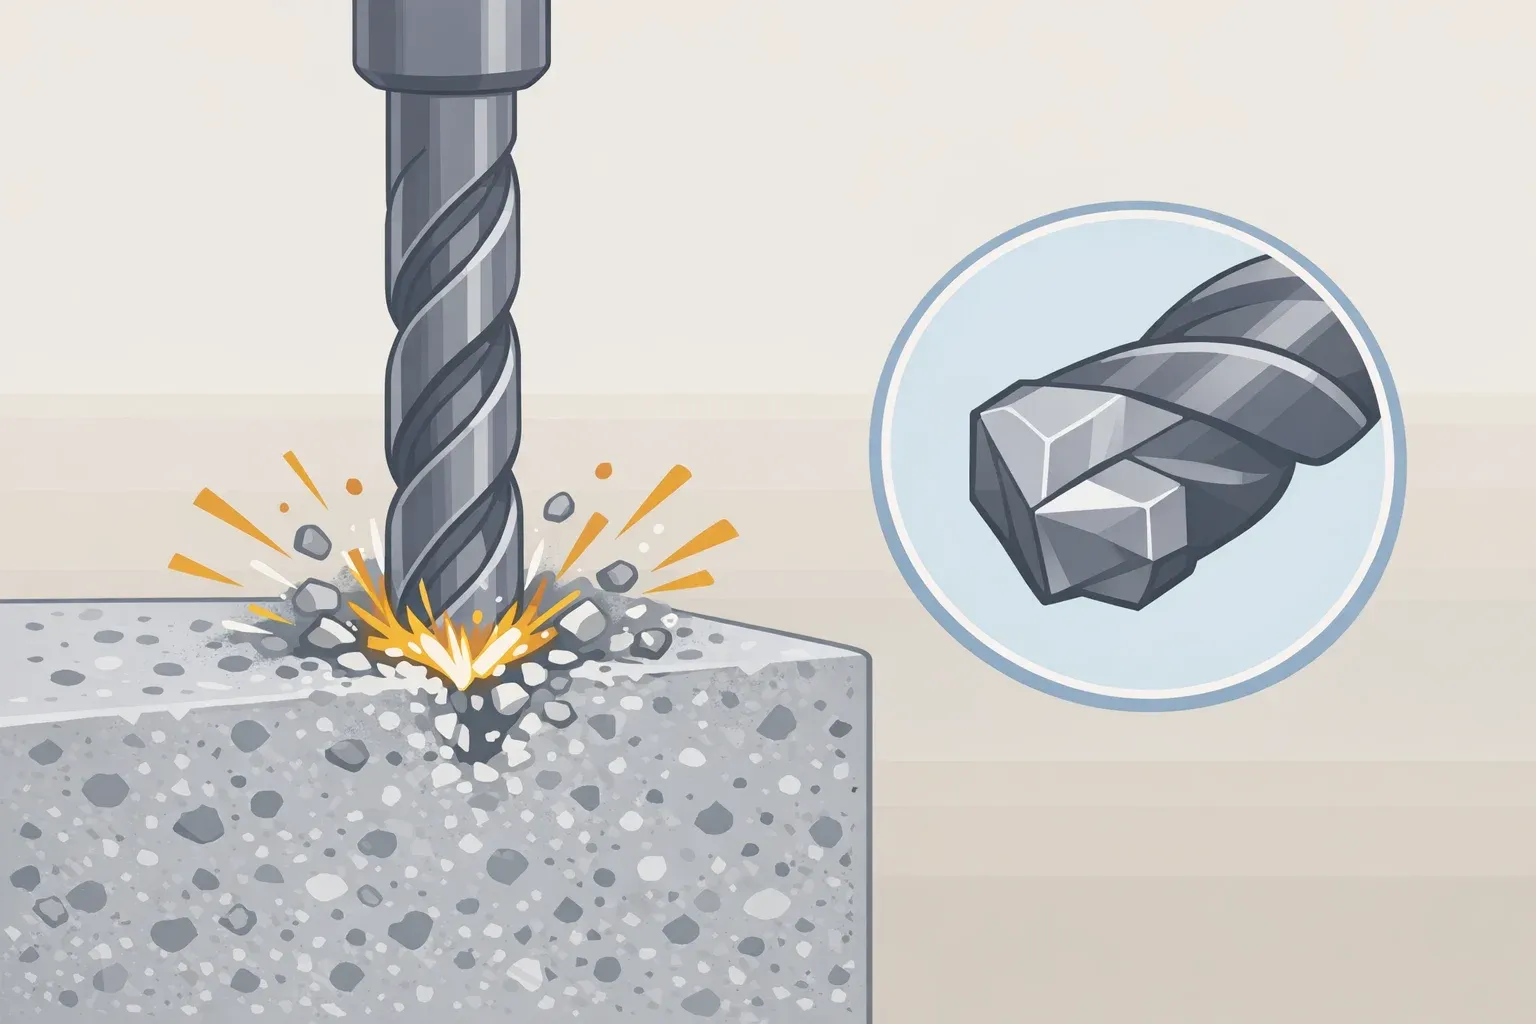
A rotary hammer is the appropriate tool for deeper or wider work. It uses a pneumatic or electro-pneumatic mechanism to deliver substantially greater impact energy; think of a compact jackhammer that also rotates. For holes wider than half an inch or deeper than 3–4 inches, a rotary hammer is not a luxury it's the correct tool for the job, per The Engineering Choice. Rotary hammers use SDS-plus shanks, which lock into the chuck and allow controlled bit travel during each impact stroke, a design that improves efficiency and reduces recoil. Rental shops typically carry them for $40–$75 per day.
Using the wrong tool amplifies every risk. Standard construction drills and impact drivers used on concrete dramatically increase the likelihood of tool damage, failed holes, and physical injury from unexpected recoil, according to The Engineering Choice. Handheld coring without proper rig support has caused broken wrists even among experienced operators. The tool match is a safety decision, not just a convenience one.
One point worth clarifying on hex-shank masonry bits: some masonry bits come with hex shanks for use in hammer drills. That does not make an impact driver acceptable for concrete drilling. The shank format is a fitment detail; the impact driver's internal mechanism is still wrong for masonry percussion.
Noise is a real hazard even for short sessions. Hammer drills can exceed 100 dB in operation. OSHA mandates hearing protection at 90 dBA over an eight-hour workday, with safe exposure time halving for every 5 dB increase above that threshold, per The Engineering Choice. Earplugs or earmuffs belong in the kit for any concrete drilling task.
Step 4: Pair the drill with the right bit for concrete
The drill body delivers the energy. The bit is what actually cuts.
Tungsten carbide masonry bits are the baseline requirement. Standard steel bits dull against concrete almost immediately. Masonry bits tipped with tungsten carbide, which rates 8 out of 10 on the Mohs hardness scale, are engineered to grind through concrete's aggregate, as The Engineering Choice notes. For hammer drills, these come in standard round or hex shanks. For SDS-plus rotary hammers, use SDS-plus shanked bits specifically. The shank formats are not interchangeable.
Sizing for common home tasks:
- Concrete anchor screws: use the bit diameter printed on the anchor packaging. Manufacturers specify this per fastener type and concrete strength class, and those numbers are more reliable than general estimates.
- Expansion anchors and wall plugs: bit diameter should match anchor diameter exactly. Too large and the anchor won't grip.
- Mark drilling depth on the bit with a strip of masking tape before starting to avoid overdrilling.
Large-diameter penetrations require a different approach entirely. For holes 50mm or wider, diamond core drilling is the appropriate method, not a larger hammer drill bit, per Zhonghuan Tools. Diamond core drills cut rather than percussive-hammer, require water or vacuum for heat and debris management, and at larger diameters need to be rig-mounted. This is rental or hire territory. It is not a step up from buying a bigger bit.
Step 5: Control the dust the part most DIY guides skip
Concrete dust contains crystalline silica particles that scar lung tissue irreversibly upon inhalation. Sustained exposure causes silicosis, lung cancer, COPD, and kidney disease, according to The Engineering Choice. OSHA sets a permissible 8-hour exposure limit of 50 micrograms per cubic meter of air; the ACGIH threshold limit value referenced in NREL guidance revised in 2024 sets that benchmark at 25 micrograms per cubic meter. Two or three anchor holes drilled dry in a closed basement or garage can generate concentrations above both limits.
Two effective controls for DIY use:
- HEPA vacuum attachment while drilling. Attach a vacuum shroud at the bit and run a HEPA-filtered vacuum throughout the operation. HEPA filters capture 99.97% of particles at 0.3 microns and above, which covers silica, per The Engineering Choice. The dust collector must deliver the airflow recommended by the tool manufacturer and maintain at least 99% filter efficiency, per NREL. When those specifications are met fully, OSHA's Table 1 controls allow compliance to be assumed without air monitoring, per NAHB.
- Wet drilling. Introducing water at the bit at a minimum of half a liter per minute suppresses dust at the source, per The Engineering Choice. More common in professional and diamond core applications, wet drilling is a viable alternative when dust extraction attachment isn't available, but less practical for most small DIY anchor jobs.
One absolute rule: never blow out a drilled hole with compressed air. This aerosolizes settled silica dust directly toward the operator's face. Both OSHA and NREL explicitly prohibit using compressed air or dry sweeping for concrete dust and debris removal. Use a HEPA vacuum to clean drilled holes. Dispose of collected dust in a sealed container.
On respiratory and eye protection:
For outdoor concrete drilling, OSHA specifies a minimum assigned protection factor of 10, per The Engineering Choice. Indoor work without adequate dust extraction requires higher protection. If dust extraction controls can't be met, don't proceed casually indoors.
Safety glasses with side shields rated for 150-feet-per-second impacts are the minimum for any concrete drilling task. In roughly 90% of recorded workplace eye injury cases, the victim was either wearing no eye protection or the wrong kind, per The Engineering Choice.
Before you buy: the pre-project checklist
The complete setup for most home concrete anchor work: a hammer drill with a tungsten carbide masonry bit, a HEPA vacuum attachment running throughout, safety glasses with side shields, and hearing protection. That covers anchor holes, shelf brackets, TV mounts, and similar residential tasks without overcomplicating the kit.
Scale the tool when the job grows. Deeper or wider holes call for a rotary hammer with an SDS-plus bit. Large-diameter penetrations call for a diamond core drill, ideally rig-mounted. Both are available at equipment rental shops no reason to own a rotary hammer for a single project.
Before purchasing bits, run through this list:
- Anchor spec sheet: Pull the manufacturer's data sheet. Bit diameter and minimum embedment depth are listed per anchor type and concrete strength class. These numbers tell you definitively whether a hammer drill is sufficient or a rotary hammer is required.
- Hole diameter and depth: Confirm against the matrix in Step 1. If the job has grown since you started planning, the tool requirement may have changed.
- Wall or slab type: Partition wall or structural element? Known construction history or unknown? This determines whether a consumer rebar detector is adequate or a GPR scan is the right call.
- Dust control setup: HEPA vacuum with a shroud attachment, or wet drilling if the setup supports it. No exceptions for indoor work.
- PPE: Eye protection with side shields and rated impact resistance, plus hearing protection. Both on before the first hole.


Comments
Be the first, drop a comment!