





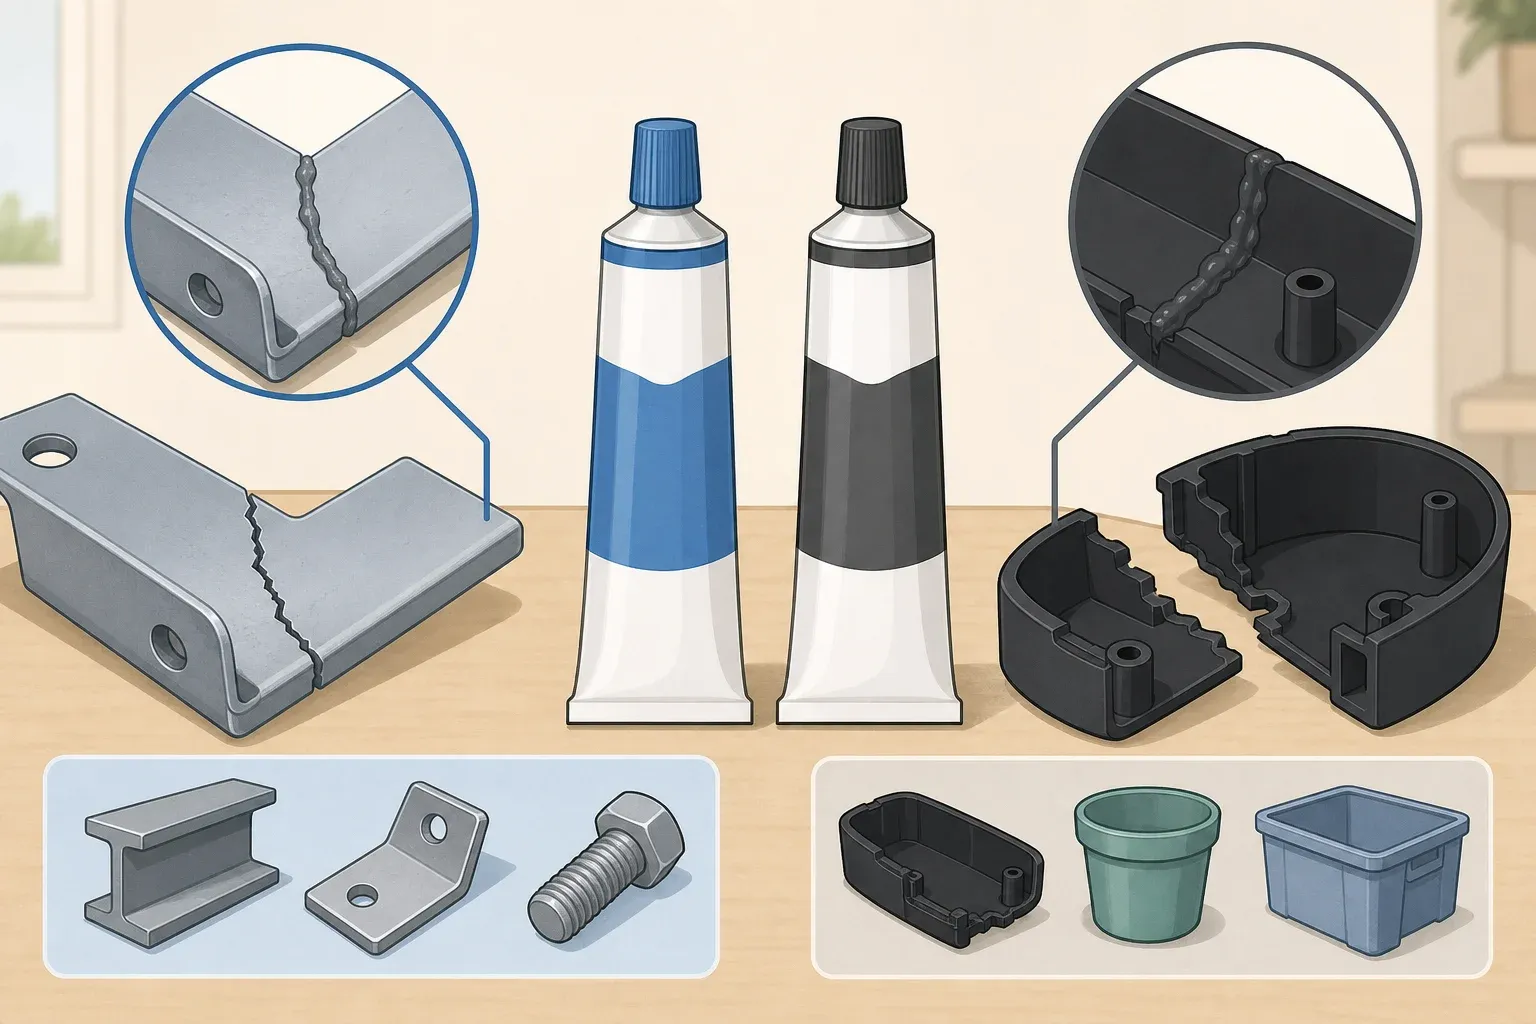
Neither J-B Weld nor Gorilla sells one epoxy that beats everything else, even inside its own lineup. J-B Weld alone publishes four distinct formulas, each with its own cure time, strength rating, and best use. That's the real starting point for a J-B Weld vs Gorilla Epoxy decision: instead of picking a brand, match the product's format, material rating, and exposure limits to the actual crack, gap, or part sitting in front of you.
This guide builds that decision framework around J-B Weld's four documented formulas, since their specifications are published and verifiable on the manufacturer's own pages. Gorilla doesn't publish a matching set of specs in the same research used here, so this isn't a side-by-side brand scorecard. It's a set of criteria, worked out in detail with J-B Weld's numbers, that you can hold up against any Gorilla product's own label before buying.
The short version: match format to damage first
Before brand or budget, sort the repair into one of these categories:
A tight, aligned crack that still fits together usually calls for liquid epoxy, if the product's instructions allow that kind of thin-bond application.
Missing material, a stripped hole, or an irregular void usually calls for putty, again checking that the specific product is rated for rebuilding rather than just bonding.
An unknown plastic needs its resin type identified and a compatibility test before anything gets applied.
Heat or water exposure means checking the exact rating on the label, not assuming any epoxy handles it.
A gas line, drinking-water line, or load-bearing structural repair is safer left to a licensed professional, regardless of brand or formula.
The rest of this guide unpacks each of those, then walks through J-B Weld's specific numbers and the mixing and application steps.
Bond or rebuild: confirm which job this is
A crack or clean break where the pieces still sit flush against each other is a bonding job. A missing chunk, a stripped screw hole, or a crumbled corner is a rebuilding job that needs something moldable enough to replace what's gone.
J-B Weld's ClearWeld cures clear and transparent only at thicknesses under 15 mil. Its clear-finish specification makes it a better fit for thin, visible bond lines than for repairs where appearance is less important, according to its product page. SteelStik and PlasticWeld work differently: they're hand-mixable putties meant to be molded and built up over damaged material.
If it's not obvious which category applies, dry-fit the broken pieces by hand first, no adhesive yet. A flush fit with no visible gap generally suits a liquid bond. A gap or missing piece may need a thicker application, a different liquid formula, or putty, depending on what the specific product's instructions allow.
Match the epoxy to the material, especially plastic
"Plastic" isn't one material. It's a category covering dozens of resins, and an epoxy that grabs onto one type can slide right off another.
PlasticWeld's page states plainly that it won't adhere to polyethylene or polypropylene, and it instructs users to test for adhesion first. That test matters more than which brand's tube is on the shelf. If the plastic isn't identified, test an inconspicuous area first, following the package's own directions, before committing to the full repair.
ClearWeld is listed for tile, most plastics, ceramic, glass, wood, and metal, according to its product page, while SteelStik is built specifically for metal, per its listing. Check the specific product's listed materials rather than assuming any epoxy covers everything.
Think about what the repair has to survive
Material tells you what the epoxy needs to stick to. Exposure tells you whether the rating on the label actually applies to the conditions the repair will face.
SteelStik is rated to handle water pressure up to 500 PSI and temperatures up to 350°F, according to its product page. That's a manufacturer claim about a cured patch's general tolerance, on something like a leaking tank or fitting, not an approval for drinking-water or code-regulated plumbing. HighHeat is rated for 450°F of continuous heat and spikes up to 500°F, and that figure belongs to this specific tested formula, not to epoxy putty as a category.
Gas lines, drinking-water plumbing, and load-bearing structural repairs sit outside what any store-bought epoxy is built to handle. That's plain caution, not a rule printed on a tube: a failure in one of those systems carries more risk than a failure in a shelf bracket, so a licensed professional belongs on that job instead of a stronger-rated putty.
J-B Weld epoxy vs Gorilla epoxy: compare the formula, not just the name
J-B Weld publishes specific numbers for its epoxy lineup, which makes it possible to lay out exactly what each formula is built for.
ClearWeld
Best for: Thin bonds on glass, ceramic, tile, wood joints, and most plastics
Working/set time: 5 min set; longer below 40°F
Manufacturer milestone: Full cure at 1 hr
Tensile rating: 3,900 PSI
Cured color: Clear under 15 mil
SteelStik
Best for: Rebuilding or patching metal
Working/set time: 3–5 min set
Manufacturer milestone: Machinable at 60 min
Tensile rating: 4,000 PSI
Cured color: Dark gray
PlasticWeld
Best for: Rebuilding cracked or missing plastic, except polyethylene and polypropylene
Working/set time: 20–25 min work life
Manufacturer milestone: Functional cure at 2–3 hr
Tensile rating: 700 PSI
Cured color: Off-white
HighHeat
Best for: Automotive and industrial parts exposed to sustained heat
Working/set time: 1 hr set
Manufacturer milestone: Machinable at 8 hr
Tensile rating: 4,000 PSI
Cured color: Dark gray
PlasticWeld's 700 PSI rating looks low next to SteelStik's 4,000 PSI, but that's a manufacturer-published tensile figure for a different base material, not proof of a weaker product.
So is J-B Weld actually better than Gorilla Epoxy? That comparison can't be made honestly from what's published here. J-B Weld's numbers above are documented on the manufacturer's own product pages. Before setting a Gorilla product next to any of them, check Gorilla's package or technical data sheet for the same four things: format (liquid or putty), stated working and full-cure times, a published tensile rating if the brand lists one, and any material exclusions or heat and water ratings. A similar-sounding product name isn't proof of a matching formula.
Liquid vs putty: the practical differences
Format decides more of the outcome than most people expect.
Gap-filling is the clearest split. ClearWeld is built to flow into a thin seam, not to span a missing chunk of material, while SteelStik is specifically designed to be built up and molded to replace missing volume, per J-B Weld's ClearWeld and SteelStik pages.
Appearance matters too. ClearWeld cures transparent under 15 mil, the only option here suited to a repair where the seam needs to stay invisible, like a glass figurine or a ceramic piece on display. Putties cure to a solid, opaque color instead: dark gray for SteelStik and HighHeat, off-white for PlasticWeld. That makes putty better suited to a repair headed for sanding, priming, and paint rather than one left bare.
Working time changes the job as well. ClearWeld sets in about five minutes and needs the joint held still the moment it's applied. Putty gives more room to work an irregular shape by hand: SteelStik's 3-5 minute window suits a quick patch, while PlasticWeld's longer 20-25 minute window leaves time to sculpt a rebuilt corner or edge.
What you'll need
The steps below match the four cited J-B Weld products. If you're working with a Gorilla epoxy or another brand, follow that product's own package instructions instead, since mixing ratios and work windows differ by formula.
A detergent or degreaser, plus a file or coarse sandpaper for surface prep
For liquid epoxy: a flat mixing tray or scrap surface and a stir stick
For putty: clean hands for kneading
Clamps or tape to hold a bonded joint still through the set window
A timer, since working or setting windows run from about 3 to 25 minutes depending on the formula
Gloves and ventilation as needed. Check the label for the required protective equipment, since it varies by product
This is beginner-friendly work for a simple bonded crack. It shifts to intermediate DIY once the repair needs shaping, drilling, or paint after cure, so plan for that extra stage instead of discovering it partway through.
Steps for liquid epoxy
Clean the surface of dirt, grease, oil, paint, or loose debris and let it dry fully, per J-B Weld's ClearWeld instructions.
Roughen the surface with a file or coarse sandpaper so the epoxy has texture to grip, following J-B Weld's general bonding guidance on its Know Your Bond page.
Dry-fit the pieces without any epoxy first, so the alignment is already worked out before the clock starts. There's no time to figure that out once a five-minute set time is running.
Dispense equal parts resin and hardener onto the mixing tray and stir until the color is completely uniform, matching the 1:1 ratio on ClearWeld's product page.
Apply a thin, even layer to one surface and join the pieces right away. ClearWeld sets in 5 minutes, longer if the room is below 40°F, so don't mix more than can be used in that window, per the same product page.
Hold or clamp the joint firmly, but not so hard that all the epoxy squeezes out, and keep it still until the set time passes. Disturbing the joint during this window can throw off an otherwise clean alignment.
Let the repair sit undisturbed for the full 1-hour cure before testing it, per the same ClearWeld listing.
Steps for epoxy putty
Clean and roughen the surface the same way as above.
Test an unknown or unlabeled plastic on a hidden spot first. PlasticWeld's own instructions call for testing adhesion before committing to the repair, since it won't bond to polyethylene or polypropylene.
Cut off the amount of putty needed and knead it by hand until the color is completely uniform. A marbled or streaked mix isn't ready yet.
Press and shape the putty over the damaged area within the stated work window, 3-5 minutes for SteelStik or 20-25 minutes for PlasticWeld, according to their respective pages. Get the shape close to final before the window closes; each formula's own page is the only reliable guide for what to do if it starts setting early.
Respect each formula's own cure milestone before machining. SteelStik can be drilled, tapped, or painted about 60 minutes after mixing. PlasticWeld reaches a functional cure at 2-3 hours; don't treat that milestone as permission for heavy loading unless the product instructions say so. HighHeat needs a full 8 hours before machining.
Check the repair before you trust it
Inspect for gaps, tackiness, movement at the joint, or uneven color that signals incomplete mixing. If the repair still feels tacky, shifts when touched, or looks streaky, treat it as unfinished. Scrape off what can still be removed and remix from the start rather than layering fresh epoxy over a batch that never set up right.
Give the repair the full manufacturer-listed cure time, not just the set time, before putting real stress on it. A clean visual check tells you the repair looks right; it doesn't certify that a load-bearing or pressurized repair is safe to put back into service.
Badly rotted or crumbling wood is a separate problem. ClearWeld is listed for bonding a clean wood joint, not rebuilding decayed material, so wood that's soft, crumbling, or water-damaged generally needs a dedicated wood filler or outright replacement.
Finish line
Once the repair has cleared its full cure time with no tackiness, gaps, or movement at the joint, it's ready for normal use. If a repair keeps coming loose in the same spot, don't reach for a higher-PSI product as the fix; go back to the dry-fit and material-test steps above and confirm the format and material match were right in the first place.
If the job touches a gas line, a drinking-water pipe, or anything load-bearing, set the epoxy aside and call a licensed professional. That's a judgment call no consumer adhesive, from either brand, is built to make on its own.

















Comments
Be the first, drop a comment!