



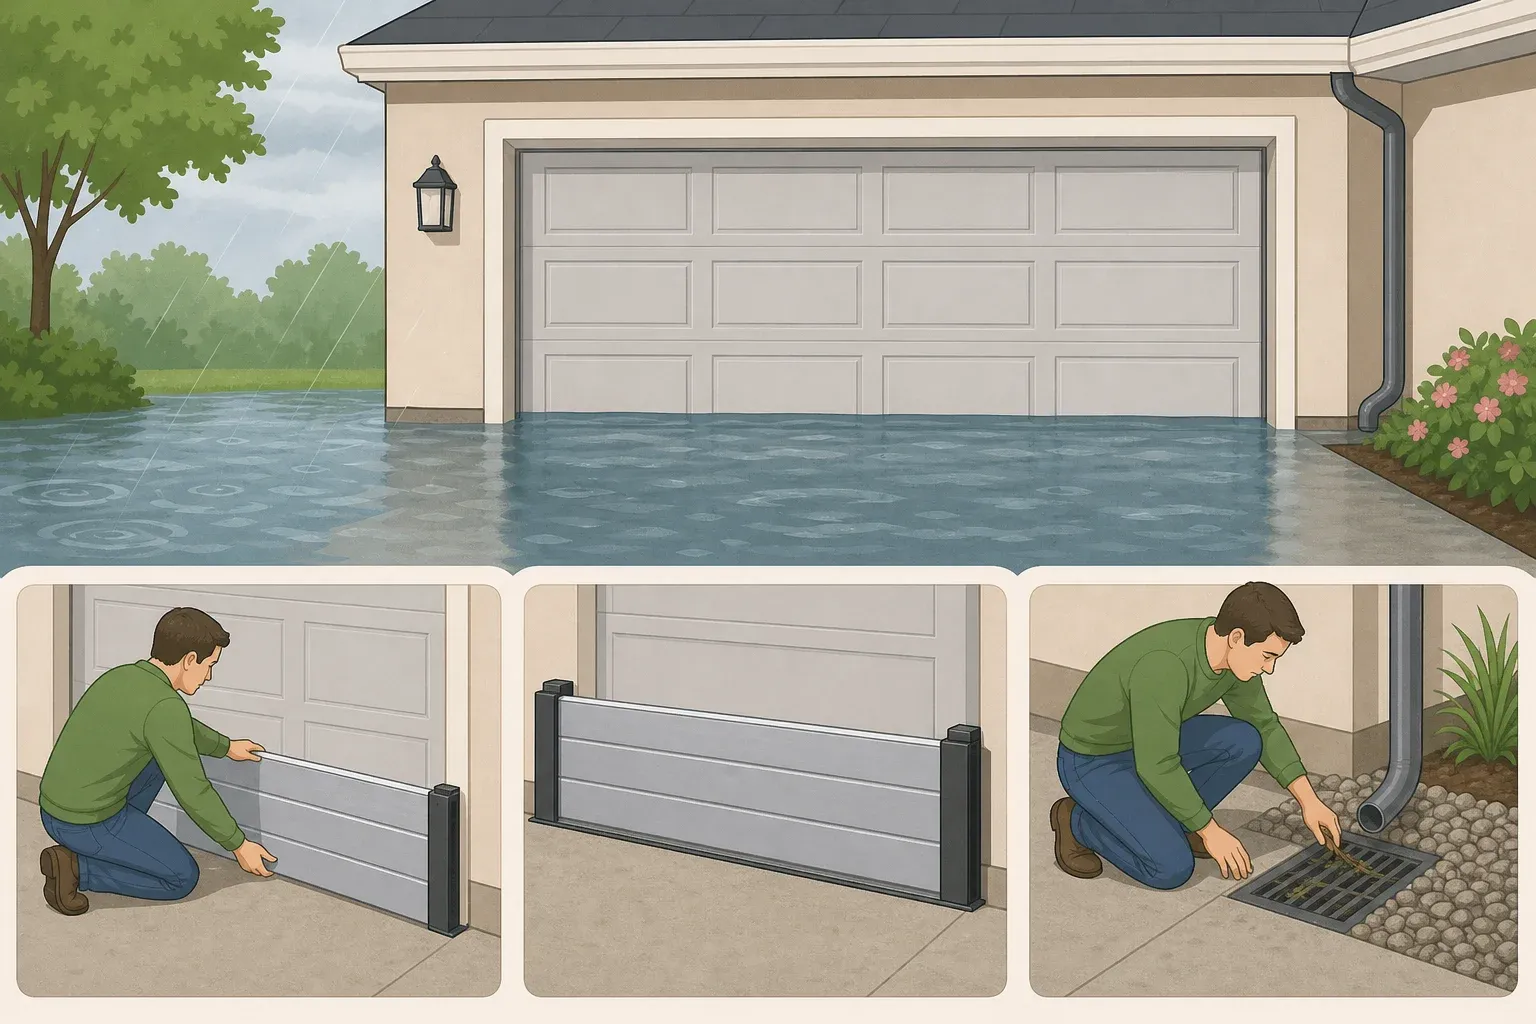
How to protect a garage from flooding: step-by-step guide
The right way to protect a garage from flooding isn't to buy the biggest barrier you can find. It's to figure out how deep and how fast water actually reaches that door, fix the drainage problems you control, and then choose a barrier rated for the threat you actually have.
A garage door is one of the larger ground-level openings in a house, and it deserves the same scrutiny you'd give any entry point, especially if it's attached to living space or stores appliances, vehicles, or chemicals. Flooding is the most common natural disaster in the United States, according to Utah State University Extension. That's reason enough to take a hard look at the garage even if the property has never flooded before or shown up on a flood map.
This guide covers homeowner-level assessment, drainage fixes, and barriers you can buy or rent yourself. Permanently installed engineered systems need a professional installer and local permit review. One boundary matters more than any product choice: if a flood or evacuation warning has been issued for your area, or water is already rising at the property, stop and follow it. Nothing here, including every step below, is meant to justify staying in a home once officials say to leave.
Why your garage needs a flood check
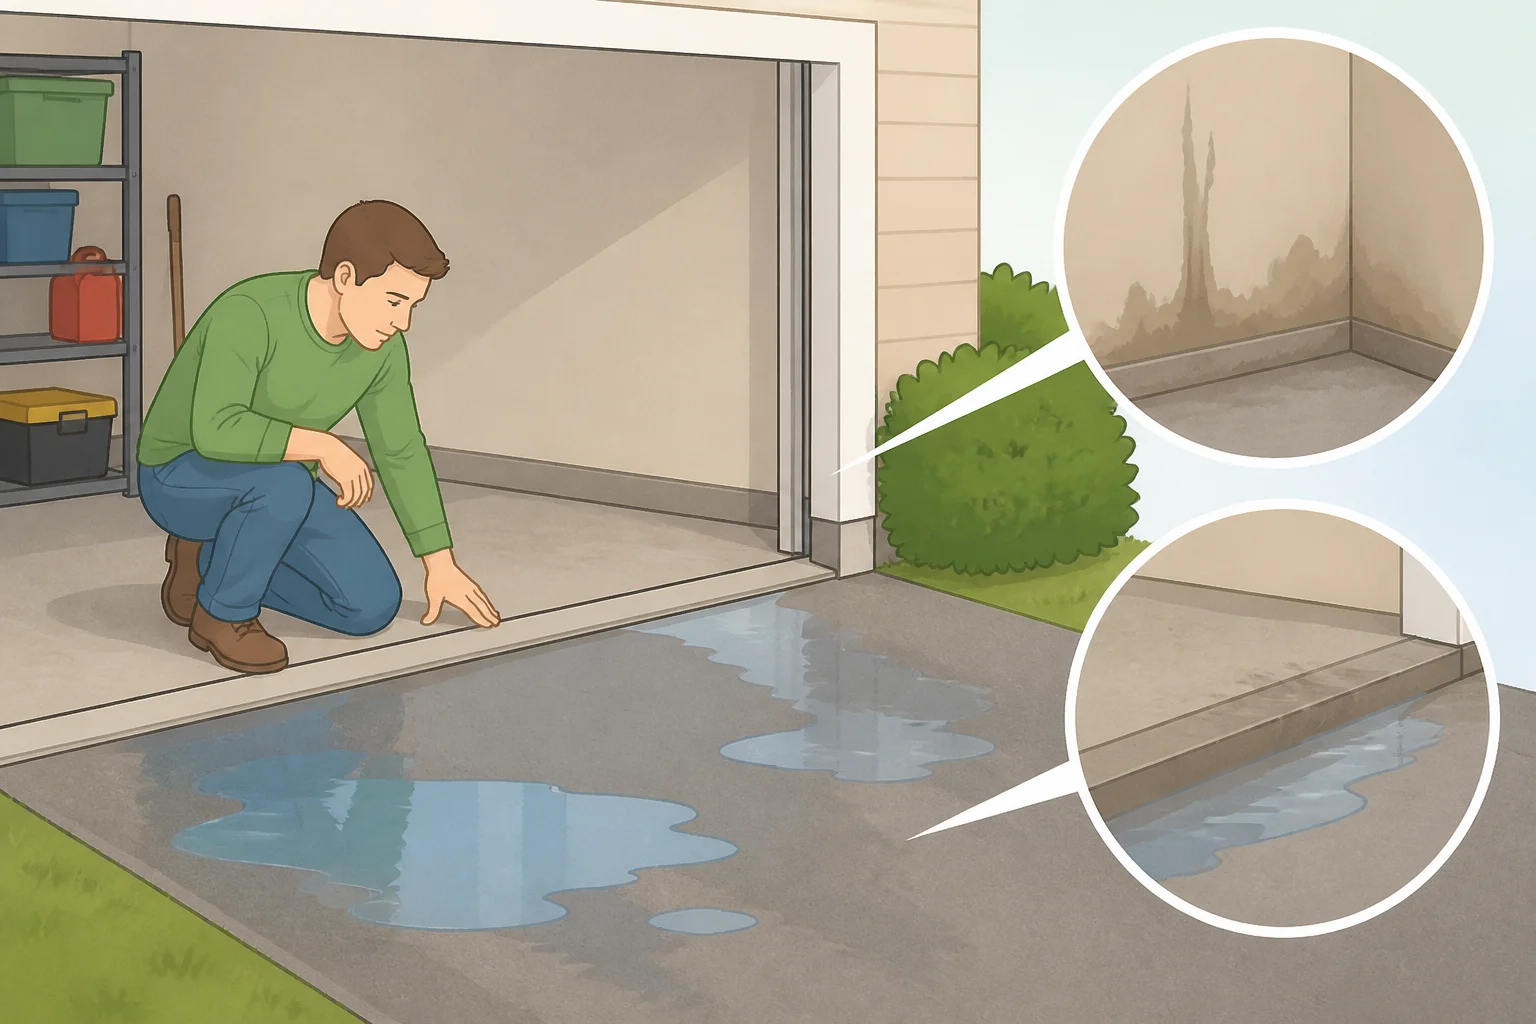
Garages aren't automatically a home's biggest flood weak point, but they become a priority fast when they sit low relative to the yard or street, connect directly to living space, or hold things that don't tolerate water: freezers, water heaters, paint, chemicals, electronics.
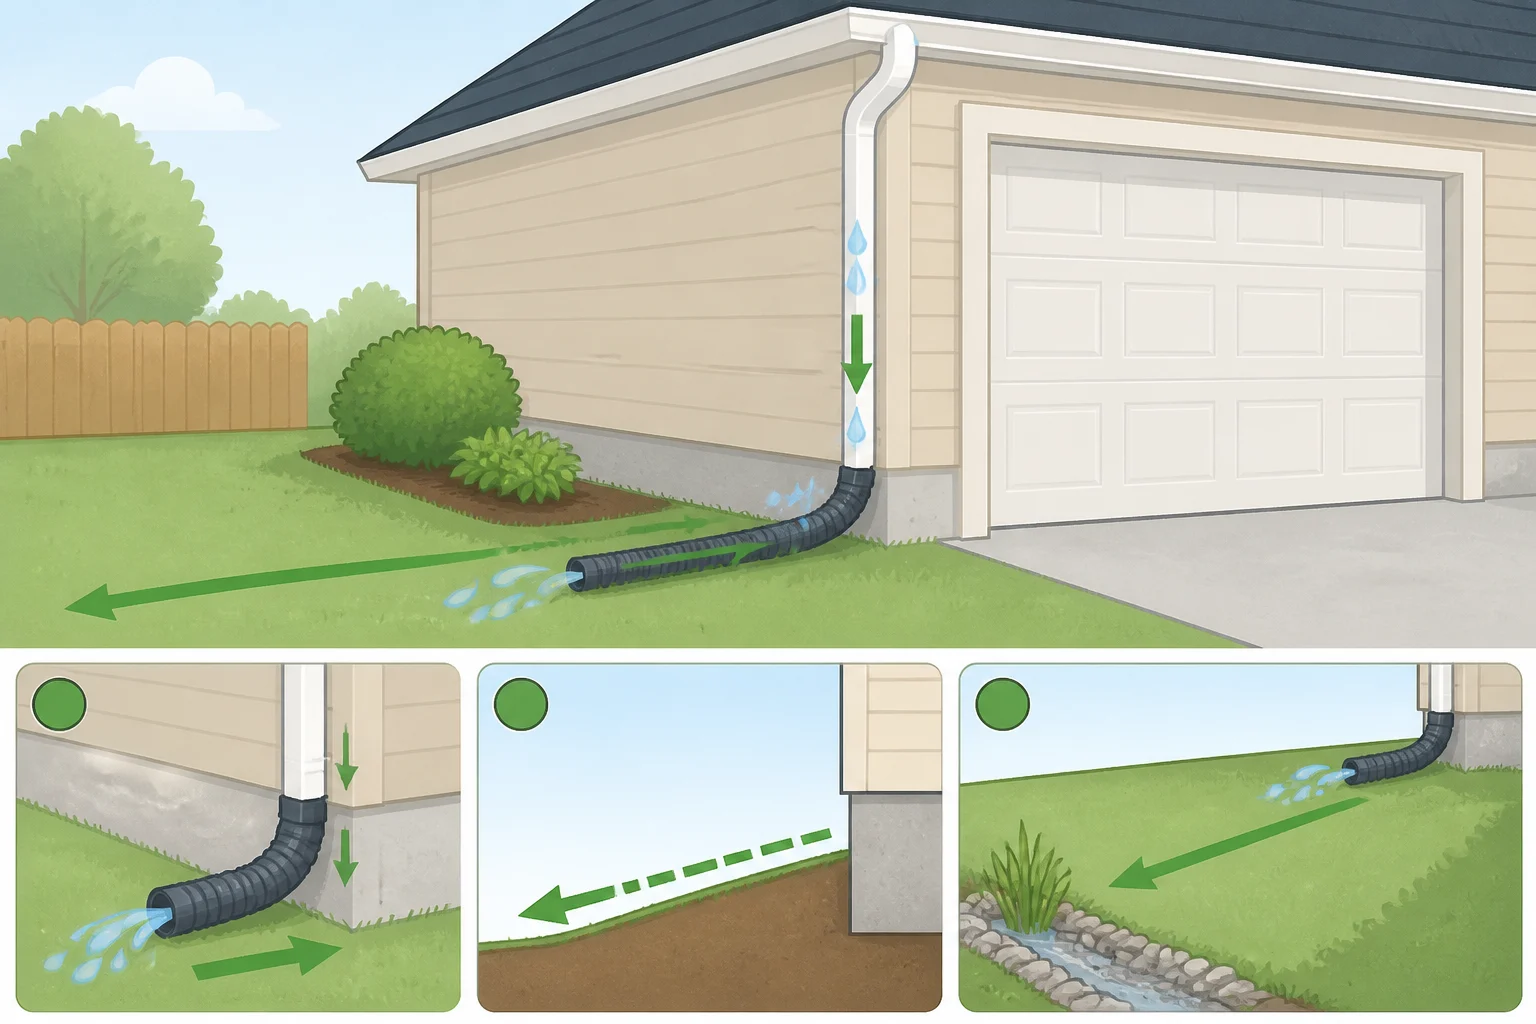
Snowmelt is one of the sources of water that collects around a foundation, and the same drainage principles that protect a basement, grading, contouring, working downspouts, apply to a garage's ground-level opening too. Moving snow 3 to 5 feet away from the house can reduce problems, provided the ground slopes about an inch per foot nearby, according to Utah State University Extension. As that snow melts, a downspout that actually carries water away from the structure, rather than dumping it at the base, makes the same kind of difference.
None of this means every garage is a disaster waiting to happen. It means the ones with poor grading, a flat or inward-sloping driveway, or a history of water at the threshold deserve a closer look before the next storm season.
How to prevent garage flooding before you buy a barrier
Take a careful look at the property before spending money on sandbags or an inflatable barrier. This decides whether you need a small number of sandbags or a professionally designed system, and it's worth doing before anything else.
Start with visible evidence. Look for old waterlines or staining on the garage walls or driveway, and check whether the driveway slopes toward the door or away from it. After the next heavy rain, go look: does water collect right at the threshold, flow across it, or drain away before it reaches the door?
Next, figure out what kind of water you're planning for. Pooling runoff from rain or snowmelt behaves differently than rising floodwater or storm surge, and that difference decides which barrier is even appropriate. Sandbags are described by Boston.gov's emergency management office as suitable for slow-moving water up to about 15 inches deep. They can fail if used for the wrong kind of water, and they aren't effective against storm surge or fast-moving water.
Check with your local floodplain or emergency management office about whether the property sits near a waterway, drainage channel, or known flood corridor, and ask about permit requirements before installing anything permanent. Rules vary widely by city. Boston, for example, requires permits for barriers that alter egress paths or sit in the public right of way, and requires owners of larger barriers to register them with the city's emergency management office, per Boston.gov. Your city's rules may look nothing like that, which is why a phone call beats an assumption.
Use what you've found to sort the situation into one of three categories. This isn't an official flood rating, just a practical way to match the next move to the actual risk:
- Shallow, slow, occasional runoff: improve downspouts and grading, and keep sandbags on hand for a specific storm.
- Shallow but recurring water: trace where the water is coming from before buying anything, then consider a reusable barrier, but only one whose rated height, surface requirements, and water type actually match the site.
- Water deeper than a foot, fast-moving water, or water from a nearby stream or storm surge: stop shopping for a bigger DIY barrier and arrange a professional site assessment instead.
One thing worth sitting with before buying anything beyond sandbags for a single event: a barrier at the garage door doesn't make water disappear, it redirects it. That can mean more water against another part of the foundation, across a walkway, or onto a neighboring property. Think through where the water actually goes before installing something more permanent.
What you'll need: matching tools to your risk tier
If the garage sees shallow, occasional pooling, sandbags are the cheapest fix. Plan on about 10 for an average-size garage door, Boston.gov notes. They're labor-intensive to stack and can't be reused, but for a one-time storm they do the job.
If water shows up more than once a season, a reusable garage door flood barrier is worth the extra cost. Options include water-activated expanding bags or tubes, pre-activated and stacked before the storm arrives; water-filled tubes that must be filled in place once positioned, since they're too heavy to move full; inflatable door barriers that set up in minutes with a standard air pump; and expandable gate panels that link together to cover wider openings. Most of these, aside from traditional sandbags, can be stored and reused, according to Boston.gov. Reusable isn't the same as reliable for every situation, though. A barrier rated for 15 inches of slow water won't handle a fast-moving flood just because it's been used before.
Before buying any of these products, check a few things the specs sheet should answer directly:
- the maximum water depth and water speed it's actually rated for
- whether it works on a sloped, cracked, rough, or uneven driveway surface
- the exact width of your opening, and whether you need side returns to seal the corners
- whether it's rated for salt water, if the property is coastal
- how long setup takes, how it's stored between uses, and whether it needs a pump
- whether it blocks the only pedestrian exit or vehicle access out of the garage
If your property regularly sees water deeper than a foot, or the water moves fast rather than pooling, that's a different conversation, covered below under escalating beyond DIY.
A few drainage basics are worth having regardless of which tier applies: downspout extensions, grading material to redirect runoff, a working sump pump, and a backup portable pump if the garage or basement has had water trouble before. These aren't rated to a specific depth; they're good practice for keeping water off the slab in the first place, per Utah State University Extension. Sandbags and reusable door barriers are projects most homeowners can set up, but setup still depends on the surface, the product's weight, and the manufacturer's own instructions, so read those before storm day rather than during it. Anything involving a permanently installed system is a job for a professional installer, sometimes with engineering plans and a permit, particularly if it changes an egress path, Boston.gov advises.
Managing water and deploying your barrier
Before anything on this list: if a flood or evacuation warning is active, or water is already rising, stop and follow it. The steps below are for preparing ahead of a storm, while it's still safe to be outside, not for handling an active flood.
-
Redirect water before it reaches the door. Grade soil away from the garage and make sure downspouts are extended so runoff drains outward instead of pooling at the foundation. If snow is the issue, clearing it 3 to 5 feet from the house, on ground sloped about an inch per foot, can reduce what melts toward the slab, Utah State University Extension notes.
-
Test the sump pump. Clean the pit, then pour water in to confirm the pump cycles on and off. Check that the discharge hose empties several feet from the house onto ground that slopes away, not back toward the foundation; an outlet that's too close, or on flat ground, can recirculate water right back through the drain tile, according to Utah State University Extension. If the property is on a rural septic system, don't discharge sump water into it, since that can saturate the drain field, the same source warns.
-
Deploy the barrier that matches your situation, while it's still safe outside. Stack sandbags for a one-time, slow-moving event. Pre-activate and stack water-absorbing bags, or fill tubes in place, for a recurring but shallow problem. Inflate an air barrier if speed and low labor matter most. One thing worth checking first: confirm a water-activated product is rated for salt water before relying on it near a coastal property, since some aren't, Boston.gov points out.
-
Get anything flood-sensitive off the floor. Move paint, cleaning supplies, and other chemicals to a shelf. Raise appliances and service equipment, like water heaters or freezers, onto blocks or platforms to keep their motors above the water level, a precaution Utah State University Extension recommends.
-
Know where your shutoffs are, before a storm, not during one.
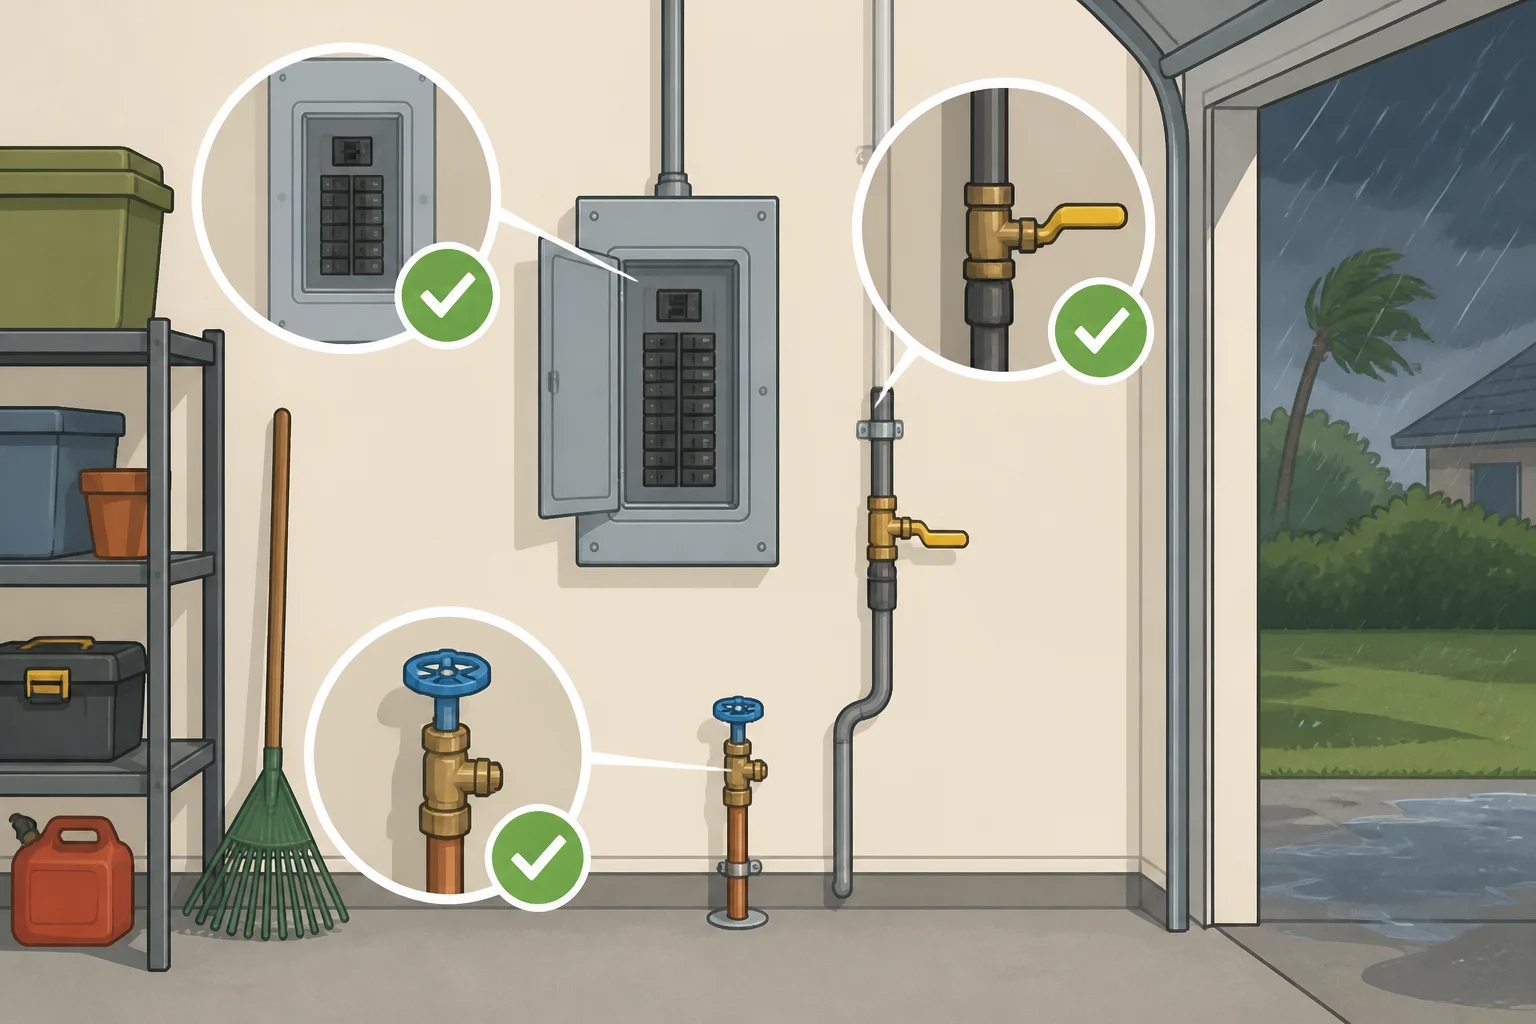
Learn the location of the electrical breaker panel and the gas and water service mains well ahead of any flood forecast, Utah State University Extension advises. Don't touch electrical or gas equipment that's in or near floodwater. Leave the area and follow local emergency guidance instead.
Flood barriers for garage doors when a foot of water isn't the limit
If a property sits in a high-risk area where flooding regularly runs deeper than a foot, a larger engineered system may make more sense than stacking more sandbags, Boston.gov suggests.
One city's published figures give a sense of what that tier costs, though actual pricing and permit rules vary by jurisdiction. Modular stop-log systems, aluminum or steel plates that slide into permanent posts, run roughly $400 for a small 3 to 4-foot unit up to $900 for a 6 to 10-foot unit, with a useful life of 20 to 50 years. They also require an even, flat surface to seal properly, per Boston.gov, so a cracked or sloped driveway can keep them from sealing even if the plates and posts are rated for the right depth. Permanently installed sliding or swinging doors cost more, from $1,500 to $15,000, but last 25 years or more with minimal upkeep, the same source notes. Both typically need a professional installer and engineering plans before anything goes into the ground.
If a barrier keeps failing or leaking, the fix isn't necessarily a bigger barrier. The real problem might be the driveway's grading, drainage across the whole property, or a water source that exceeds what any door-level product is built to handle. In that case, the next move is a site visit from a qualified flood-mitigation or building professional, not another trip to the hardware store.
Finish-line guidance and garage floodproofing tips for next time
Walk the property and check the sump pump after the next heavy rain or storm season, and again before winter if snowmelt is a factor where you live. Grading and downspouts don't usually need much adjusting once set up correctly, but erosion, landscaping changes, or a severe storm can shift how well they drain, so check each season instead of assuming last year's fix still holds.
Inspect stored barrier materials, sandbags, tubes, or panels, and reread the manufacturer's setup instructions before the season they're needed, not after a storm is already forecast. Keep chemicals and anything flood-sensitive off the garage floor as a standing habit, not just a pre-storm task.
Extending a downspout or making a small surface-level grading adjustment is usually fine to handle yourself, but only when the change doesn't affect the foundation, a neighboring property, public drainage, or utility lines. Anything beyond that, or any permanently installed barrier, calls for a professional.
Start the flood insurance conversation separately and well before storm season. Policies typically take time to kick in once purchased, so waiting until a storm is already forecast is too late; confirm current waiting periods and any exceptions with an insurance agent ahead of time.
Call a professional before installing any permanent barrier, before making major changes to drainage or grading near the foundation, or if floodwater has already reached an electrical panel or gas line. And regardless of how well-matched the barrier looks on paper, it's never a reason to ride out an active evacuation order.



Comments
Be the first, drop a comment!