



How to Insulate Your Attic to Save Money on Heating Bills
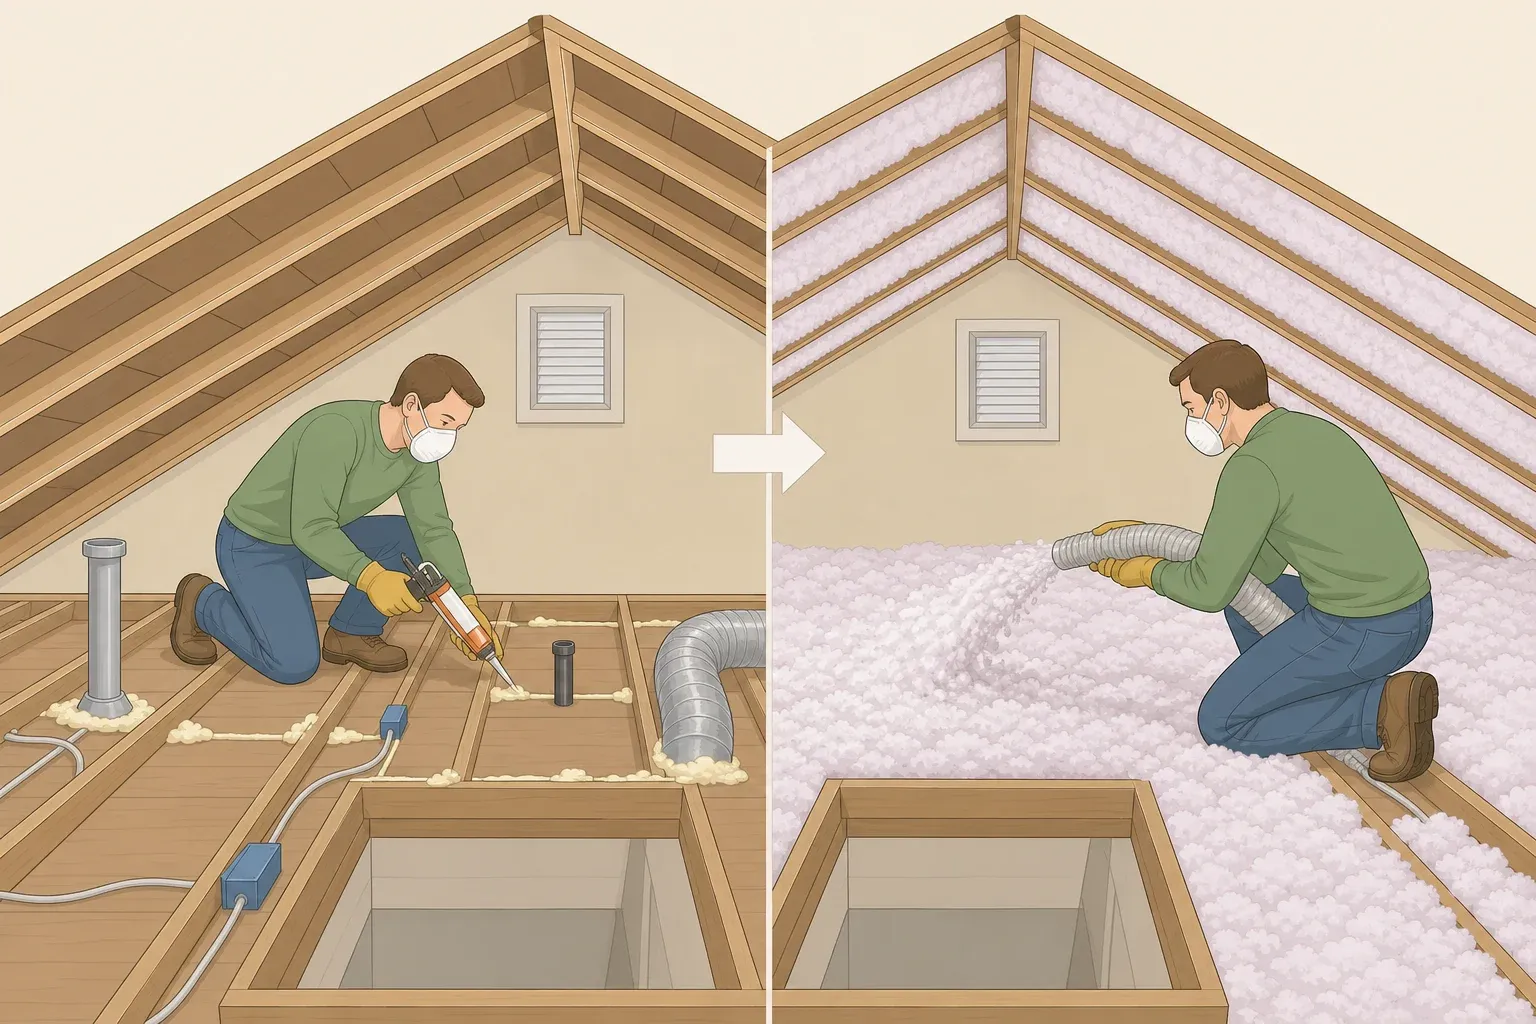
Cold air pooling in an upstairs bedroom while the thermostat insists the house is warm usually traces back to one place: the attic. Learning how to insulate your attic to save money on heating bills comes down to one project with two required phases, completed in that order: seal the air leaks in the attic floor, then add insulation up to a target depth. Insulation alone doesn't close gaps in the floor, so sealing has to happen first, or the new material just sits on top of air that's still leaking out underneath it.
Here's why the order matters. In winter, warm indoor air rises like a hot air balloon, and if there are holes in the attic floor or the insulation up there is thin, that heated air rises right out through the top of the house, according to ENERGY STAR. Sealing the gaps and adding insulation work together to hold that warm air in and keep the cold outside where it belongs.
Done together, sealing air leaks and adding attic insulation can cut a household's annual energy bills by up to 10%, according to ENERGY STAR. That's a general estimate, not a guarantee tied to any one fuel type, and what you actually save depends on your climate, how leaky the attic was to begin with, and how much insulation is already up there. The EPA separately lists insulating, caulking, and weatherstripping among the core ways any household can cut heating costs, regardless of what heats the house (EPA).
This is a beginner-to-intermediate DIY project, suited to a dry, accessible, unfinished attic where you can walk safely between the joists. Several points along the way call for stopping and bringing in a professional instead of continuing. Each one is flagged where it comes up, then summarized again at the end.
Safety check before you climb up
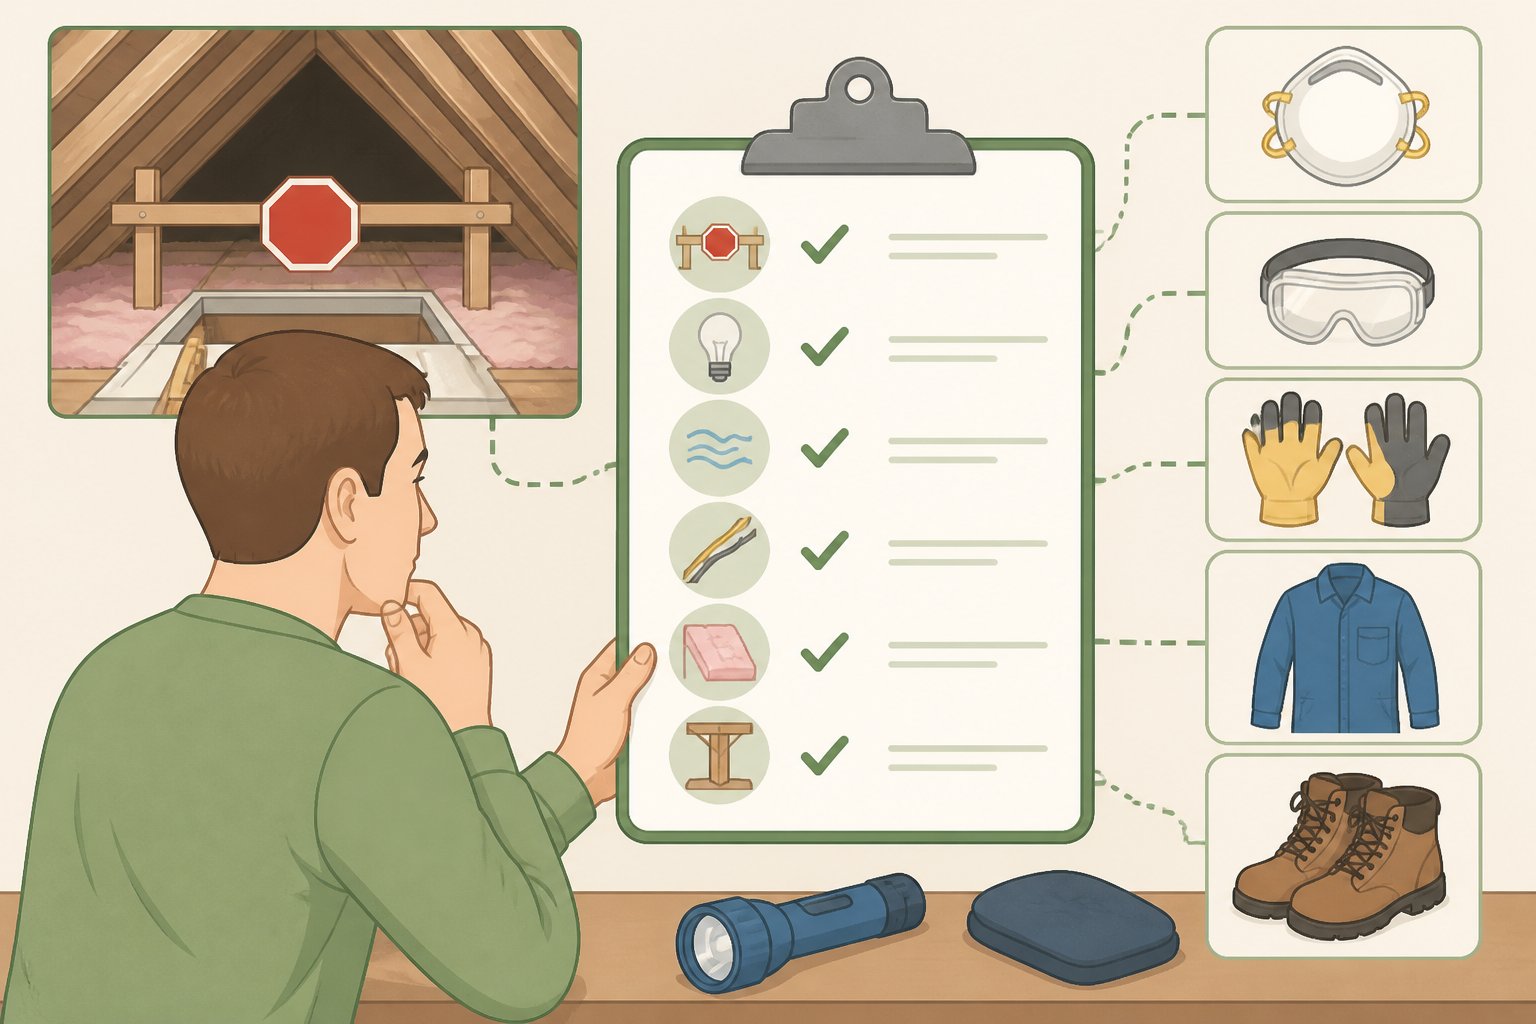
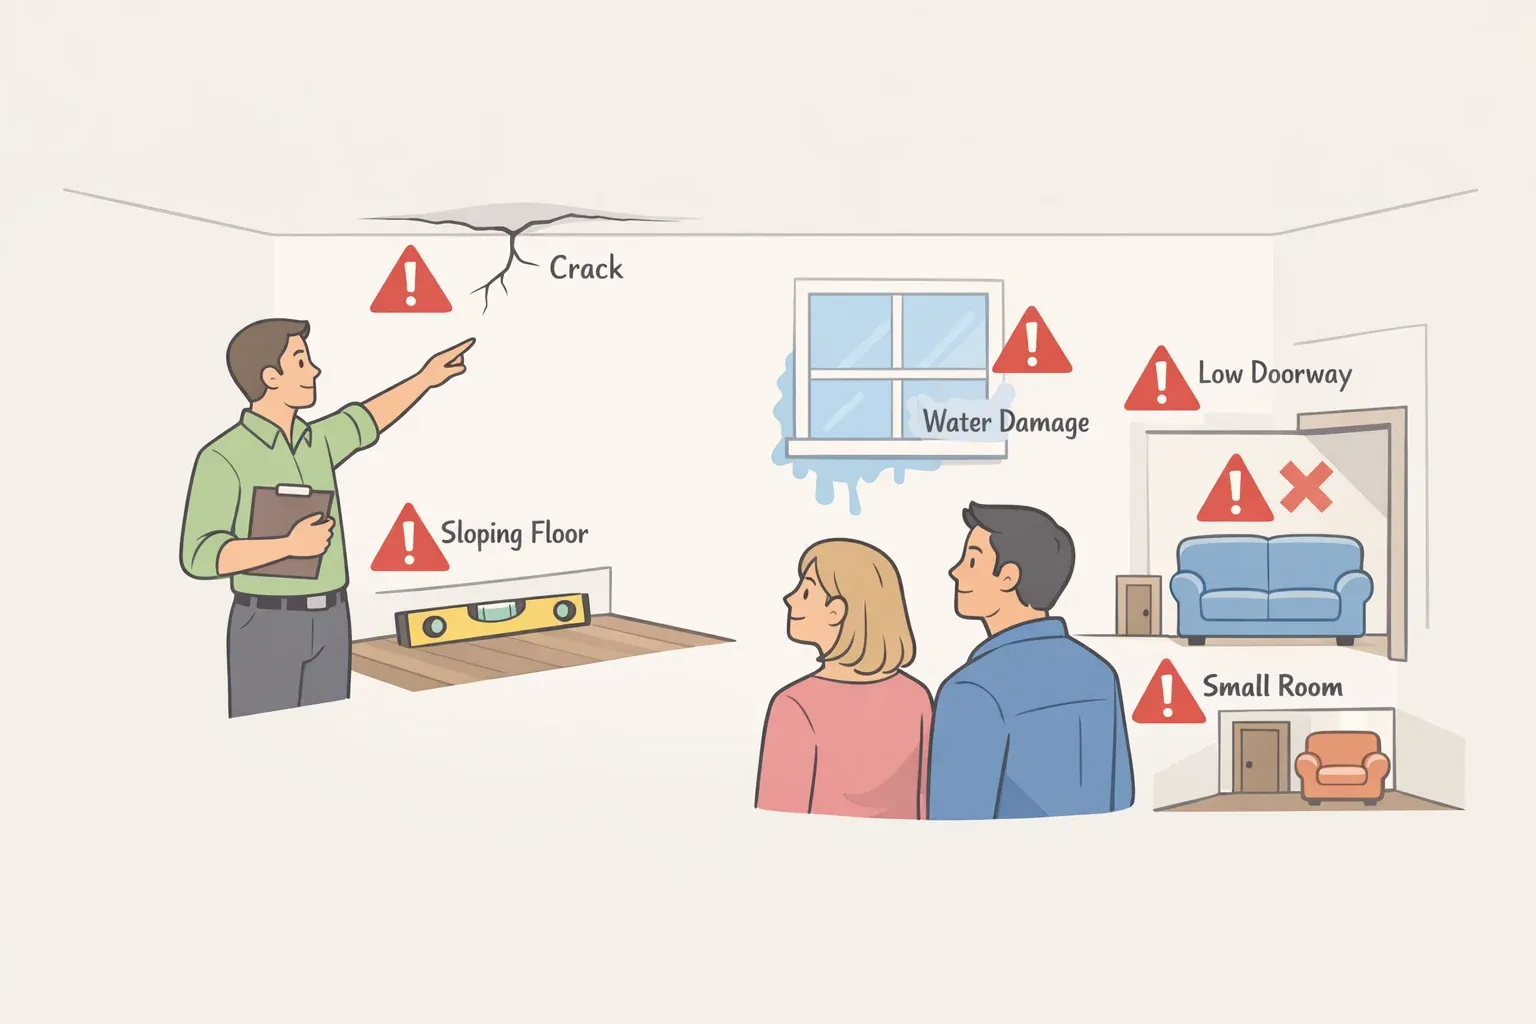
Before you climb up, know where this stops being a DIY job. Don't disturb insulation that might be vermiculite, don't touch exposed or damaged wiring, don't bury wet insulation or damaged roof decking under new material, and don't work close to a chimney, metal flue, or electrical panel without a professional. If any of those turn up while you're in the attic, stop working in that spot and get the right professional involved before continuing nearby.
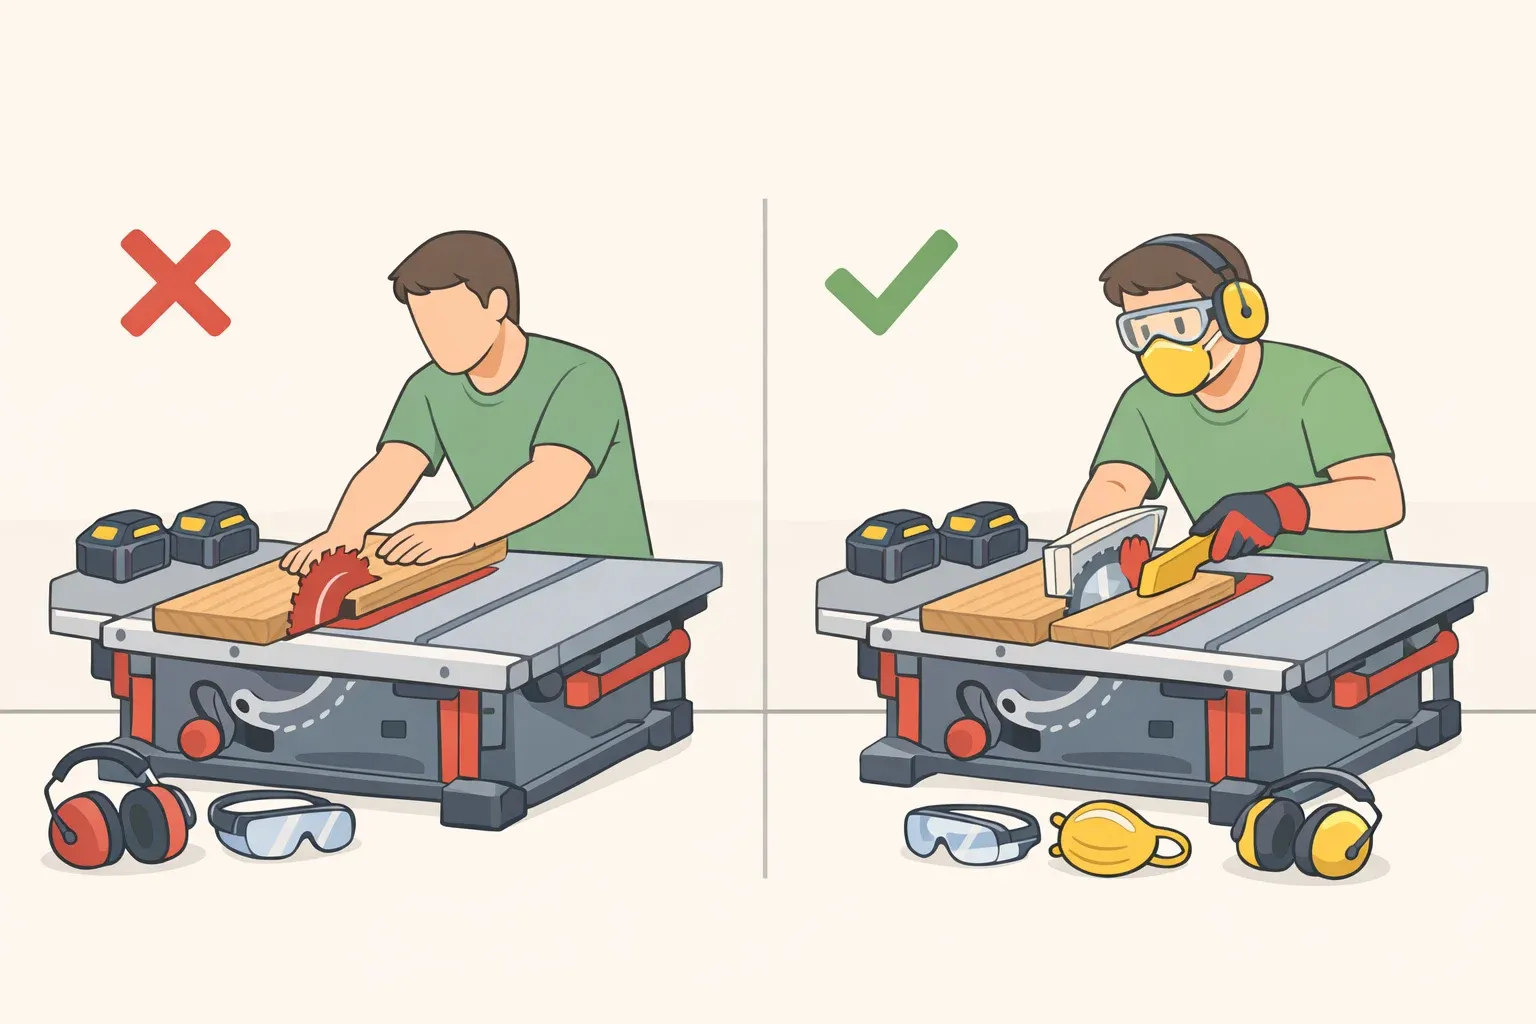
Put on gloves, long sleeves, and eye protection before you touch the hatch, and wear a dust mask too, since loose insulation fibers and years of settled dust aren't pleasant to touch or breathe. Walk only on the joists, or lay a plank across them anywhere the gap between isn't covered by solid flooring. Attic ceilings are drywall, not a walking surface, and stepping between joists is the fastest way to put a boot through the ceiling below.
Skip the attic yourself, and call an insulation contractor instead, if it's too hot to work in safely, too cramped to move through, missing solid flooring across most of the floor, or otherwise hard to get around in without real fall risk.
Stop before touching any loose-fill material you don't recognize. Older, pebble-like insulation in gray-brown or silvery tones is sometimes vermiculite, and some vermiculite products have contained asbestos. You can't tell asbestos content just by looking, so leave the material exactly where it is and have a qualified asbestos testing professional check it before you do anything else in that attic.
Treat roof problems and electrical problems as separate stop points, too. Water stains, damp insulation, or soft, discolored roof decking mean the roof needs a roofer's assessment before you insulate over it, since burying a wet deck under new material just hides a problem that keeps getting worse. Exposed or damaged wiring is a different issue entirely and calls for an electrician, not a roofer. Handle each on its own rather than assuming one fix covers the other.
What you'll need: tools, materials, and your target depth
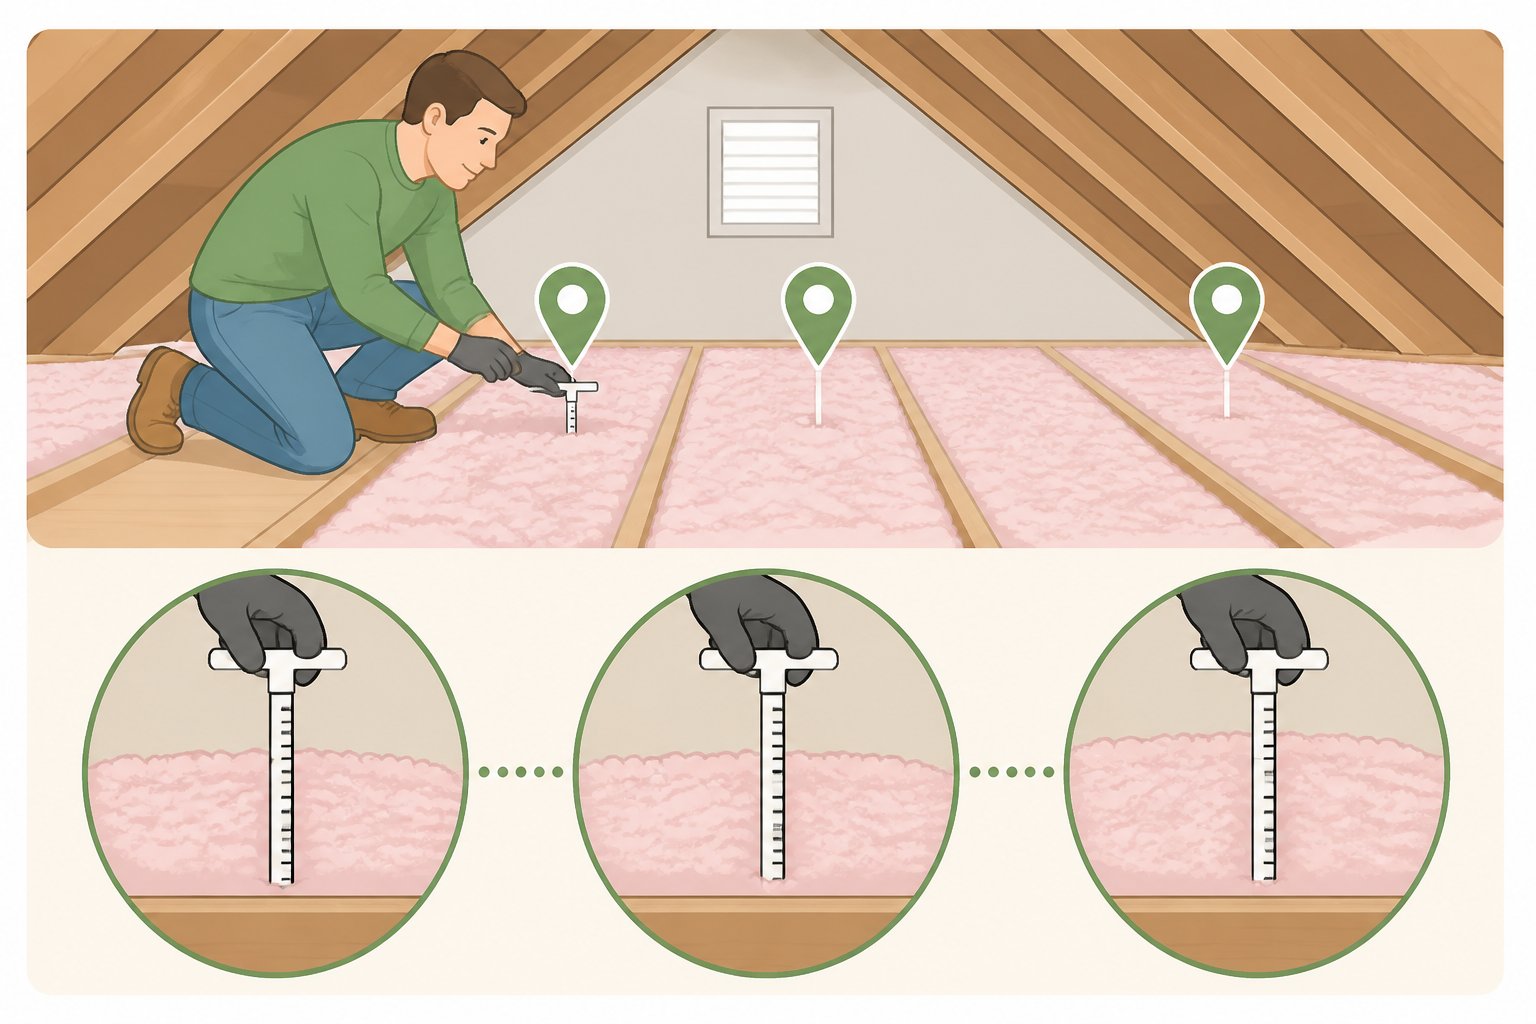
Insulation products list a recommended depth for different climates right on the packaging, since colder regions need a thicker layer than milder ones. Pick a product rated for where you live, then use the depth figure printed on that specific bag or roll, because R-value per inch varies by material and brand. Measure your current insulation depth, compare it to the number on your chosen product, and the gap between the two tells you how much more to add.
Material choice comes down to your attic's layout. Fiberglass batts come pre-cut and lay in by hand, which works well in simple, open joist bays without a lot of obstructions. Loose-fill cellulose or fiberglass fills in better around wiring, pipes, irregular framing, and tight corners, though it usually calls for a blower machine rather than hand-placing, so ask the supplier where you buy material whether renting one is an option before you commit to that route.
Gather these before you start:
- Tape measure and a few depth gauges (paint sticks or a ruler work fine), set at different points across the attic floor
- Flashlight or headlamp
- Caulk for small, stable gaps around pipes and framing
- Expanding spray foam rated for gap-filling, for larger irregular openings away from wiring and combustion equipment
- Batts or loose-fill matched to your target depth
- A weatherstripping gasket kit sized for your attic hatch or pull-down stairs
To figure out how much material to buy, use the coverage chart printed on the bag, which lists square footage covered per bag at a given depth. Divide your attic's total square footage by the coverage-per-bag figure for your target depth, then round up, since real framing, vents, and odd corners eat into coverage in ways a flat percentage can't predict.
Keep the bigger gaps out of scope here. Anything near a chimney, metal flue, or electrical panel needs clearances that vary by equipment and local code, which makes that a job for a professional, not a weekend fix with a caulk gun.
Seal attic air leaks and add insulation
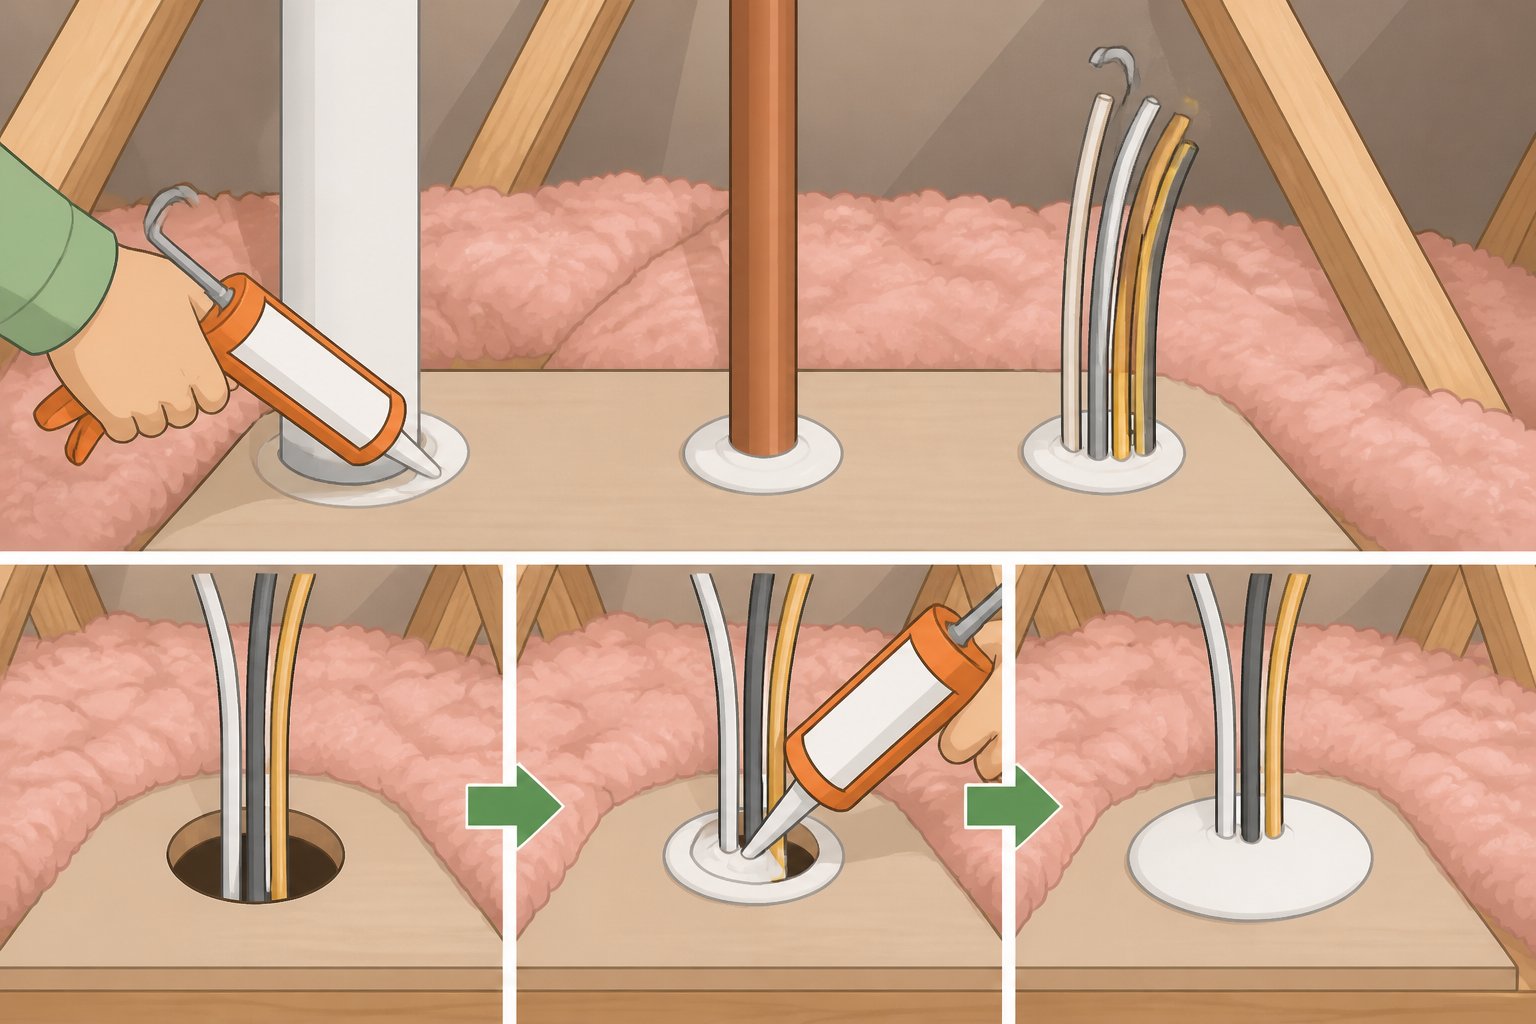
Sealing comes first because insulation laid over an air leak doesn't stop the leak, it just hides it. Follow the steps below in order.
Step 1: Measure and calculate your target. Measure the attic's square footage, then check the current insulation depth in several spots with your depth gauges, not just the middle of the floor. Depth typically varies, especially near eaves and around framing. If your readings differ by more than an inch or two from spot to spot, plan to prioritize the thin spots once you start insulating. Compare your lowest reading to the target depth on your chosen product, then use the coverage chart to work out how many bags or batts to buy.
Step 2: Seal the accessible air leaks. Walk the joists and check for gaps around plumbing stacks, electrical wiring, and the tops of interior walls, since warm air finds its way out through openings like these, according to ENERGY STAR. Caulk small, stable gaps around pipes and framing. Where wiring passes through, use only a product labeled for that application, or leave that gap for an electrician rather than packing foam tightly against live wires.
Stop here if a gap sits near a chimney, metal flue, or electrical panel. Clearances around that equipment vary by code and belong to a professional, not a DIY fix.
Finish by weatherstripping the attic hatch or pull-down stairs. Close it and check the edges for daylight; a visible gap means the gasket needs adjusting or replacing before you move on.
Step 3: Check the ventilation path at the eaves. Look at the eaves where the roof meets the exterior walls. Many attics have a baffle or channel there that keeps a gap open between the soffit vents and the attic interior so air keeps moving once insulation is in place. Check whether that channel looks open and clear, not packed with old insulation or debris. If you're not sure whether your attic has one, needs one, or how to clear it safely, ask an insulation contractor before covering that area; blocking ventilation by accident creates a problem more insulation won't fix.
Step 4: Insulate to your calculated depth. Lay batts perpendicular to any existing layer, or spread loose-fill evenly across the floor, working toward your target depth and checking progress against your gauges as you go. Cut batts to fit snugly around wiring and framing instead of compressing them into a tight space; squeezed insulation doesn't hold its full thickness.
Don't cover any recessed light fixture unless you can confirm, from its label or the manufacturer's instructions, that it's rated for direct insulation contact. If you can't confirm that, stop and ask a licensed electrician before covering it.
If your existing insulation looked dry and raised no concerns during your inspection, a compatible new layer can typically go directly on top of it. Save removal for anything that failed that check: material that's wet, pest-damaged, or something you couldn't identify.
Once you've covered the floor, check depth again at several points, not just where you started, and top off any spot that reads lower than your target. Even depth doesn't mean a perfectly flat surface; it means no low spots once you've checked around the framing, ducts, and corners.
Is the project worth it? Weighing cost against savings
Heating and cooling make up close to half of the average household's annual energy bill, more than $900 a year, according to ENERGY STAR. That figure gives a sense of the total amount available to save, since lighting, appliances, and hot water draw from the same bill.
Before buying materials, add up your expected cost, including insulation, caulk or foam, and any equipment rental, and compare it to your typical heating-season bill rather than to the flat 10% figure. That estimate reflects sealing and insulating together, and the real number for your house shifts with climate, starting insulation depth, and how leaky the attic was to begin with.
ENERGY STAR noted in 2024 that federal tax credits could cover part of an insulation project's cost, though credit programs and amounts change from year to year. Check current eligibility and figures with the IRS or your utility before counting on a specific rebate in your budget (ENERGY STAR).
The payoff isn't limited to winter. Attic temperatures can climb to 140°F, radiating heat back down into the house, according to ENERGY STAR. Insulation that holds warm air in during winter also blocks that heat in summer, which can reduce cooling costs too.
Improve home insulation for heat pump efficiency
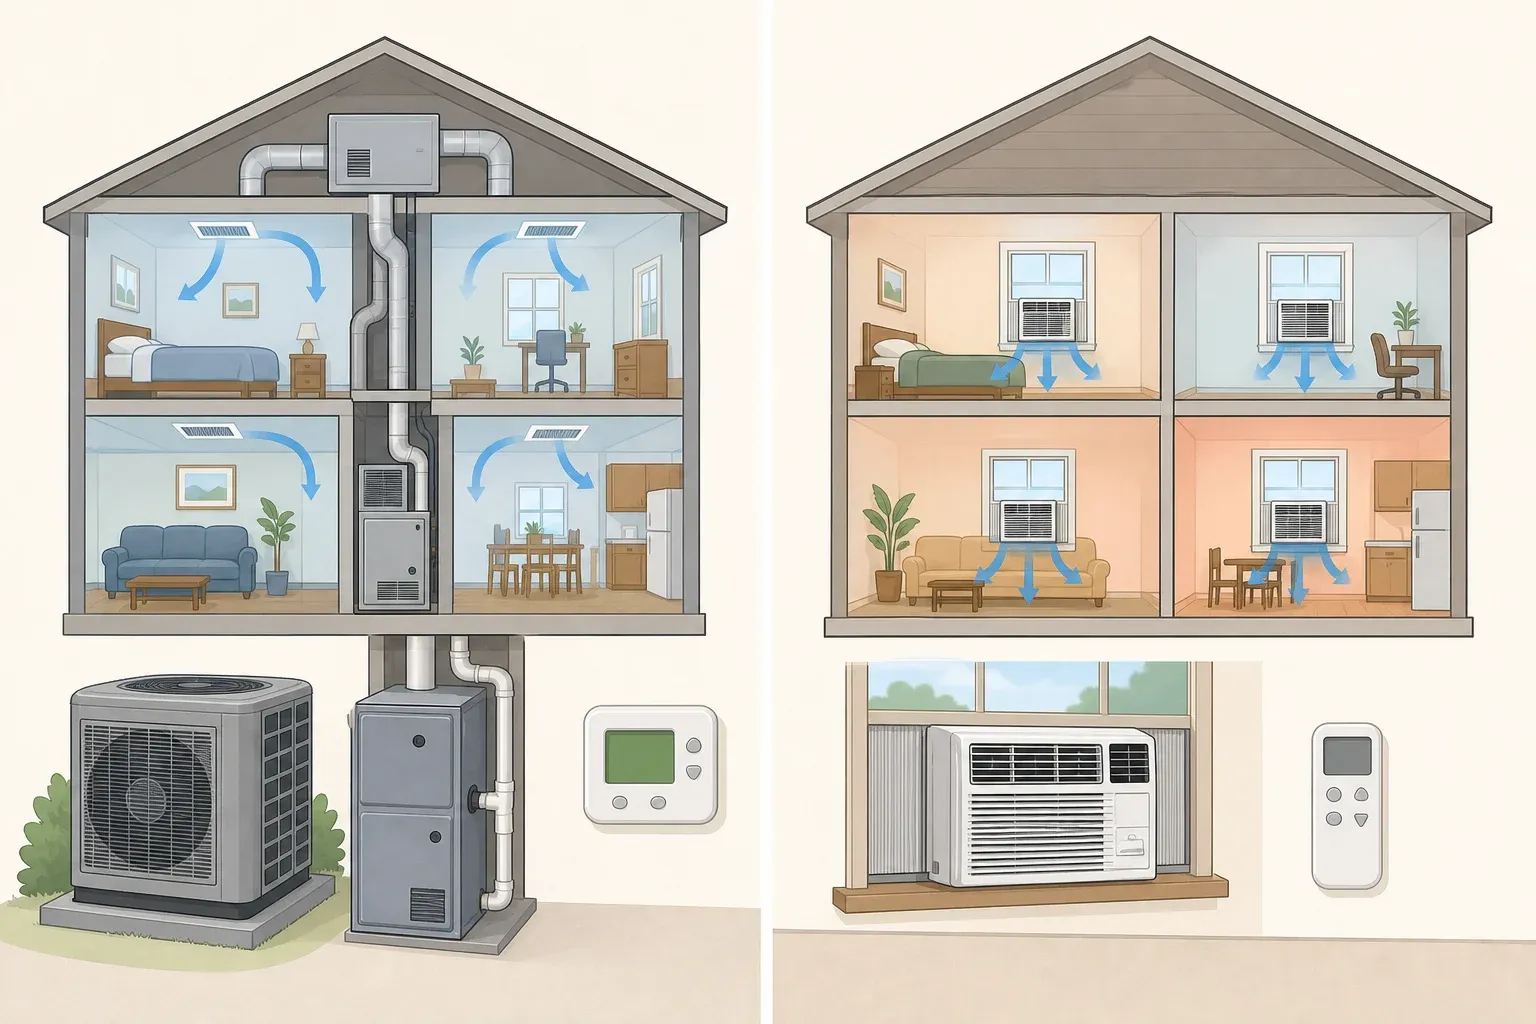
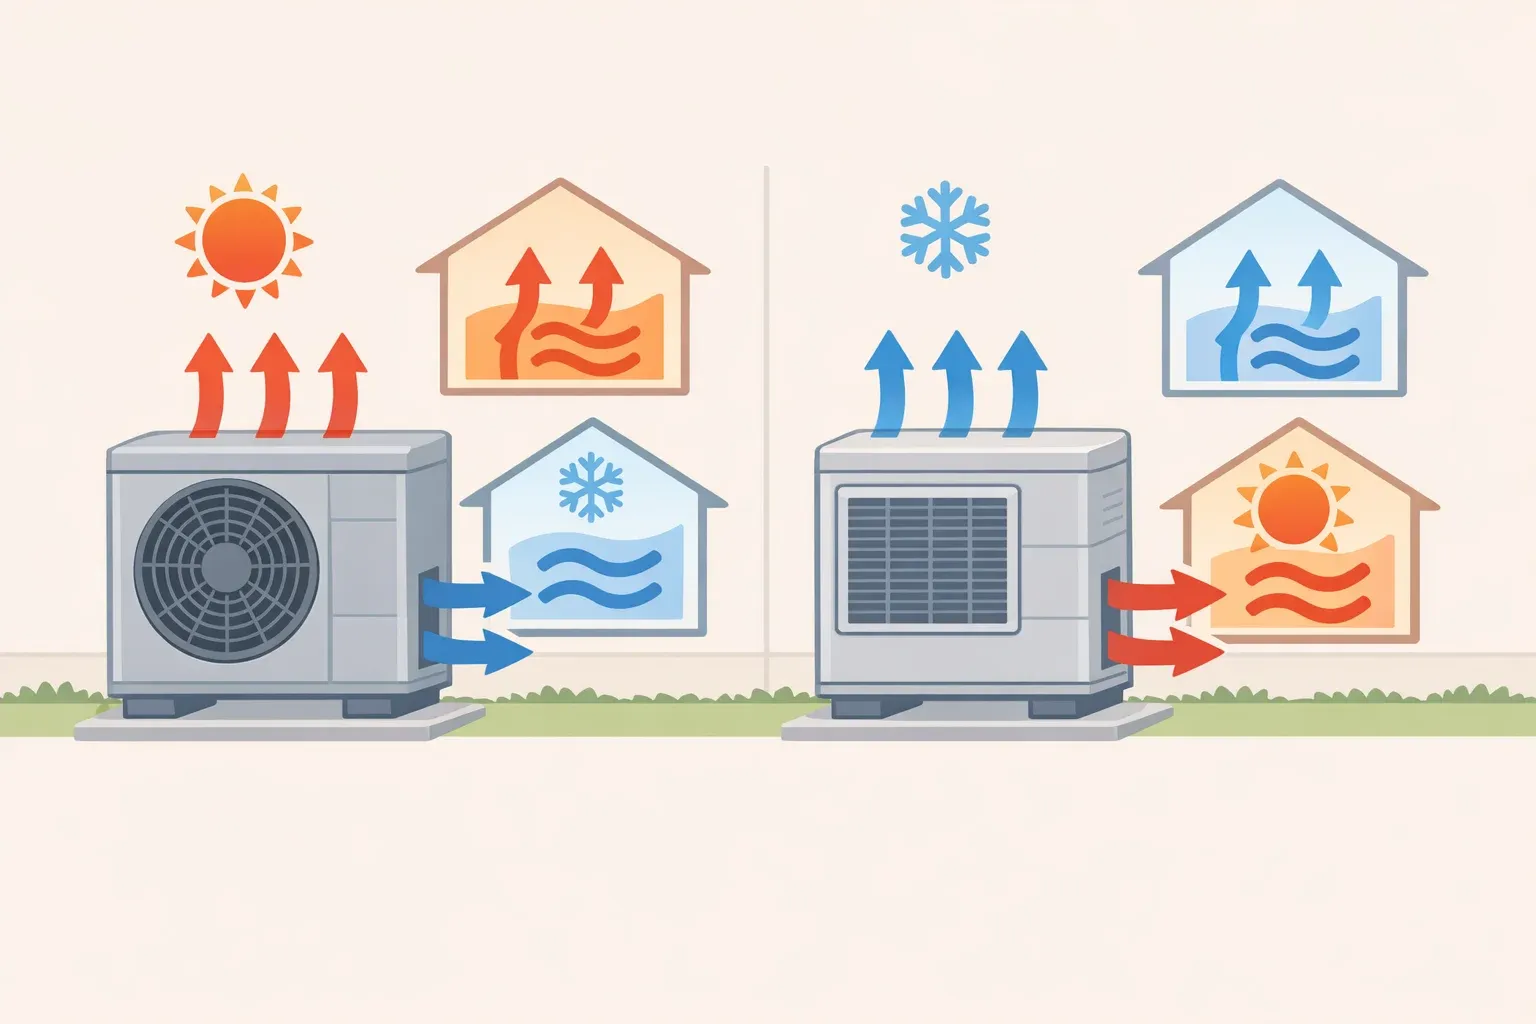
If the house runs on a heat pump, the attic project pays off through the equipment as well. Better insulation means the heat pump doesn't have to work as hard to regulate indoor temperature, which lowers energy use and may even let a future replacement unit be sized smaller and less expensive, according to ENERGY STAR.
If ductwork runs through the attic, sealing and insulating it is a related improvement worth knowing about. Doing so can further improve heating and cooling performance, according to ENERGY STAR, but it's a distinct, skilled task, better treated as a separate project than something to squeeze into the same afternoon as the attic floor.
What success looks like, and when to call a pro
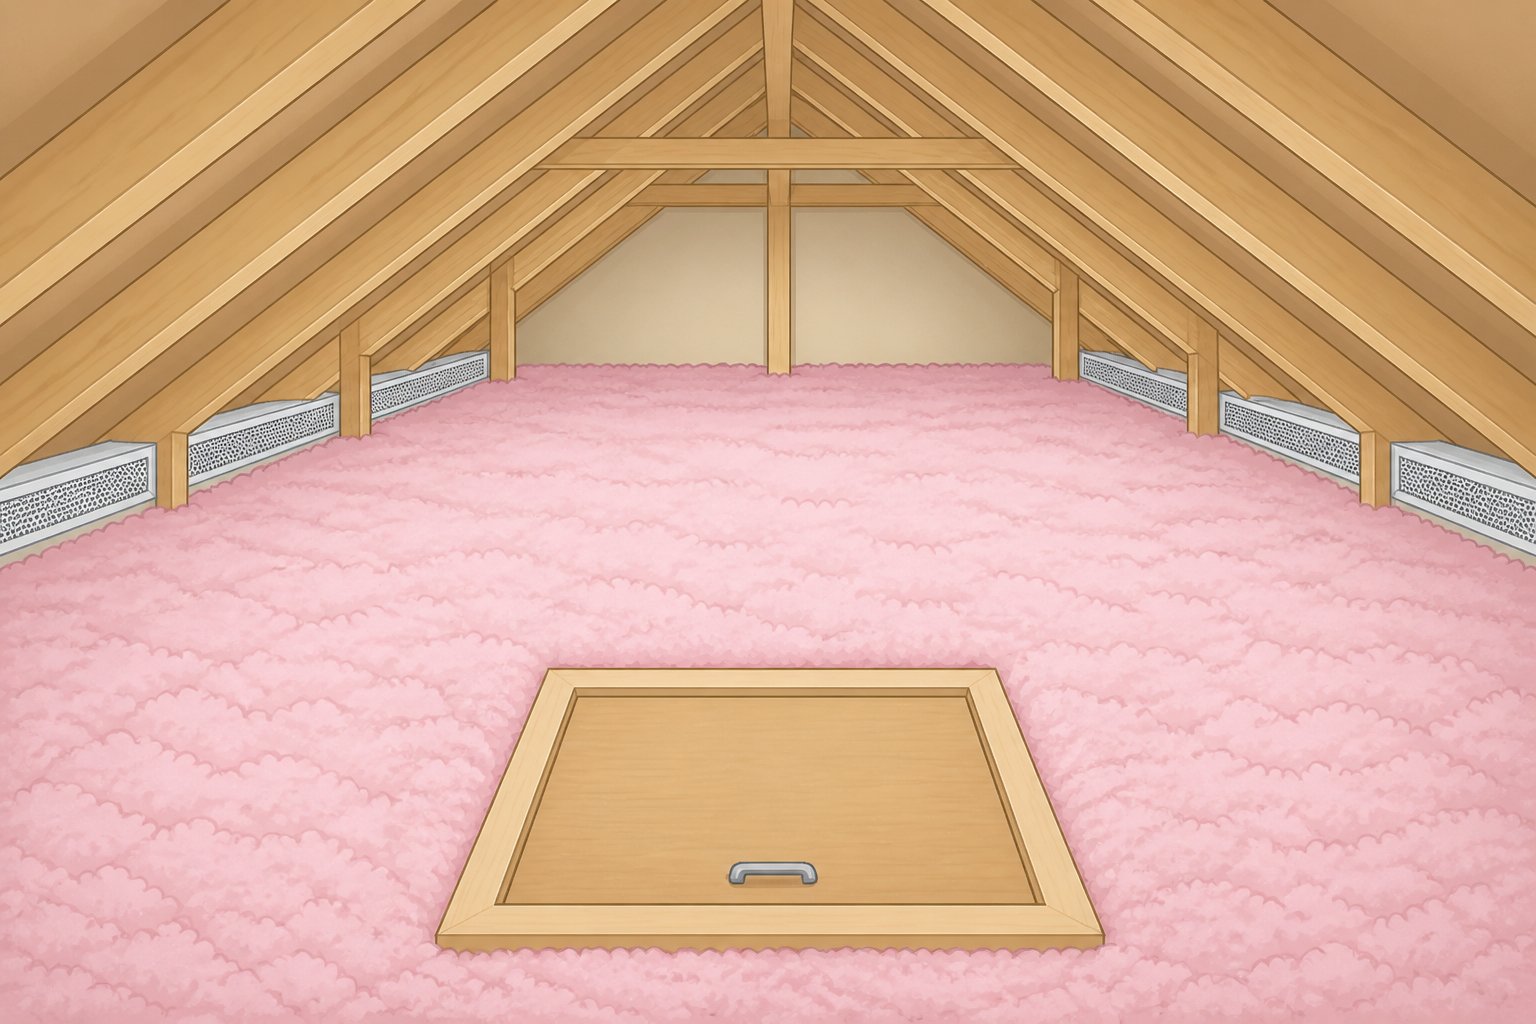
A finished job looks like this: the attic hatch closes without a visible light gap, the ventilation channel at each eave is clear, and insulation depth reads even across the floor, matching the target calculated in step 1. No thin spots, no compression, no joists still peeking through.
A visual check doesn't confirm every hidden air leak is sealed, though. If rooms stay cold or the bills don't move over a full heating season, that's a sign for an insulation contractor to diagnose what's missing, not a reason to pile on more material and guess.
Keep the stop points from along the way in mind. Pause for a roofer's assessment if you find moisture or damaged decking. Call an electrician for damaged wiring or an unlabeled fixture. Call an asbestos testing professional for anything that looks like vermiculite. Call an HVAC or chimney professional for clearances around flues and combustion equipment.
Once your depth matches the target evenly across the attic floor, stop there. That's the finish line for this project.



Comments
Be the first, drop a comment!