






How to remove mold from shower caulk: clean or replace
Dark spots creeping along the shower caulk send most people straight for a bottle of bleach and a sponge. That instinct skips a more useful question: is this caulk still worth cleaning, or has it already failed? Learning how to remove mold from shower caulk starts with that diagnosis, because scrubbing a bead that's cracked or pulling away from the tile won't fix the problem if the caulk itself is the thing that's damaged.
Shower caulk sits through a daily cycle of moisture, soap residue, body oils, and weak airflow, exactly the mix mold needs to take hold, according to SpruceBath. The EPA is direct about what comes next: don't paint or caulk over a moldy surface, because the mold has to be cleaned up and the area dried first or whatever gets applied on top won't hold (U.S. EPA). The CDC's rule is similarly simple: if you see or smell mold, remove it, and pair that cleanup with fixing whatever moisture problem is feeding it.
This guide covers how to tell whether moldy shower caulk can be cleaned or needs to be stripped out, how to clean moldy shower caulk safely, the full process to replace it, and how to keep mold from reappearing once the job is done.
When to clean vs. replace moldy shower caulk
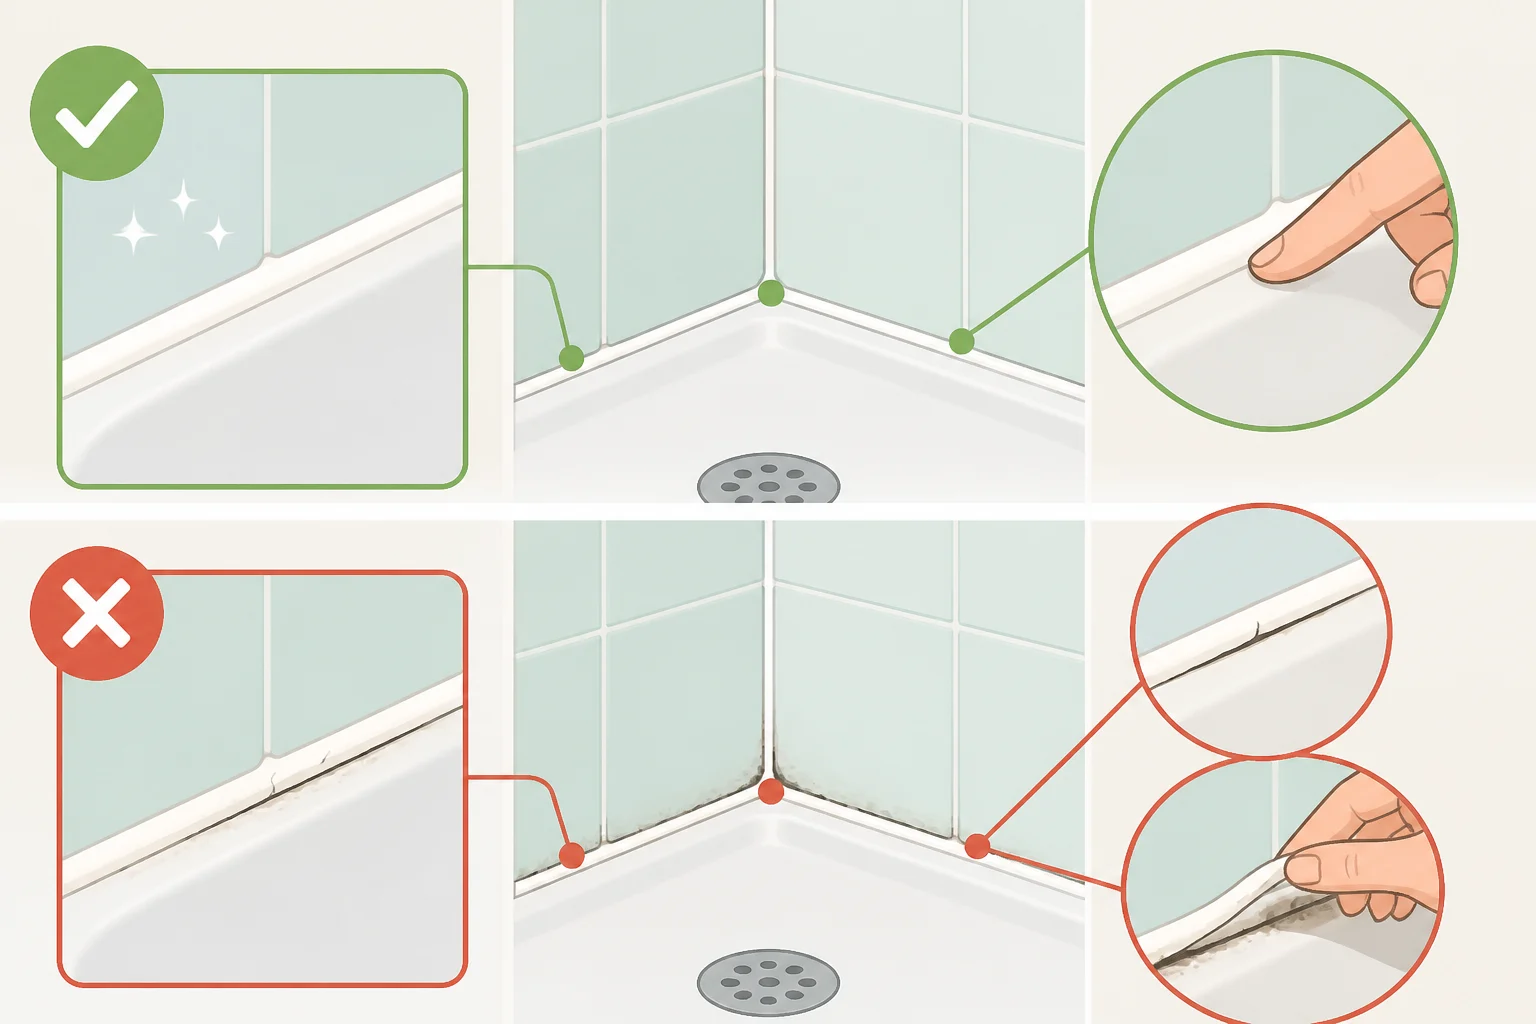
Before reaching for any cleaner, inspect the caulk itself. That quick check determines which method below actually applies to your shower, and skipping it is how people end up scrubbing the same failed bead for the third time.
Cleaning is worth trying when the caulk is firm and fully adhered, the staining is light or confined to a small area, and there's no cracking, peeling, or gapping along the seam (SpruceBath). Under those conditions, mold is usually sitting on the surface rather than inside the material, so a cleaner paired with some scrubbing can lift it.
Replacement is the better call when the caulk feels soft, sticky, or brittle, when it's cracked or separating from the tile or tub, or when it's missing in spots altogether. A few other signs point the same way: mold that keeps returning after cleaning, a persistent musty smell, or discoloration showing up underneath the bead rather than just on top of it (SpruceBath). Those are signs the growth has worked below the surface, which no amount of scrubbing reaches.
Scope matters too. The EPA advises that homeowners can generally handle moldy areas themselves when they're under roughly 10 square feet, about a 3-foot by 3-foot patch (U.S. EPA). A shower caulk line typically falls well within that range. If mold has spread beyond the caulk into drywall, or there's been significant water damage behind the wall, that's a different job than this one.
Before you start: supplies and safety
Gather everything before stepping into the shower so you're not hunting for a scraper or more vinegar halfway through.
For cleaning moldy shower caulk:
- Rubber gloves and safety glasses
- A scrub sponge or soft brush
- Microfiber cloths
- White vinegar, hydrogen peroxide, or a commercial bathroom mold cleaner
For removing and replacing the caulk:
- A utility knife or caulk removal tool
- Caulk remover product
- Rubbing alcohol
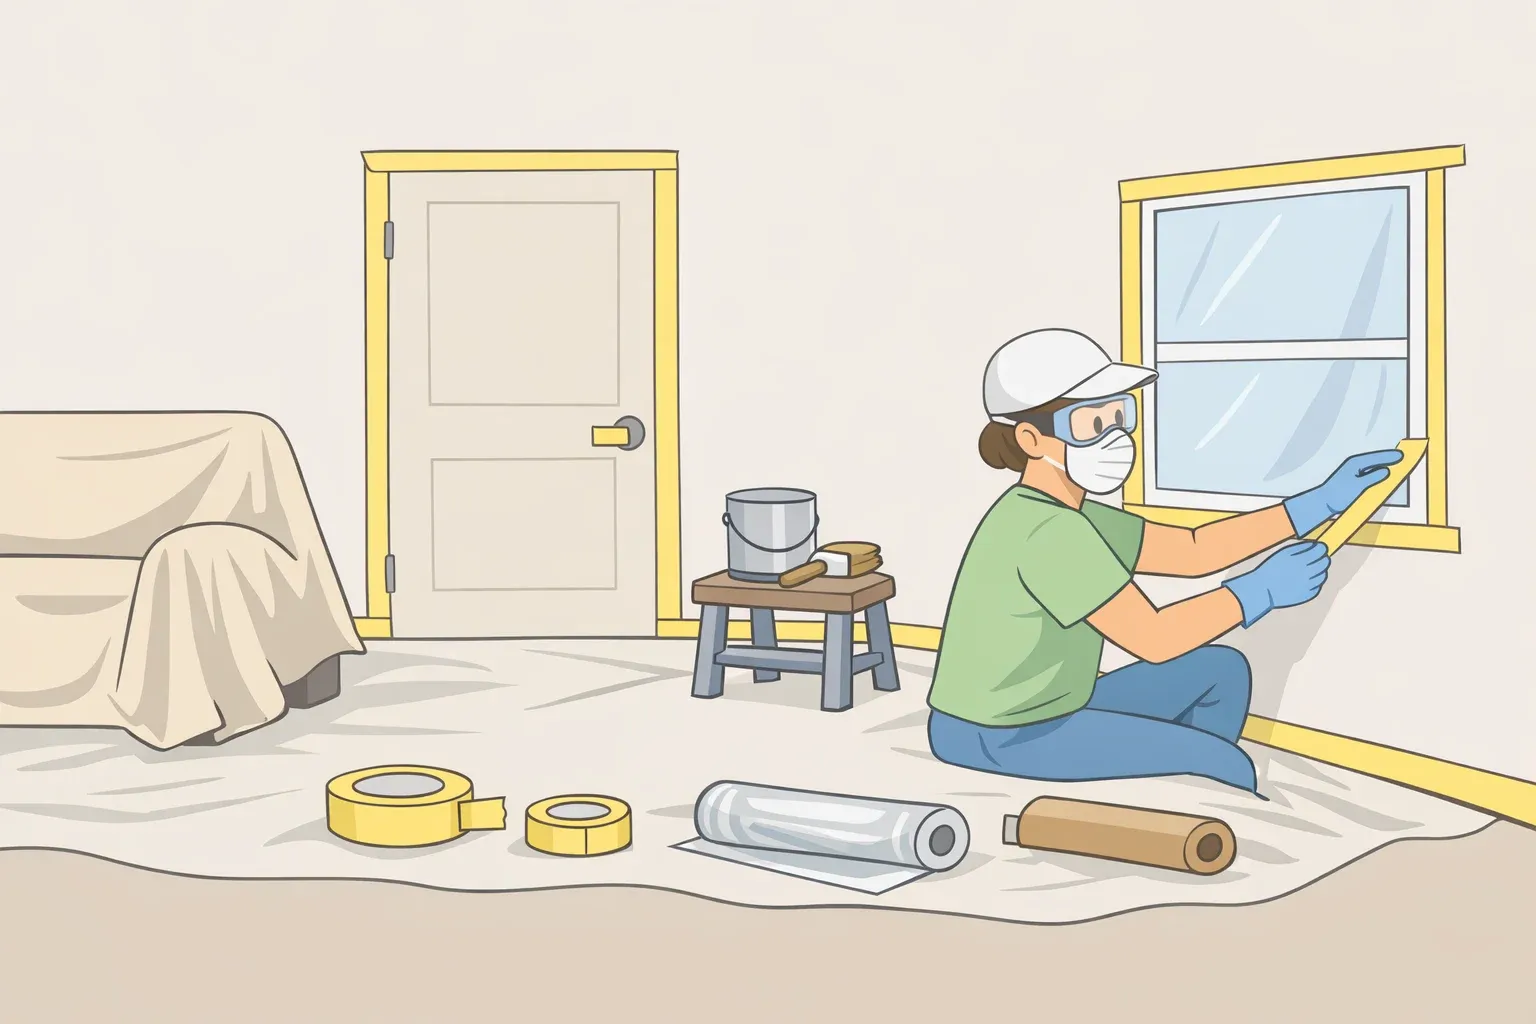
- Painter's tape
- A tube of 100% silicone or mildew-resistant bathroom caulk
Never mix bleach with ammonia or other cleaning products. The CDC warns that combining them produces a poisonous gas. If bleach is part of the plan, the CDC's safe dilution is no more than 1 cup of household bleach per gallon of water, and whatever product you use, follow the label's instructions rather than guessing at concentration or dwell time.
Open windows and doors for fresh air while you work, and wear gloves and goggles throughout, per the CDC's guidance for any mold cleanup. If you're not sure how a cleaner will affect your specific caulk, test it on a small, inconspicuous spot first, and avoid layering one cleaner over the residue of another.
This guide covers cosmetic bathroom caulk only. It doesn't extend to HVAC systems, wall cavities, or large-scale water damage. Those situations need different expertise and fall outside ordinary DIY scope.
How to clean moldy shower caulk (remove black mold from shower caulk)
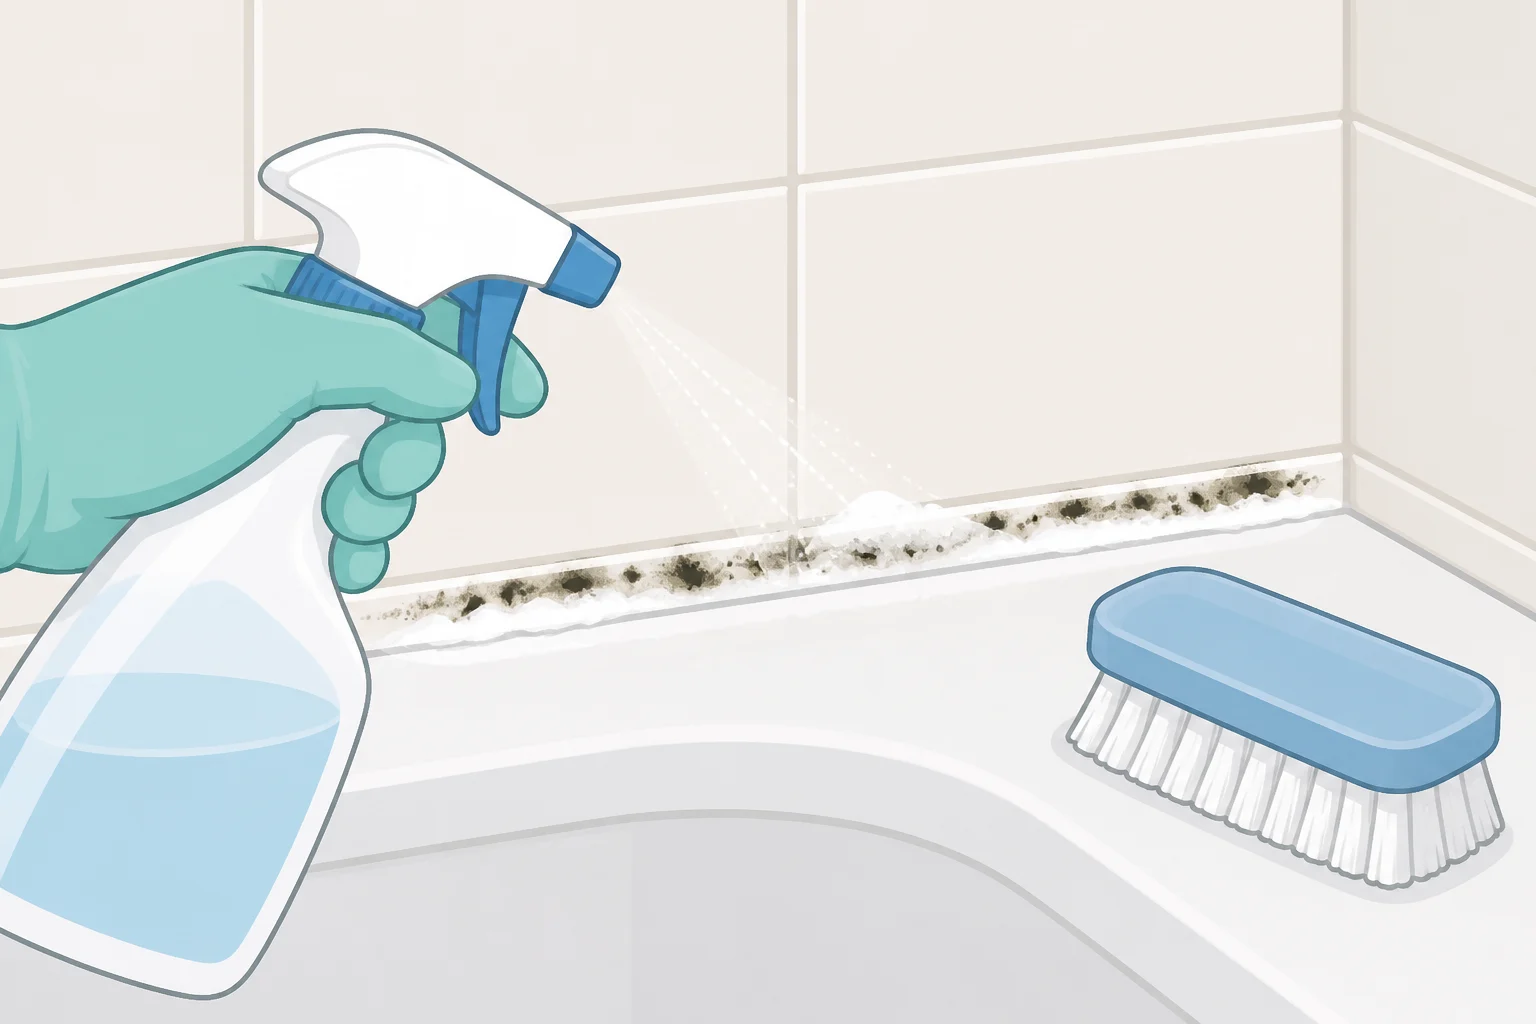
If your caulk is firm and intact with only light staining, start here.
-
Dry the caulk completely with a towel. Cleaning products work better on a dry surface, and the mold shows up more clearly once the water is gone, which makes it easier to tell if treatment is working (SpruceBath).
-
Apply white vinegar, hydrogen peroxide, or a bathroom mold cleaner directly to the stain. Vinegar tends to work for routine, lighter cleaning, while hydrogen peroxide is often the better pick for darker staining. Check the product label for how long to let it sit before scrubbing, since dwell times vary by product.
-
Scrub gently with a soft brush or sponge, not an abrasive pad. Abrasive scrubbers can scratch the caulk's surface and make it more porous over time, giving future mold more to grip onto (SpruceBath).
-
Rinse thoroughly with clean water, then dry the area completely with a towel. Moisture left behind can let mold come back, undoing the work you just did.
-
Repeat if staining remains. Light staining may lift after one treatment, but older or darker mold often takes several rounds (SpruceBath).
If discoloration remains after repeated cleaning, the problem isn't the product, it's the caulk itself. Cleaning can't reach mold embedded below the surface, and that's the point to stop treating it as a cleaning issue and move to full replacement (SpruceBath).
How to replace moldy shower caulk and recaulk a shower after mold removal
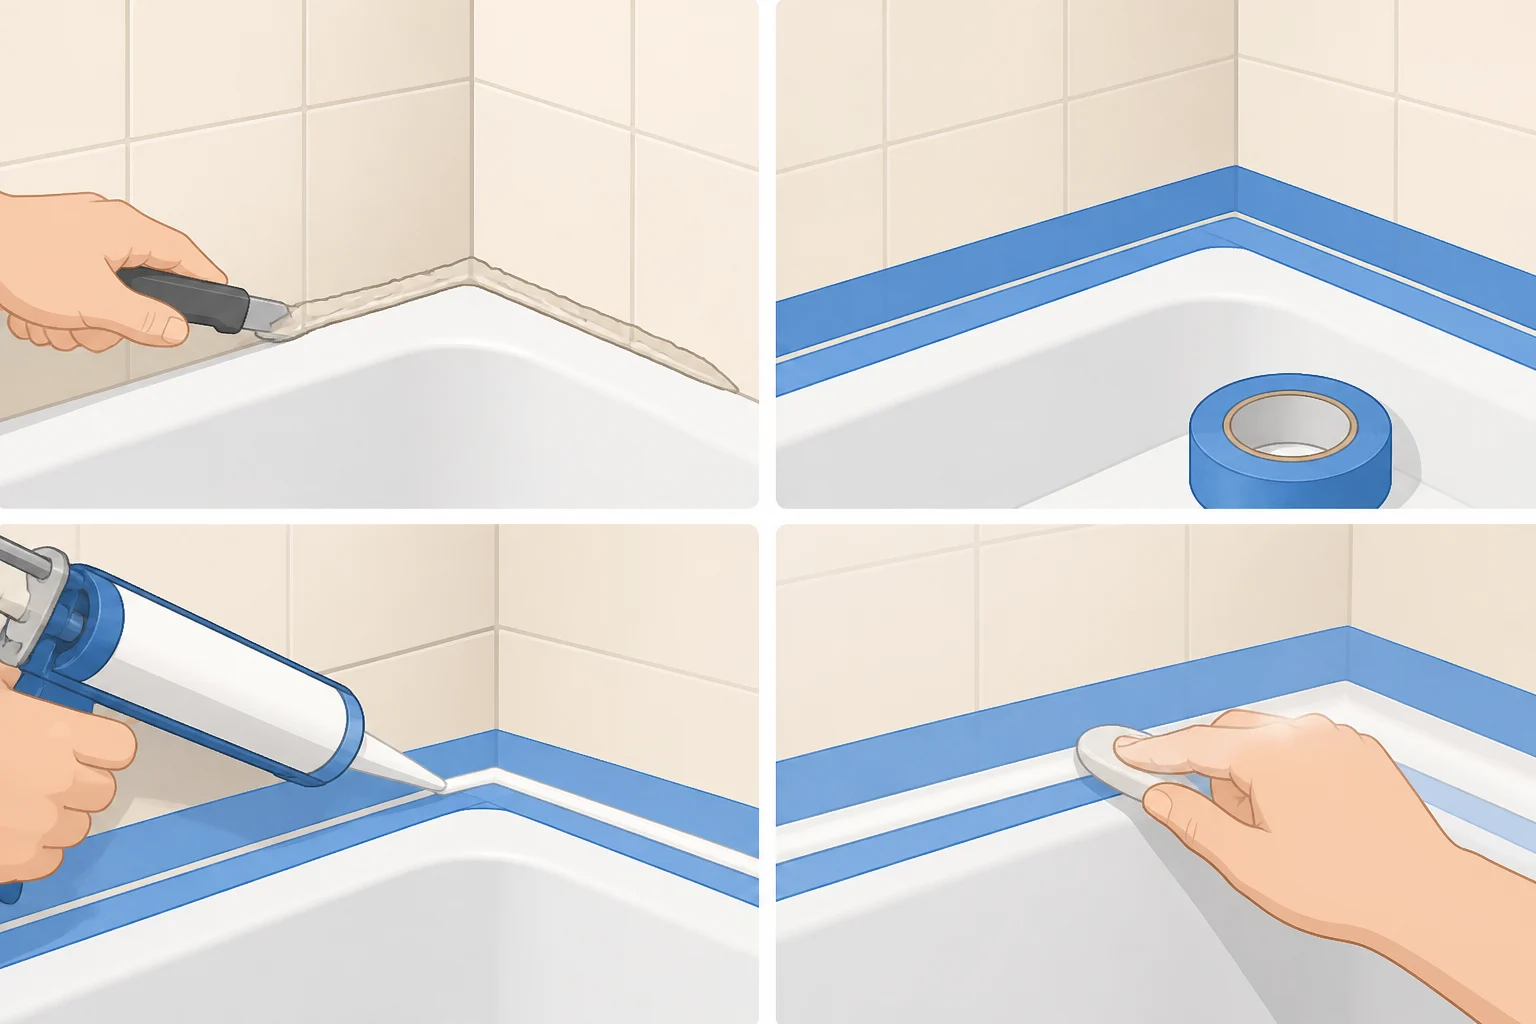
This is the process for caulk that failed the inspection above or didn't respond after a few rounds of cleaning.
-
Score both sides of the old bead with a utility knife or a dedicated caulk removal tool, then peel or scrape it away in strips. Work carefully around grout lines and tile edges so the blade doesn't gouge the surrounding surface (SpruceBath).
-
Scrape away leftover fragments and adhesive residue. Skipping this step is a common mistake: residue left on the joint can keep new caulk from bonding properly.
-
Wipe the bare joint with rubbing alcohol to clear soap scum, dust, and body oils, then let it dry completely before applying anything new (SpruceBath). While the joint is exposed, check for water damage, loose tile, or gaps in the substrate behind the old caulk line. If you find soft backing material or visible water damage, pause and get that repaired before resealing. The EPA's rule applies directly here: caulking over a moldy or still-damp surface can trap the problem underneath the new bead instead of solving it (U.S. EPA).
-
Cut the caulk tube nozzle to a small opening and load it into a caulk gun. A smaller opening gives more control over bead width than cutting a wide tip.
-
Apply a 100% silicone or mildew-resistant bathroom caulk in one continuous, even bead along the joint. Stopping and restarting mid-seam is what usually creates the uneven lumps beginners end up fighting with a finger afterward.
-
Tool the joint with a finger or caulk tool before it skins over, then pull the painter's tape while the caulk is still soft, not after it's started to set.
-
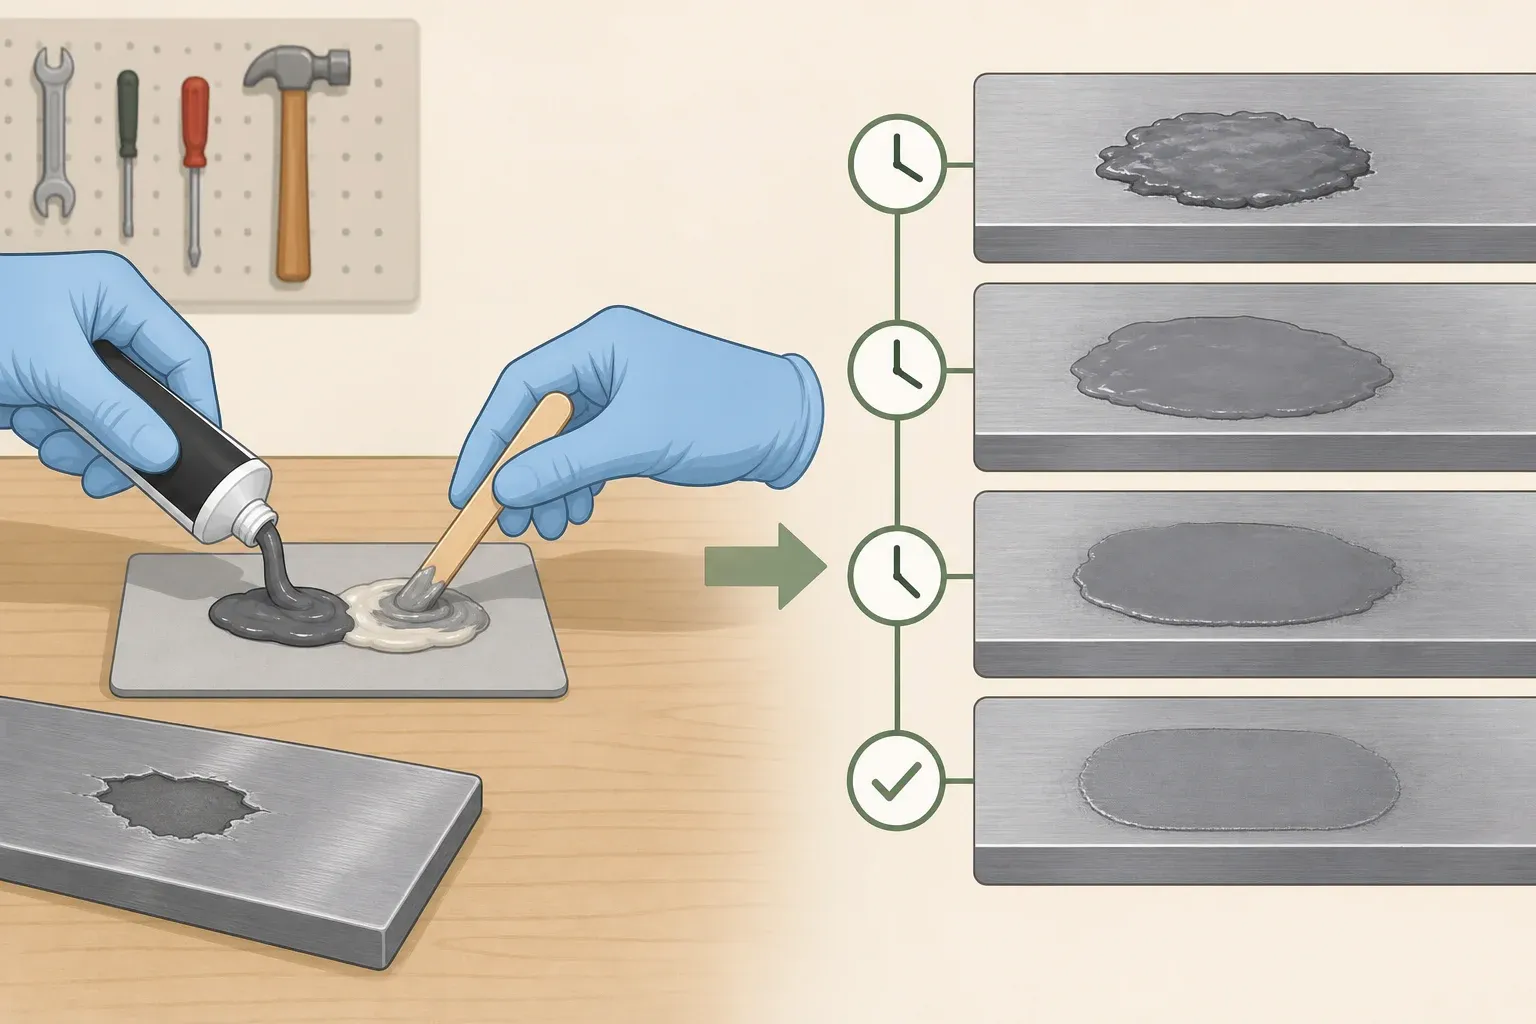
Let the caulk cure according to the time listed on the tube before using the shower. Cure times vary by product, so the label is the only reliable guide here.
Call a contractor, plumber, or mold remediation specialist if mold is spreading beyond the caulk line, if nearby walls feel soft or discolored, or if the same spot keeps failing after repeated repairs. Those symptoms point to a problem behind the wall that recaulking alone won't fix (SpruceBath).
Prevent mold from returning to bathroom caulk
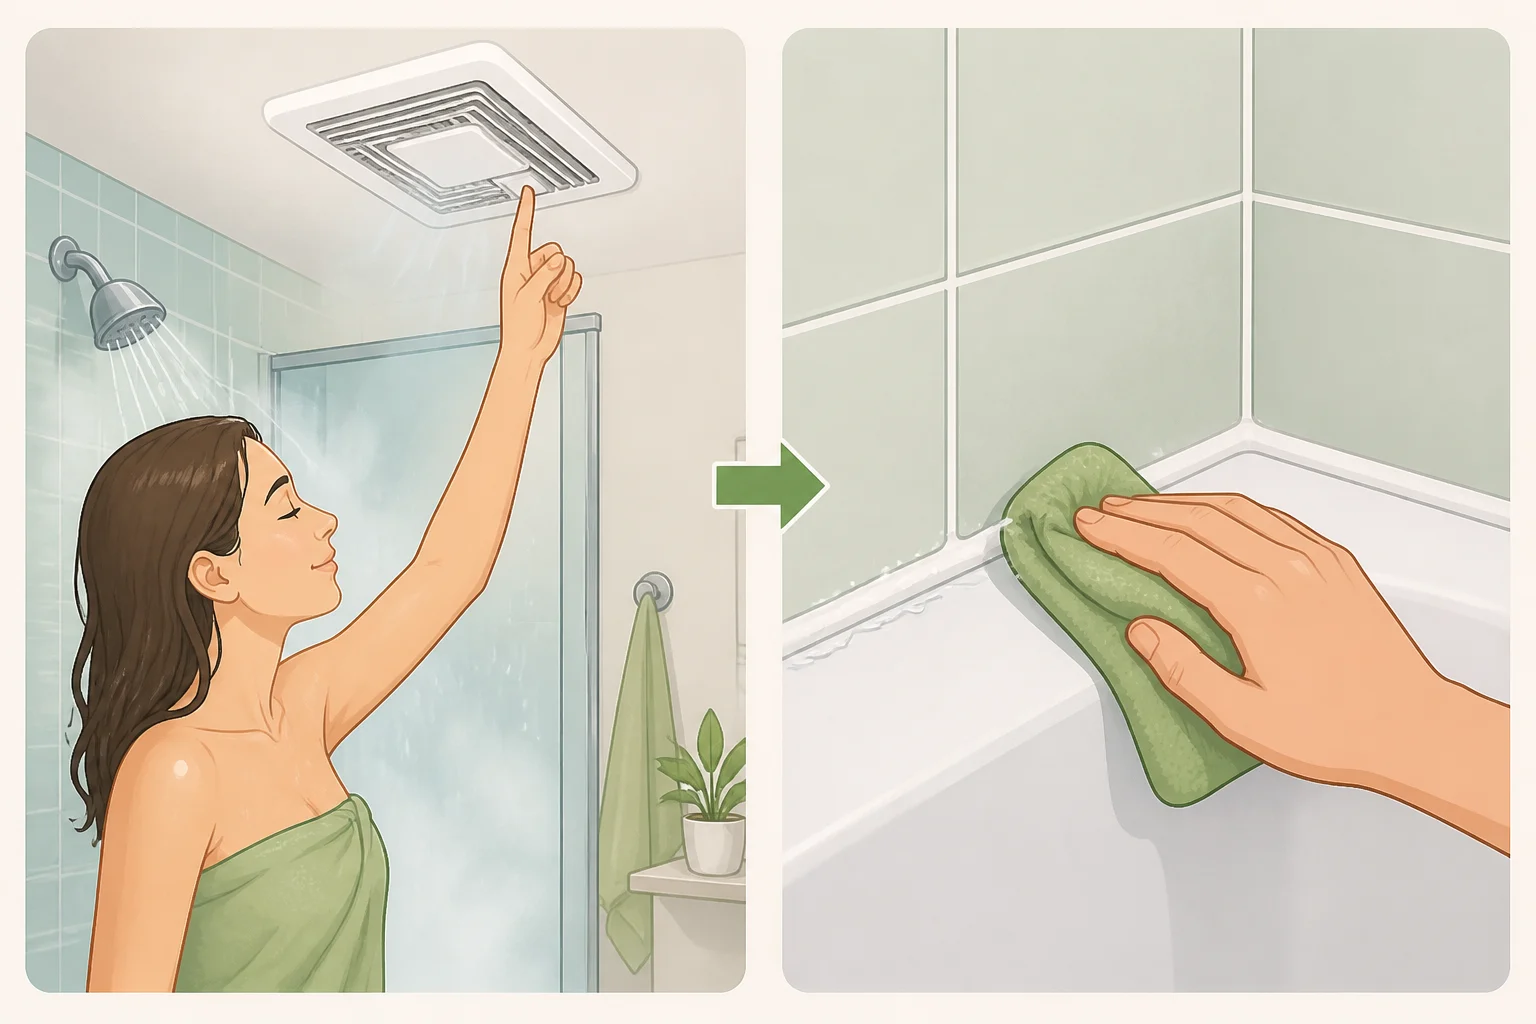
Even a fresh, properly installed silicone bead can grow mold again if the shower stays wet too long or the bathroom has poor airflow. The seal itself isn't a permanent fix, it's one part of a routine that needs ventilation and regular cleaning behind it (SpruceBath).
A few habits go a long way toward keeping mildew off bathroom caulk for good:
- Run the exhaust fan during and after showers, or crack a window when that's an option
- Wipe down caulk and tile after showering instead of letting water sit
- Fix any dripping fixture as soon as it's noticed
- Inspect the seam every few months for early cracking or discoloration
- In humid climates, a dehumidifier in the bathroom can help cut down on ambient moisture
The EPA's cleanup guide says that increasing ventilation and cleaning more often is usually enough to stop recurring bathroom mold, or at least keep it to a minimum, in spaces that stay damp by nature (U.S. EPA). The CDC's underlying principle holds here too: mold cleanup only sticks when it's paired with fixing whatever moisture problem caused it in the first place.
Once the new bead has fully cured, run a finger along the whole seam and check for firm adhesion with no gaps or soft spots. If mold shows back up despite good ventilation and regular wipe-downs, that points to a moisture issue behind the wall or shower pan rather than a cleaning failure. At that point, stop reapplying caulk and call a plumber or mold remediation professional to check for a hidden leak before the seam gets redone a third time.











Comments
Be the first, drop a comment!