



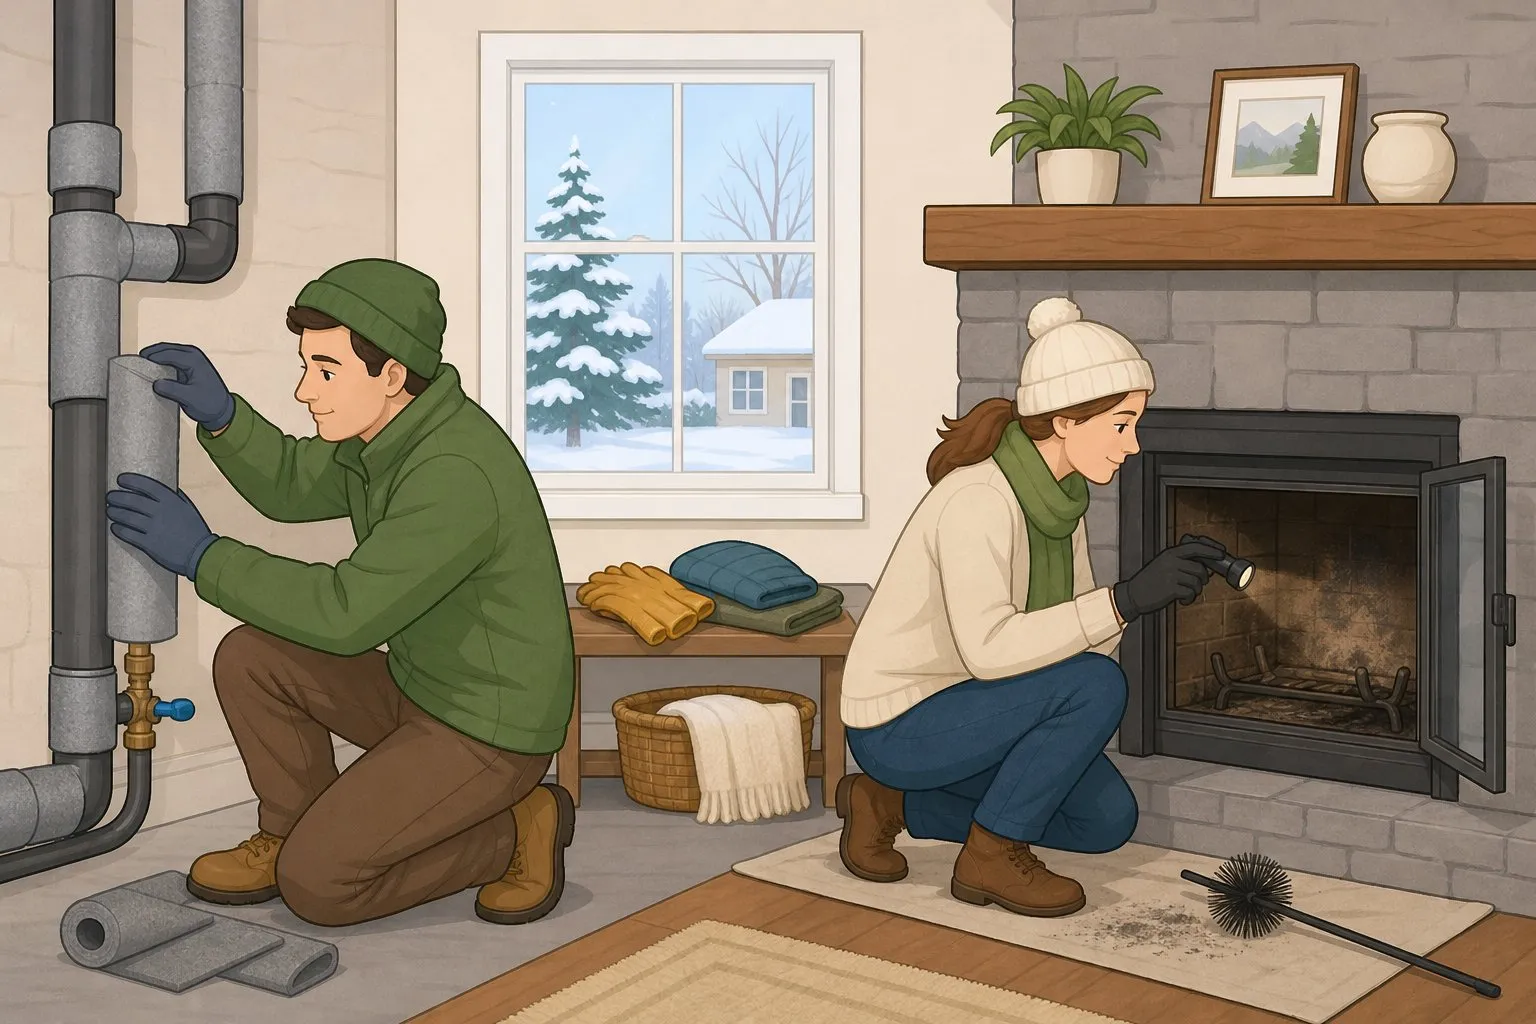
Weekend winterization: protect pipes and check your fireplace
Two jobs before the season's first hard freeze take care of the pipe and fireplace prep an ordinary homeowner can handle: insulating the pipes you can reach, and finding out when your wood-burning fireplace was last checked by a professional. Both take an afternoon, and both head off two of the more common winter headaches a homeowner runs into: a burst pipe, and a fireplace nobody's actually sure is safe to light.
The pipes most likely to freeze run through unheated or exposed spaces: attics, crawl spaces, garages, and exterior walls, especially once outdoor temperatures drop below freezing. How fast any one pipe actually freezes still depends on how exposed it is, how well it's insulated, wind, and how long the cold snap lasts, so that list is a starting point for your own walkthrough, not a complete map of every house.
The two jobs don't work the same way, either. Wrapping and sealing pipes is something you finish yourself. The fireplace side is different: checking the service record and glancing at the firebox can flag something worth asking a professional about, but neither one confirms a flue is clear or structurally sound. That call belongs to a chimney professional. This guide applies only to wood-burning masonry or factory-built fireplaces, not gas fireplaces, gas log inserts, wood stoves, or pellet inserts, which follow their own manufacturer service schedules. HVAC servicing, gutters, roof work, and window sealing are separate projects for another weekend.
What you'll need
For the pipes:
- Foam pipe insulation sleeves or wrap, sized to match your pipe diameter
- Tape to seal the seams
- Caulk and a caulking gun
- A flashlight
For the fireplace:
- A flashlight
- Work gloves
- Your most recent chimney inspection report or service receipt, if you have one
No brush kit, ladder, or roof access needed. The fireplace portion stays at the firebox and whatever's visible from the ground.
Before you start
Check the extended forecast for your area's first expected hard freeze so the pipe work doesn't get rushed the night a cold snap rolls in. Plan on a few hours for it, more if your home has a lot of exposed runs. It's beginner-to-intermediate DIY work. The fireplace side is lighter: pulling paperwork and taking a cool, ground-level look, nothing here involves cleaning, repairing, or climbing anything.
Accessible means pipes you can actually see and reach in a basement, crawl space, attic, or garage without cutting into drywall or flooring. Pipes inside finished walls, under a slab, or behind built-in cabinetry aren't a wrapping job. If you can only see a few inches of a pipe before it disappears into a wall, note it for a plumber rather than trying to pry anything open to get at it. A plumber can advise on other options, like improved air sealing around that wall or cabinet, for runs you can't physically reach.
Before opening the damper or looking into the fireplace, confirm there's been no recent fire and that the firebox, ash, and damper have cooled completely to the touch. Don't open anything while it's still warm.
Protect accessible pipes
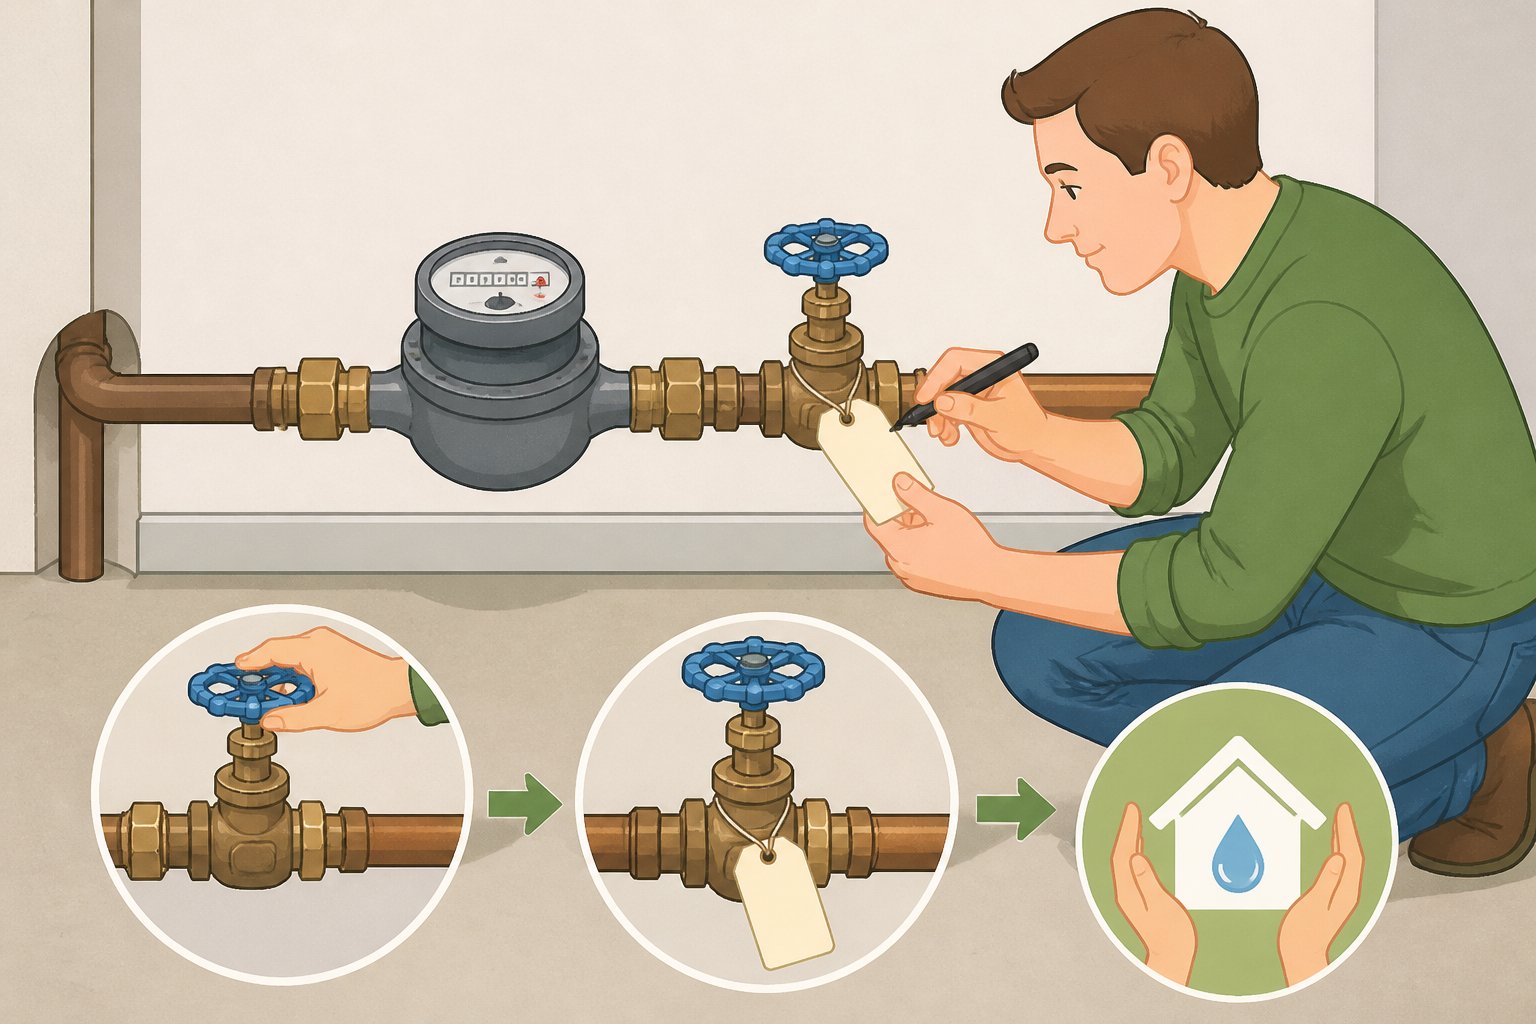
- Find your main water shutoff valve now, before you need it. It's commonly located near the water meter, in a basement, or wherever the main line enters the house, though placement varies by home. Label it so anyone in the household can find it and shut it off quickly.
- Walk unheated and exterior-adjacent spaces with a flashlight. Check the attic, crawl space, garage, and under-cabinet plumbing along exterior walls. Pay extra attention to pipes near vents, running along rim joists, over a garage door, or any pipe that's frozen before; those runs tend to sit in colder, drafter spots than others in the same room.
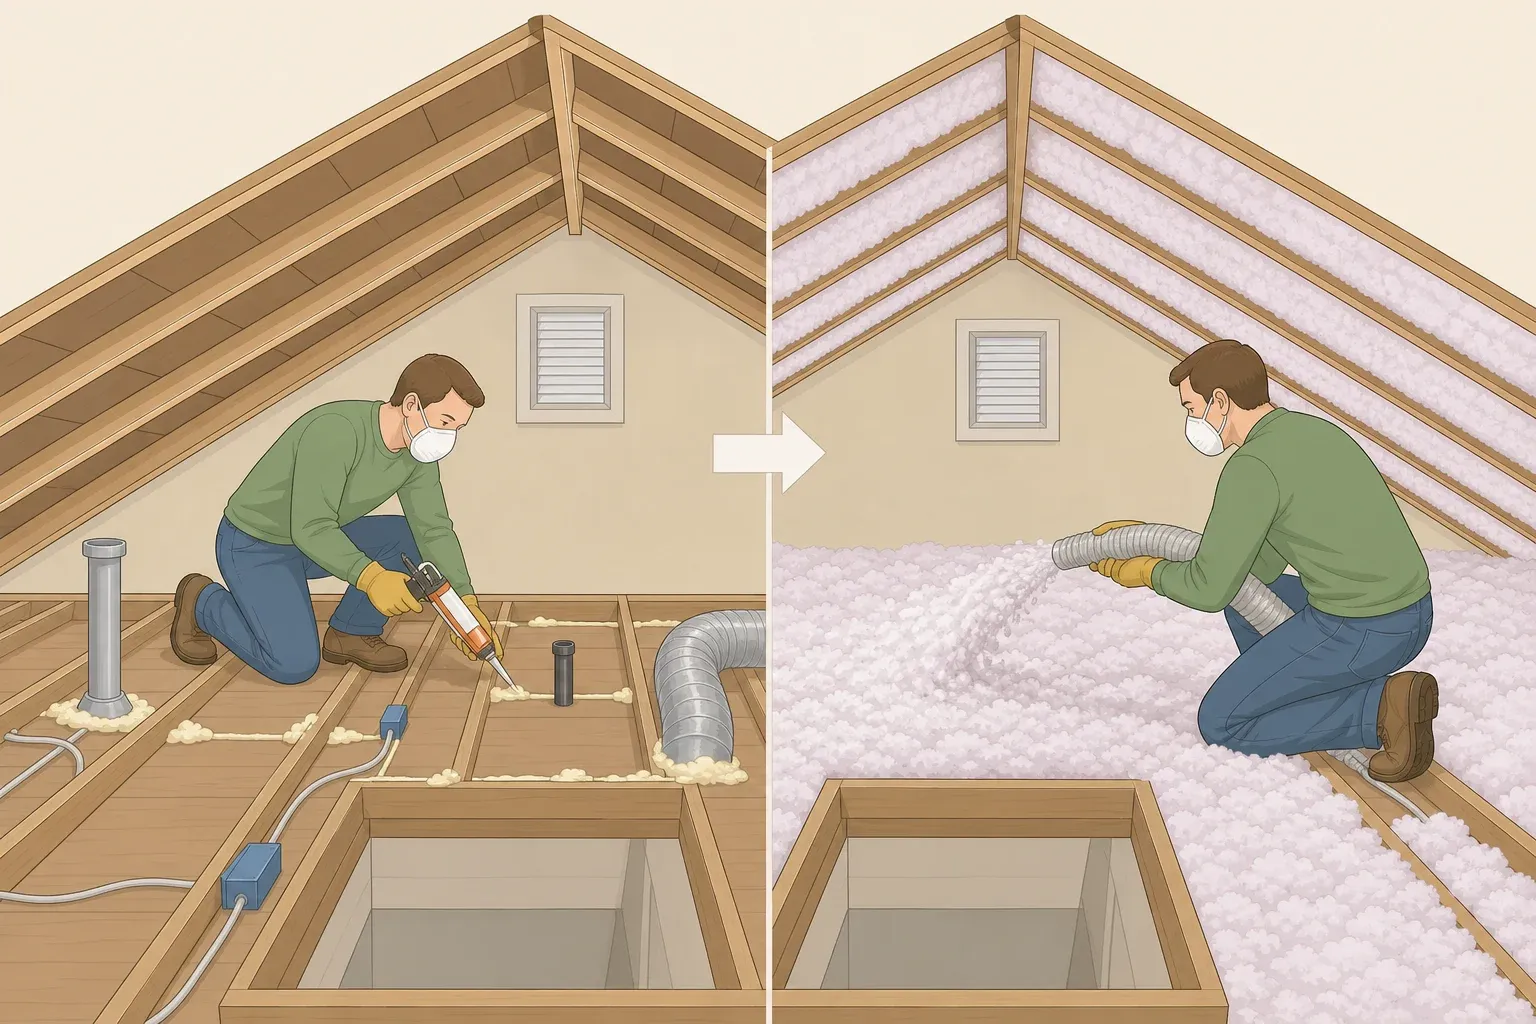
- Wrap exposed pipes with foam sleeves sized to the pipe diameter, taping the seams closed. Pre-formed foam elbows handle bends, and sleeves can be cut and taped around valves or pipe supports; just make sure every irregular joint gets covered, since gaps at fittings are where a wrap usually fails. Sleeves should butt together snugly at joints and corners, with no open gaps.
- Seal air leaks where pipes pass through walls, sill plates, or foundation penetrations with caulk. Cold air reaching an insulated pipe through a nearby gap can still freeze it, so a draft left unsealed undoes the wrap.
- Disconnect and drain outdoor garden hoses. Shut off and drain any exterior hose bibs that have an interior shutoff valve.
- If a specific pipe has frozen before, some homeowners add UL-listed heat tape for extra protection. Compatibility depends on the pipe material, the installation location, and the electrical supply behind it, so don't install it off general advice. Read that product's own manual before buying it, and if anything about the installation isn't clear, have a licensed electrician or plumber confirm it's right for that pipe before you plug it in.
Wrapping a pipe without sealing the draft near it is the mistake that undoes this whole job. The pipe ends up sitting in moving cold air, and the wrap alone won't stop it from freezing.
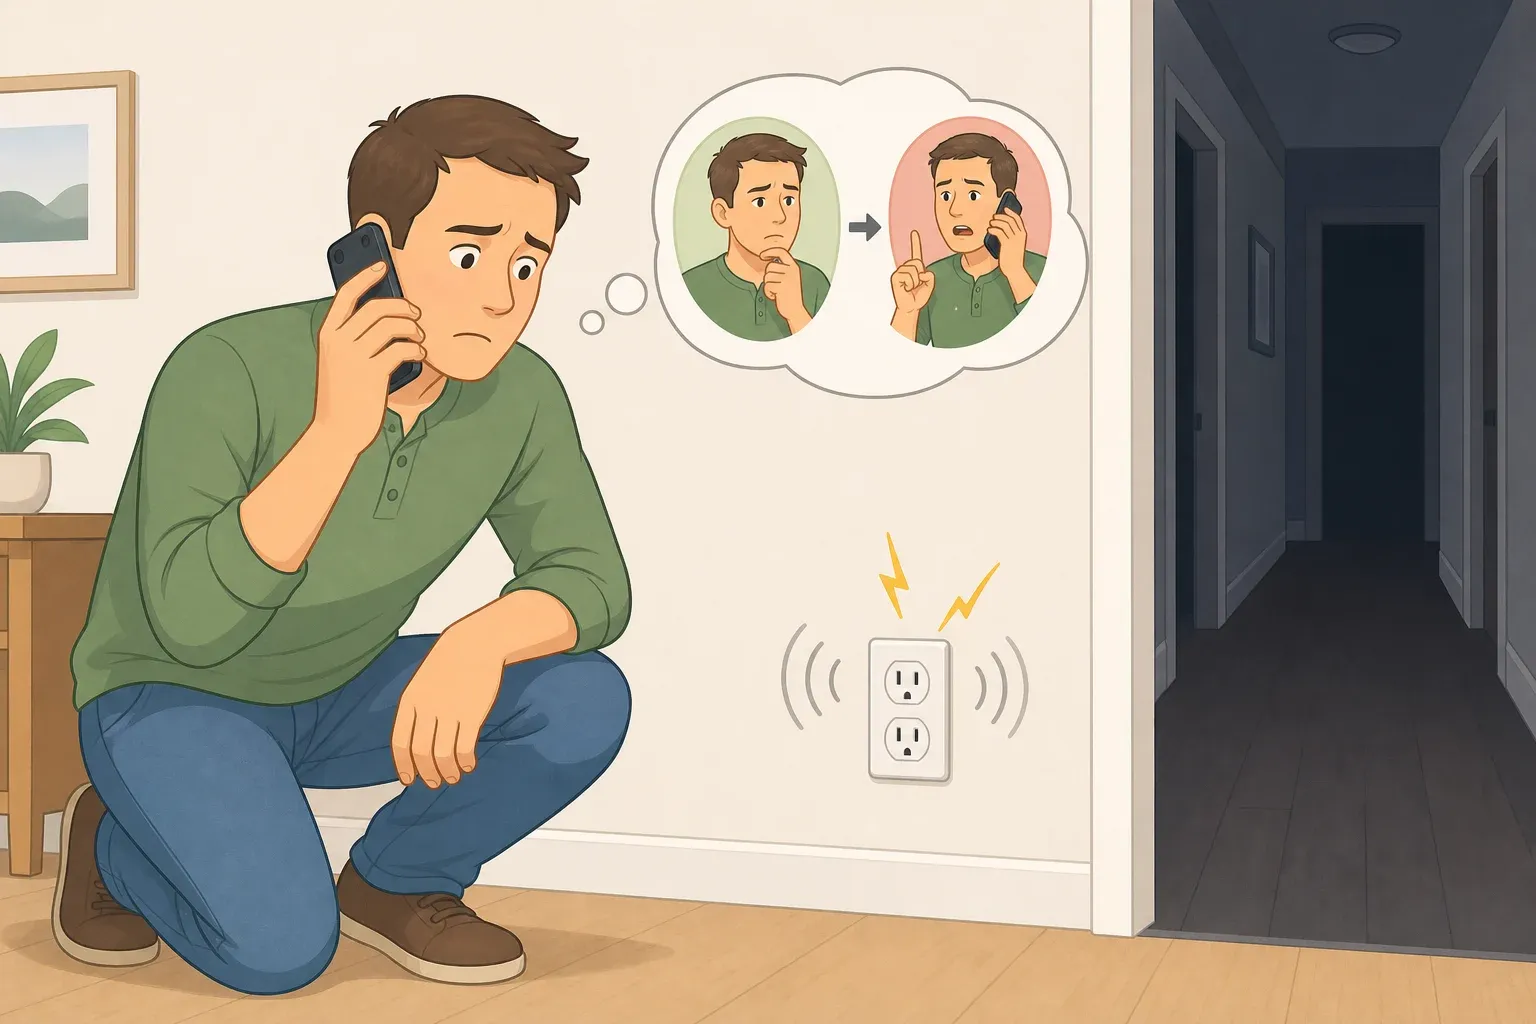
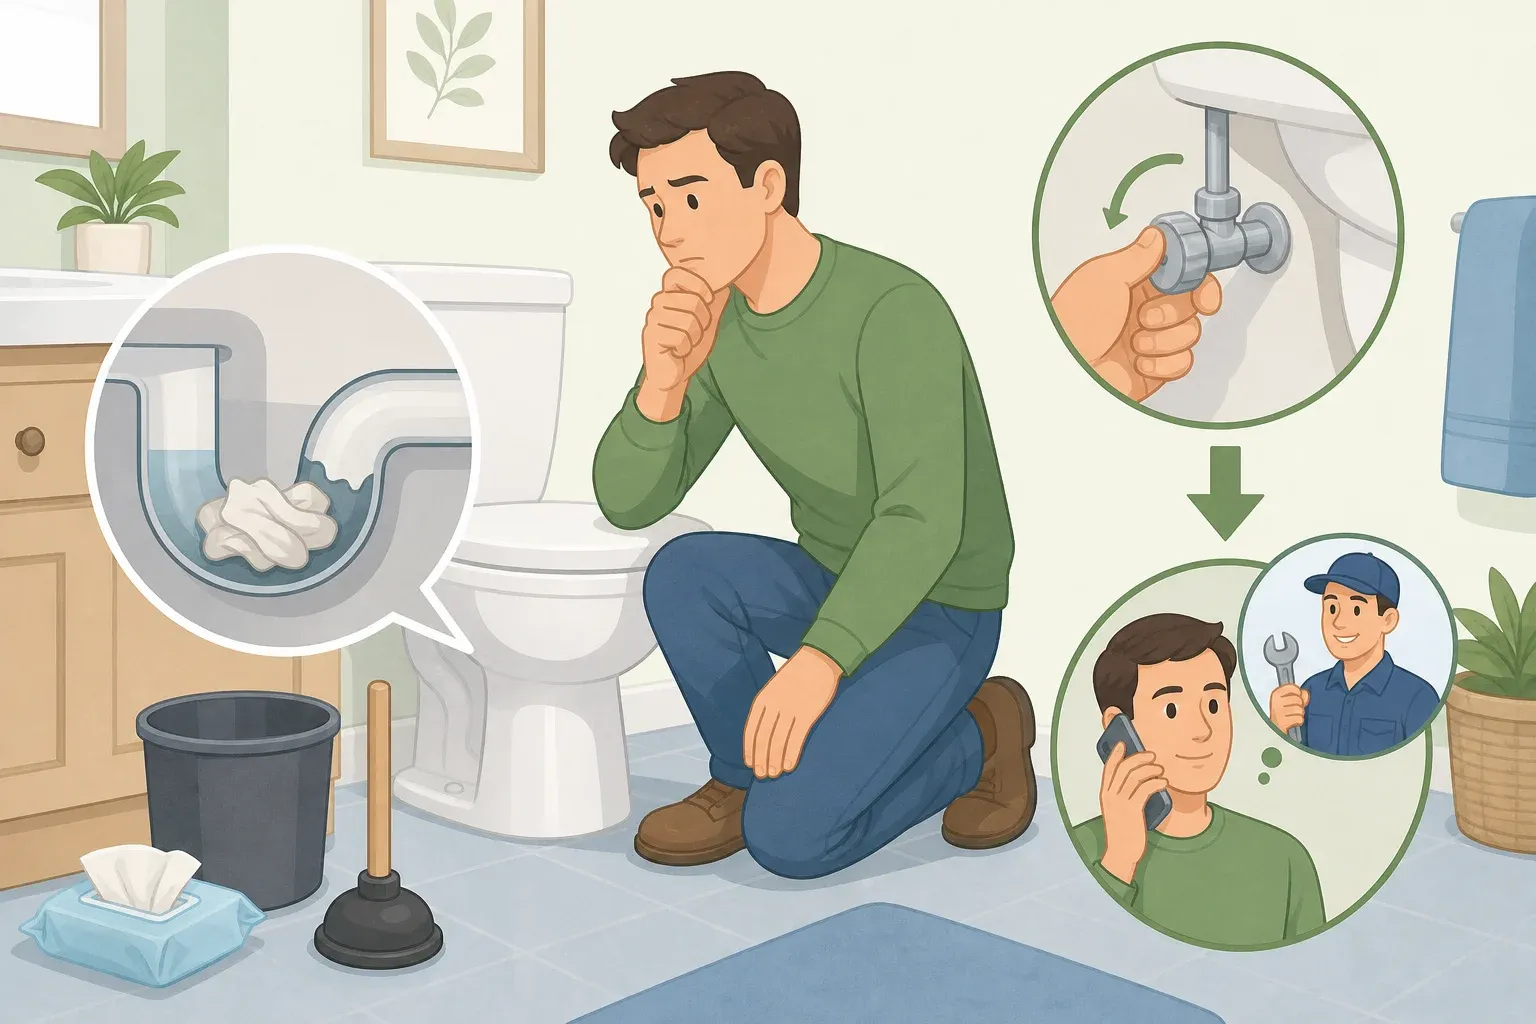
If a faucet suddenly slows to a trickle or stops producing water during a cold snap, treat that as a sign a nearby pipe may be freezing. Shut off the water at the main valve right away and stay clear of any electrical outlets, appliances, or cords near standing water. Call a licensed plumber before attempting any repair. The American Red Cross warns against using electrical equipment in or near standing water because of shock risk, and advises against trying to thaw a pipe with an open flame.
If the house will sit empty during a stretch of cold weather, don't lean on insulation alone. Have a neighbor check in periodically, or ask a plumber about professionally shutting off and draining the system if you'll be away for an extended period.
Once the shutoff is labeled, exposed runs are wrapped, and the outdoor spigots are drained, move on to the fireplace.
Check your fireplace's service record
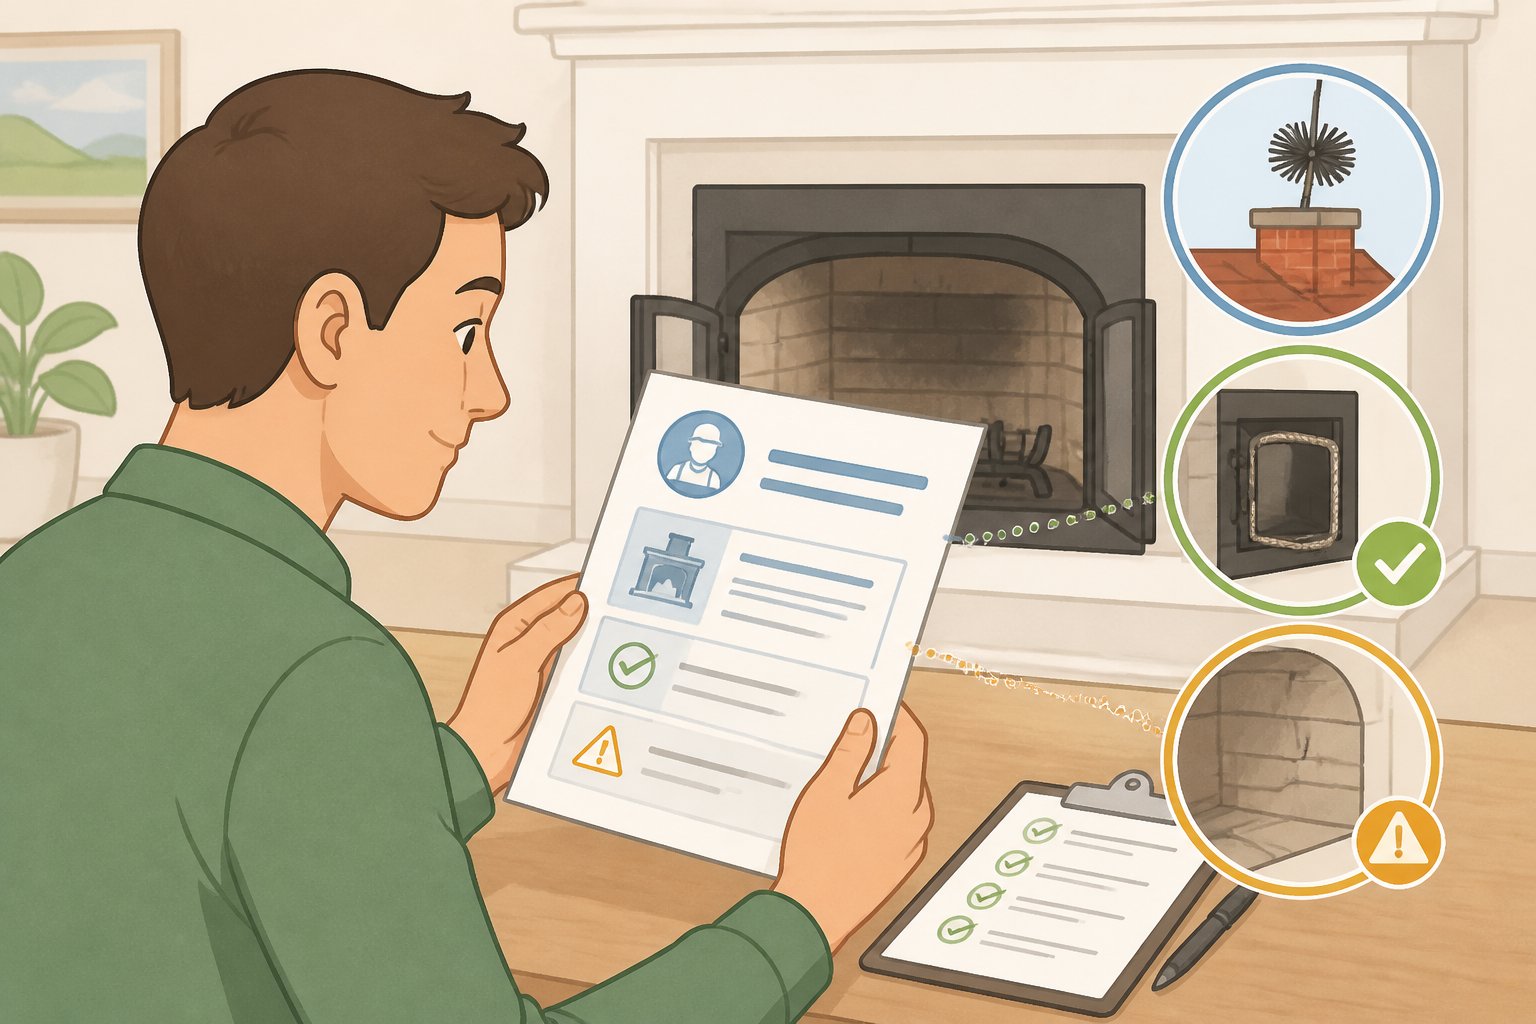
Before using a wood-burning fireplace this season, find out when it was last looked at by a professional. Flue, liner, and draft problems often aren't visible from the firebox or the ground, which is exactly why that inspection record matters more than anything you can see with a flashlight.
- Dig up the paperwork. Look for a receipt, inspection report, or service sticker from the last time anyone worked on the chimney. If you have the report itself, read what it says, not just the date; a report can list a recommended repair or a follow-up cleaning that was never scheduled.
- Check whether any recommended follow-up actually happened. If the last report called for a repair or cleaning that wasn't done, that matters more than how old the report is. Ask a qualified chimney professional what's required rather than assuming an old inspection settles it on its own.
- With the fireplace completely cool, use a flashlight to look at what's visible inside the firebox itself, not up the flue. You're checking for anything worth mentioning to a professional: visible damage to the firebox, damper, or other accessible parts. Heavy, flaky, or tar-like black buildup on the firebox walls is also worth flagging. Leave creosote removal to a chimney professional; it's a known contributor to chimney fires, not a cleanup job for a homeowner. Don't reach into the flue, climb onto the roof, or try to clean, repair, or operate anything that looks damaged.
- Test whether the damper moves freely. If it opens and closes without resistance, that's normal. If it's stuck, don't force it; mention it to the chimney professional instead.
- From the ground only, take a look at what's visible of the chimney exterior. You're checking for anything obviously wrong, like a visible lean, large cracks, or a missing cap. Skip this step entirely if you can't see the chimney clearly without climbing on anything.
- Write down what you noticed and bring it, along with the last inspection report, to the professional. This list is for raising questions, not for deciding on your own whether the fireplace is safe to use.
When to call a professional
A homeowner check cannot clear a fireplace for use. The record and the firebox glance above only exist to flag obvious reasons to call someone, not to double as a readiness test.
Call a qualified chimney professional before lighting a fire if any of the following is true: you can't find a record of a professional inspection, it's been a long time since the last one, the last report listed a repair or follow-up that was never done, or the firebox glance turned up buildup, damage, debris, or a damper that won't move freely.
If the record is current, the recommended follow-up is done, and nothing stood out during the glance, that's useful information, not proof the fireplace is ready for the season. Only a qualified chimney professional can confirm the flue and liner are clear and sound. When anything about the inspection or the firebox looks uncertain, call the professional who did the original inspection and ask directly before using the fireplace again.
Finish-line guidance for the weekend
Pipe work is done once accessible runs are wrapped with sealed seams, the drafts near them are caulked, outdoor spigots are drained, and the main shutoff is found and labeled. Recheck those four things before the next hard freeze in your area; a sleeve can slip, or a hose can get reconnected without anyone noticing. Pipes inside walls, under a slab, or behind built-in cabinetry still need a plumber's input, since wrapping alone won't reach them.
For the fireplace, a homeowner check still can't clear it for use on its own. If the inspection record is current, matches what the last report recommended, and the firebox glance turned up nothing, there's no obvious reason to hold off. If any of that isn't true, wait and call a qualified chimney professional first.
If a pipe freezes or bursts later this winter, shut off the water at the main valve, stay clear of any electrical equipment near standing water, and call a plumber. Don't try to thaw a pipe with an open flame, per the American Red Cross.
Comments
Be the first, drop a comment!