



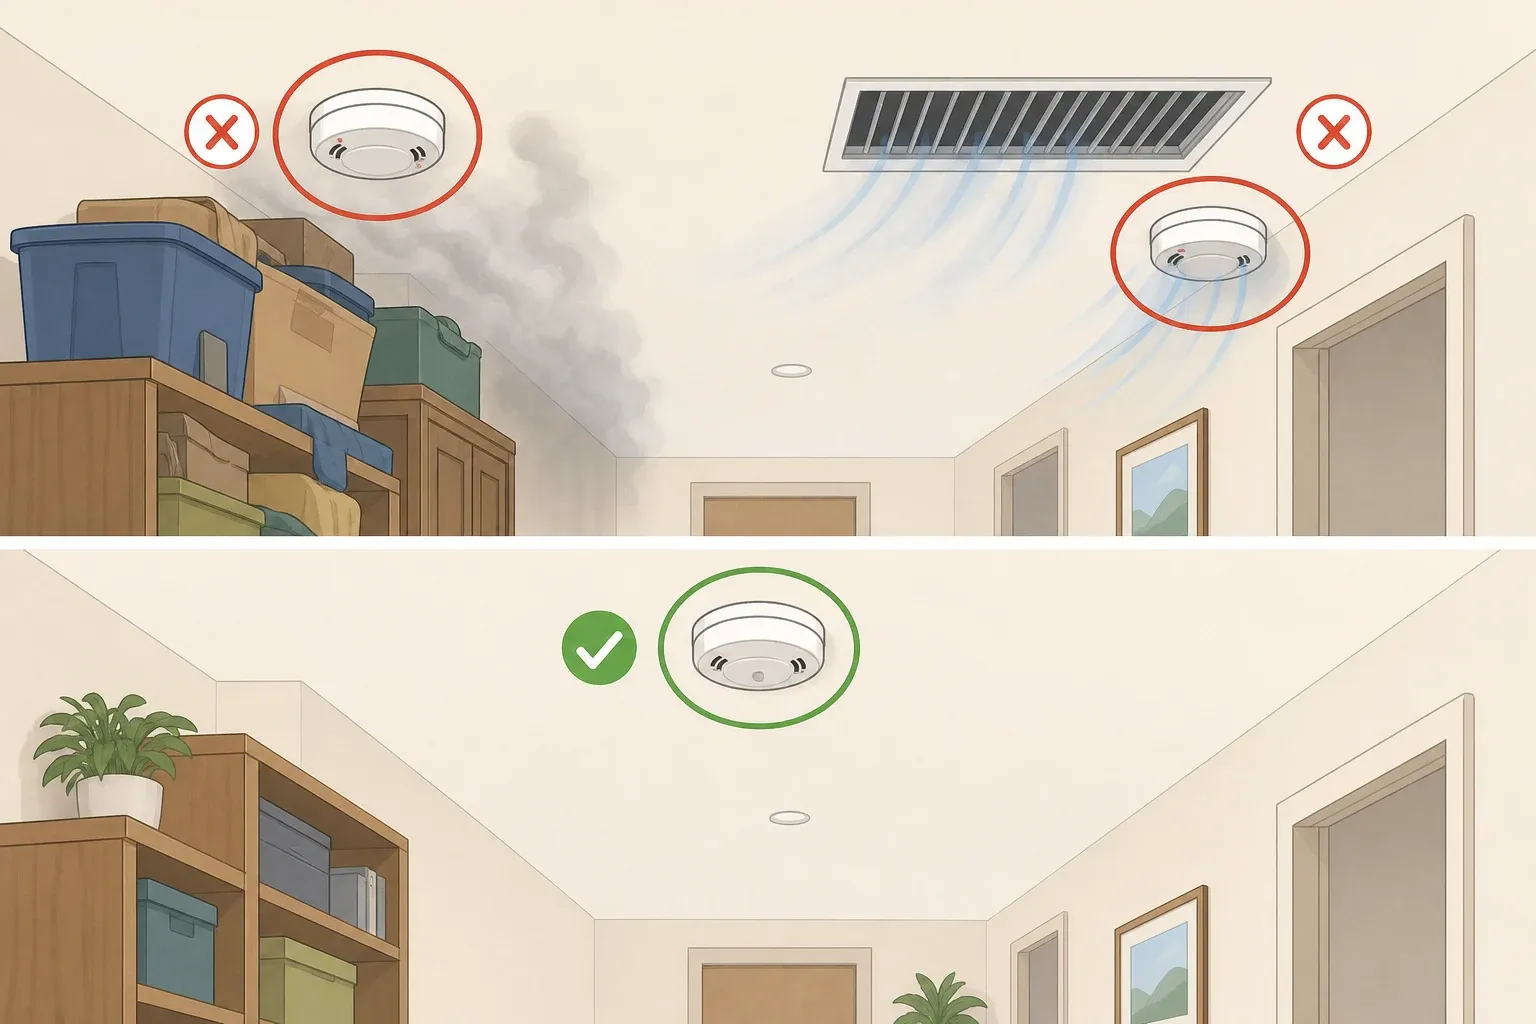
If an alarm keeps tripping during dinner, or one just looks like it's mounted in a strange spot, there's a good chance it's sitting in one of five common trouble spots: too close to the stove, wedged near a steamy bathroom door, inside an HVAC draft, perched at the peak of a vaulted ceiling, or hung too far down a wall.
Knowing where not to place smoke detectors matters as much as having one installed in the first place, since poor placement can delay detection or trigger nuisance alarms that lead people to disable the unit entirely. This guide walks through checking an existing alarm for each of those five problems and exactly how far to move it.
The stakes are real enough to take seriously. Homes with a working alarm have a death rate roughly 60% lower in reported fires than homes with no alarm or one that failed. Structure fires can go from a small flame to flashover in as little as 3 to 5 minutes, which is why smoke needs a clear path to the sensor, not steam, a draft, or sheer distance standing in the way.
Most of the fixes below amount to unscrewing a battery-powered alarm and remounting it a few feet over, a job that just takes a step stool and a tape measure. Hardwired and interconnected alarms are different. Moving one outside its current electrical box location means working with the home's wiring, so follow local code and use a qualified electrician where that's required rather than treating it as a DIY swap.
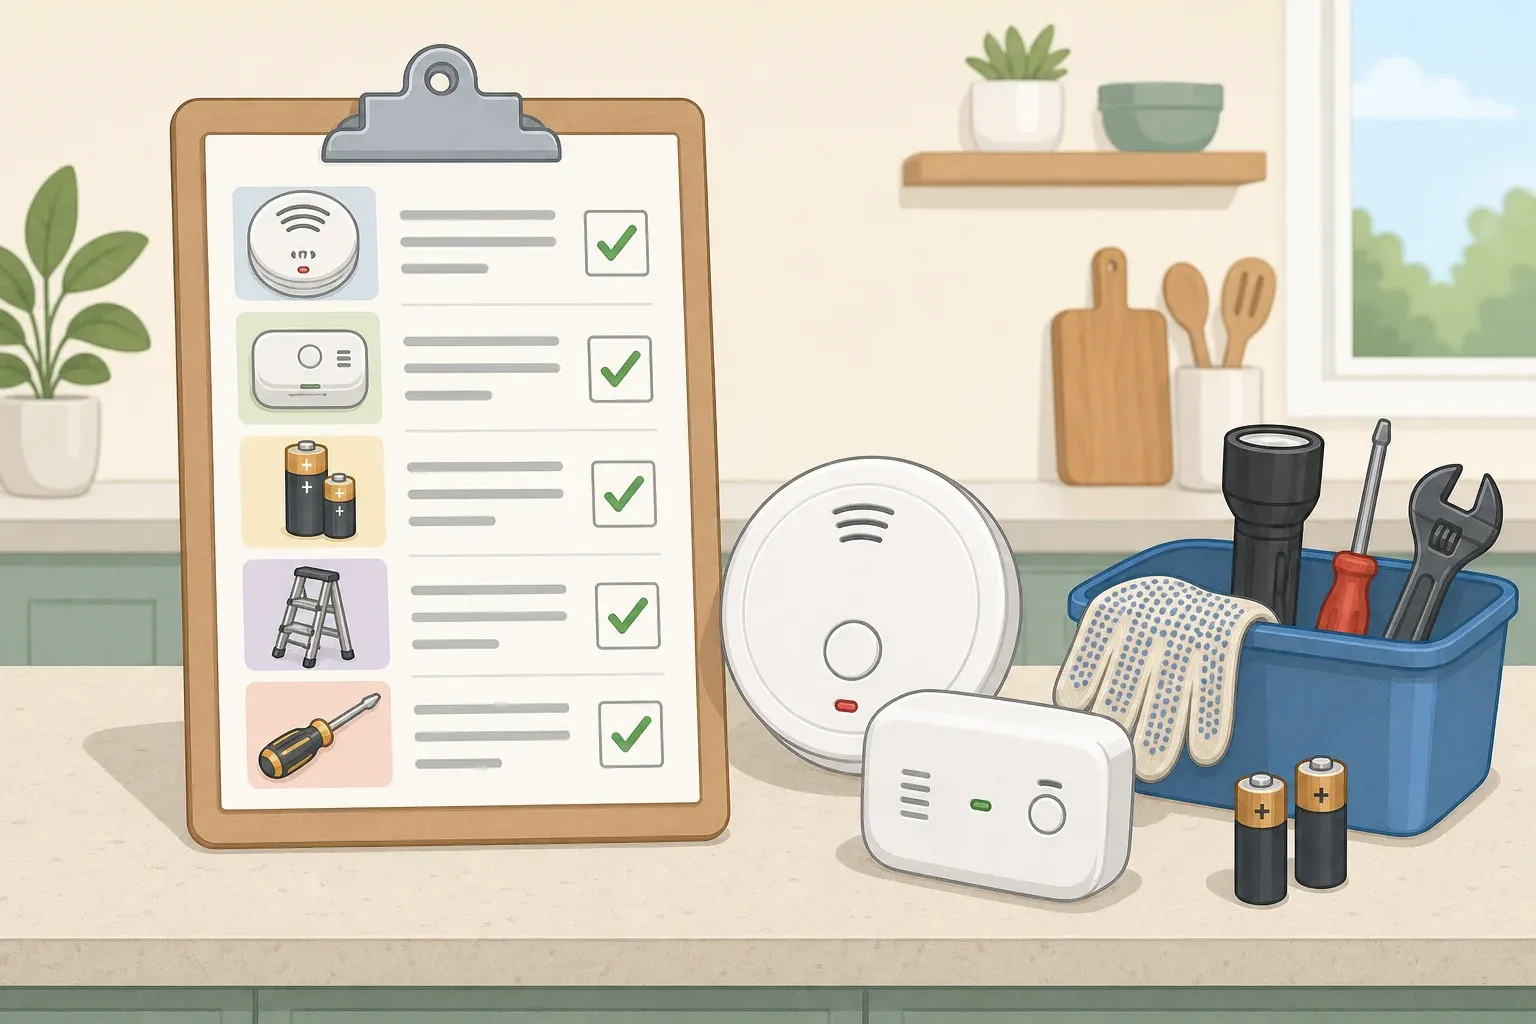
What you'll need
A tape measure
A stable step stool or ladder rated for the height being worked at
The alarm's printed installation manual, or the PDF from the manufacturer's site
A phone or notepad to record the manufacture date printed on the back of each alarm
Repositioning a battery-powered alarm is beginner-friendly. If an alarm is hardwired or interconnected and needs to move outside its current electrical box, don't attempt that part solo; follow local code and bring in a qualified electrician for the wiring. Interconnected alarms only trigger each other reliably when every unit is from the same manufacturer or listed as compatible, so a placement fix shouldn't double as an excuse to mix in a different model.
Where should smoke detectors be installed first?
NFPA's baseline recommendation calls for an alarm inside every bedroom, outside each sleeping area such as a hallway, and on every level of the home, including the basement. A basement alarm belongs on the ceiling at the bottom of the stairs leading up. On levels without bedrooms, NFPA recommends an alarm in the living room, den, or family room, near the stairway to the upper level, or both.
These are best-practice recommendations, not a universal legal requirement. Local building and fire codes can set stricter rules, especially for renovations or new construction, so check with the local fire or building department if there's any doubt.
Keep one rule above the other five while working through this: never fix a nuisance-alarm problem by pulling an alarm out of a required zone. If the only draft-free or steam-free spot sits outside the zone that alarm is supposed to cover, leave the existing alarm where it is and add a second unit in the better spot instead of relocating the only one that's there.
Before you move anything: alarms, detectors, and what UL 217 actually changed
NFPA draws a technical line between a smoke detector, a sensor wired into a building-wide fire alarm system, and a smoke alarm, the standalone unit most homes have that senses smoke and sounds its own alert. Most people use the two terms interchangeably, and so does this guide; the placement rules below apply to whatever's on the ceiling or wall right now.
A newer alarm standard, UL 217's eighth edition, went into effect in 2024 and added, for the first time, a test aimed at cutting down on cooking-related nuisance alarms. The standard applies only to newly manufactured alarms. Manufacturers are still allowed to sell existing stock, and it does not replace the manufacturer's installation instructions or local code requirements.
Confirm the spot before you drill
Before remounting anything, run through this sequence for whichever mistake applies:
Confirm the new spot is still inside a required zone: a bedroom, outside a sleeping area, on every level, or at the basement stair landing.
Measure the specific clearance that applies: distance from the cooking appliance, distance from the bathroom door, distance down from the peak on a pitched ceiling, or distance down from the ceiling on a wall.
Check that measurement against the installation manual for that exact alarm model, since some manufacturers set tighter clearances than the NFPA baseline.
Confirm the mounting surface can actually hold the alarm, whether that's ceiling drywall, a joist, or an existing electrical box.
Only then unscrew the battery-powered alarm from its old bracket and remount it. Leave a hardwired or interconnected alarm in place if the move requires relocating the electrical box; that's wiring work, not a repositioning job.
Press the test button once it's remounted. If other alarms in the home are interconnected, confirm the new location still triggers the compatible units, not just itself.
Smoke alarm placement guidelines for kitchens and bathrooms
Mistake 1: too close to the stove or cooktop
An alarm that trips nearly every time something's frying is usually just too close to the stove. NFPA recommends keeping an alarm at least 20 feet from a cooking appliance where the floor plan allows it (NFPA). Where 20 feet isn't realistic, an alarm that's photoelectric, has a silencing or hush button, or is specifically listed as resistant to cooking smoke can be placed as close as 10 feet (NFPA).
That exception has a catch. NIST's kitchen fire lab tested current-generation alarms against bacon, toast, and grilled cheese and found they still nuisance-trip from cooking at roughly the same rate as older models (NIST). The testing is another reason not to rely on newer alarm technology as a substitute for proper placement.
Measure from the cooking appliance to the farthest point inside the required coverage zone, aiming for 20 feet. If only a 10-to-20-foot spot is available, check the back label for "photoelectric," a hush button, or a listed cooking-smoke-resistant rating before relying on the shorter distance. If nothing in the zone clears even 10 feet, leave whatever alarm currently covers that zone in place and working, check the installation manual for a listed alternative, and contact the local fire or building department before mounting anything new there.
Mistake 2: too close to a steamy bathroom door
A hallway alarm that trips during showers is often mounted too close to the bathroom door. NFPA's rule is at least 36 inches of clearance from the door of a bathroom with a shower (NFPA).
Move it to the farthest usable point in the hallway that still satisfies the required coverage zone, at least 36 inches from the door. Short hallways sometimes can't fit both the coverage requirement and the clearance in one spot. NFPA's guidance here is about distance, not alarm type, so if the hallway still can't clear both, check that specific model's manual for any additional installation guidance and contact the local fire or building department.
It's worth the extra step to get right. NIST researchers found that people who repeatedly deal with nuisance alarms tend to disable their devices, and a disabled alarm can't do its job if a real fire starts (NIST).
Where not to place smoke detectors near drafts and ceilings
Mistake 3: in the direct path of an HVAC vent or window
NFPA advises against installing an alarm anywhere with air movement, including near windows or an HVAC supply vent (NFPA). Look for the obvious signs: a mounting spot directly below or beside a supply vent, or close enough to a window that it gets hit by a draft whenever it's open.
Slide the alarm to another spot on the same ceiling that's clear of the draft, running it through the confirm-the-spot checklist above to make sure it still lands inside the required zone. A battery-powered alarm's bracket usually comes off with two screws, so the move itself is quick. A hardwired or interconnected alarm is a different matter: don't move the electrical box or alter the wiring directly, follow local code, and bring in a qualified electrician where that's required.
Mistake 4: at the apex of a vaulted or pitched ceiling
NFPA's rule leaves a small buffer at the very peak of a pitched ceiling: mount the alarm within 36 inches of the ridge line, but at least 4 inches down from it (NFPA).
Measure down from the ridge line and mount the alarm somewhere between 4 and 36 inches below the peak. This is the fix that most often involves working at real height on a sloped surface, so don't set a ladder or step stool on the angled part of the ceiling, and don't lean or overreach to hit the exact measurement. Work only from stable, level footing; if the mounting point isn't reachable that way, bring in a professional rather than improvise on an angle.
Mistake 5: too far down the wall
Smoke rises, which is why NFPA recommends mounting alarms high. A wall-mounted unit should sit no more than 12 inches below the ceiling, measured to the top of the alarm (NFPA).
Reposition it within 12 inches of the ceiling, or switch to a ceiling-mounted unit if the wall location can't get close enough. If the alarm is hardwired, moving it higher on the wall or to the ceiling usually means relocating the electrical box. Don't move that box or alter the wiring yourself; follow local code and use a qualified electrician where required.
Five smoke alarm placement mistakes at a glance
#ProblemThresholdMove it to1Too close to the stoveAim for 20 ft; never closer than 10 ft under the listed exceptionFarthest point in the zone, aiming for 20 ft; a photoelectric, hush-button, or listed cooking-smoke-resistant alarm may sit as close as 10 ft2Too close to a shower bathroom doorUnder 36 inMove as far down the hallway as the required zone allows3In an HVAC or window draft pathNoticeable airflow at the mount pointSlide along the same ceiling, out of the draft, within the required zone4At the ceiling apexWithin 4 in of the ridgeReposition 4 to 36 in down from the peak5Low on the wallMore than 12 in below ceilingRaise to within 12 in of ceiling, or switch to a ceiling mount
Finish the job: test, document, and call a pro when needed
Once an alarm is remounted, press the test button and confirm it sounds before calling the job done. Interconnected alarms are designed so that one alarm causes the other compatible alarms to sound (NFPA); check the manufacturer's manual for the exact test sequence and confirm the other units actually respond, not just the one that moved.
If an alarm was temporarily silenced or disconnected to check a new spot, restore it to full working order the same day. Don't leave a required coverage zone without a functioning alarm overnight while a permanent location gets sorted out.
While the step stool is still out, check the manufacture date printed on the back of each unit. NFPA recommends replacing alarms every 10 years, or 7 to 10 years for combination smoke and CO alarms, and sooner if one fails a monthly test or sounds an end-of-life signal (NFPA). Jot the date somewhere that'll actually get checked again, since a label on the ceiling is easy to forget.
When it's time to replace a unit, match it to the system already in place. An interconnected setup needs replacements from the same manufacturer or listed as compatible, since mismatched alarms may not sound together (NFPA). Get the placement right first; a new alarm model won't make up for a bad mounting spot.
If fixing any of these five problems means moving a hardwired or interconnected alarm's electrical box, running new wire, or mixing incompatible brands to make interconnection work, stop there. Follow local code, bring in a qualified electrician, and don't guess through a system that's supposed to reliably alert every room in the house.







Comments
Be the first, drop a comment!