



When to turn on the heat: a step-by-step safety guide
There's no calendar date or outdoor temperature that works for every home. Deciding when to turn on the heat comes down to three separate questions: is your system actually ready to run, has your house gotten too cold to be comfortable or safe, and are you managing the heat efficiently once it's going.
Here's the decision rule, in order:
- Test your heating system before the first sustained cold snap, not during it.
- Turn the heat on once your home can no longer stay comfortably and safely warm on its own, or once someone vulnerable in the house needs a warmer environment, regardless of the month.
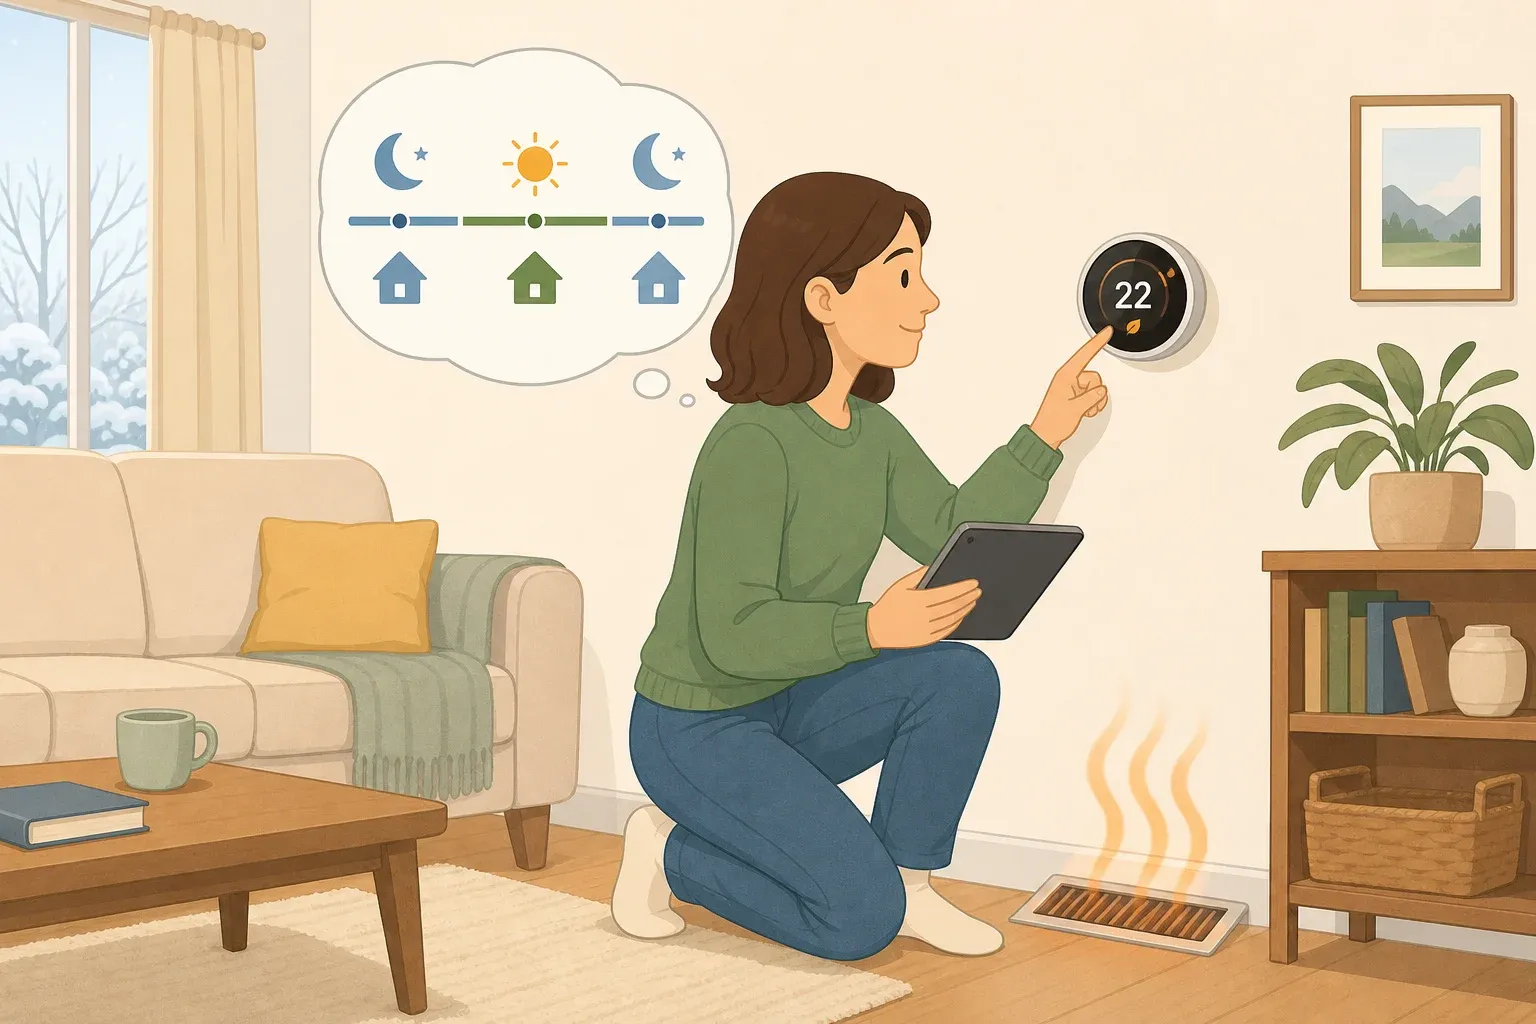
- Once it's running, manage it with a schedule or smart thermostat instead of riding the dial up and down yourself.
Heating and cooling already eat up nearly half of a typical household's annual energy use, close to $900 a year, according to ENERGY STAR's fall guidance. That same guidance recommends handling filter checks and maintenance before cold weather sets in, not after the first freeze catches the system off guard. The CDC's winter storm safety guidance separately advises keeping indoor temperatures warm, especially if anyone in the home is over 65 or under one year old.
This guide covers how to tell it's time to turn the heat on, what counts as a reasonable temperature, when to switch from AC to heat, what to check based on your system type, and a safe startup sequence with troubleshooting cues.
When to turn on the heat: test readiness, comfort, and efficiency
When should you turn your heat on? Test it before the first sustained cold spell arrives, then flip the switch once the house stops holding a comfortable, safe temperature on its own. Run this check against your own house tonight instead of waiting for a specific week on the calendar.
Test readiness. If you haven't run your system since last season, test it now on a mild day rather than waiting for the first real cold night. That's also the answer to when to start using heat in fall: test early, while the weather still gives you room for error, before you actually need the warmth. ENERGY STAR treats filter changes and annual maintenance as fall tasks to knock out before cold weather sets in, not jobs tied to a fixed date.
Comfort and safety. This is the signal that actually tells you to turn the heat on. The CDC advises maintaining a warm temperature inside the home during winter weather and tells people over 65 to check their indoor temperature often during extremely cold stretches. The guidance also states infants under one year old should never sleep in a cold room, since they lose body heat faster than adults.
Efficiency, after startup. ENERGY STAR notes that smart thermostats can learn a household's routine and adjust automatically, which can reduce the need for manual adjustments once the system is running. It doesn't tell you when the house has gotten too cold in the first place; that call still comes down to the comfort and safety check above.
Put plainly: test early, turn the heat on once the home stops holding a safe and comfortable temperature on its own, and hand runtime management to a schedule or smart thermostat once it's going. What temperature that actually means is the next question.
What temperature should you turn the heat on?
The CDC guidance cited here recommends keeping the home warm but doesn't set one thermostat number for every household. What it does flag is who needs the extra margin: infants under one year old shouldn't sleep in a cold room, and people over 65 should check their indoor temperature closely during cold snaps.
Work through this short process instead of guessing at a number:
- Check the actual indoor temperature using the thermostat display or a separate room thermometer.
- Consider whether anyone in the home is especially sensitive to cold, including infants, older adults, or someone managing a chronic condition.
- Set the thermostat to whatever keeps the occupied rooms comfortable for the people actually living there, following any medical or care guidance specific to a household member.
- Don't borrow the CDC's 95°F body-temperature threshold as a thermostat reference. That number marks a hypothermia emergency requiring immediate medical attention, not a room-temperature goal.
In practice, the right setting depends on who lives in the house and how it holds heat, not a number borrowed from a neighbor's thermostat.
When to switch from AC to heat
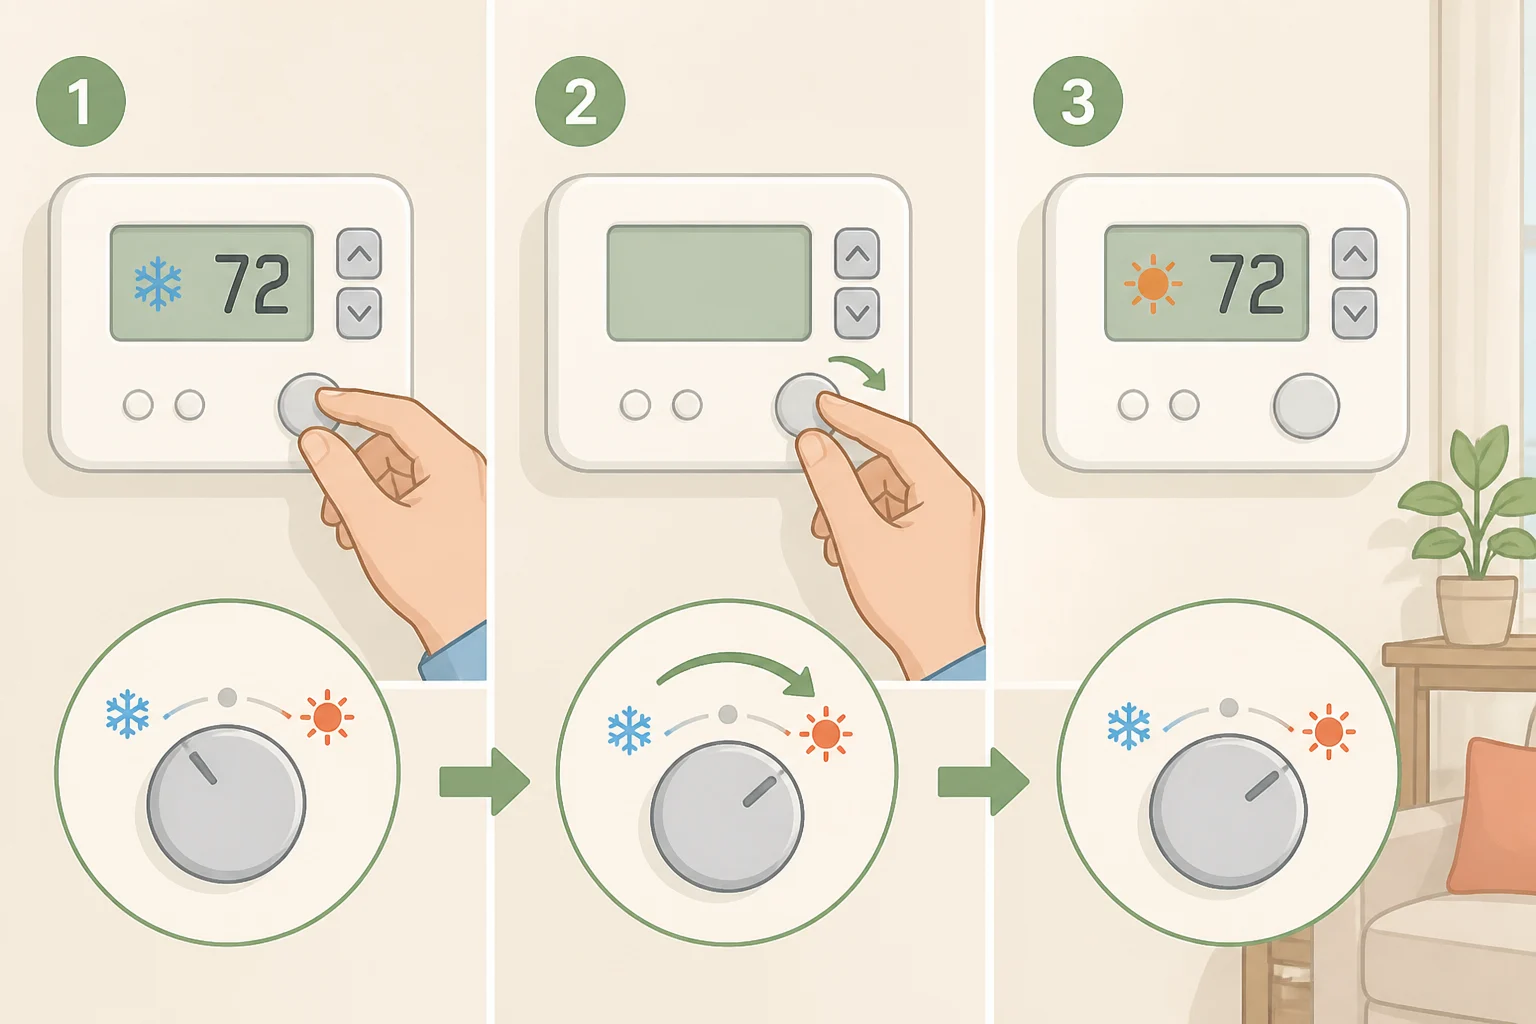
Flipping from cooling mode to heating mode is usually simple, but a few quick checks prevent a confusing first run.
- Flip the thermostat mode from Cool to Heat and confirm the display updates.
- Check that the schedule still matches when people are actually home. A summer schedule built around AC hours often doesn't fit fall and winter routines.
- Clear anything stacked in front of supply and return vents over the summer, like furniture or storage bins.
- Check your system's manual before changing any equipment settings beyond the thermostat mode, since the shutoff and startup sequence varies by brand and model.
Once the switch is made, the steps below are about confirming the system runs safely before relying on it overnight.
Before you start: know your system and your safety boundaries
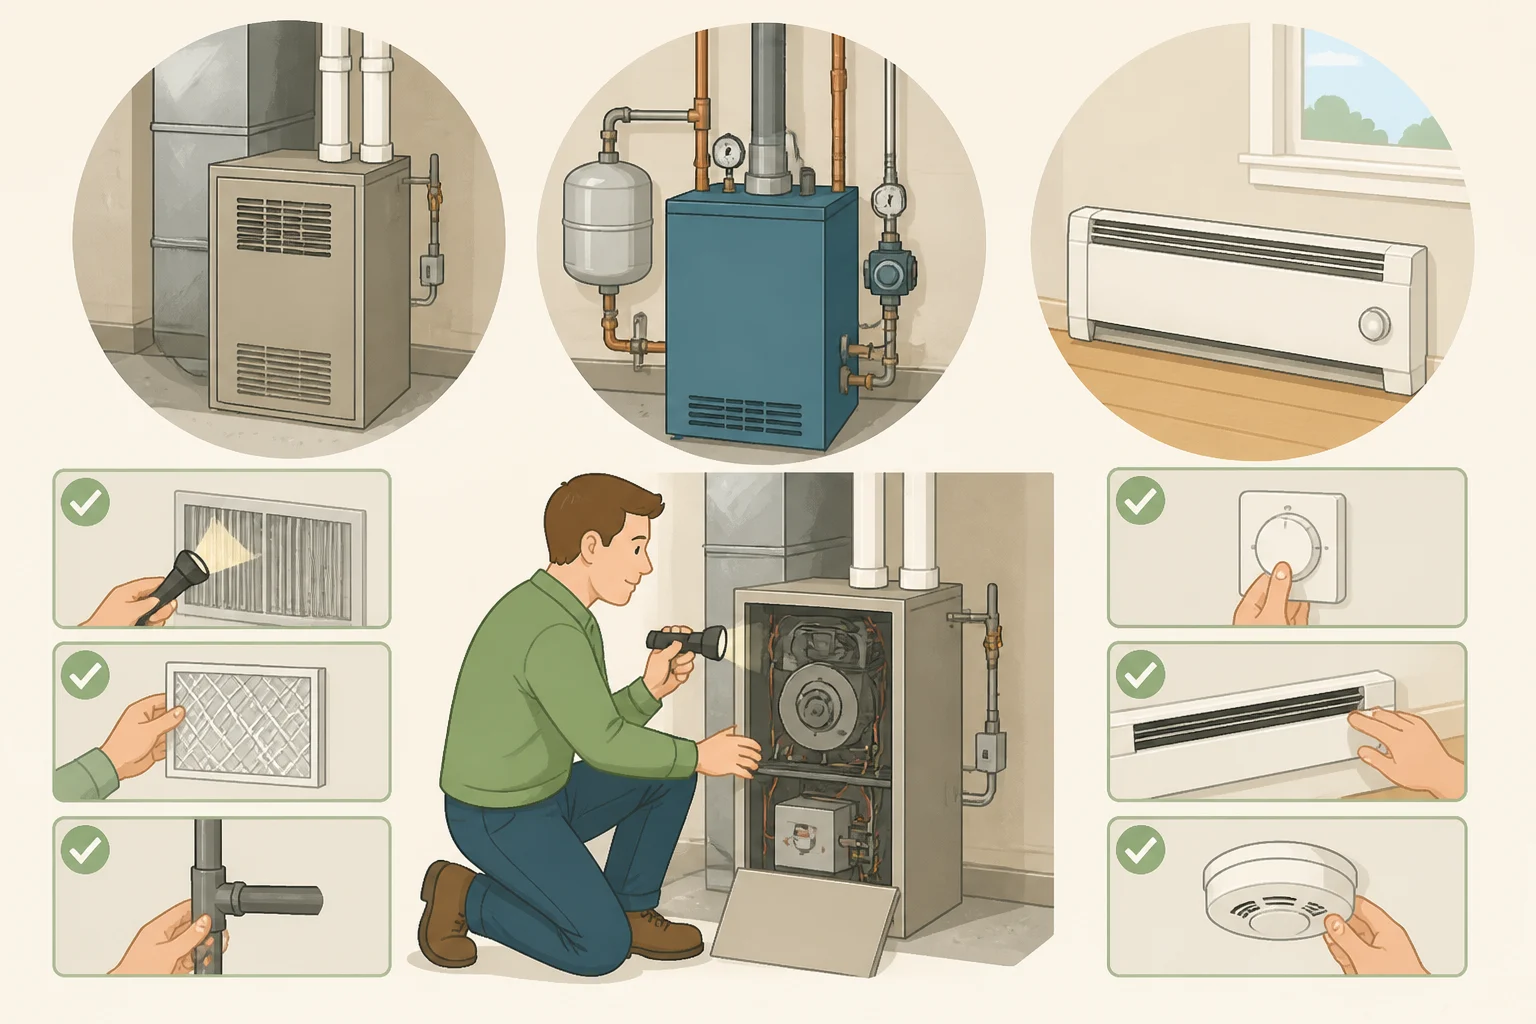
Setup varies by heating system, so identify yours before testing anything.
- Forced-air furnace: needs a clean, correctly sized filter and clear supply and return vents.
- Boiler or radiator system: check your owner's manual to see whether your system is designed for homeowner bleeding. If it is, follow the manual's exact procedure. If you're unsure which valve applies, or you notice leaking or corrosion anywhere near the unit, skip it and call a technician instead.
- Heat pump: check your owner's manual for the outdoor unit's clearance requirements, including leaves, debris, or snow buildup, before testing heat mode.
- Baseboard heat: for permanently installed units, inspect the unit and the surrounding wall for visible damage or discoloration before turning it on for the season. For plug-in heaters, inspect the cord and plug for damage.
Set aside part of a mild afternoon rather than squeezing this in during a cold evening. That gives the system time to cycle on, run, and show you how it's behaving before anyone actually needs the heat.
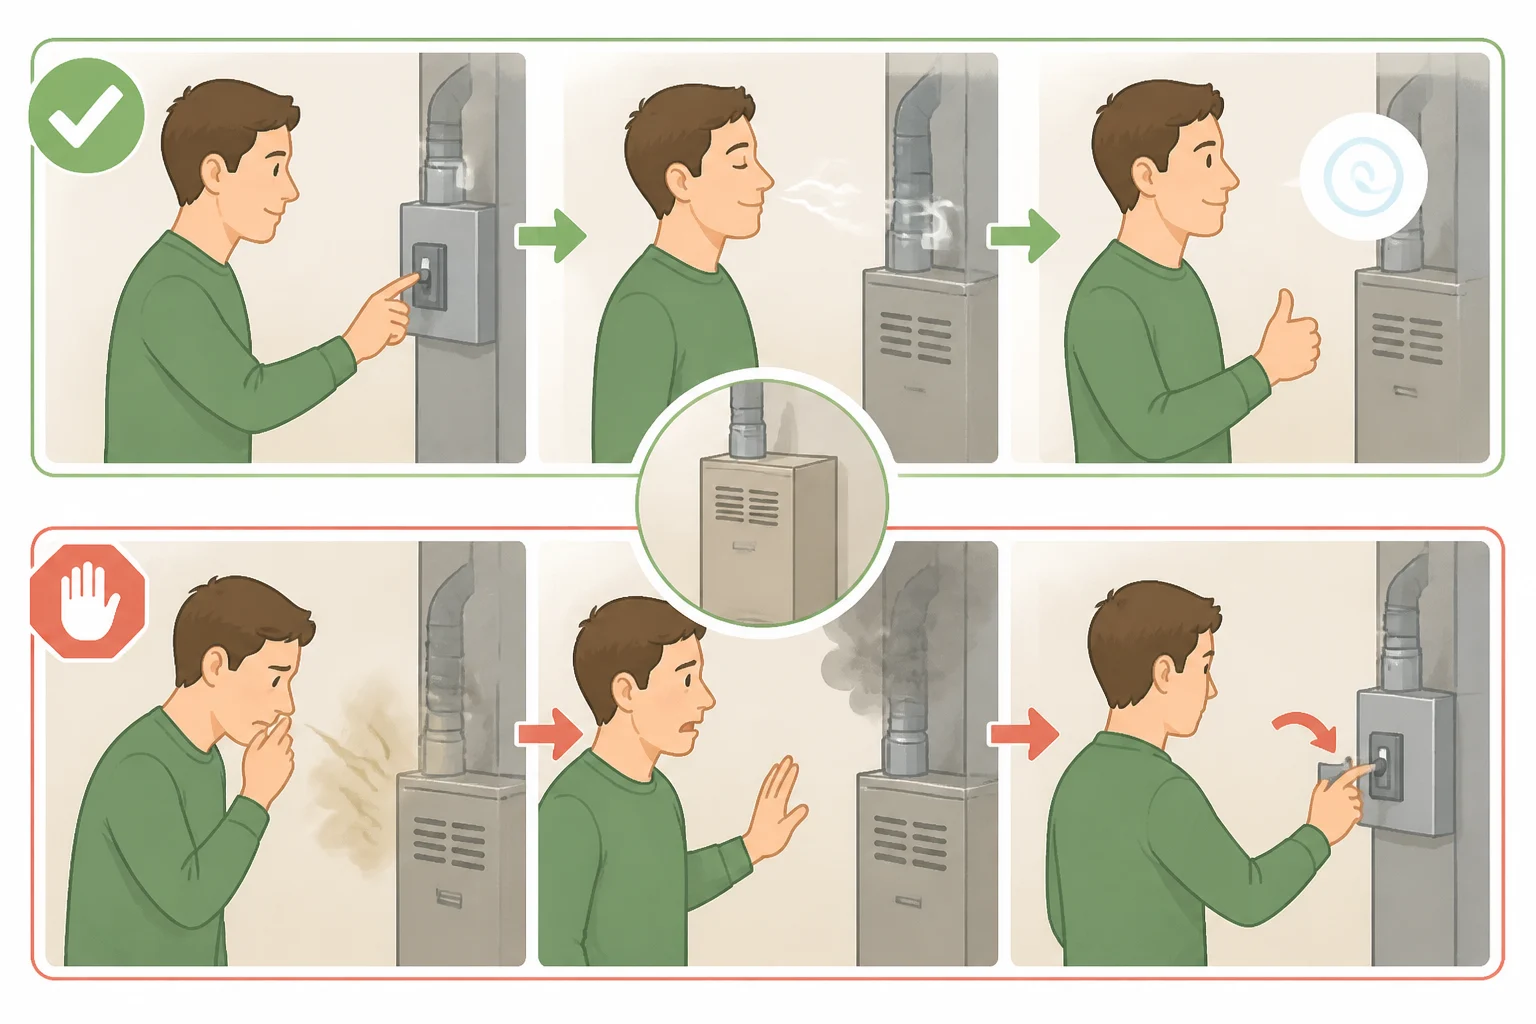
A strong gas odor near fuel-burning equipment is a stop-everything situation, not a step in the test sequence. Leave the house, get to a safe location, and call for help rather than trying to locate the source yourself. Smoke alarms and carbon monoxide alarms serve different purposes, and both should be installed and working before you rely on any fuel-burning furnace or boiler for the season.
Filter changes, visual inspections, and thermostat setup are beginner-friendly. Anything involving gas lines, pilot assemblies, electrical panels, or a radiator system you're unsure about is professional-only.
Test run vs. first night vs. loss-of-heat emergency
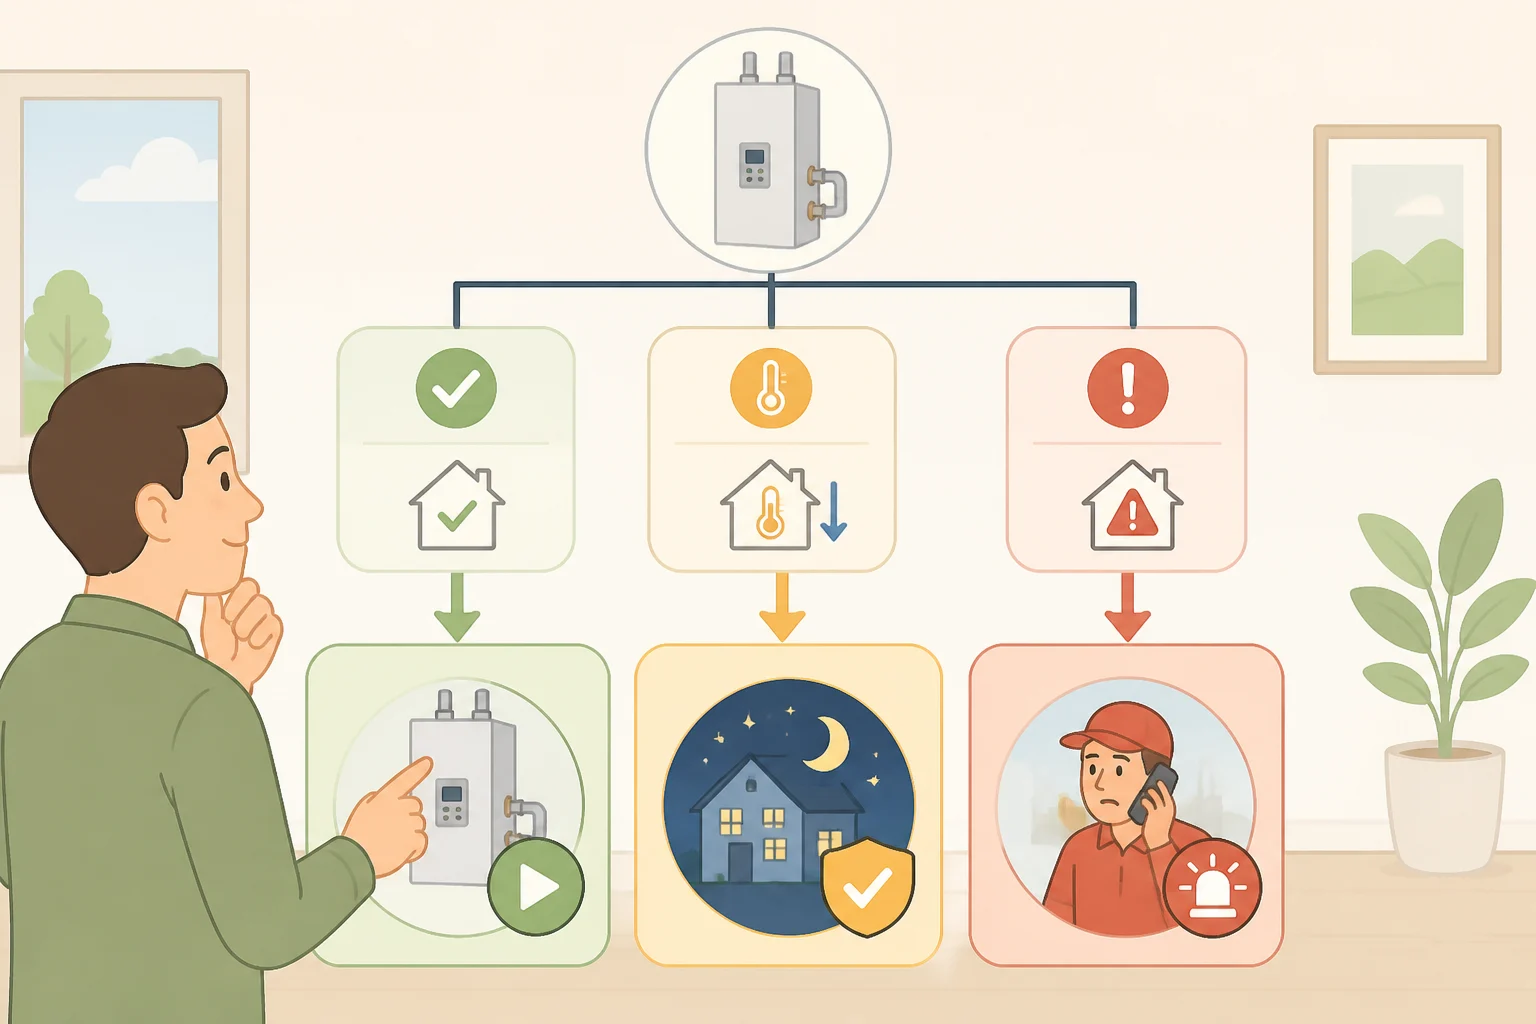
These three situations get blended together, but they call for different levels of urgency.
A test run is low-stakes. Pick a mild day, run the system for a short while, and watch how it behaves with no pressure to get it right the first time. The practical rule: run that test before the first night you'll actually need heat, not after the system has already failed with the temperature dropping.
The first overnight heating decision follows once the comfort and safety check tips the scale. Test the system if you haven't already, then let it run overnight and keep an eye on how the house holds temperature. That's the point you start relying on the system instead of an extra blanket, not a permanent commitment to one setting.
A loss-of-heat emergency is different from both. If the system fails or the power goes out during cold weather, the CDC's winter storm guidance recommends having an alternate heat source ready in advance. Infants and adults over 65 shouldn't wait out a cold house hoping the system comes back on its own.
Step-by-step: testing and starting your heat this season
-
Replace or inspect the filter first on forced-air systems. ENERGY STAR recommends checking filters monthly during heavy-use months and replacing them when dirty, or at least every three months.
-
Run a short test cycle on a mild day, not during the season's first real cold snap:
- Furnace: turn the thermostat up and confirm it starts and begins blowing warm air.
- Boiler or radiator: follow your manual's bleeding procedure only if it specifically permits homeowner bleeding. Otherwise, check visually for leaks around the unit and call a technician if anything looks off.
- Heat pump: switch to heat mode and confirm warm air at the vents. Don't judge a heat pump only by how hot the air feels; check the owner's manual for what counts as normal operation for your model.
- Electric baseboard: turn on one zone at a time and confirm even warmth, with no burning-dust smell that lingers past the first few minutes.
-
Know the difference between a normal smell and a stop point. A faint dust-burning smell in the first few minutes of a furnace's first run is common and should fade quickly. A gas odor is the leave-the-house situation described above, not something to keep testing through. A burning-plastic or electrical smell is different from both, and it's a reasonable point to shut the system off and call a technician before trying again. The same goes for repeated failed startup attempts, a breaker that keeps tripping, or banging pipes in a boiler system: stop testing and get a licensed HVAC technician out rather than running another cycle.
-
Check for uneven heating. If some rooms stay noticeably colder, note which rooms and when it happens. That gives a technician a specific starting point instead of a vague "the heat isn't working everywhere" report.
-
Confirm thermostat programming matches your routine once the test run succeeds, so the system isn't heating an empty house on last season's schedule.
Portable space heaters: a different risk category
A plug-in space heater isn't a smaller version of central heating, and it's worth its own quick check, separate from the startup sequence above. Check the manufacturer's manual for the unit's required clearance from anything flammable, including curtains, bedding, and furniture, and follow it exactly. The manual should also cover whether the heater is rated for extension cord use and whether it's meant to run unattended or overnight. Inspect the heater, plug, and cord for damage before plugging it in for the season.
Bigger savings for later: a short efficiency checklist
These are upgrades for the season, not steps for tonight, so keep them separate from the startup process above.
An ENERGY STAR-certified smart thermostat can cut heating and cooling bills by roughly $50 to $100 a year on average, according to ENERGY STAR's energy-saving guidance. That figure rises to about $300 a year in homes that aren't consistently occupied, like a rental or vacation property.
Sealing air leaks and adding attic insulation can cut total home energy use by 10 to 11% and heating and cooling costs by about 15%. ENERGY STAR estimates nine in ten U.S. homes are under-insulated without the homeowner realizing it.
Treat both figures as a planning range rather than a guarantee. Actual savings depend on climate, home size, and local energy prices.
Finish-line guidance
Success looks like a system that starts without repeated failed attempts or tripped breakers, warms the house without unusual odors or warning indicators, and runs on a schedule that matches when people are actually home. The test steps above are how you confirm that before relying on the system overnight.
A furnace that won't stay lit, a boiler with persistent banging or leaks, or any gas odor are stop points. Leave the troubleshooting there and call a licensed technician; for a gas smell, leave the house and call for help first.
If the test cycle runs clean and the home holds a steady temperature, leave the thermostat on its schedule and stop tinkering with it. If it doesn't, stop adjusting it yourself and get service scheduled before the next cold stretch hits, especially if an infant or an adult over 65 lives in the house.
















Comments
Be the first, drop a comment!