



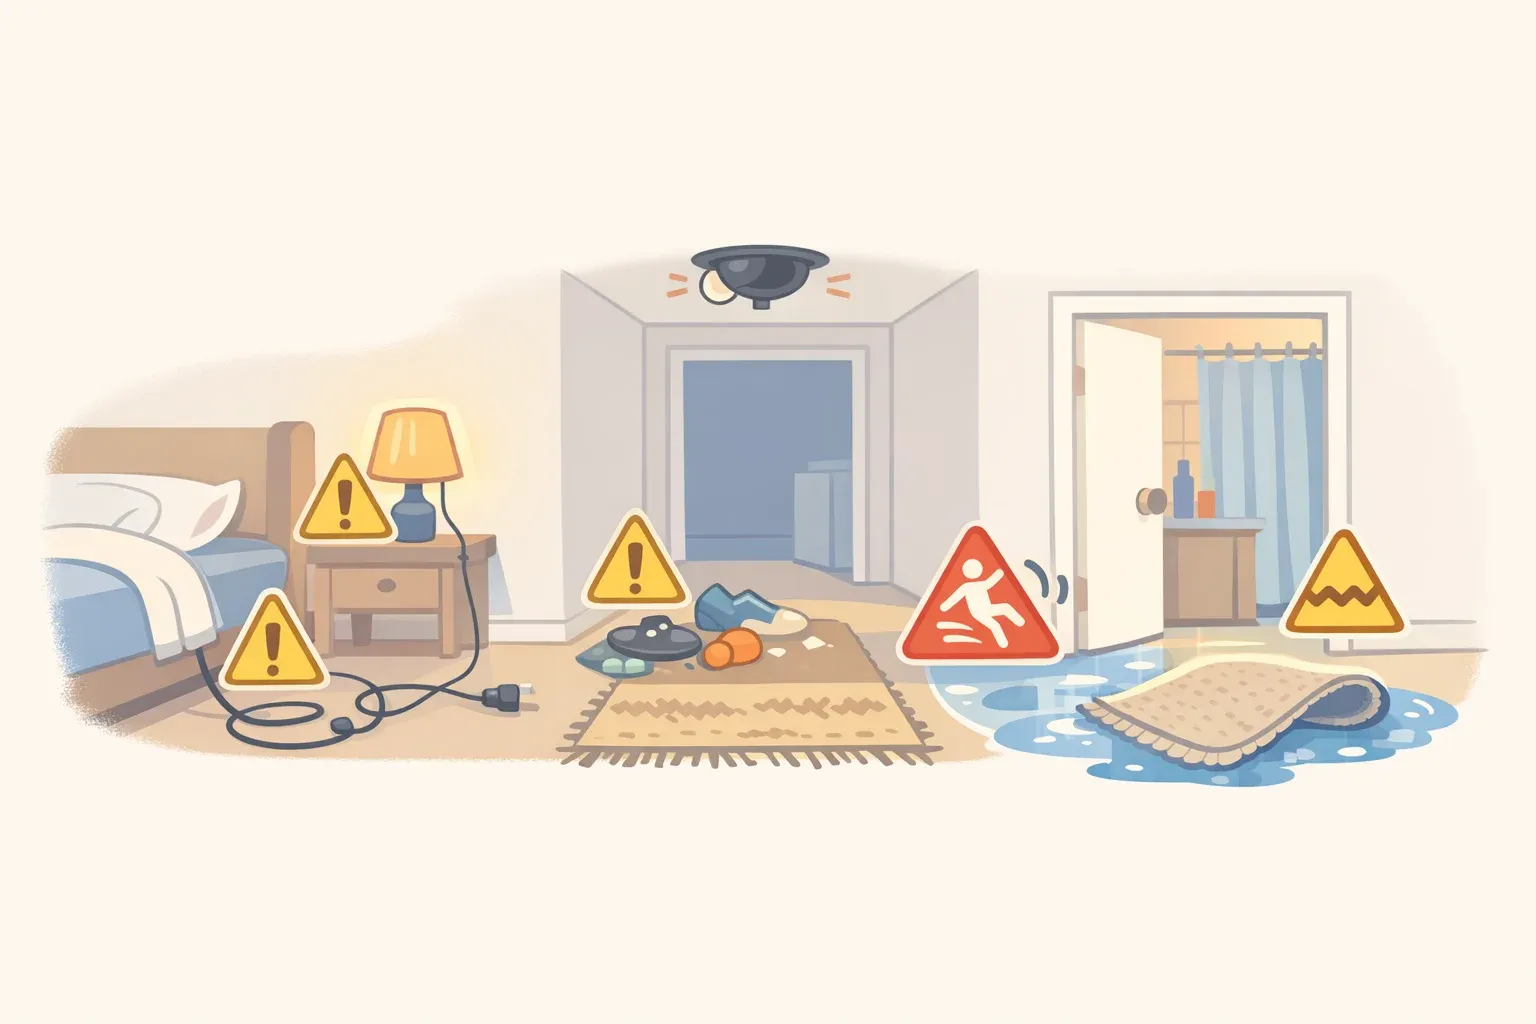
Your home was designed for someone who never slips. Someone who lifts their feet cleanly over a shower curb, navigates a dark hallway at 2 a.m. without hesitation, and reaches for shampoo without shifting their weight past their center of gravity. That person doesn't exist.
Most of us eventually lose some mobility to injury, surgery, or age, and Studio Matrx puts a number on it: two-thirds of homeowners will experience at least one period of temporary mobility limitation. These unsafe home design trends aren't niche concerns. They're a near-universal planning failure hiding in plain sight.
One in four adults 65 and older falls each year, and environmental hazards inside the home are among the most common contributors, according to CDC data cited by the Fall Prevention Foundation.
This guide walks through five specific hazards in the order you encounter them, moving from bedroom to shower, the highest-risk path in most homes. For each: a quick diagnostic, concrete fixes ordered from simplest to most involved, and a note on where hazards compound each other.
The five hazards: poor path lighting, raised entry thresholds, slick bathroom flooring, cramped layout without safe reach or turning clearance, and non-compliant glass in impact zones.
Step 1: Run this 10-minute self-audit before touching anything
Before buying a grab bar or rearranging a shelf, walk your highest-risk path from bedroom to toilet to shower and answer these six questions, drawn from fall-prevention research focused on movement patterns rather than products.
Can you stand from the toilet without bracing against an unstable surface?
Can you enter and exit the shower without pausing, rushing, or grabbing something not rated for load?
Are the items you use most day-to-day reachable without twisting, bending forward, or reaching past your center of gravity?
Can you clearly see floor-level changes during both daytime and nighttime?
Does the floor give you meaningful traction when feet or the surface are wet?
Is there enough room to turn 360 degrees without backing into a fixture or wall?
Every "no" is a named hazard in the sections below.
Also watch for behavioral compensation, the warning sign that precedes most falls. Hesitating before stepping over the shower curb, leaning on the vanity to rise from the toilet, or rerouting around a piece of furniture are all signals that the environment has already failed.
A single modification rarely solves the problem: grab bars help, but not if the floor is slick; better lighting improves visibility, but not if items still require dangerous twisting to reach. Safety depends on how lighting, flooring, layout, and support work together in the same space.
Hazard 1: The path to the bathroom is poorly lit
What to look for: A single overhead fixture in the hallway or bathroom, light switches accessible only at one end of a corridor, or a dimmer kept low overnight. At night, poor visibility combines with sleep disorientation to make even familiar layouts hard to navigate (Aging Authority). That's when falls happen.
Poor lighting and uneven surfaces are among the most commonly cited environmental contributors to home falls, and both rank among the easiest hazards to correct. Overhead fixtures cast shadows at floor level, precisely where thresholds and step edges need to be visible. Layered lighting, with sources at both ceiling and wall height, outperforms a single overhead fixture for contrast and visibility.
Compensation warning: If you slow down anywhere on the nighttime path or reach for a wall to orient yourself, the lighting at that spot is inadequate.
How to fix it:
Walk the bedroom-to-toilet path tonight without turning on any lights. Note exactly where you hesitate or slow down. That spot is your highest priority.
Install motion-activated night lights at outlet height along the path, not ceiling height. Illumination needs to reach floor level, where the feet and thresholds actually are. These cost under $15 each and require no tools.
Add a second light source in the bathroom at vanity height: a wall sconce or under-mirror fixture to eliminate the floor shadows a ceiling fixture alone creates.
Apply high-contrast strips or non-slip nosing at any step, threshold, or floor-level transition on the path. Visual contrast at an edge matters as much as traction.
Install light switches at both ends of any hallway, or replace wall switches with motion-sensing models that activate before you reach for them.
Gotcha: A dimmer kept low overnight defeats its purpose. Add a motion sensor that bypasses the dimmer after dark, or use a smart dimmer with a minimum brightness floor.
Interaction note: A well-lit, slick floor is still a slick floor. Fix lighting and flooring together in the same zone covered in Hazard 3.
Hazard 2: Raised thresholds and step-over entries
What to look for: A standard shower curb, a step-over soaking tub, or an entry door with a raised sill. Each requires lifting one leg, shifting full body weight onto the standing foot, and landing on the opposite side, often on a wet surface, often without a properly anchored support in reach.
Falls cluster around movement transitions, not during ordinary standing. The step-over moment concentrates weight shift, balance demand, and wet-surface landing into a single action exactly where the body is most vulnerable.
Occupational therapist Tyler Schorr, a Certified Aging-in-Place Specialist, puts it plainly: "Bathrooms and entrances are often the biggest barriers. But when we remove those, people can shower again, or get out of the house and attend a family gathering." Where a threshold is genuinely unavoidable, universal-design guidance caps it at 12mm with a chamfered edge.
Compensation warning: Pausing before stepping over the curb, reaching for the door frame rather than a grab bar, or rushing through the transition are all signs that the entry has become a managed hazard.
How to fix it:
For an existing high shower curb: install a threshold ramp insert. Available at accessibility supply stores and online, this reduces the effective step height to near-zero. Same-day fix, no permits.
For an existing tub: install a tub transfer bench with one leg inside the tub and one outside. The user sits and swings their legs over rather than stepping. Add a handheld showerhead on a slide bar. At the same time, this combination addresses both the entry hazard and the reach problem flagged in Hazard 4.
Replace any shower door that swings inward. An inward-swinging door pressed against a fallen person blocks rescue. Switch to a sliding panel or outward-swing door.
For a full renovation: install a curbless walk-in shower with a linear drain and a fold-down or built-in bench. The cost is substantially lower when built into the original design than when retrofitted later.
Gotcha: Walk-in tubs with a side door solve the step-over problem but introduce another. The user must sit inside while the tub fills and wait for it to drain completely before exiting. For anyone with circulatory concerns, that waiting period carries its own risk.
Hazard 3: Polished, high-gloss bathroom flooring
What to look for: Polished porcelain, glossy stone tile, or any smooth-finish floor in the bathroom or shower zone. These surfaces look solid and clean. Wet, they provide almost no friction. The specific danger is the mismatch: the visual cue says solid; the actual traction says otherwise.
Flooring affects nearly every movement pattern in the bathroom, not just walking, but pivoting, rising from the toilet, reaching sideways for a towel, and landing after stepping over a threshold. Bathroom floors should meet a minimum R10 slip resistance rating on the DIN 51130 scale; R11 is the recommended specification for shower zones, where water contact is continuous. Many polished finishes marketed for residential bathrooms do not meet R10. Check the product spec sheet before purchasing.
Compensation warning: Shuffling feet across the bathroom floor rather than lifting them, or placing a hand on the wall before reaching for a towel, suggests inadequate traction is already affecting movement.
How to fix it:
Wet your bathroom floor and slide your bare foot slowly across it. If there's no meaningful resistance, the surface is undersized for a wet environment. Test both the shower zone and the area directly in front of the toilet.
For the shower zone: add a textured tile insert, anti-slip tray, or stone bath mat rated R11 or equivalent. Installs in an afternoon.
For the broader bathroom floor: apply a slip-resistant treatment or coating available at tile and hardware stores. This requires an annual reapplication factor that in.
Remove all loose decorative rugs from the bathroom floor entirely. Curling edges and bunching fabric introduce a secondary trip hazard and do not substitute for traction-rated flooring.
For any renovation: specify R10 minimum for the full bathroom floor and R11 for the shower zone at the design stage. The cost difference between a polished and textured finish of the same tile is negligible at that point.
Gotcha: Textured flooring still requires regular cleaning. Soap scum accumulates in grout lines over time, gradually reducing effective traction. Your cleaning routine needs to maintain the surface texture, not coat it over.
Hazard 4: A layout that forces unsafe reaching and turning
What to look for: A bathroom where daily-use items require twisting past your center of gravity or bending below hip height to reach. A space with no clear floor area adjacent to the toilet and shower for repositioning. Any interior door under 32 inches of clear width, which restricts entry for anyone using a cane, walker, or carrying anything in both hands.
Most standard residential bathrooms are dimensioned for someone who stands unassisted and reaches with full arm extension, not for someone turning, stabilizing against fatigue, or moving with any mobility constraint.
Reaching, bending, and twisting to access everyday fixtures rank alongside poor lighting and uneven surfaces as the most common environmental contributors to household falls. Narrow interior doors are a particularly stubborn problem: unlike a grab bar or a lighting fixture, they cannot be corrected without demolishing the surrounding partition.
Compensation warning: Bracing one hand against the wall before reaching for something, or stepping closer to an item than necessary, signals that the space is already forcing an unsafe posture.
How to fix it:
Identify where daily-use items are stored. Any item requiring a reach past shoulder height, below hip height, or behind your center of gravity should be moved. A repositioned shelf or corner caddy in the shower handles this with no tools.
Move toilet paper holders, towel bars, and accessories clear of the movement zone near the toilet and shower. These are not load-rated fixtures; someone grabbing them instinctively during a balance lapse will pull them from the wall.
Measure your bathroom door clear width: the opening, not the door itself. Under 32 inches, install swing-clear hinges. These shift the pivot point outward and recover 1.5-2 inches of clear width without demolition. Two-hour job, screwdriver only.
Clear the floor zone adjacent to the toilet and inside the shower of freestanding storage units, scales, and step stools. These items occupy the exact space needed for safe repositioning.
Install a properly anchored grab bar at the toilet transfer position and inside the shower. Grab bars must be secured to a solid wall blocking rated to support a 110kg pull load, not drywall alone. A bar attached to drywall is a false safety feature. Hire a contractor to verify blocking or install it correctly.
For renovation: design for a minimum 1,200mm x 1,200mm clear floor area in the shower zone with no threshold.
Gotcha: Pocket doors are often suggested for tight bathrooms because they don't swing into the space. They work well, but confirm the hardware allows one-handed operation. A pocket door requiring a precise two-finger pinch grip is an obstacle for anyone with limited hand strength.
Hazard 5: Non-compliant glass in impact zones
What to look for: Glass in your shower enclosure, tub surround, or within 24 inches of any entry door, with no permanent etched marking certifying safety compliance. A slip exiting the shower, a stumble near the bathroom door, whether the resulting injury is minor or severe depends almost entirely on what the glass is made of.
Safety glazing has been mandatory in hazardous locations since 1977 under CPSC regulations. Per GlassAdvisor, those locations include all shower and tub enclosures; glazing within 24 inches of a door along the walking path where the bottom edge is less than 60 inches above the floor; glass adjacent to stairways within 60 inches of the bottom tread; and large panels where the exposed area exceeds 9 square feet with the bottom edge less than 18 inches from the floor and the top edge more than 36 inches from the floor among other defined locations. Standard annealed glass breaks into large, jagged shards that can sever tendons or blood vessels.
Tempered glass is four to five times stronger and shatters into small, relatively harmless cubes when it does break. Homes built or renovated before 1977 may still contain non-compliant glass; any replacement glass, regardless of when the original was installed, must meet current code standards, and local requirements may be more stringent than the national baseline.
How to fix it:
Check shower and tub enclosures first. Look in the corner of the glass for a permanent etched marking that includes the manufacturer's name and a reference to ANSI Z97.1 or CPSC 16 CFR 1201. No marking visible? Assume it may not be safety-rated.
Check door-adjacent glass next: sidelights within 24 inches of an exterior door, and any large floor-level panels meeting the criteria above.
If no safety marking is visible in a hazardous location, contact a licensed glazier for assessment. Glass panel replacement (glass only, not the frame) typically runs $100-$300 per panel. When hiring a glazier, confirm they will install to IRC Section R308 requirements and ask them to leave the labeled corner of the new glass visible for future verification.
Gotcha: Decorative etched or frosted glass in a shower enclosure is not necessarily safety-rated. Aesthetic treatment and safety certification are independent properties. Check the corner marking regardless of how the glass looks.
How to fix unsafe home design features without a full remodel: your action priority list
Sort by danger first, effort second.
Do this week, no tools required or under $30:
Walk the bedroom-to-toilet path in total darkness and note every hesitation point. That's your map.
Run the six-question self-audit above. Every "no" is a named hazard in the sections above.
Remove all loose rugs from the bathroom floor.
Move daily-use shower items to a height reachable without twisting or bending below hip height.
Check all shower, tub, and door-adjacent glass for CPSC/ANSI safety markings. If unmarked, flag for replacement.
Install at least one motion-activated night light at outlet height on the bedroom-to-bathroom path.
Schedule within 30 days, basic tools or modest cost:
Install a threshold ramp insert on the shower curb.
Add swing-clear hinges to any bathroom door under 32 inches of clear width.
Replace overhead bathroom bulbs with higher-lumen LEDs.
Apply contrasting color strips or non-slip nosing at any step edges or flooring transitions.
Add a slip-resistant insert or treatment to the shower floor zone.
Hire a contractor:
Grab bar installation (requires wall blocking verification before mounting).
Curbless shower conversion.
Non-compliant glass replacement.
Door width corrections require partition work.
The financial case for acting early is stark. Building in safety features at the design stage adds roughly 3-6% to total construction cost; retrofitting the same improvements later runs 35-60% of the original construction cost, and some corrections may not be structurally possible at any price.
As occupational therapist Tyler Schorr notes, a major renovation is not always what the situation requires; many effective improvements are small, targeted, and far less disruptive when made early. Identify the first hazard on the path. Fix that before moving to remodel-level work.
This guide is for general educational purposes only and does not replace a professional home safety assessment, evaluation by a licensed occupational therapist, or advice from a contractor or code official where structural work or glazing compliance is involved.
















Comments
Be the first, drop a comment!