



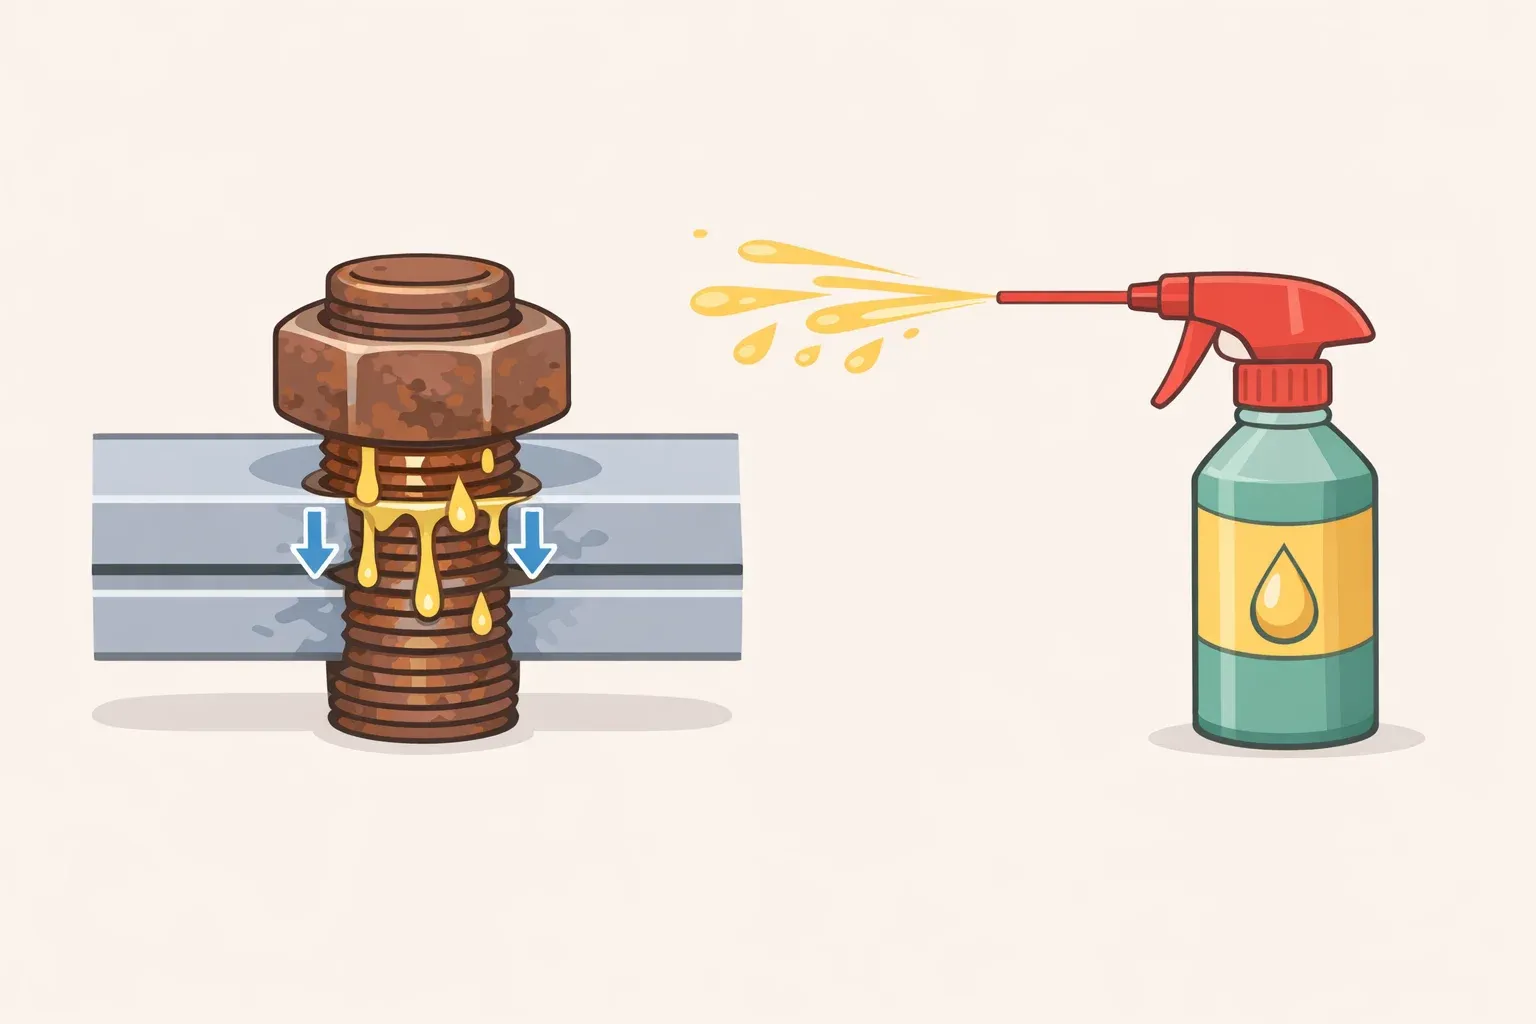
How to Loosen Rusty Bolts: Penetrating Fluid Guide
This guide walks through how to loosen rusty bolts using penetrating fluid: what the fluid actually does inside a seized joint, how to apply it for maximum effect, the mistakes that make things worse, and a clear decision tree for when to escalate beyond the can.
One rusted bolt can stop a routine repair cold. The problem isn't the bolt's strength it's rust bonding metal to metal inside the threads, in a space no wrench can reach. Grabbing for more torque without addressing that bond risks shearing the head or rounding the hex, converting a stuck fastener into a damaged one. Penetrating fluid exists for exactly this situation: it gets to the rust where the tool can't. Soaking a stubborn fastener before applying any force gives the best chance of removing it cleanly and may allow the hardware to be reused rather than replaced, according to Auto Express testing published earlier this year.
Why penetrating fluid works where other sprays don't
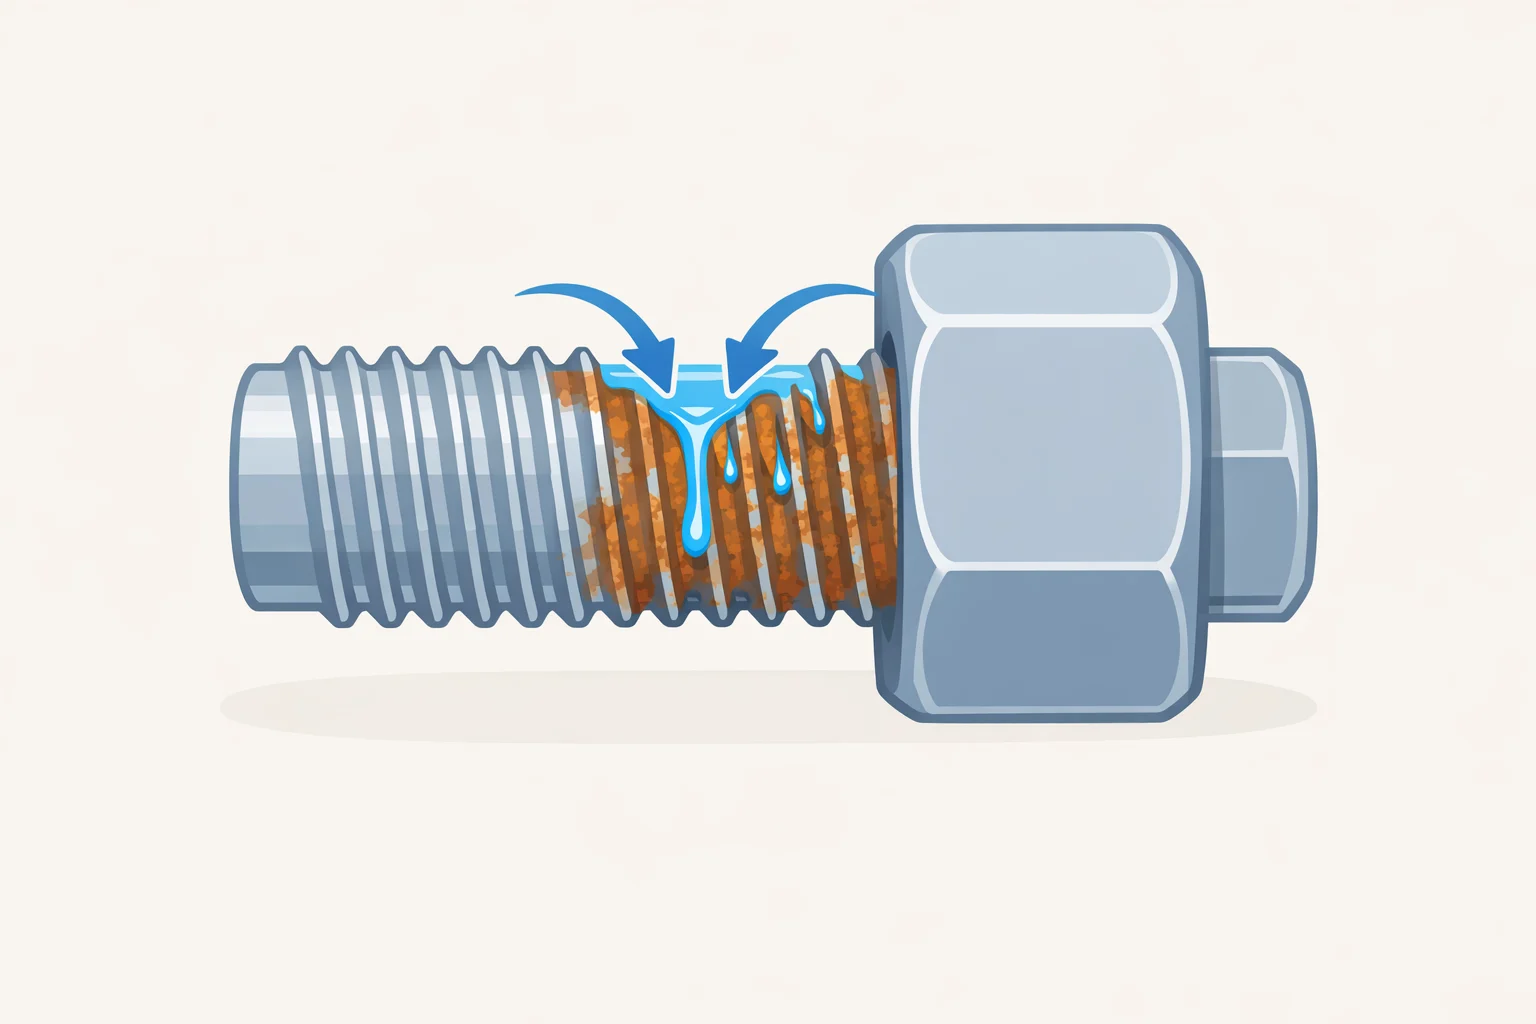
The distinction that matters is viscosity. Penetrating fluid is deliberately thin, engineered to flow into the microscopic gaps between rusted threads without any external pressure pushing it there. Most general-purpose lubricants are too thick for those gaps. A standard spray coats the outside of the fastener. Penetrant gets inside the joint.
The mechanism is capillary action: the same force that pulls liquid up into a paper towel draws penetrant into tight crevices without assistance. Apply it at the top of a nut and it wicks downward through the threads; apply it from underneath and it can wick upward, depending on the geometry and access, as WD-40 explains in its technical breakdown of penetrant science. That upward wicking is useful for fasteners only accessible from below, though how reliably it works depends on the joint. Once inside the thread interface, the solvents in the fluid attack the rust bond. The oil base then reduces friction once that bond weakens, allowing the fastener to turn.
One boundary worth establishing clearly: penetrating fluid loosens seized fasteners. It is not a rust remover. Soaking already-free hardware in penetrant won't strip corrosion from exposed metal surfaces; that job belongs to a chelating product like Evaporust. Penetrants are formulated to wick between assembled threads and free seized joints, not to substitute for soak-type rust removers. That distinction runs consistently through workshop practice and is reflected in the accounts of Garage Journal contributors last November.
One more thing the Auto Express test made clear: specialist "penetrant" labeling doesn't reliably predict real-world performance. More on that in the buying section.
How to remove seized nuts and bolts: the full process
What you need before starting: A penetrating fluid with a precision straw applicator. A correctly sized wrench or socket, ideally 6-point, which grips a corroded hex more securely than a 12-point or adjustable wrench under load. Gloves and eye protection. Work in a ventilated space away from open flames; penetrants are flammable, and that matters well before heat enters the picture.
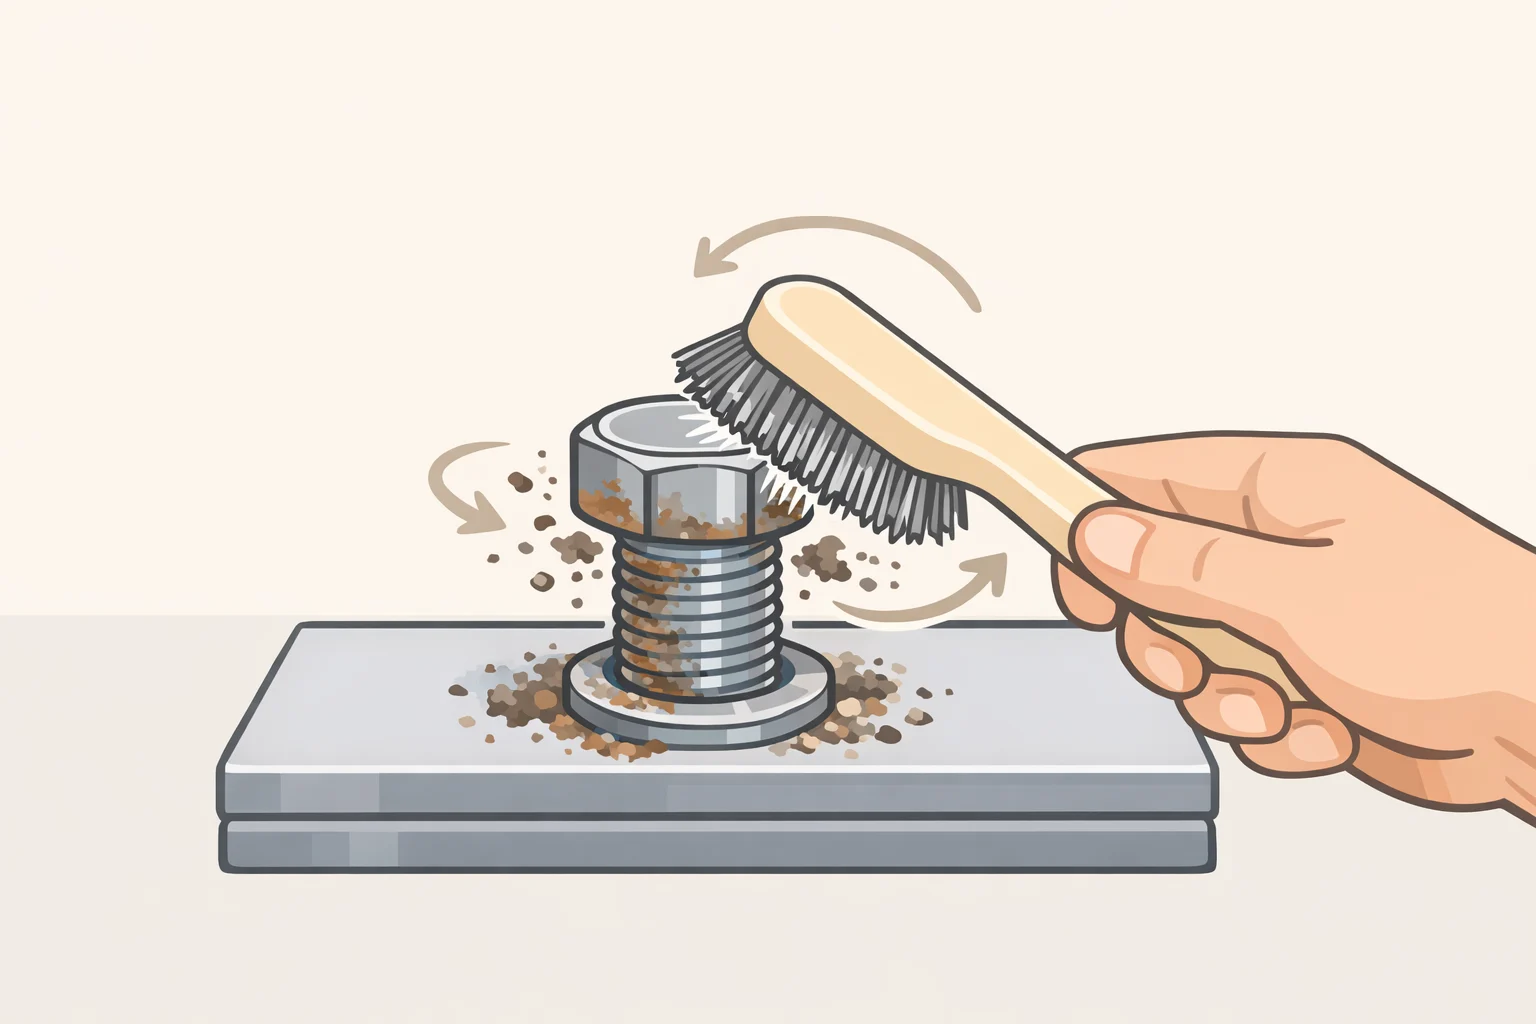
Step 1: Clear debris from around the joint. Use a wire brush or rag to remove dirt and surface grime from around the bolt head and the threaded interface. The fluid needs direct contact with the thread gap. Packed grime creates a barrier that slows penetration and wastes the fluid's working time.
Step 2: Apply penetrant directly to the thread interface. Use the precision straw to direct spray exactly where bolt meets nut, or where the bolt enters the material it threads into. Saturate the joint. If the fastener is accessible from below, apply from underneath as well; capillary action may carry the fluid upward through the threads.
Before reaching for the wrench, confirm the fastener isn't reverse-threaded. Some bolts, particularly on left-side wheel assemblies and certain machinery, loosen clockwise. Turning the wrong direction on a stuck fastener just tightens it further.
Step 3: Wait longer than the label says. This is where most attempts fail. Manufacturer minimums are the floor, not the target. Auto Express measured removal torque after a ten-minute soak on fasteners corroded in saltwater for over a year; that's the window the controlled data covers. For badly corroded bolts, common field practice is to wait longer and reapply once or twice during that window to replenish fluid lost to evaporation before it has fully penetrated. The research doesn't establish a tested threshold beyond ten minutes, but patience is part of the technique.
Step 4: Work the bolt carefully. Apply slow, steady pressure rather than a sharp crank. Before attempting to loosen, try tightening slightly first. That small movement can crack the rust bond and draw fresh fluid deeper into the threads. If the bolt won't budge, stop. Do not apply more torque. Over-forcing a corroded fastener risks shearing the head or twisting the shaft, both of which are significantly harder to recover from than a bolt that's still intact but stuck.
Step 5: Reapply and add vibration for stubborn cases. If the bolt doesn't move after the first attempt, reapply and wait again. Tapping the bolt head lightly with a hammer while the penetrant is active can disrupt the rust bond and help drive fluid deeper into the thread gap. Alternating between slight tightening and loosening between attempts may also work the fluid through the joint gradually. These are workshop techniques supported primarily by practitioner experience rather than controlled testing, as Garage Journal contributors described last November.
Knowing when to stop and switch tactics. Two situations call for an immediate halt. First: if the hex corners are beginning to round or the shaft shows any sign of twisting, put the wrench down. More torque will not free the bolt; it will finish destroying the head, turning a removal job into an extraction job. Second: if multiple full soak-and-attempt cycles haven't produced any movement, that's the signal to escalate rather than keep cranking. A bolt with an intact hex and no movement after repeated penetrant cycles is a candidate for heat. A bolt with a deforming head needs a different tool entirely an extractor socket, a left-hand drill bit, or a professional.
Common mistakes that make it worse
Using the wrong socket. A 12-point socket or an adjustable wrench gives the tool more opportunities to slip under load. On a corroded hex, slipping means rounding. Use a 6-point socket when the fastener allows it.
Spraying only the bolt head. The rust bond lives at the thread interface, not on the surface. Coating the top of a nut accomplishes little if the fluid never reaches the threads. Direct the straw at the gap between bolt and nut, or between bolt and the material it's threaded into.
Attacking the bolt too soon. Two minutes of soak time isn't enough for a bolt that's been rusting for years. The fluid hasn't reached the thread interface before force is applied.
Mistaking penetrant for rust remover. Soaking a bolt in penetrant will loosen a seized thread. It will not strip corrosion from the fastener's surface. Different problems, different products.
Continuing once the head begins to deform. If the hex corners are starting to round or the shaft shows any sign of twisting, stop immediately. The fastener risks breaking off in the hole, at which point the repair becomes an extraction job. Using penetrant in the first place reduces the force needed and helps avoid this outcome, as WD-40 notes in its guidance on penetrant mechanics.
When penetrating fluid isn't enough: the escalation sequence
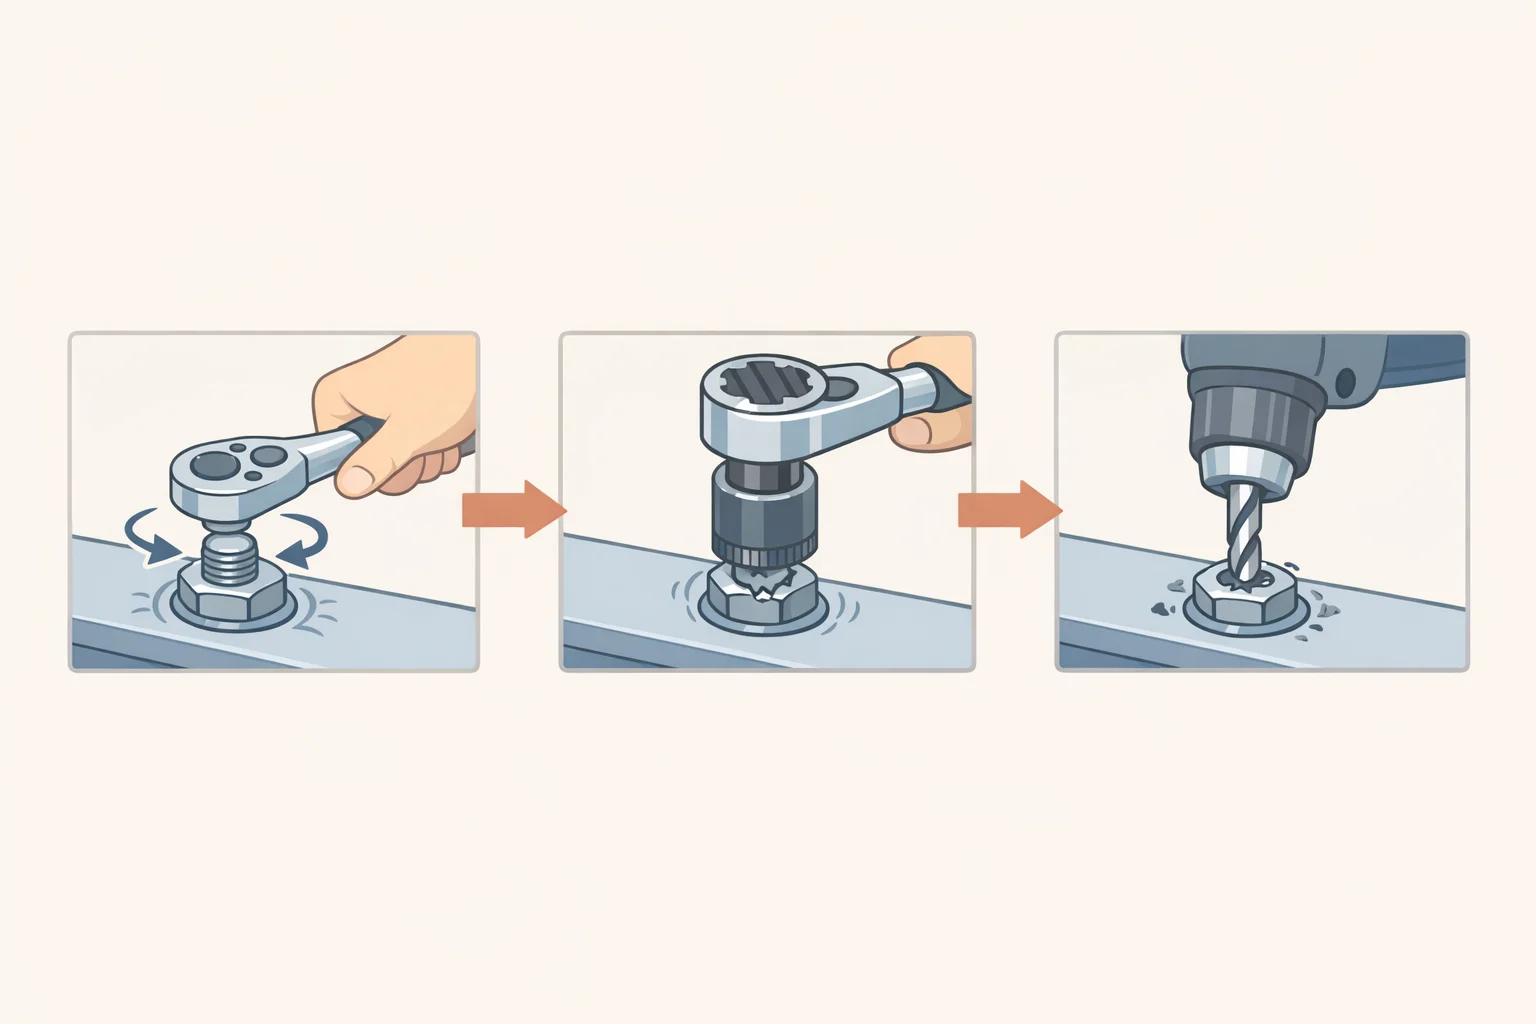
The short decision rule: if the hex is intact and the bolt still won't move after repeated penetrant cycles, add heat. If the hex is beginning to deform, stop turning and switch to an extractor socket. If it's fully rounded or the shaft has twisted, the fastener needs to be drilled out; penetrant and heat are no longer the right tools.
Thermal expansion can crack a rust bond the fluid hasn't fully broken. The safety consideration is not minor: penetrants are flammable, and any residual fluid on or around the fastener must be fully evaporated before introducing a heat source. Clear the area of rags, wiring, rubber components, fuel lines, and painted surfaces. Apply controlled heat to the fastener, let it cool slightly, then try again.
For locations where an open flame is unsafe, induction heating is the controlled alternative. An induction heater generates focused heat in electrically conductive metal through electromagnetic induction no flame, no risk to adjacent rubber or wiring. Popular Mechanics documented this approach as effective for severely frozen automotive bolts in exactly the situations where torch use was ruled out by proximity to rubber mounts, fuel tanks, and brake lines. Entry-level units start around $180. Worth it for someone who regularly encounters seized hardware; harder to justify for a single repair.
Penetrating oil for stuck bolts: what the testing shows
The performance characteristic that matters most is how quickly and how deeply the fluid wicks into rusted threads. Label claims and category names tell you very little.
Auto Express tested seven products earlier this year on fasteners that had been corroding in saltwater outdoors for over a year, measuring how far each fluid tracked through threads in ten minutes and how much torque was required to break the nut loose afterward. They also stood rusty nails upright in a pool of each fluid to test upward wicking. That methodology tests the scenario most readers face: a real corroded joint, a realistic soak window, an actual removal load.
The clearest finding: the top-ranked product wasn't marketed as a penetrant at all. Rocket TT, sold as a general-purpose super lubricant, tracked further up the test nail than specialist competitors, filtered quickly through rusted threads, and matched the most expensive product on removal torque all at around £5.49 for 450 ml, per Auto Express. The flexible applicator straw contributed to its ranking as well. Specialist labeling does not predict performance. Tested penetration depth and removal torque do.
For the worst-case fasteners, Bulldog BDX was slower to wick but produced the equal-lowest removal torque of any product tested when given adequate soak time at a considerably higher price. The same test recommended reserving it for severely corroded hardware rather than keeping it as an everyday can.
WD-40 Specialist Penetrant placed third overall, earning the highest marks for nozzle and straw design. Easiest to apply precisely in tight spaces, though it ranked behind Rocket TT on value.
These are UK-market products; the brand names may not be available everywhere. The selection criteria translate directly regardless: prioritize wick speed, torque reduction, and applicator precision over category labeling or price. A can that sprays inverted is also genuinely useful for reaching fasteners from below without awkward repositioning.
Buy it before you need it
A penetrating fluid is inexpensive, takes up almost no shelf space, and can prevent a routine repair from becoming an extraction job. The same fluid handles rusted hinges, frozen locks, and stuck screws. Applied periodically to exposed fasteners in damp or outdoor environments, it can also help inhibit rust formation over time manufacturer guidance from WD-40 rather than an independent finding, but a reasonable argument for keeping a can around past the job that prompted the purchase.
Torque is the last step, not the first. Get the fluid to the thread interface, give it real soak time, and escalate to vibration or heat rather than more force when the bolt won't move. Do that in the right order and a rusted bolt stays a removal job instead of becoming something worse.


















Comments
Be the first, drop a comment!