



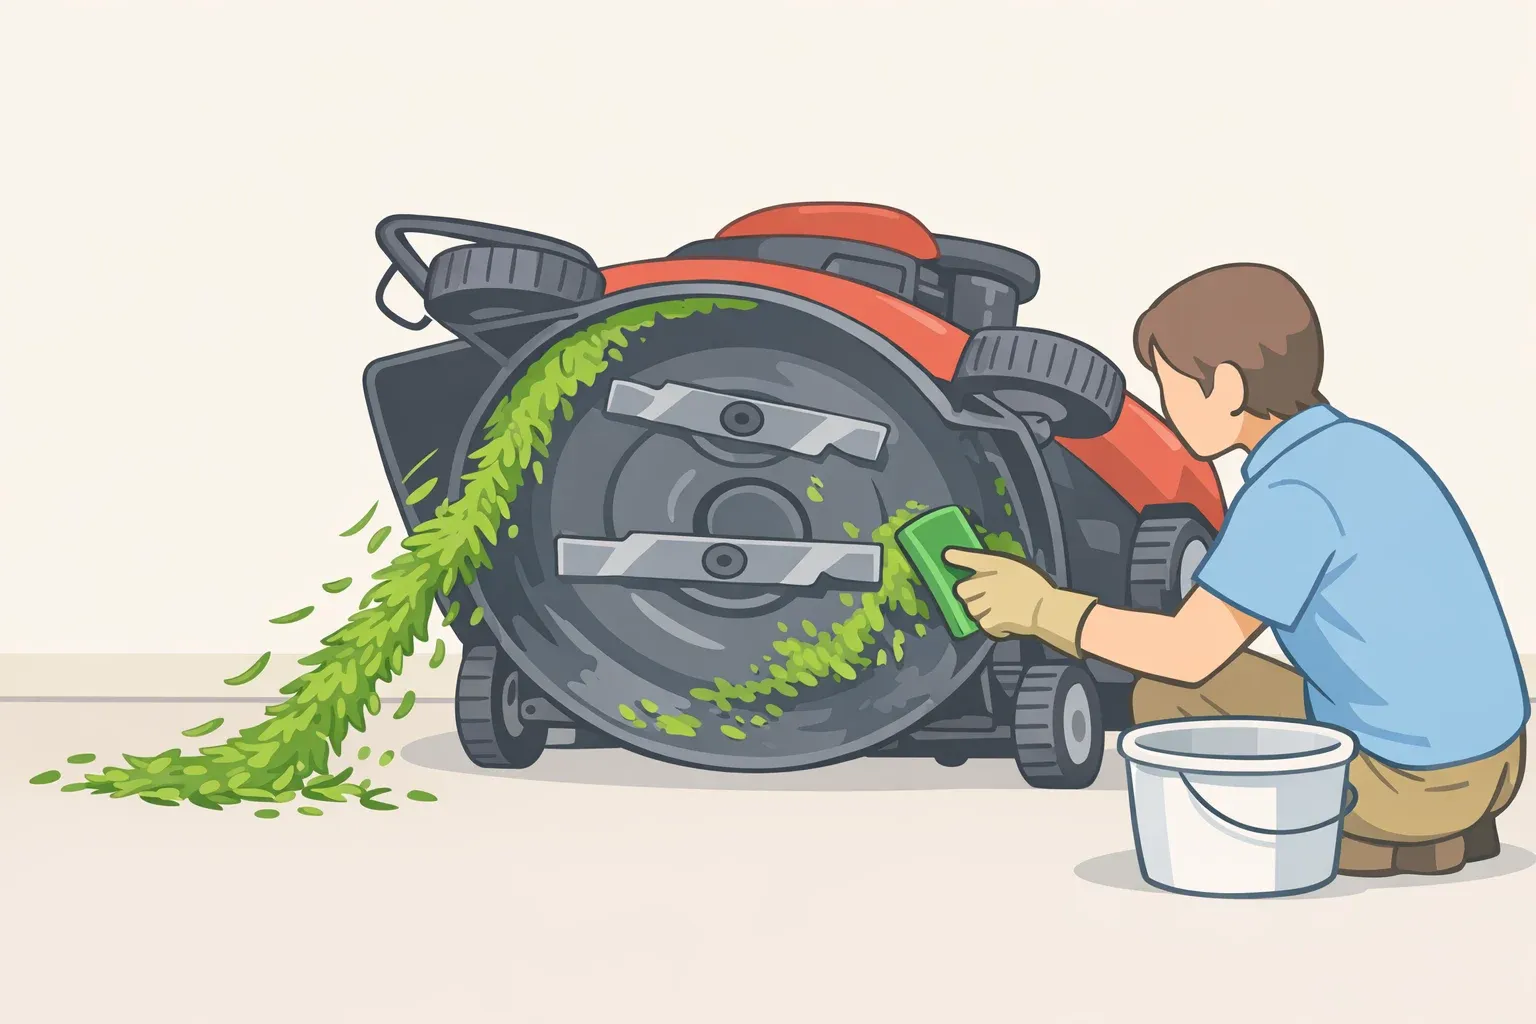
How to keep grass from sticking to mower deck in 3 steps
If you want to know how to keep grass from sticking to mower deck surfaces, timing matters more than any spray or scraper you buy. By the end of this guide, you'll be able to prevent grass from packing under your deck in the first place, clean it off safely when it does, and apply a protective coating that slows the next round of buildup. The whole routine runs under twenty minutes. The reason most homeowners end up scraping hardened clippings for an hour is simpler than they think: they waited too long.
Timing is the organizing principle here. Before you mow, a few conditions determine how much grass sticks. Immediately after you mow, while clippings are still loose, is when cleaning costs five minutes instead of an hour. Then, once the deck is dry, a light coating does useful but modest preventive work. Miss that post-mow window and everything else gets harder.
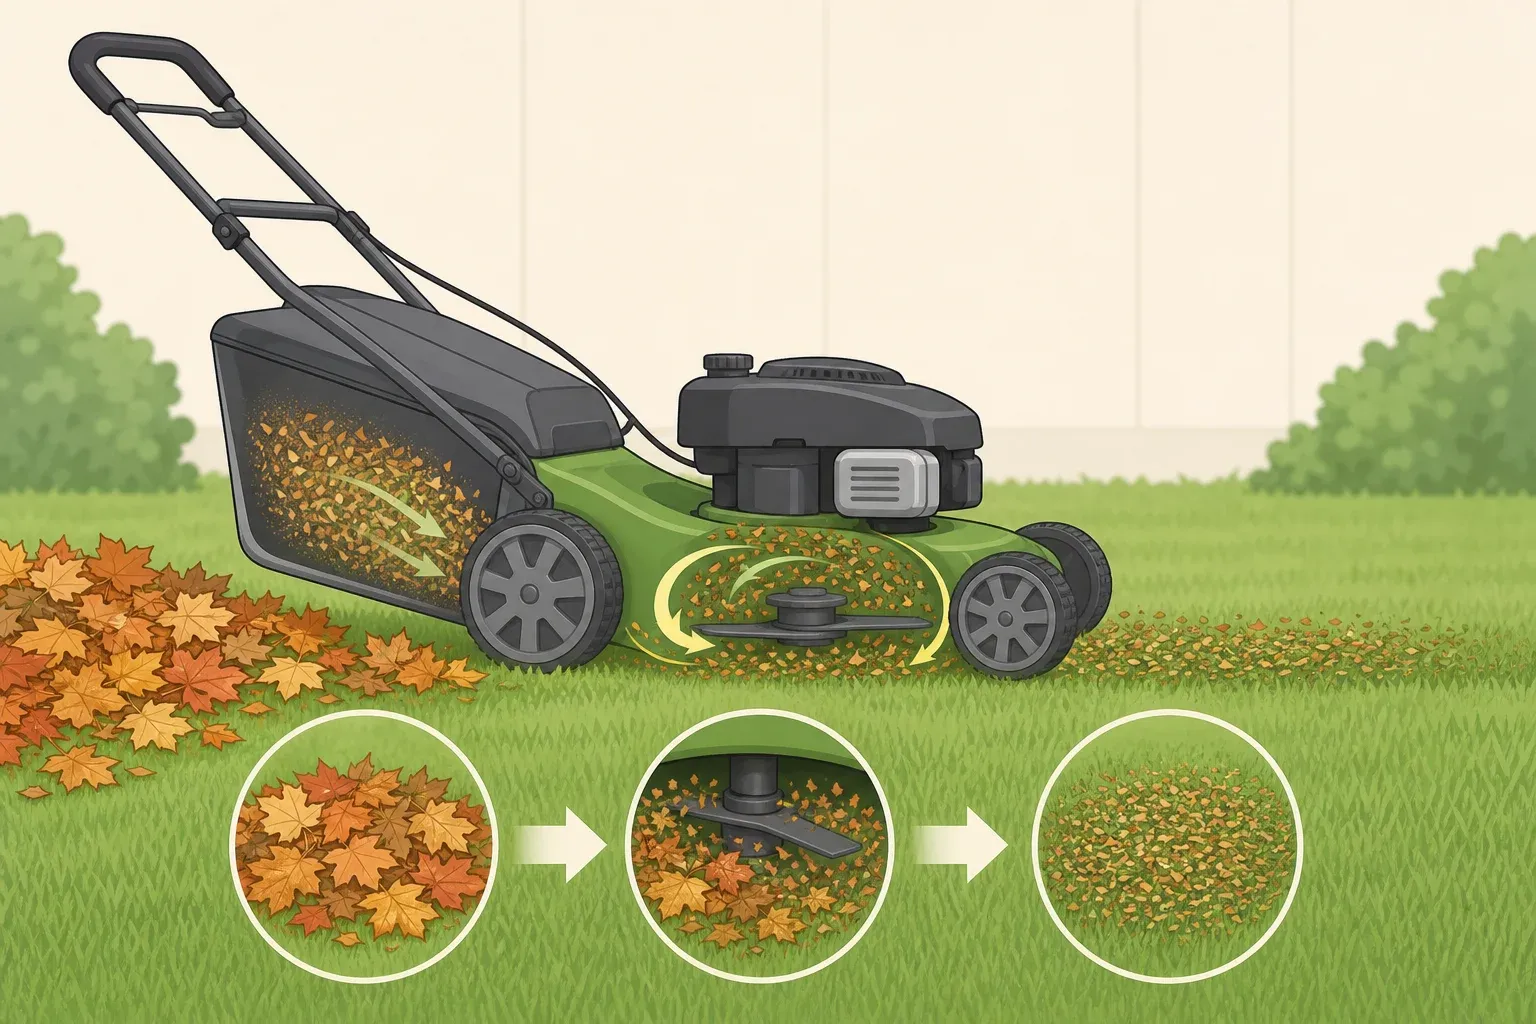
Wet clippings are the core problem. Grass cut while damp packs far more aggressively against metal than dry clippings, and once packed, it traps moisture and begins corroding the deck from the inside. In humid conditions, an uncleaned deck can develop surface rust in as little as two to four weeks of packed wet clippings, Power Tools Today notes. That same buildup causes uneven or ragged cuts and restricts the airflow that affects cut quality. It can also slow blade rotation and increase wear on moving parts, sometimes damaging the drive belt, per Lawn Love. The payoff of acting immediately: a five-minute rinse after mowing wet grass can prevent hours of scraping later, Power Tools Today notes.
What you'll need before you start:
- Gloves
- Plastic putty knife or deck scraper (not metal metal tools gouge the deck and expose bare metal to moisture, per Lawn Love)
- Stiff nylon brush
- Standard garden hose
- Leaf blower or air compressor (optional but useful for drying)
- WD-40, silicone spray, or a dedicated product like Mo-Deck (optional finishing step, more on this below)
Do this in a driveway or any hard surface that can be hosed down. The process produces muddy water, loose clippings, and debris. Doing it on the lawn just moves the mess.
Step 1: Mow under the right conditions to minimize buildup before it starts
The best way to reduce deck buildup is to reduce how much material packs under there in the first place. Four variables control most of it.
1. Wait for the grass to dry before mowing. Morning dew is enough to turn clippings into a sticky paste. Kansas State University's turfgrass program lists dry-condition mowing alongside sharp blades as a prerequisite for quality cuts. Midday or early afternoon is often a safe window if the lawn was wet overnight, though conditions vary.
2. Follow the one-third rule. Never remove more than one-third of the grass blade height in a single pass. Kansas State puts it concretely: if you're maintaining grass at two inches, mow when it reaches three. Skipping sessions and cutting tall, dense growth generates the highest clipping volume and the worst deck clogging. Mow on a need-driven schedule, not a calendar one.
3. Slow your forward speed in heavy or tall growth. Thick grass can drag the blade to a near-stop, packing clippings into the housing rather than discharging them. When that happens, back off your forward pace until the blade sounds like it's keeping up, per Oklahoma State Extension. The same applies to riding mowers and zero-turns in tall, wet conditions.
4. Keep the blade sharp. A dull blade tears rather than cuts, producing ragged clippings that compact more easily. Kansas State groups blade sharpness with dry-condition mowing as a fundamental practice, not a nice-to-have.
Maintenance cadence for this step: Before every mow in wet conditions, check that you're mowing dry. Sharpen blades at least once per season, more often if you're mowing frequently or hitting debris.
Step 2: How to clean under a lawn mower deck right after mowing
Do this before the clippings dry. Freshly cut grass brushes and rinses off easily; the same material left for even a few hours starts bonding to the metal, Lawn Love notes. The full cleaning sequence takes five to ten minutes under normal conditions, per Power Tools Today.
Safety steps first, regardless of mower type
1. Turn the mower off and let it cool.
2. Disconnect the spark plug wire. Both Lawn Love and LSU AgCenter treat this as non-negotiable. LSU AgCenter goes further: removing the spark plug itself, not just pulling the wire, is worth the extra fifteen seconds before any underside work.
3. Secure the mower based on type:
- Push mowers: Tilt onto one side with the air filter and carburetor facing upward. This prevents oil or fuel from draining into the wrong places (Lawn Love).
- Riding mowers and zero-turns: Park on level ground, engage the parking brake, remove the key, and disconnect the spark plug wire before going near the deck (Lawn Love).
⚠ Never reach into hard-to-access areas with your hand. Always use a scraper or brush. LSU AgCenter specifically flags this as a safety risk even with the mower fully off.
Lawn mower deck wash port cleaning
If your mower has a deck wash port (many walk-behinds made after 2010, and virtually all modern riding mowers, have one):
The wash port is a fitting on top of the deck that accepts a standard garden hose connection. It's the safest cleaning method because it requires no tilting, according to Power Tools Today. It also works best on fresh buildup. If clippings have already hardened into a slab, use the manual path below first.
4. Connect the garden hose to the wash port.
5. Lower the deck to its lowest cutting position (Lawn Love).
6. Start the engine, open the water, and run for 60 to 90 seconds (Power Tools Today). Muddy water and clippings will discharge. That's what you want.
7. Shut off the mower, close the water, and disconnect the hose.
If your mower has no wash port
4. Blow or brush loose debris off the underside first. A few seconds with a leaf blower or air compressor dislodges the loose material before you start scraping. LSU AgCenter recommends a quick blower pass as a minimum between-session habit even when you're not doing a full clean.
5. Scrape caked-on clippings with a plastic putty knife. Plastic won't gouge the deck surface or strip paint the way metal will (Lawn Love). Work the putty knife in tight spots; use your stiff nylon brush on more accessible areas.
6. Rinse with a standard garden hose. Direct the spray away from the air filter, carburetor, and any electrical components (Lawn Love).
What to avoid regardless of cleaning method
| Don't do this | Why |
|---|---|
| Pressure washer | Forces water into bearings, seals, belts, and electrical components (Lawn Love) |
| Harsh chemicals or degreasers | Can degrade paint, seals, and belts (Lawn Love) |
| Steel brushes | Scratch paint and expose bare metal to rust (Lawn Love) |
| Water near air filter or carburetor | Risk of water in the engine (Lawn Love) |
| Working under an unsecured mower | Tipping risk; always confirm the mower is stable before reaching under (Lawn Love) |
Maintenance cadence for this step: After every mow in wet conditions. After any session involving tall or thick growth. A more thorough scrape-and-rinse every few weeks during heavy mowing season.
Step 3: Dry thoroughly, then apply a protective coating to stop grass clippings from sticking to your mower
Drying isn't optional. Water sitting under the deck after cleaning continues the same corrosion process you just interrupted. Lawn Love treats drying as equally important as the cleaning itself.
8. Wipe the underside down with a rag or old towel.
9. Run a leaf blower or air compressor over seams and recessed areas, then let the mower sit in direct sun for ten to fifteen minutes (Lawn Love).
10. Once fully dry, apply a light protective coating. WD-40, a silicone spray, or a dedicated product like Mo-Deck applied to the underside and blades can slow future clipping adhesion and add a layer of rust protection, according to Lawn Love. Alabama Cooperative Extension also notes silicone spray as a recognized option for reducing deck buildup.
⚠ Keep any spray away from the drive belt. WD-40 or silicone on the belt causes slippage and can destroy it (Lawn Love). Use a rag to shield the belt area while spraying nearby.
Coatings help, but only a little. The evidence for immediate post-mow rinsing is consistent across multiple sources. Coatings are practical advice from maintenance guides, not controlled testing. There's no data comparing products, reapplication intervals, or long-term results. Use one as a useful finishing step, not a substitute for cleaning on schedule.
11. Reconnect the spark plug wire and confirm all covers are fully secured before storing or using the mower. Loose deck covers vibrate free during operation and get caught in the blade (Lawn Love).
Maintenance cadence for this step: Apply a protective coating after any full cleaning that involves rinsing. Before winter storage, do a complete session, scrape, rinse, dry fully, and apply a rust inhibitor coat to prevent corrosion during the off-season, per Power Tools Today.
When to repeat this routine
One rule covers most situations: clean the deck right after any wet or overgrown mow. For routine dry-condition mowing, a quick blower pass after each session takes under two minutes and keeps the more involved cleaning less frequent, per LSU AgCenter. End-of-season storage warrants the full treatment regardless of conditions.
There's a less obvious reason to stay on top of deck hygiene: cleaning between different yards or lawn areas prevents spreading weed seeds and lawn disease from one site to another, LSU AgCenter points out. The deck earns its keep beyond just the mower.













Comments
Be the first, drop a comment!