



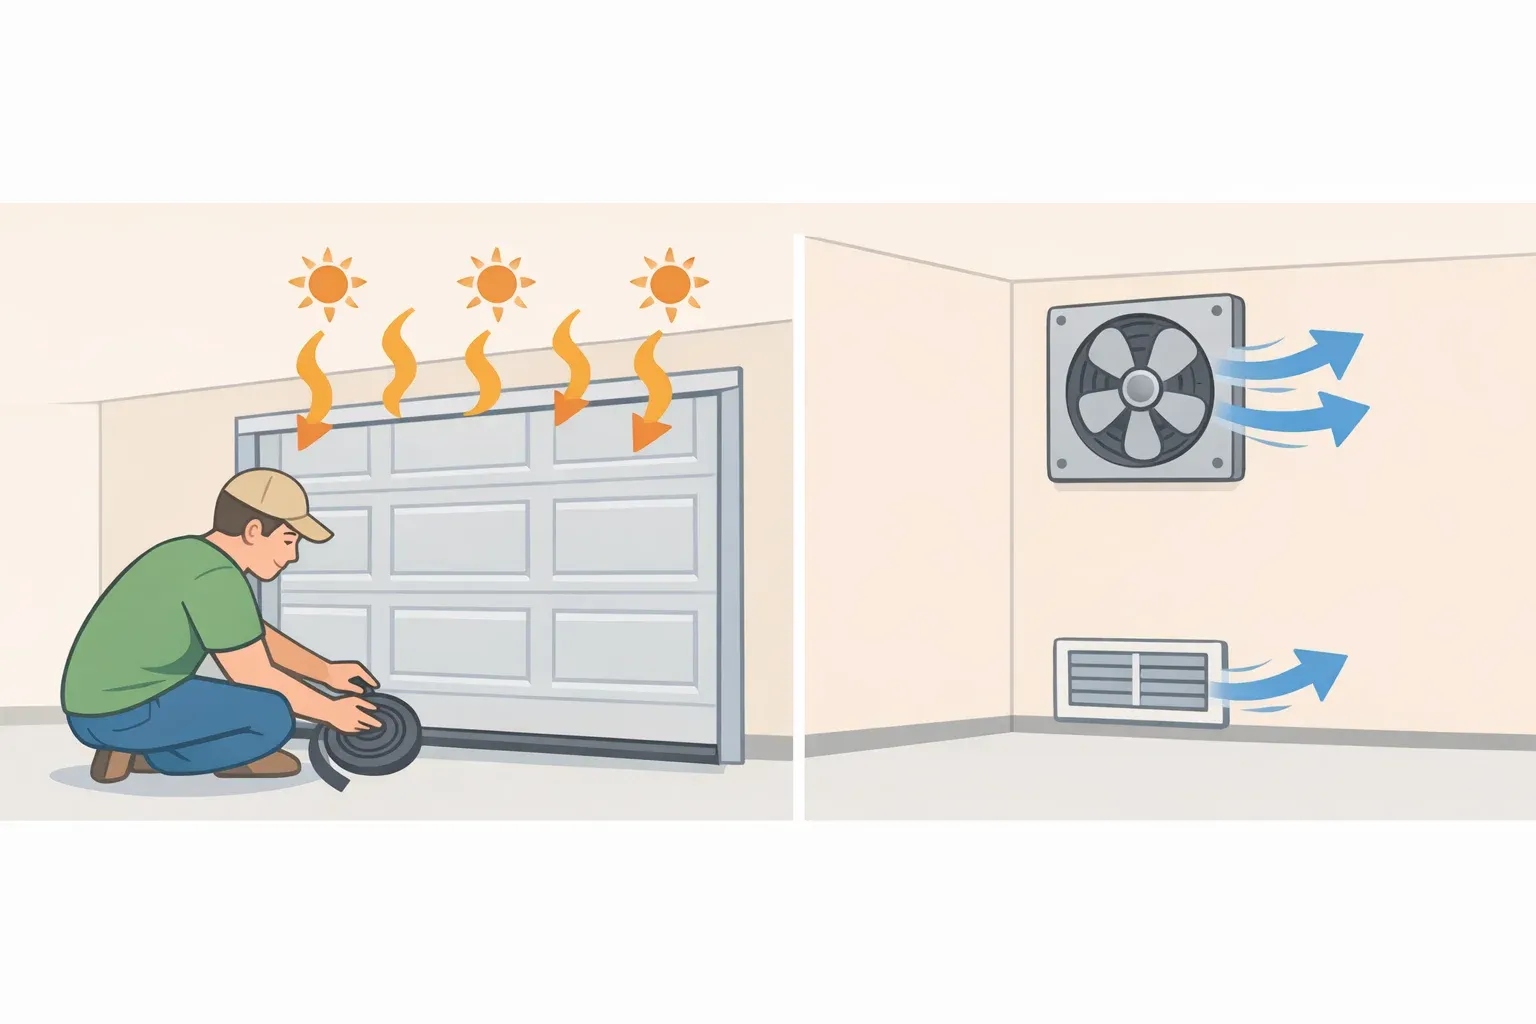
Start by reducing the amount of heat entering the garage. Seal air leaks, insulate the largest exposed surfaces, and improve ventilation before buying an air conditioner. Otherwise, cooled air can escape while heat continues to enter through the door, walls, and ceiling.
Work through these four steps in order: seal gaps, insulate the garage door, improve the ceiling and wall insulation, and add ventilation or mechanical cooling only if the space still needs it.
Check for moisture and pests first
Fix water leaks and pest activity before installing insulation. Trapped moisture can damage framing and insulation, while open cavities can give rodents and insects new nesting areas.
Check for:
Moisture: Look for roof leaks, staining, efflorescence, damp drywall, or persistent moisture along the slab and lower walls. Repair the source before closing the cavity.
Pests: Look for droppings, nests, damaged wiring, and gnaw marks. Remove the infestation and seal entry points before adding insulation.
Stop and call a professional if you find extensive mold, damaged wiring, deteriorated framing, or loose-fill insulation that may contain asbestos.
The right stopping point depends on how you use the garage:
Storage only: Seal gaps and insulate the door. Add ceiling insulation if the garage still overheats.
Occasional workshop: Seal and insulate first, then ventilate when the outdoor air is cooler.
Daily gym or workspace: Complete the insulation work before sizing an air conditioner or mini-split.
Room above the garage: Prioritize air sealing and insulation in the garage ceiling.
Step 1: Seal gaps around doors and penetrations
DIY difficulty: Easy
Gaps around the garage door, windows, utility penetrations, and side-entry door allow hot outdoor air to enter. Seal those openings before adding insulation so the two improvements work together.
Start with the overhead door, which can develop gaps as its weatherstripping ages or the bottom seal becomes flattened.
Inspect the garage-door perimeter, side-entry door, windows, and utility penetrations. Look for daylight, damaged seals, or visible gaps. On a windy day, hold a tissue near suspected leaks and watch for movement.
Replace the garage-door bottom seal if it is cracked, compressed, or missing sections. Match the replacement to the channel or retainer on the bottom of the door.
Replace brittle, loose, or flattened weatherstripping along the top and sides of the garage-door frame.
If accessible gaps surround the side-entry door frame, fill them with low-expansion foam labeled for windows and doors. High-expansion foam can distort the frame.
Seal small wall penetrations around conduit, pipes, and cables with a product suitable for the material and gap size. Do not cover electrical boxes, drains, vents, or openings required for combustion air.
For an attached garage, preserve the required separation between the garage and the living area. Use approved fire-blocking or fire-rated sealant where the wall or ceiling assembly requires it.
What to expect: You should notice less air movement around the door perimeter. Air sealing alone may not produce a large temperature drop, but it helps insulation and cooling equipment perform more effectively.
Watch for: A new bottom seal should touch the floor evenly without preventing the door from closing or triggering the opener's safety reversal.
Step 2: Insulate a sun-exposed garage door
DIY difficulty: Easy to moderate
A single-layer metal door can become a major source of heat gain when it receives direct afternoon sun. A compatible insulation kit can slow heat transfer through the panels, although its effect depends on the door construction, insulation material, fit, orientation, and climate.
Check the kit's tested R-value and installation instructions rather than relying on a generic rating. Before adding weight, confirm that the door manufacturer permits retrofit insulation.
Measure each door panel before choosing a kit. Confirm the panel depth as well as its height and width.
Choose an insulation kit designed for the door's construction. Compare its tested R-value, flame-spread information, weight, and installation requirements.
Cut and secure each panel exactly as the manufacturer directs. Wear eye and respiratory protection when cutting foam or fiberglass products.
Inspect the insulation after installation to make sure it cannot interfere with hinges, rollers, tracks, cables, locks, or safety sensors.
Test the door. If it becomes difficult to lift manually, stops unevenly, or strains the opener, stop using it and call a garage-door technician. Never adjust torsion springs yourself.
What to expect: On a door exposed to direct sun, the interior panel surface may feel cooler and the garage may heat more slowly. Results will also depend on the roof, walls, air leakage, and outdoor temperature.
Watch for: Do not retrofit a badly rusted, damaged, poorly balanced, or failing door. Ask a garage-door professional whether repair or replacement is more appropriate.
Exterior shade can also reduce solar heat gain. Depending on the garage design, options may include an awning, exterior shade, or covering for windows in or beside the door.
Step 3: Insulate the ceiling, then the walls
DIY difficulty: Moderate or professional
In many garages, the ceiling is the next place to focus because the roof and attic can transfer substantial heat into the space below. It is especially important when a bedroom or another conditioned room sits above the garage.
Insulation requirements vary by climate, assembly, existing insulation, and local code. ENERGY STAR recommends inspecting the current insulation before adding more and identifies R-38 as a common target for many attics, although the appropriate level depends on location, insulation type, and existing conditions.
Insulate exterior walls after addressing the ceiling if the cavities are open or can be reached without damaging the required separation between an attached garage and the home.
Before entering an attic or opening a ceiling cavity, check for roof leaks, unsafe wiring, mold, damaged framing, recessed fixtures, and suspect loose-fill insulation.
Air-seal first. Seal accessible gaps around top plates, wiring, pipes, ducts, and framing transitions before installing insulation. Use materials approved for the assembly and maintain required clearances from flues and other heat-producing equipment.
Keep attic ventilation open. Do not cover soffit vents with insulation. Where needed, install baffles to maintain an airflow channel from the soffit toward the upper attic. ENERGY STAR warns that covering vents at the eaves can interfere with attic airflow.
Install insulation without gaps or compression. Use the type and R-value appropriate for the cavity depth, climate, and local requirements. Follow the manufacturer's directions for protective clothing and respiratory protection.
Get help with closed cavities. Blown-in insulation may be practical behind existing drywall, but the installer should first confirm that the cavity is dry, free of unsafe wiring, and suitable for filling.
Confirm vapor-control requirements locally. Do not automatically add polyethylene sheeting. The correct vapor retarder and its placement depend on the climate and wall or roof assembly.
Restore required wall and ceiling protection. Do not leave insulation exposed if the product instructions or local code require an approved covering.
In the United States, model building codes call for protective separation between an attached garage and the dwelling. The 2024 International Residential Code generally specifies at least 1/2-inch gypsum board or an equivalent material on the garage side of walls and ceilings separating the garage from the dwelling or its attic. Areas beneath living space generally require at least 5/8-inch Type X gypsum board or an equivalent. Check the dwelling-garage separation provisions and the code adopted in your area before removing or replacing drywall.
What to expect: The garage should heat more slowly and retain cooled air longer. Compare indoor and outdoor temperatures at the same times for several days before deciding whether cooling equipment is still necessary.
Step 4: Ventilate or add cooling as needed
DIY difficulty: Easy to professional, depending on the equipment
Choose the next step according to how the garage is used:
Occasional work: Use cross-ventilation or an exhaust fan when the outdoor air is cooler than the garage.
Daily gym, workshop, or studio: Consider a properly sized air conditioner or ductless mini-split after sealing and insulating.
Storage only: Improve the building envelope first. Move temperature-sensitive products indoors if the garage still exceeds their storage limits.
Use ventilation when outdoor air is cooler
Ventilation can remove accumulated heat when the outdoor air is cooler, particularly during the evening or early morning. It cannot cool the garage below the incoming outdoor-air temperature, and drawing in hot or humid afternoon air may make conditions worse.
A fan blowing across a closed garage only moves hot air around. An exhaust fan must discharge outdoors and needs a safe makeup-air opening on the opposite side of the garage.
Select an outdoor-vented exhaust fan intended for the installation location and garage volume.
Install it high on an exterior wall or another approved location, where rising warm air can be removed.
Provide a screened makeup-air opening away from vehicle exhaust and other pollutant sources.
Size the fan according to the garage volume, desired air-change rate, and manufacturer instructions rather than relying on a single square-foot formula.
Run the fan when the outdoor air is cooler or when pollutant removal is needed.
Attached garages may need professional ventilation design to avoid depressurizing the space or drawing contaminants toward the house.
A fan can move or exhaust air, but it does not make dangerous heat safe. The Environmental Protection Agency advises against depending on a fan for personal cooling in a closed room when the temperature reaches the mid-90s Fahrenheit or higher. Review its guidance on using fans during extreme heat, and move to an air-conditioned location if the garage becomes dangerously hot.
Add air conditioning for regularly occupied garages
A garage used daily as a workshop, gym, office, or studio may still require mechanical cooling after the heat load has been reduced.
Common options include:
Window or through-wall air conditioner: This may suit a smaller, insulated garage with an approved opening. Confirm that the installation does not compromise drainage, security, structural framing, or the garage-to-house separation.
Ductless mini-split: This is often the most practical permanent option for a garage used every day. It requires no connection to the home's ductwork, and many models provide both heating and cooling.
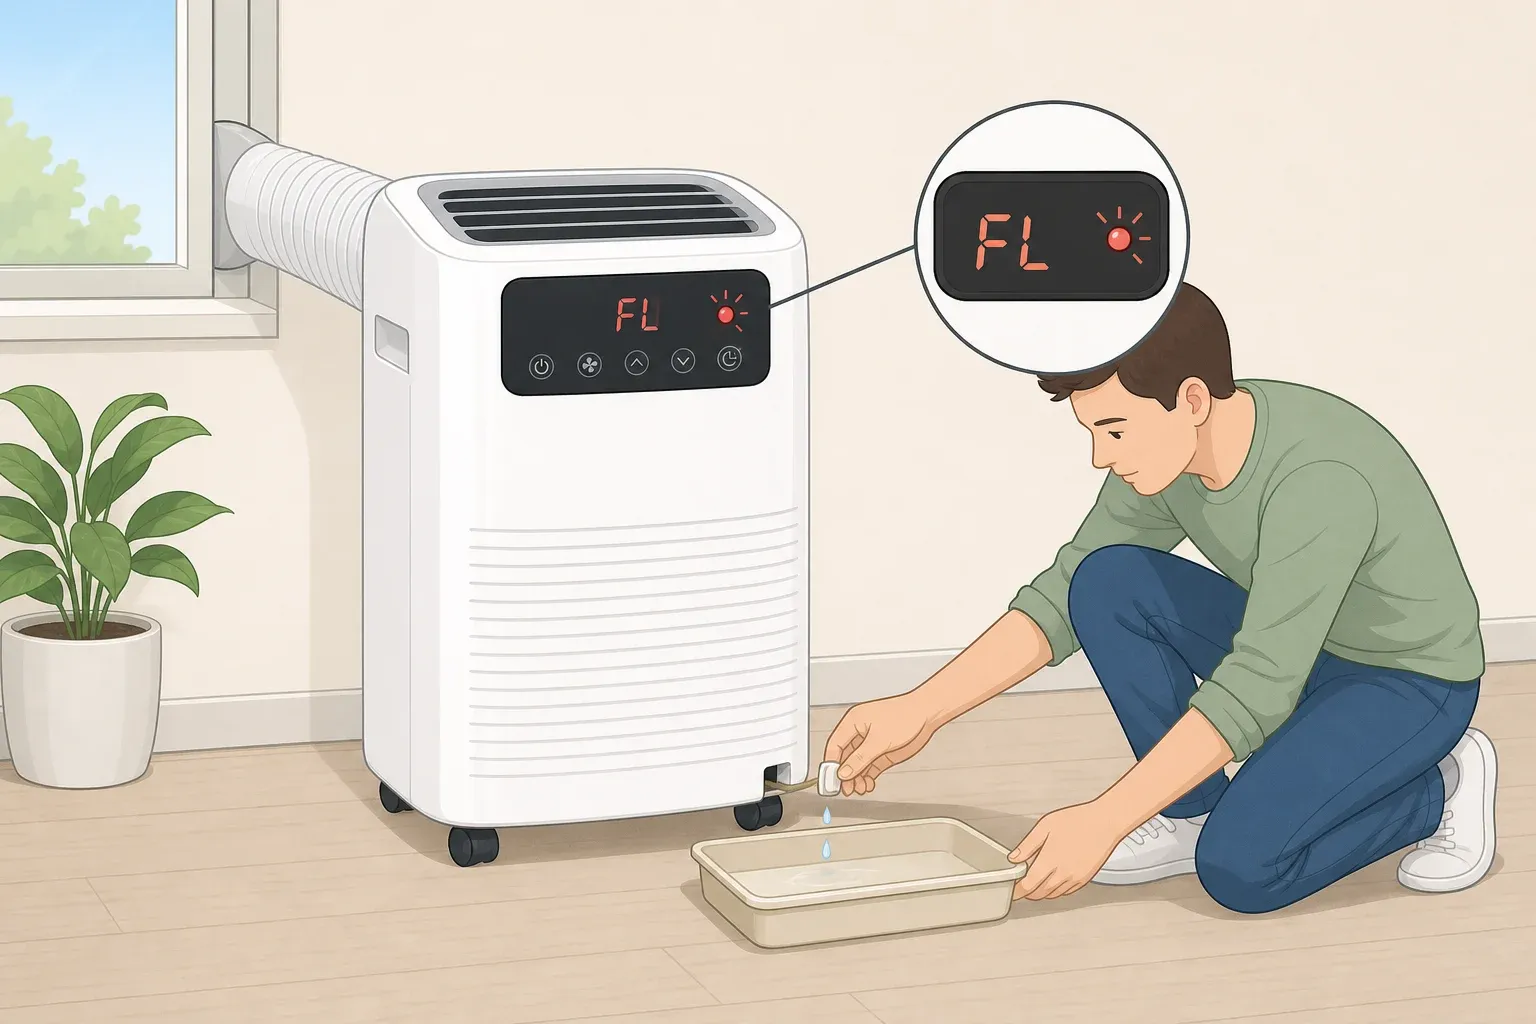
Portable air conditioner: Use one only when its hot-air exhaust can be vented outdoors and its condensate can be drained safely. Single-hose models may draw hot replacement air through leaks, making them less effective in poorly sealed garages.
Evaporative cooler: This can work in a hot, dry climate, but it adds moisture and is generally a poor choice in humid regions.
A dehumidifier is not a substitute for an air conditioner. It removes moisture but releases heat while it operates, so it can make a closed garage warmer.
Do not size cooling equipment until the planned air sealing and insulation work is complete. Oversized equipment may cycle too quickly and control humidity poorly, while undersized equipment may run continuously without reaching the target temperature.
For a permanent system:
Complete the planned sealing and insulation.
Ask the contractor to calculate the cooling load using the garage dimensions, insulation, windows, sun exposure, climate, door use, occupancy, and heat-producing equipment.
Select equipment rated for the expected outdoor-temperature and humidity range.
Use qualified electrical and HVAC professionals for the circuit, condensate drain, refrigerant work, permits, and commissioning.
Not every mini-split requires the same voltage or circuit. Follow the unit specifications and locally adopted electrical code.
Keep garage air out of the house
Never idle a vehicle in a garage, even with the main door open. The EPA warns that carbon monoxide can build to deadly levels under those conditions. Move the vehicle outside immediately after starting it, and never operate a grill, generator, or other fuel-burning equipment in the garage. Follow the agency's carbon-monoxide safety guidance.
Do not add a supply or return vent that connects the garage to the home's heating and cooling system. Ducts that pass through the garage may be subject to protective construction requirements, but they should not have openings that allow garage air into the household system. A dedicated mini-split or other independent system avoids that connection.
Keep the door between an attached garage and the house closed. Do not remove or block required fire-resistant wall and ceiling materials when installing insulation, wiring, fans, or cooling equipment.
Cooling the garage also does not make every product safe to store there. Check manufacturer temperature limits before leaving paint, batteries, electronics, aerosol cans, chemicals, food, or medication in the space.
Check the results before buying more equipment
Record the garage and outdoor temperatures at the same times for several days before and after making improvements. Note whether the garage cools overnight, how quickly it heats after sunrise, and whether rooms next to or above it feel more comfortable.
For a storage garage, sealing, shading, and insulation may be enough. A regularly occupied workshop or gym may still need cooling, but size the equipment for the improved garage rather than its original condition.
If the garage remains unusually hot, check for missed air leaks, insufficient ceiling insulation, blocked attic ventilation, or strong solar exposure through the door and windows before installing a larger air conditioner.













Comments
Be the first, drop a comment!