



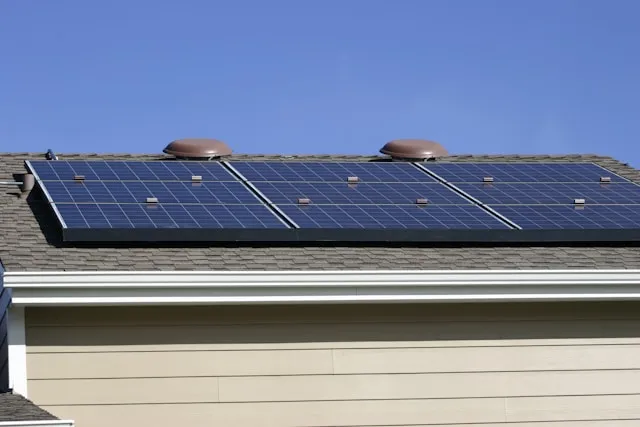
If you're wondering which direction solar panels should face on a home in the continental United States, the short answer is south, tilted somewhere between 15° and 40°. The U.S. Department of Energy identifies that combination as the best-production configuration for a fixed rooftop system.
That answer comes with a catch worth knowing before you settle on a roof plane. A shaded south-facing roof may perform worse than a nearby plane that faces slightly off south but sits in full sun most of the day. The real question isn't just which way your roof faces. It's which of your unshaded roof planes gives you the most usable sun.
The DOE's tilt range is built around typical continental U.S. latitudes, and the same guidance notes that the optimal tilt angle equals local latitude. If your home sits well outside that range, treat 15° to 40° as a starting point to discuss with an installer, not a fixed target.
This guide walks through how to evaluate roof direction, shade, and pitch before you call an installer, and what to hand that installer once you've narrowed things down. Your part is to observe and compare roof planes from the ground. Nothing here requires a ladder, and nothing here should.
What you'll need
A smartphone compass app or a satellite map view of the house
A notepad or phone notes app to log roof planes and obstructions
A few minutes at several different times of day to watch how shadows move across the roof
No tools, no roof access, no climbing
Stay off the roof and away from any overhead power lines while you do this. Roof condition, structural capacity, attachment points, and code compliance are things a licensed installer checks in person, not decisions you can make from the ground.
Check your roof from the ground first
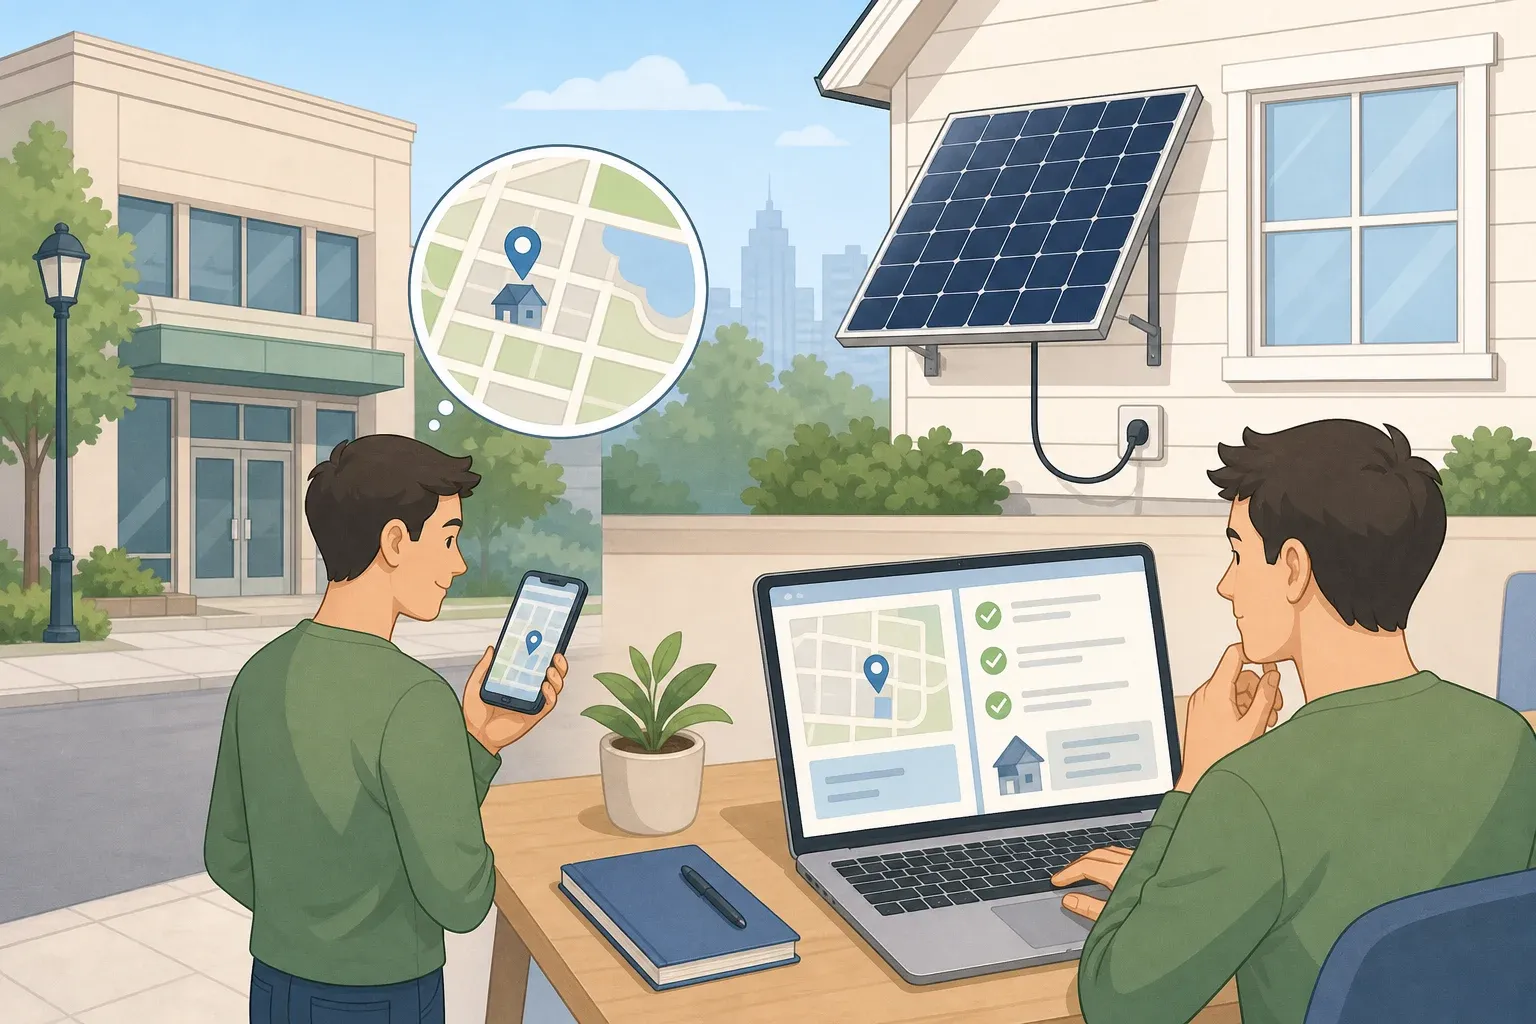
Start by identifying each distinct roof plane and which compass direction it faces. A compass app held flat against a window, or a bird's-eye satellite view of the house, is fine for building a preliminary shortlist, though it's not a substitute for the measurements an installer takes before finalizing a design.
While you're at it, note anything that could block sun or complicate an installation: chimneys, plumbing vents, skylights, and any dormers that break up an otherwise clean plane. Then look past the roofline itself. Neighboring rooflines and trees can cross a plane that looks perfect on paper.
Shade takes more attention than direction does. Walk outside and look at the roof a few times across the day — morning, midday, and late afternoon — so you can see how shadows shift as the sun moves. Aerial or satellite imagery is useful for spotting obstructions, but a single image is a snapshot from one moment, not a season-by-season record. It won't show you how a tree's shadow changes between summer and winter.
That's worth planning around. A tree that looks harmless in winter, bare branches and no canopy, can still block a meaningful amount of sun. Leafless deciduous trees may cut the sunlight reaching a home by more than a third, according to Colorado State University Extension. Record a bare-looking tree as a possible obstruction rather than crossing it off your list.
By the end of this step, write down a shortlist of candidate roof planes, each with its compass direction and any obstructions you noticed. That list is what you'll bring to an installer.
Rule out shaded roof planes before comparing direction
Shade during peak daylight hours can matter as much as which way a roof faces. A plane with a textbook-perfect south orientation still underperforms if something blocks it during the sun's highest arc.
Colorado State Extension's guidance for solar heating devices recommends keeping collectors clear of shade roughly between 9 a.m. and 3 p.m. year-round, per the same CSU Extension resource. That figure was written for solar heating and winter sun access, not as a formal photovoltaic performance standard, but it's a reasonable screening habit to borrow. If a candidate plane sits in shadow for a large chunk of that window for months at a time, move it down your list even if the compass heading looks ideal.
That's why shade gets checked before direction. A south-facing plane that's shaded for part of the day isn't automatically the winner over a nearby plane that faces slightly off south but stays in full sun. Whether that's true for your roof is something an installer's site-specific model should confirm, not something to assume from a compass reading alone.
Should solar panels face south? Compare shade before direction
Once you've set aside the obviously shaded planes, rank what's left by orientation, the compass direction each remaining plane faces. Azimuth is the technical term for that direction, and true south is the reference point behind the DOE's continental U.S. production baseline.
For the best direction for solar panels among your unshaded options, south stays the strongest default for annual output in the continental U.S., per the DOE's installation guidance. What the available research doesn't spell out is exactly how many percentage points a homeowner gives up by choosing an east-, west-, or southeast-facing plane instead.
That gap depends on local latitude, weather patterns, and roof geometry, which is exactly what a site-specific production model is built to answer. A rough way to think about your options while you wait for that model:
South: the DOE's production baseline for a fixed system, all else equal.
Southeast or southwest: worth modeling seriously, especially if that plane has better shade conditions or more usable roof area than a true-south plane.
East or west: don't reject these automatically. Ask for a site-specific estimate before ruling them out.
Rank your candidate planes by how close each sits to true south, but keep the east- and west-facing options in the conversation. An installer's model, not a compass reading, is what actually separates the close calls.
Best angle for solar panels: weigh tilt against wind and snow
Tilt, the upward angle at which panels sit, is a separate decision from direction, and the two don't have to compete. Tilt does carry real trade-offs, though, so it deserves its own look before you finalize anything.
Lower tilt angles reduce wind load on the array and can improve production, while steeper tilt angles, up to about 60°, shed snow and hail more effectively at the cost of higher wind load on the mounting system, according to the DOE. There isn't one universal optimal solar panel tilt angle. The right number depends on your roof's actual pitch and your local climate, which is why installers weigh this trade-off case by case instead of defaulting to a single figure.
Snow-prone regions have another option worth asking about: mounting panels in landscape format. The DOE's guidance on winter weather hardening notes that landscape orientation can speed up snow and ice shedding, since each module generates power from three discrete horizontal sections, and snow typically clears the top section first, adding production as it melts. Raise this with an installer if your winters bring regular snow load. It's not something to plan around on your own.
None of this is a calculation you need to run yourself. Pitch, mounting hardware, and snow-shedding configuration are installer-level engineering decisions. Your job at this stage is knowing these factors exist so you can ask about them.
Ask an installer to model your shortlist
A homeowner-facing rule of thumb can only get you so far. A reliable comparison of east, west, and south output for your specific roof isn't something general guidance can provide. A site-specific production model is what actually answers that question.
Bring your shortlist to more than one installer, labeled by compass direction, with the obstructions you spotted and your rough shade observations from different times of day. Ask each one for annual production estimates on every viable option: south, southeast, southwest, or a split array across two planes if your roof supports it.
If your winters bring heavy snow, ask about landscape-orientation mounting while you're at it. You want real numbers for your roof, not general averages pulled from a regional map, and you want every installer running estimates on the same set of planes so the quotes are actually comparable.
Weather risk belongs in that same conversation. The DOE recommends assessing site-specific wind, snow, and hail exposure and designing tilt and mounting around those risks rather than chasing theoretical sun exposure on paper alone, per its system procurement guidance. This is also where the DIY line ends.
Calculating wind and snow load for your specific pitch, confirming the roof's structural capacity for mounting hardware, and running a shading or irradiance model all belong to a qualified solar professional. Permitting and inspection requirements vary by location, so confirm what applies in your area before signing off on any layout.
A satisfactory proposal should give you annual production numbers for each viable plane, the shade assumptions behind those numbers, a tilt and mounting recommendation matched to your roof's actual pitch, and a plan for local wind, snow, or hail exposure. Once you have that from two or three companies, you're in a position to pick a layout based on real numbers for your roof and climate, not a guess made from the driveway.


















Comments
Be the first, drop a comment!