


7 Essential Home Repair Hacks Every Homeowner Should Master
Difficulty: Novice to Moderate
Time: 15 minutes to 3 hours per project
Cost: $5-$75 per repair
Why You'll Like These Skills
Every homeowner faces that familiar moment when something breaks, stops working, or needs attention around the house. The good news? These projects are all easy and low-risk, and mastering a handful of basic repair skills can save you hundreds of dollars while building genuine confidence in maintaining your home.
Think of these repair hacks as your insurance policy against inconvenience and expensive service calls. When you can fix a running toilet at 10 PM or patch that wall hole yourself, you're no longer at the mercy of contractor schedules or emergency rates. Plus, each successful repair builds the foundation for tackling bigger projects down the road.
What You'll Need
Essential Tool Kit
Power drill with bits
Hammer and screwdrivers (flathead and Phillips)
Adjustable wrench and pliers
Level and measuring tape
Utility knife and putty knife
Voltage tester (non-contact type)
Basic Repair Materials
Spackle or joint compound
Caulk and caulk gun
Assorted screws, anchors, and washers
Sandpaper (120 and 220 grit)
Painter's tape and drop cloths
HVAC filters (correct size for your system)
Safety First
Always turn off power at the breaker before any electrical work and verify with a non-contact voltage tester
Shut off water supply before working on plumbing fixtures
Wear safety glasses when drilling, sanding, or working overhead
Use proper ladder safety – maintain three points of contact and never overreach
Know your limits – gas work, major electrical, and structural issues require professionals
Steps
1. Master Emergency Shutoffs First
Before you repair anything, know how to stop problems from getting worse. You should know how to turn off your main water supply, natural gas lines to appliances, and your electrical breaker box.
Water shutoff: When the handle of your main water valve is parallel with the water pipe, it means it is in the 'on' position. Turn the main valve to the closed position — for quarter-turn ball valves this is perpendicular to the pipe; older gate-style valves usually close when turned clockwise.
Electrical: To turn off the electricity to your entire home, flip the main circuit breaker located inside the electrical panel. For individual circuits, identify and flip the corresponding breaker.
Gas: For gas, it's best to call your gas company to shut off the main gas valve. Only attempt this yourself in genuine emergencies.
Why it works: Understanding your home's systems prevents small problems from becoming disasters and gives you confidence to tackle repairs safely.
2. Unclog Toilets Like a Pro
Here's a game-changing trick most people don't know: Pour about 3 tablespoons of liquid dish soap into the toilet before plunging (or using a toilet auger) to help lubricate and loosen clogs.
Let the soap sit for 10-15 minutes, then plunge with firm, consistent motions. The lubrication helps break up the blockage and makes plunging more effective.
If this doesn't work: Try a toilet auger (snake) for deeper blockages, or check if the toilet flapper is sealing properly in the tank.
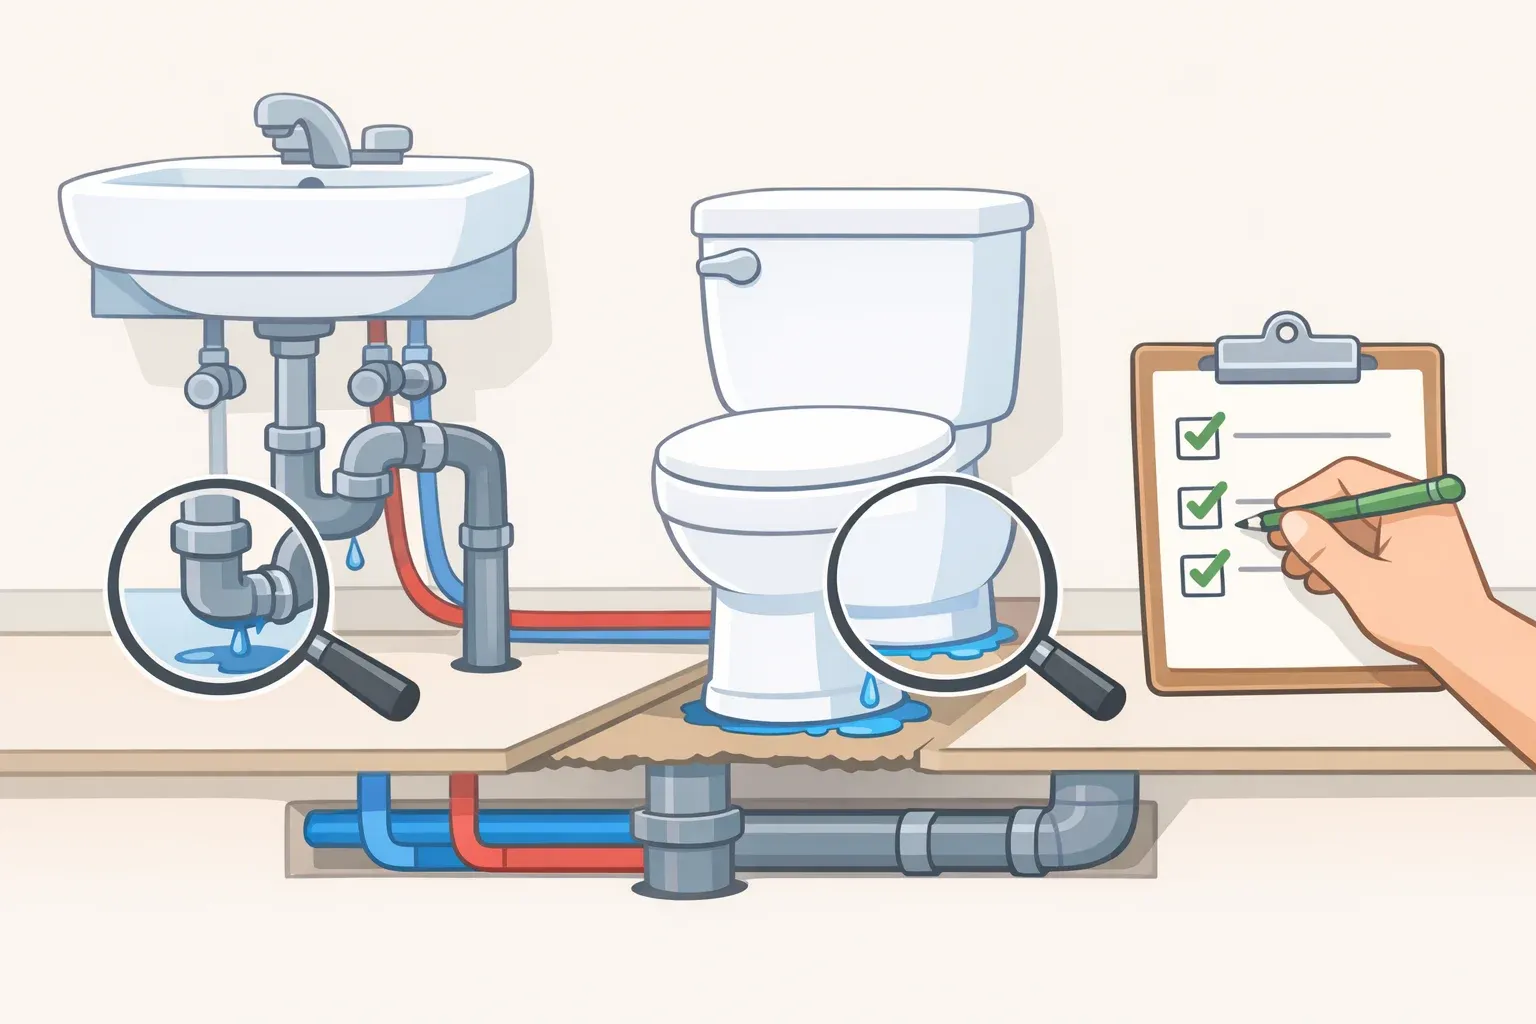
3. Fix Leaky P-Traps Under Sinks
That curved pipe under your sink catches more than just dropped rings – it's often where slow drains and funky smells originate. Before you do anything else, turn the water off to the sink.
Place a bucket underneath the P-trap, then all you have to do is twist off the slip nuts (slip-joint nuts) holding the P-trap in place so you can replace them and the worn-out washers. Clean out any debris while you're at it.
Tip: Take a photo before disassembly to remember how everything goes back together.
4. Patch Drywall Holes the Right Way
Wall damage happens, but the repair approach depends on size. Start by assessing the scale of the damage. Screw or nail holes from hanging pictures or TVs are the easiest: Clean the area of any debris, wipe down the wall, then use a putty knife to press some spackle into the wall and let it dry. Once it's done, smooth it out with some sandpaper.
For holes larger than a quarter, you need a different strategy. To properly patch a large hole, you'll need to cut out some of the surrounding drywall and replace it. Cut a piece of new drywall slightly larger than the hole, trace around it on the wall, then cut out the traced area. Secure the new piece with drywall screws, apply joint compound in thin layers, let dry completely, and sand smooth before painting.
Tip: Prime patched areas before painting – spackle and joint compound absorb paint differently than drywall, which can cause visible spots.
5. Replace Light Switches Safely
Most electrical work in your home should probably be done by a professional, but light switches are among the easiest to replace.
Safety first: Turn off power at the breaker and test the switch with a non-contact voltage tester before touching any wires. Remove the old switch, take a photo of the wiring configuration for reference, then disconnect the wires. Connect them to the new switch in exactly the same configuration, screw the switch back into the electrical box, and restore power.
If switch doesn't work: Double-check that wire connections are tight and that you've restored power at the breaker panel.
6. Free Stuck Windows
Windows that won't budge are usually victims of paint buildup or dried-up lubrication tracks. If you go too long without opening a window, it can get so mucked up with dirt and crap that it's difficult to open.
Start by scoring the paint line around the window frame with a utility knife to break the seal. Paint thinner can help loosen stubborn painted-shut windows, and WD-40 or a silicone lubricant can help the window slide in its tracks again. Work gently to avoid cracking glass or damaging the frame.
If window still sticks: Check for warped frames or structural settling that may require professional assessment.
7. Seal Air Leaks for Instant Savings
This repair pays for itself quickly. The potential energy savings from reducing drafts in a home may range from 10% to 20% per year.
Check for indoor air leaks, such as gaps along the baseboard or edge of the flooring and at junctures of the walls and ceiling. Seal holes or penetrations for faucets, pipes, electric outlets, and wiring with the appropriate material – use caulk for small gaps under ¼ inch, expanding foam for larger gaps.
Bonus task: Change filters in forced-air furnaces about once every month or two, especially during periods of high usage. The air filter is usually in the blower compartment of your furnace. Put the air filter in the right way with the arrow facing toward the furnace and away from the return duct.
Cleanup & Disposal
Clean tools immediately after use – dried spackle, paint, or caulk makes them much harder to clean later. Store leftover caulk and spackle in a cool, dry place with tight-fitting lids. Dispose of old filters, paint, and solvents according to local regulations. Many areas have household hazardous waste collection days for proper disposal.
Troubleshooting
Problem: Spackle patch shows through paint → Fix: Apply primer to patched areas before painting
Problem: New switch doesn't work → Fix: Verify wire connections are tight and power is restored at breaker
Problem: Caulk won't stick or smooth → Fix: Clean area thoroughly with rubbing alcohol and ensure complete dryness
Problem: Window moves but feels rough → Fix: Clean tracks thoroughly and apply silicone lubricant, not oil-based products
Variations & Upgrades
Renter-friendly options: Focus on removable solutions like weatherstripping, temporary caulk, and non-permanent draft stoppers that won't affect your security deposit
Budget builds: Start with basic tools and upgrade gradually. A good cordless drill and quality hand tools will handle 80% of common repairs
Preventive approach: Set seasonal reminders to check for drafts, test GFCI outlets, and inspect caulking before problems develop
When to Call a Professional
Know when to DIY and when to hire a professional. Major electrical work, gas line repairs, structural issues, and anything involving permits should be left to licensed professionals. Don't be afraid to ask for help when a project exceeds your comfort zone or skill level.
Red flags for professional help: Repeated electrical trips, water damage, foundation cracks, or any repair that requires structural modification.
FAQ
Can I use regular caulk in bathrooms? Use silicone or bathroom-specific caulk that resists mold and mildew – regular caulk will fail in high-moisture areas.
How do I know if a wall outlet is safe to work on? Always test with a non-contact voltage tester even after turning off the breaker. If you're unsure which breaker controls which outlet, call an electrician.
Why it works: These fundamental skills create a foundation for tackling larger projects while building confidence in your ability to maintain your home independently. Each successful repair reinforces the next, transforming you from someone who calls for help into someone who can solve problems with knowledge and the right approach.
The beauty of starting with these essential repairs is that they're genuinely useful, relatively safe, and provide immediate satisfaction. That clogged toilet you fix tonight builds the confidence to tackle that leaky faucet next week, and before long, you're the homeowner who can handle whatever your house throws at you.


Comments
Be the first, drop a comment!