




What Is a 3-Way Switch? How It Works and Installation Costs
Your home almost certainly has at least one pair of them already. The switches at the top and bottom of your stairwell, or the ones at either end of a long hallway those are 3-way switches. They're one of the most genuinely useful things in residential electrical work, and most homeowners have no idea what they're called or how they function. Even fewer think to add one until they've crossed a dark room one too many times.
A 3-way switch lets you control a single light fixture from two separate locations. One light, two switches, either of which can turn it on or off. That's the whole concept. Everything else is implementation.
This piece answers three questions in sequence: what a 3-way switch is and how to recognize one; where adding one actually makes sense and where it doesn't; and what installation realistically involves, so you can decide whether it's worth doing and when.
3-way switch vs. single-pole switch: what's actually different
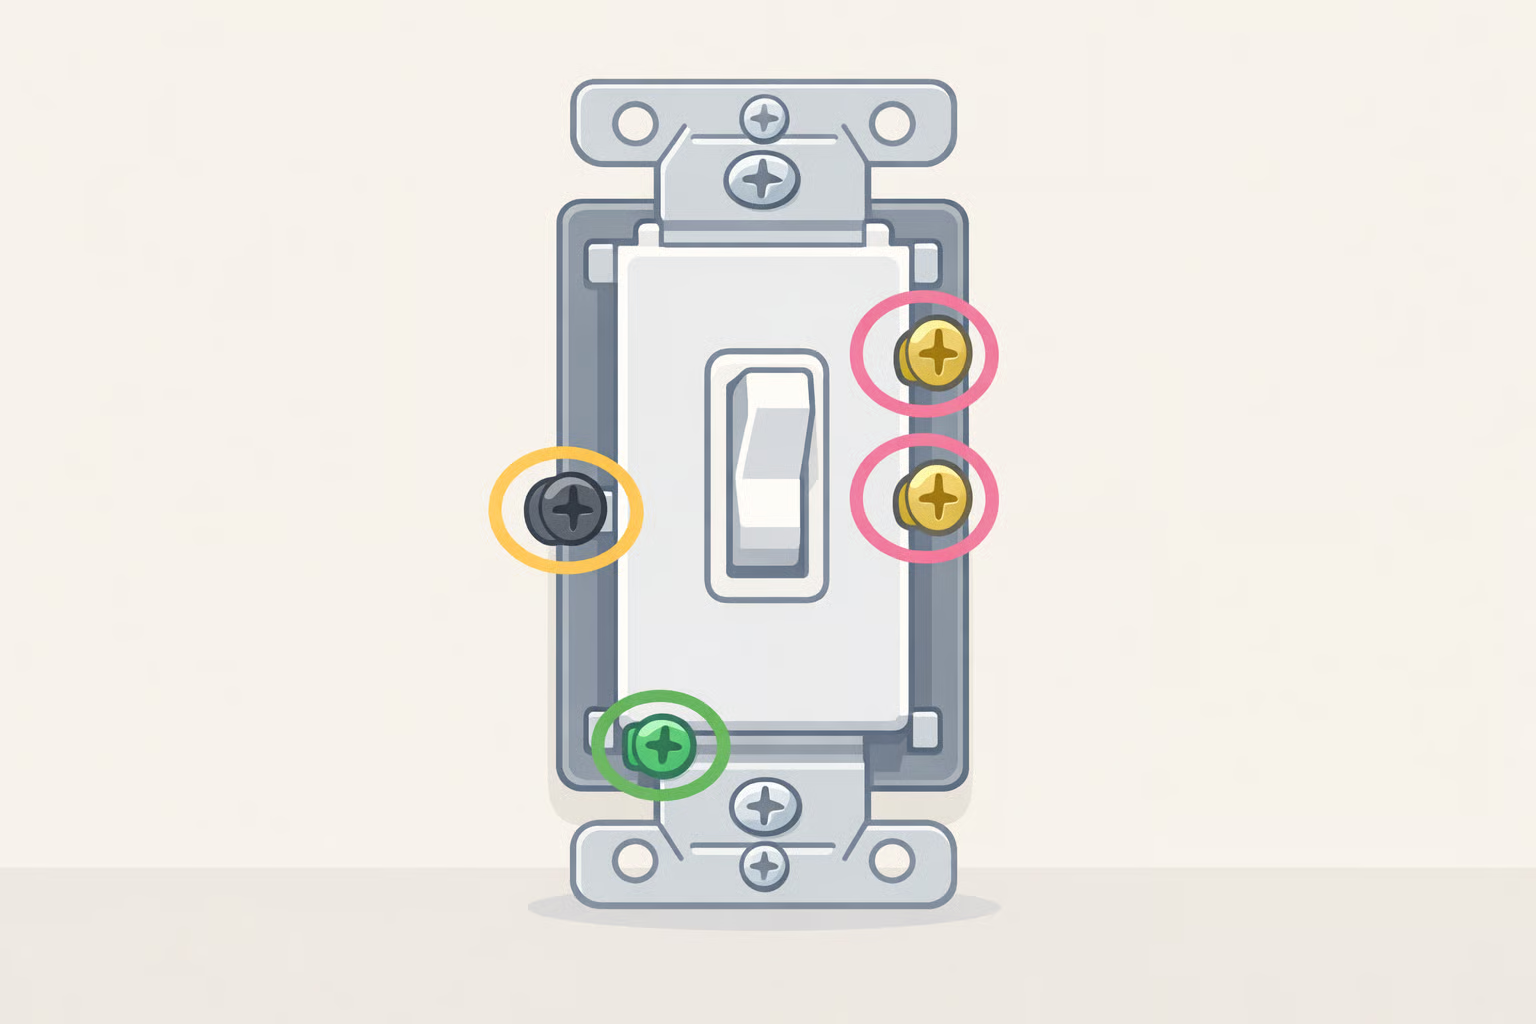
Start with the standard switch, since the comparison makes everything clearer. A single-pole switch the most common type in any home controls one fixture from one location. Its toggle is clearly marked ON and OFF. It has two brass terminals and does exactly what it looks like, per Family Handyman.
A 3-way switch is physically larger and carries a different terminal configuration: one "common" terminal (typically a darker-colored screw), two "traveler" terminals (brass-colored screws), and a green ground screw. That extra terminal is what makes two-location control possible. The toggle carries no ON or OFF labels not an oversight, but a mechanical necessity. Because the light's state depends on the relationship between two switches, neither toggle has a fixed "on" position, per Family Handyman.
Here's a quick side-by-side:
| Feature | Single-pole switch | 3-way switch | |---|---|---| | Control locations | One | Two | | Terminal screws | 2 brass + ground | 1 common + 2 travelers + ground | | ON/OFF labeling | Yes | No | | Works alone | Yes | No requires a matched pair | | Retrofit complexity | Low | Medium to high | | Typical rooms | Any single-entry space | Stairways, hallways, two-door rooms, garages |
Identifying a 3-way switch in the wild is straightforward:
- An unlabeled toggle is the first sign
- Unscrew the faceplate and look for three terminal screws plus a green ground screw that's a 3-way switch, Angi confirms
- A matched pair is always required: exactly two, one at each control point; a single 3-way switch installed alone will not function, Family Handyman notes
One edge case worth knowing: a 3-way switch can be wired to serve as a standard single-pole switch by using the common terminal and one traveler terminal, leaving the other traveler unused. It works, but it's an unnecessary expense if two-location control isn't needed, Family Handyman notes.
When to use a 3-way switch and when not to
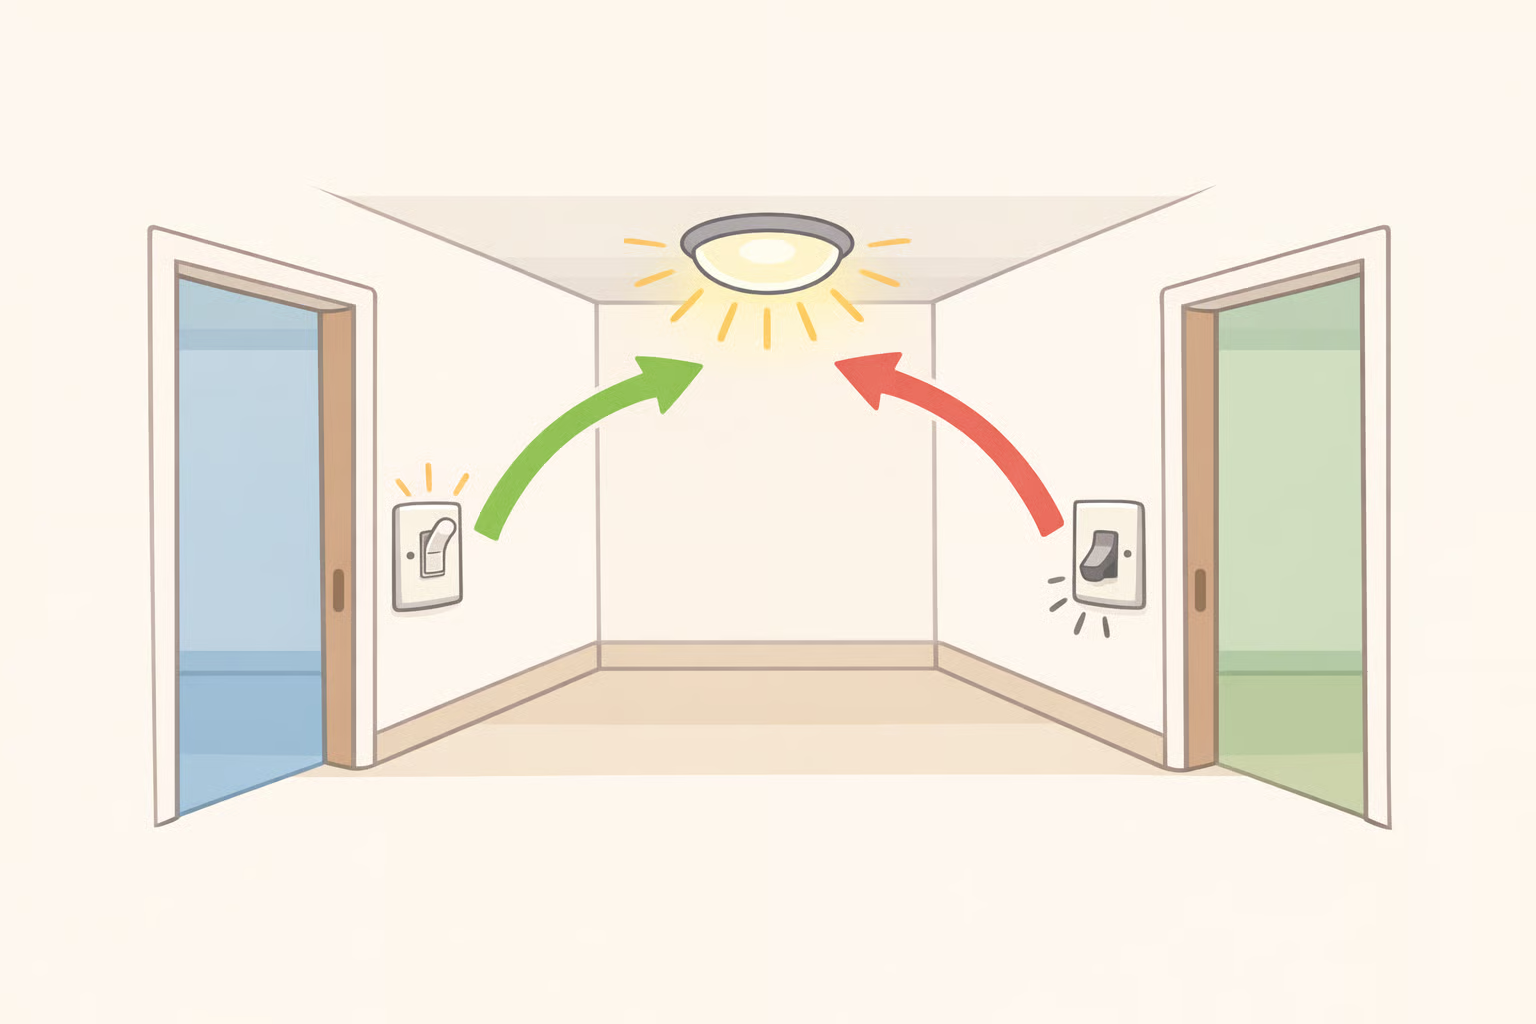
The problem this switch solves is specific: you enter a space from one point, cross it in the dark, and exit from another, with no way to control the light at the point where you actually need it. Stairways are the most dangerous version of this scenario. Long hallways and multi-entry rooms are the most annoying.
Any space with two distinct access points is a strong candidate. Family Handyman and Angi both point to the same list of natural fits:
- Stairways (top and bottom)
- Rooms with two doorways
- Garages with both a vehicle entrance and a house door
- Hallways connecting two areas
- Kitchens with separate entry points
There are softer cases where convenience genuinely justifies the cost. A bedside light you can turn off without getting up is a real quality-of-life upgrade. A large garage where the service door and vehicle door sit at opposite ends is another, per Angi.
A 3-way switch is not worth installing in a room with a single entry point, a space you pass through in only one direction, or anywhere you already have adequate switch access. In those cases, the upgrade adds cost and wall work without solving any real problem.
The real cost issue is wiring, not the switch. The hardware itself runs $5–$15 per unit nearly negligible but what costs money is creating the circuit: running cable, cutting into walls, installing a new electrical box, Angi reports. The question isn't really "is a 3-way switch worth it?" It's "is this particular space worth the installation scope?" In the right locations, clearly yes. In a room that functions fine with one switch, probably not.
How does a 3-way switch work?
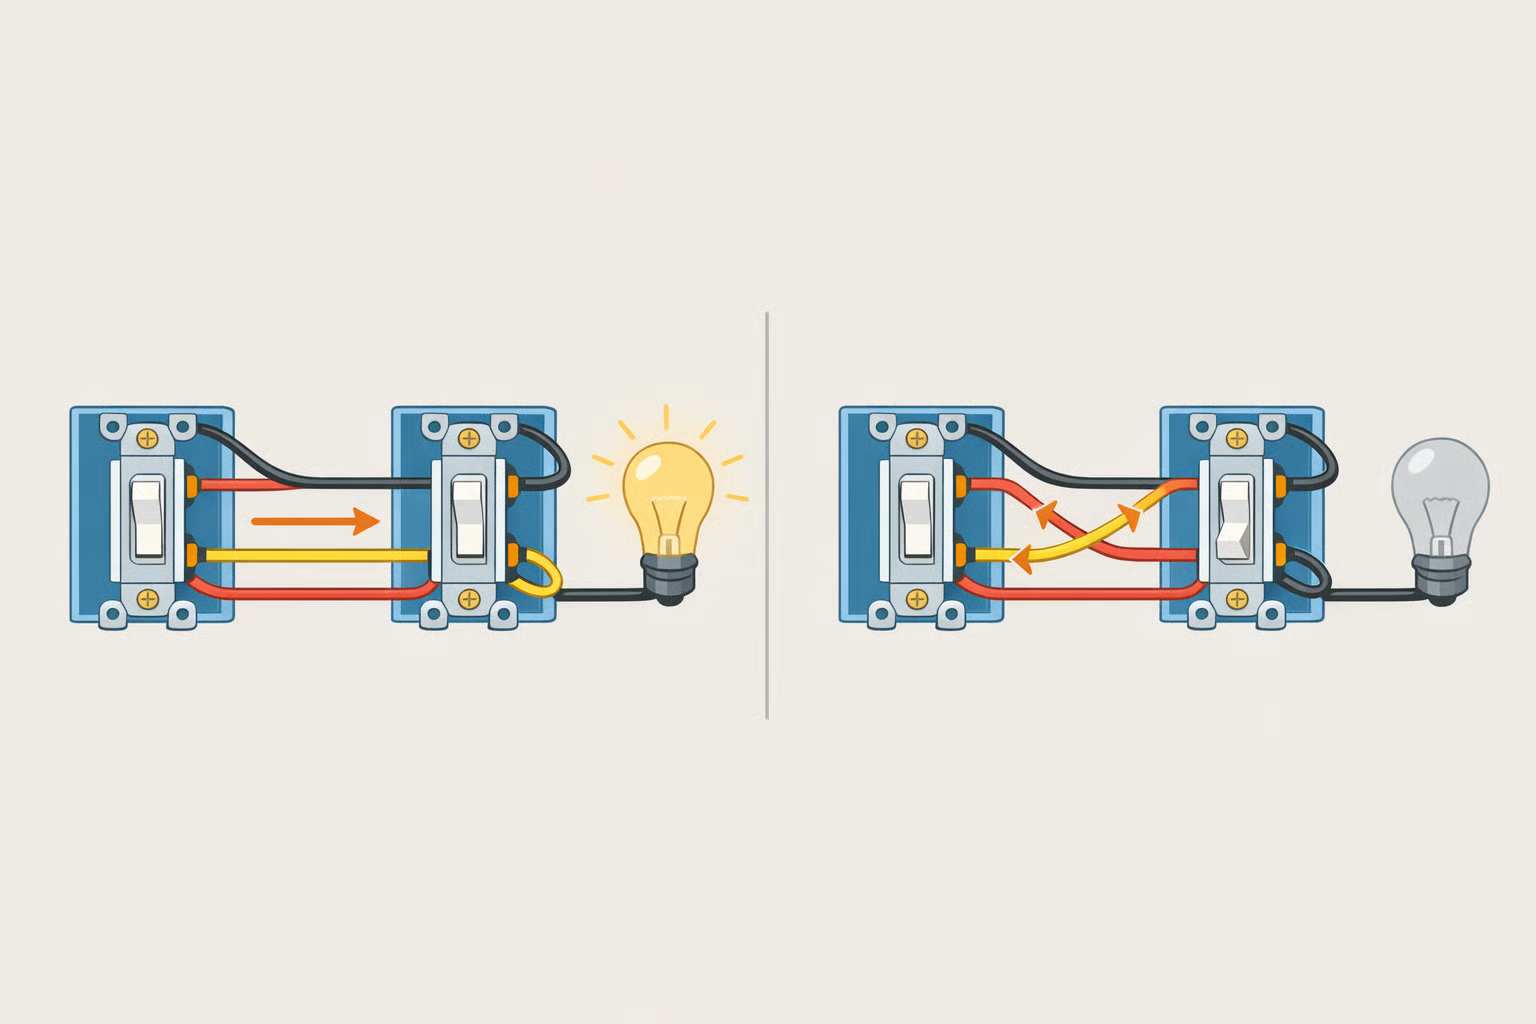
Here's the simple version of how the circuit works enough to make the rest of this clearer, including why these switches fail the way they do.
Power enters through the common terminal of the first switch. Two wires called "travelers" run between the pair, linking their traveler terminals. Power exits through the common terminal of the second switch and continues to the fixture. Flipping either switch changes the current's path through those two traveler wires, which is why control works from both locations, as Family Handyman explains.
Traveler wires are hot wires they carry live current and are typically black or red, Angi notes. They give the circuit two possible paths between the switches. When both switches route current through the same traveler, the circuit completes and the light comes on. When they route through different travelers, the circuit is open and the light is off.
Think of it like two levers on opposite ends of a track. A train moves only when the levers align. Either operator can change the outcome but what happens depends on what the other person last did.
The most common misconception is that one switch needs to be "on" for the other to work. Neither switch has an inherent on state. What matters is alignment between the two. Flipping either one changes the relationship, Angi explains.
For three or more control points, the configuration adds a 4-way switch between the two 3-way switches. The 4-way sits in the middle and routes current between the traveler wires, allowing the circuit to be controlled from a third or fourth location, per Family Handyman. That's a separate project, but worth knowing it exists.
What installation involves and what drives the cost
The most useful distinction upfront: replacing an existing 3-way switch and adding a brand-new one where none exists are fundamentally different jobs. Same hardware, entirely different scope.
Replacing an existing 3-way switch
If a 3-way circuit already exists and the switch just needs to be swapped out it's malfunctioning, or you want an upgrade this is relatively contained work. The wiring infrastructure is already in place. Hardware runs $5–$15 per switch, Angi notes. Replacing both switches at once is worth considering; if one has worn out, the other typically follows, per Angi.
The single most common mistake on replacement is swapping the common and traveler terminals, which produces a switch that only responds from one position. The fix is simple label every wire before disconnecting anything and photograph the existing setup but skipping this step is exactly why a freshly replaced 3-way often appears not to work, per Angi.
Adding a new 3-way circuit
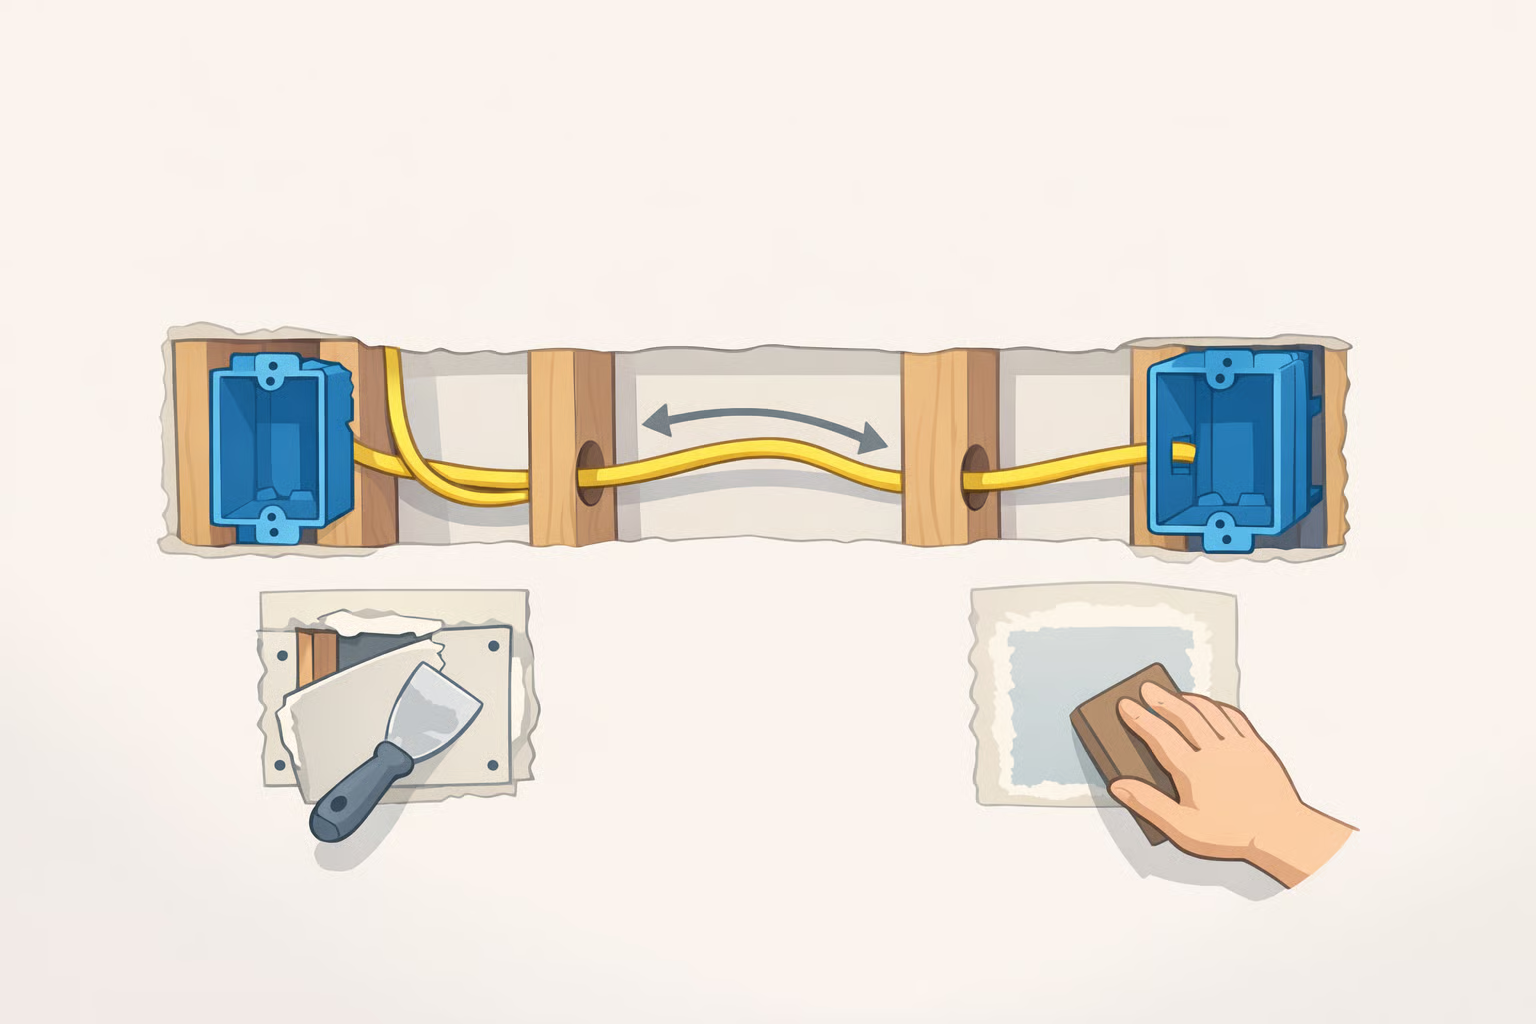
This is a different job in scope. Running cable between two new locations typically means cutting into drywall, routing wire through walls, installing an additional electrical box, and patching afterward. The wiring itself is more complex than a standard single-pole switch, as both Angi and Family Handyman note.
A DIY retrofit is rated intermediate difficulty and typically takes a full day, with materials running $100–$150, Family Handyman reports. Professional installation runs $100–$200 for the job; electricians typically charge $50–$100 per hour, with most billing $150 for the first hour. Because this is a quick job for an experienced electrician, bundling it with other electrical work in the same visit cuts the effective cost considerably, per Angi. Note that labor rates vary by market, and these figures from Angi's 2021 data should be treated as a baseline rather than a precise estimate.
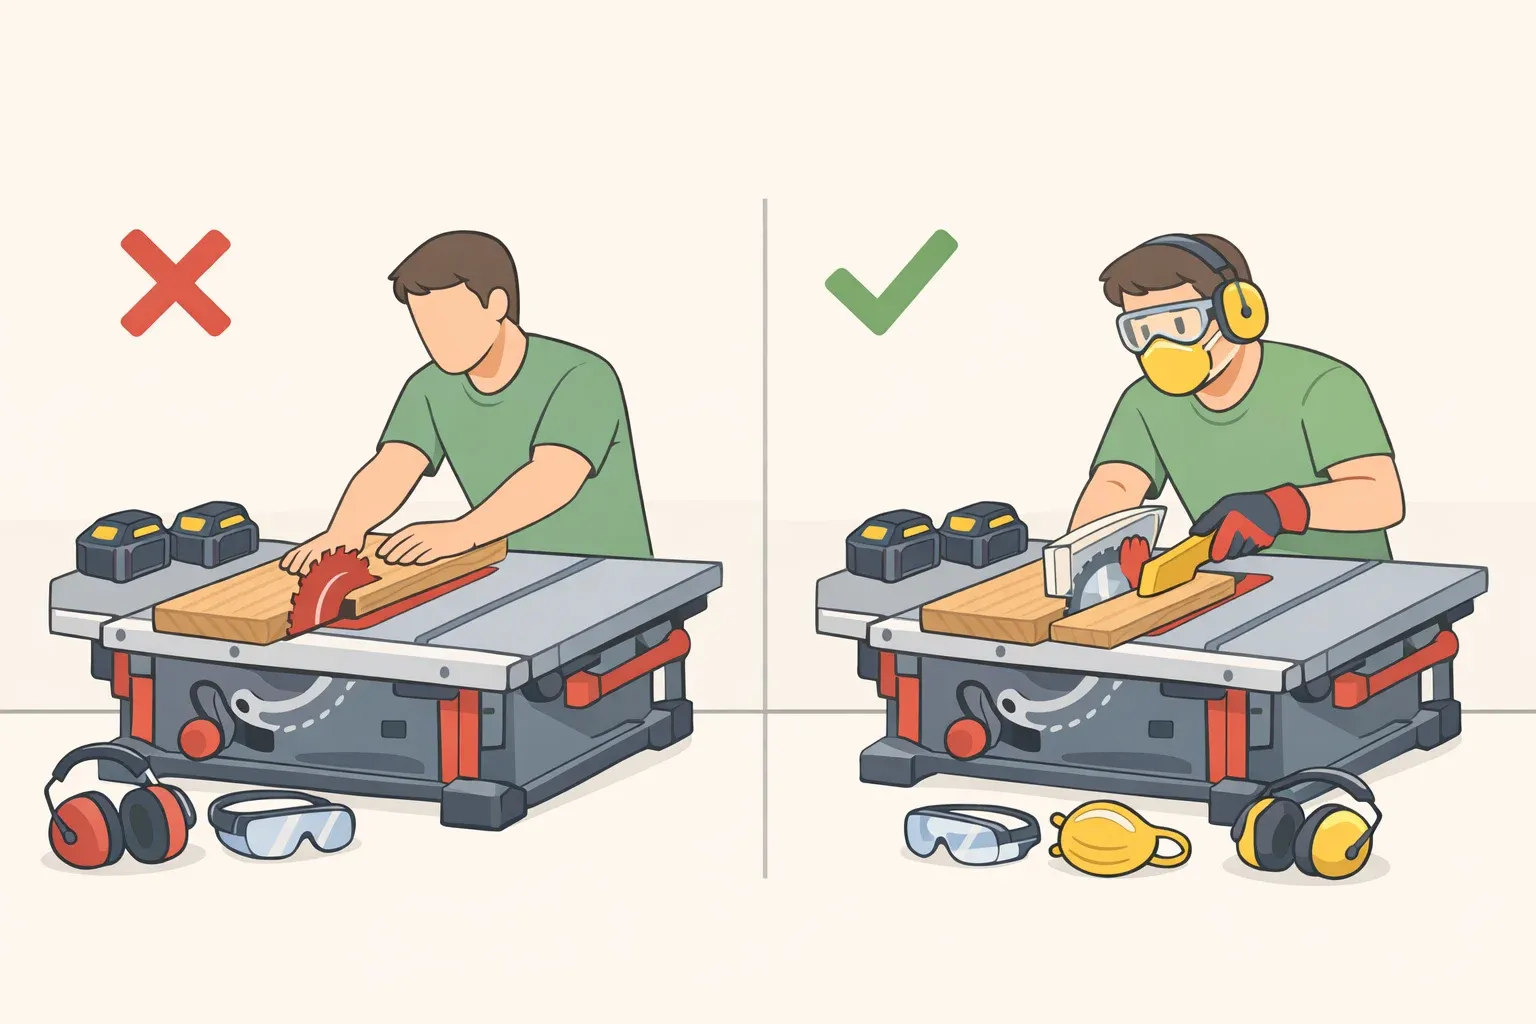
Regardless of which scenario applies, the safety baseline is non-negotiable: cut power at the breaker before touching any wires, then verify the circuit is dead with a non-contact voltage tester. Every time, Family Handyman and Angi are consistent on this.
DIY or hire out?
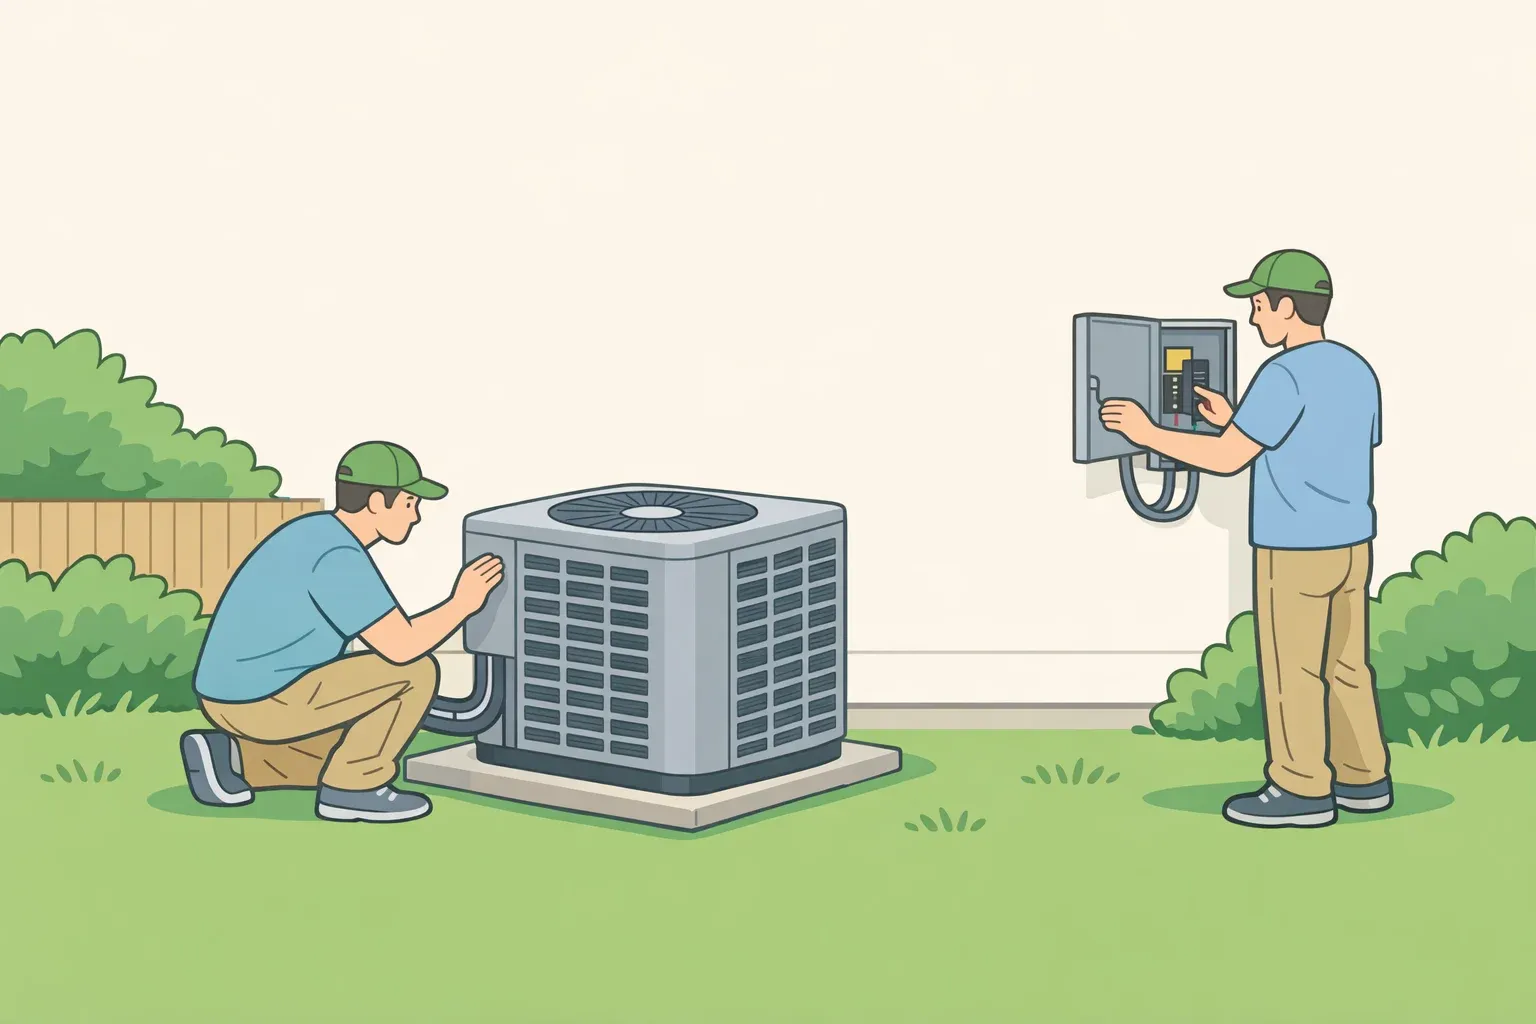
Family Handyman treats this as a capable DIYer's project. Angi recommends calling a professional. Both positions are reasonable, depending on the scenario. Replacing an existing 3-way switch is within reach for someone with basic switch-wiring experience. Running a new circuit through finished walls and patching drywall afterward is not a first electrical project.
The decision, in plain terms
A 3-way switch earns its place in any space you regularly transit between two entry points: stairways, garages, hallways, rooms with two doors. In those locations, it solves a real problem. Anywhere else, it adds cost and complexity for convenience you probably don't need, Family Handyman concludes.
The hardware is nearly free; the real cost variable is whether walls need to be opened. Replacing two switches runs $10–$30 in parts. A full retrofit new cable, new box, drywall repair runs $100–$200 before labor, Angi and Family Handyman both indicate.
The best time to add a new 3-way circuit is during another electrical project: fixture replacement, ceiling fan installation, or any remodel where walls are already open and an electrician is already on-site. Bundling reduces the minimum-hour charge and eliminates most of the wall-repair cost, per Angi.
Homeowners ready to move forward or troubleshoot an existing switch that only responds from one position should start with Family Handyman's full wiring guide, which includes diagrams and a complete installation walkthrough. Anyone running a new circuit through finished walls should get an electrician estimate first; the scope difference between the two scenarios usually justifies it.







Comments
Be the first, drop a comment!