Hot Home & Garden How-Tos

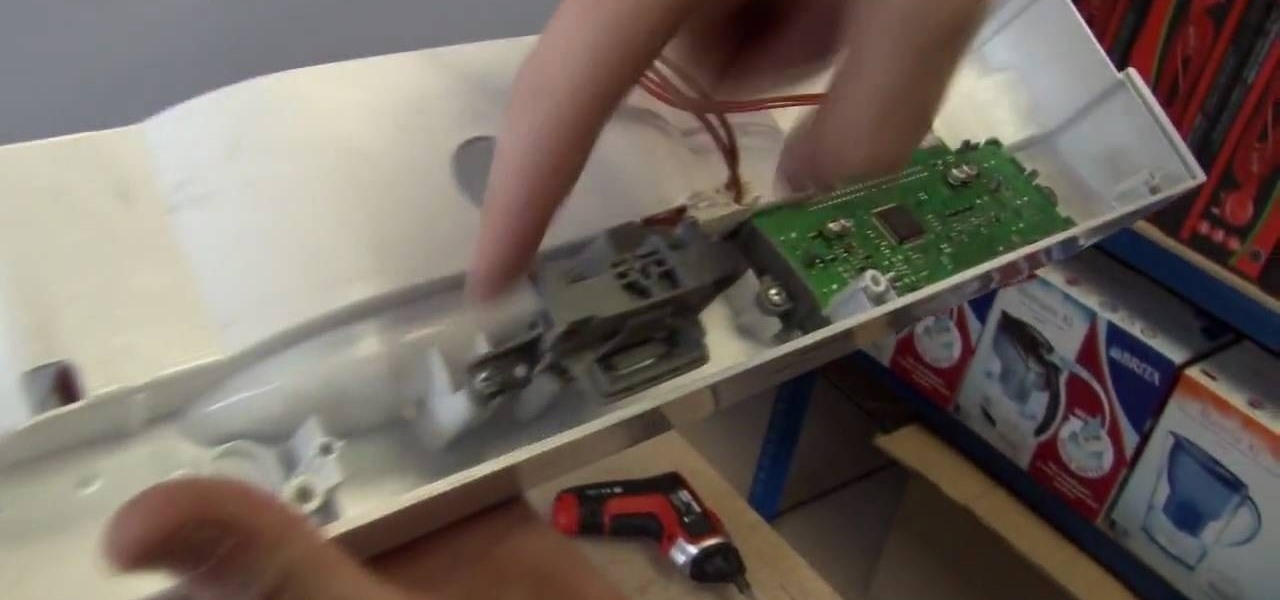
How To: Replace the face plate on a Hotpoint dishwasher
One of the most commonly damaged parts to a dishwaher can be the face plate or fascia panel. They can easily get dinged up, scratched, and much more. So, if you're looking to get rid of your damaged faceplate, this next tutorial should help.
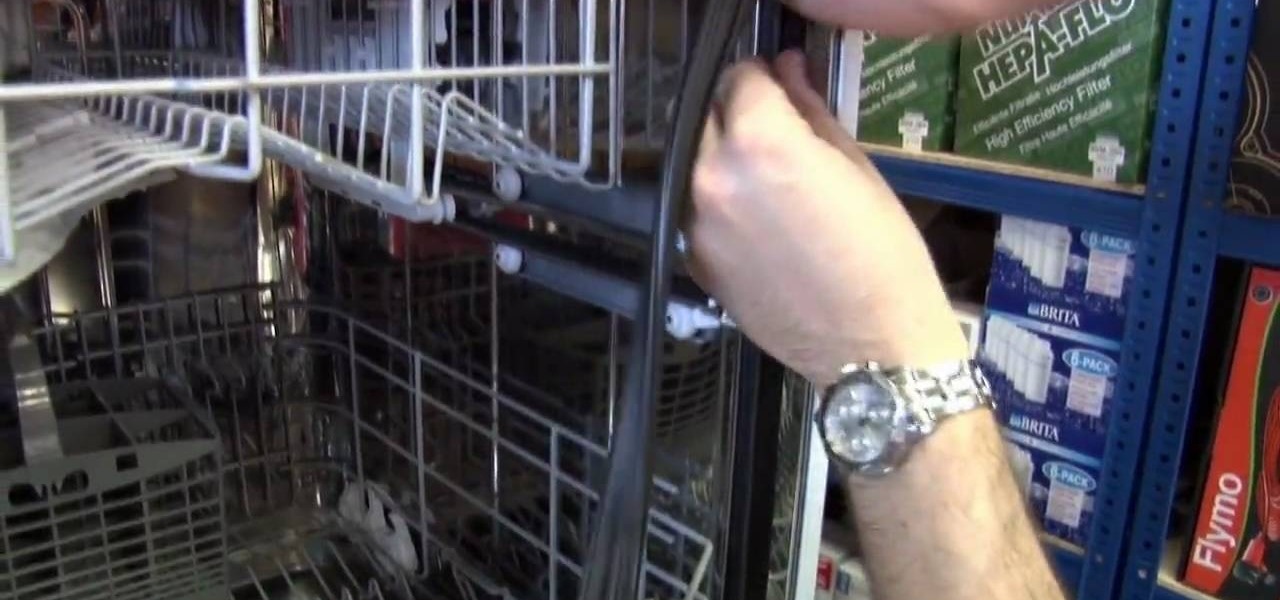
How To: Replace a leaky door seal on a Hotpoint dishwasher
If you are finding out that your dishwasher is leaking, then you need to get it fixed soon. A leaky machine means there will be water on your floor and this can lead to possible injury for you or others.
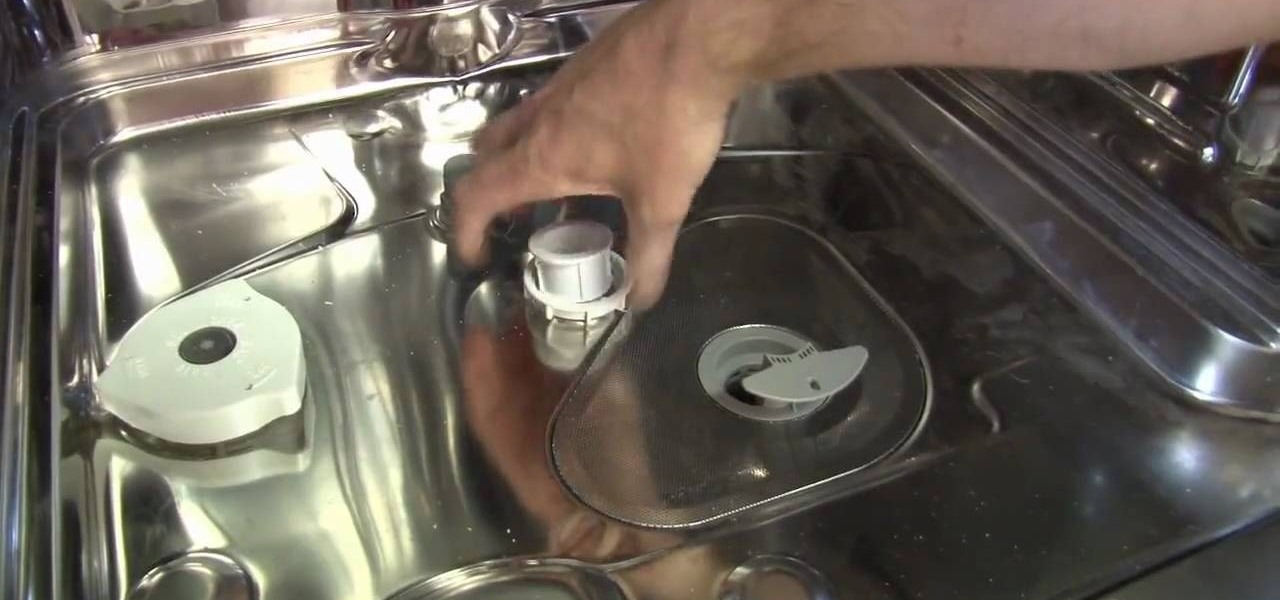
How To: Replace the spraying system on a Hotpoint dishwasher
If you have a damaged sprayer in your dishwasher, don't go looking for a repairman or plumber. This is something that can easily be taken care of in no time at all and is very inexpensive.

How To: Replace the seal to a washing machine door
A leaky washing machine is a problem that should be addressed quickly. Any access water leaking out of your machine can cause your floor to be slick and possibly create a mess, especially if you have carpet.
How To: Fix a broken Hotpoint dishwasher door lock
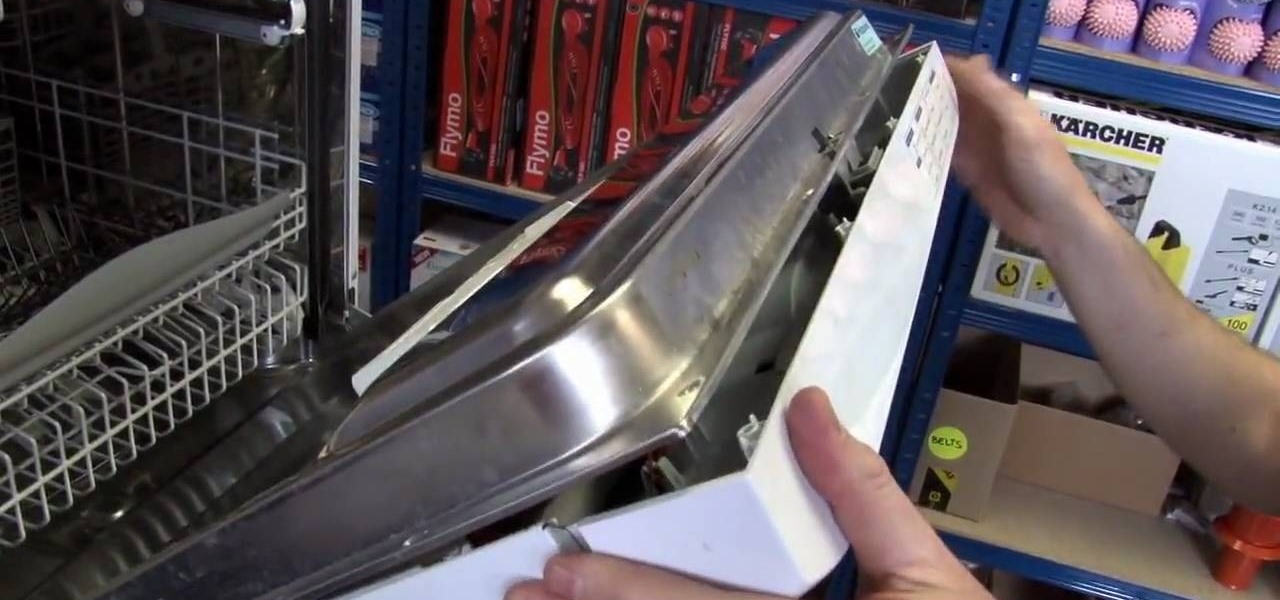
If you're having trouble with the door lock of your Hotpoint dishwasher, then you got a problem. Although it may not be as serious, it's something that should be solved soon, especially if you have dishes piling up on your countertop.
How To: Get rid of any bad odor from a washing machine
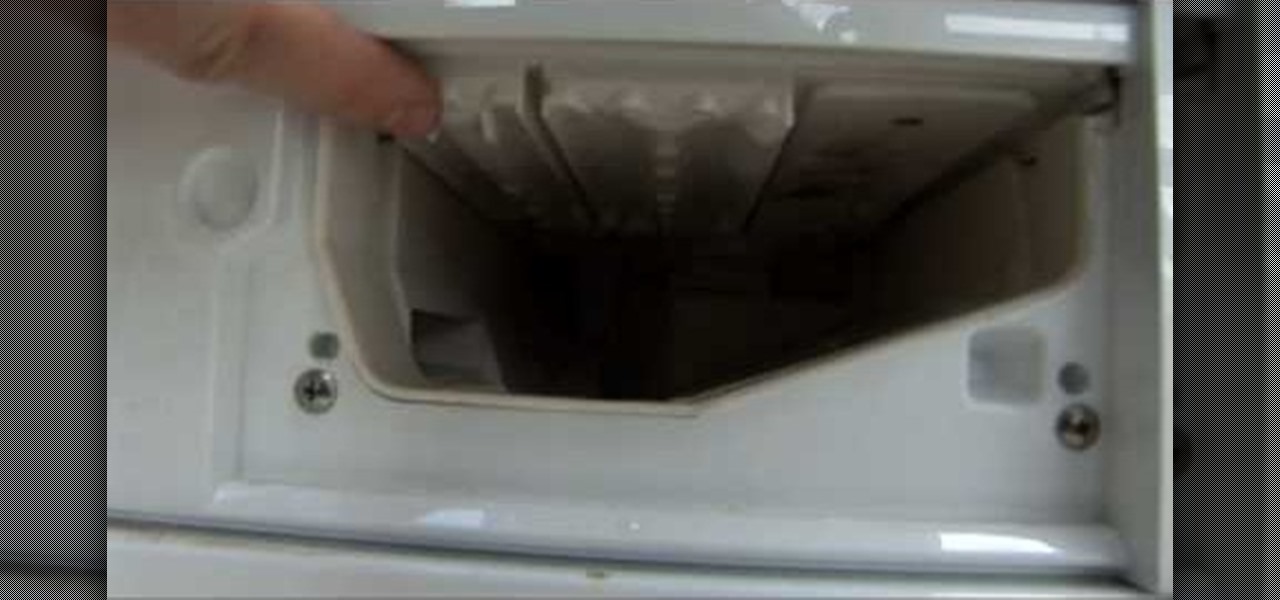
Originally, washing machines are designed to get rid of any ugly looking stains or smells that occupy clothing. But if you begin to notice a nasty smell coming from your washing machine, then you have a problem on your hands.
How To: Replace bathtub caulk with the Master Handyman
In this tutorial, we learn how to replace bathtub caulk. First, fill your bathtub halfway full with water, then grab your caulk and caulking removal tool. After you have done these steps, apply your caulk remover. Next, scrape it with the remover tool. After this, use bleach and a toothbrush to remove any excess. Now, use rubbing alcohol on a towel to clean the edges of the bathtub. After this, apply mold resistant caulk, then smooth it evenly. Next, wipe the excess caulk with a clean washrag...
How To: Use a jigsaw with Lowe's
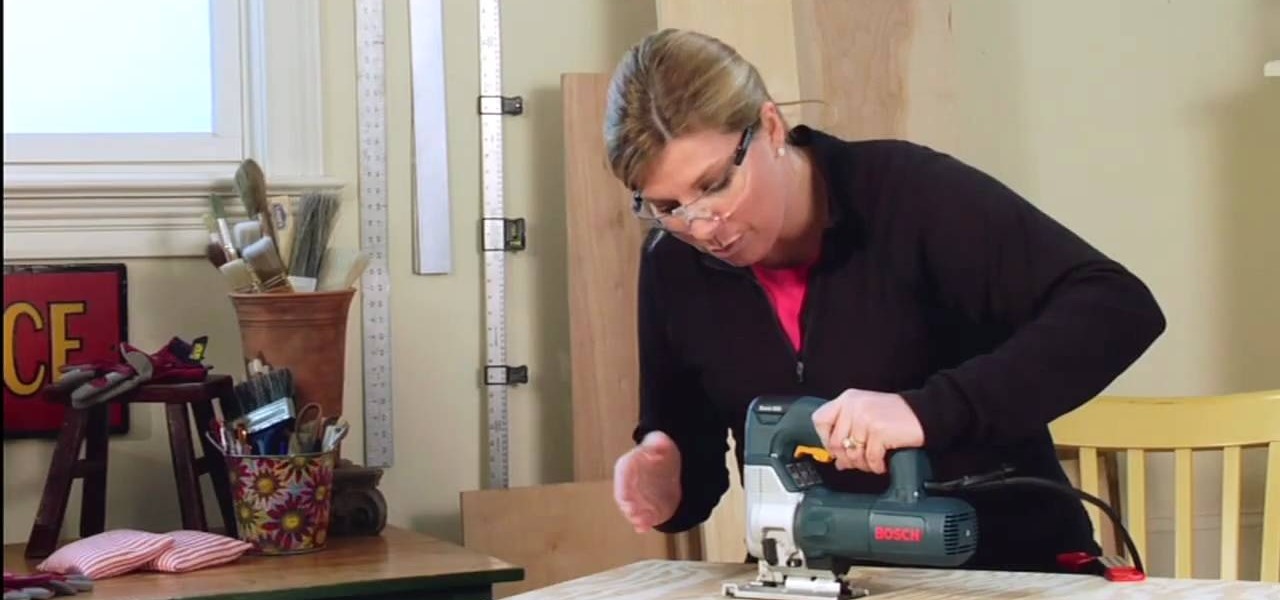
In this tutorial, we learn how to use a jigsaw. First, measure and mark the size of the circle you need to cut. You can use a compass or trace around a round object. Now, place your wood off of a table and clamp it into a place. Now, drill a starter hold inside the circle and put on your protective glasses. Now, place the saw in the starter hole and saw half way up, or to where you feel comfortable. After this, reposition yourself, then continue on. Make sure you don't force the saw, just let...
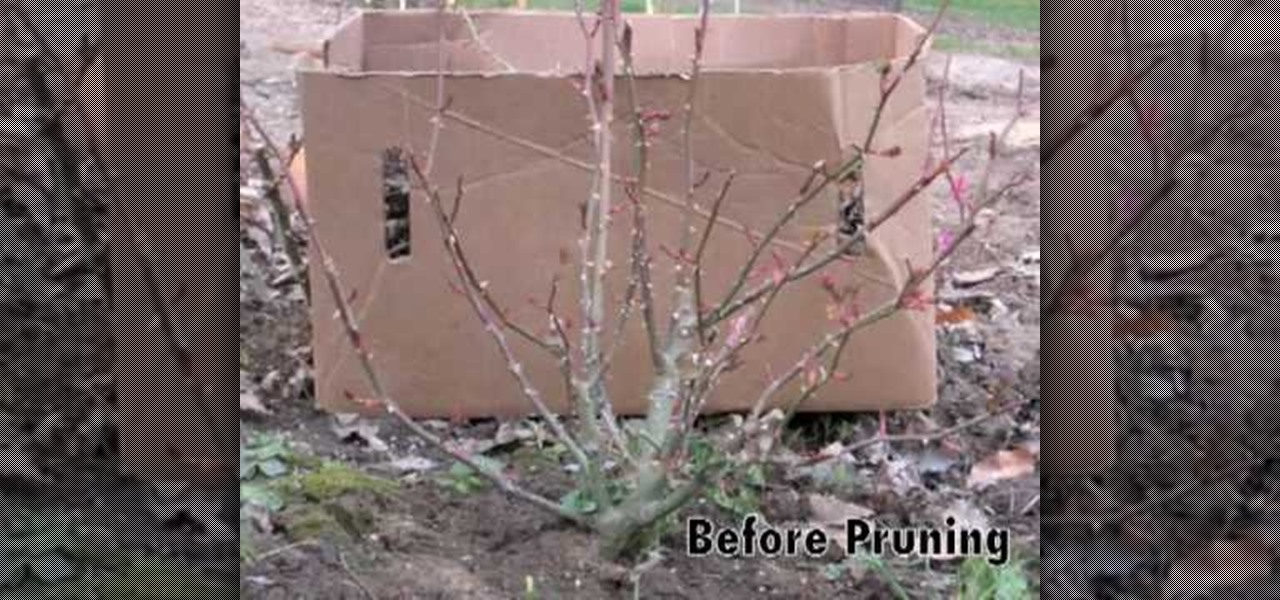
How To: Prune roses in the spring
In this video, we learn how to prune roses in the spring. When you prune the roses, you want to cut the branches with shears at the bottom of the plant. Cut any of the dead parts that you see before the flowers start to grow back. If you see any short stubs that haven't and won't grow out, trim those off as well. Leave any healthy branches to keep growing, but trim the tops of them. When you finish, you should end with just a few branches left that are ready for the new growing season. Remove...
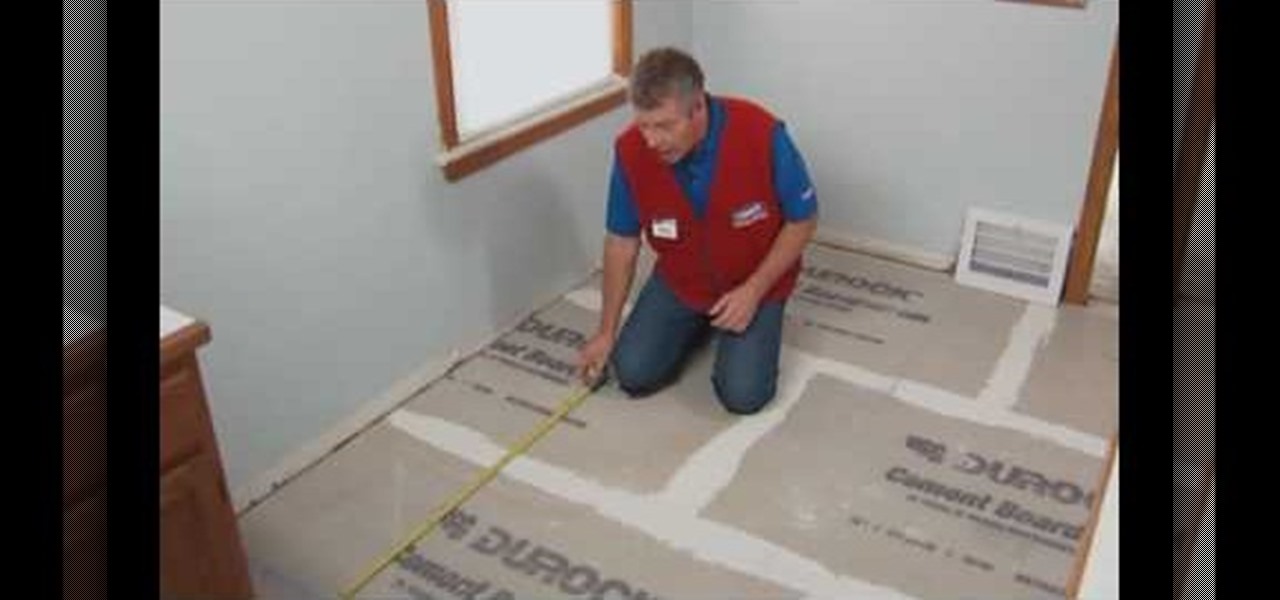
How To: Install a ceramic or porcelain tile floor with Lowe's
In this tutorial, we learn how to install a ceramic tile floor. Before installing, you need to prepare a solid base. First, you want to take off the trim, then calculate the area of the room. Prepare the floor by inspecting low or high spots. You will want to apply mortar, then set the backer boards into place. Screw these into place, then finish covering the floor with seam tape. Apply mortar over these then let dry. Now, you can start laying your tile onto the top of this! Once you are fini...
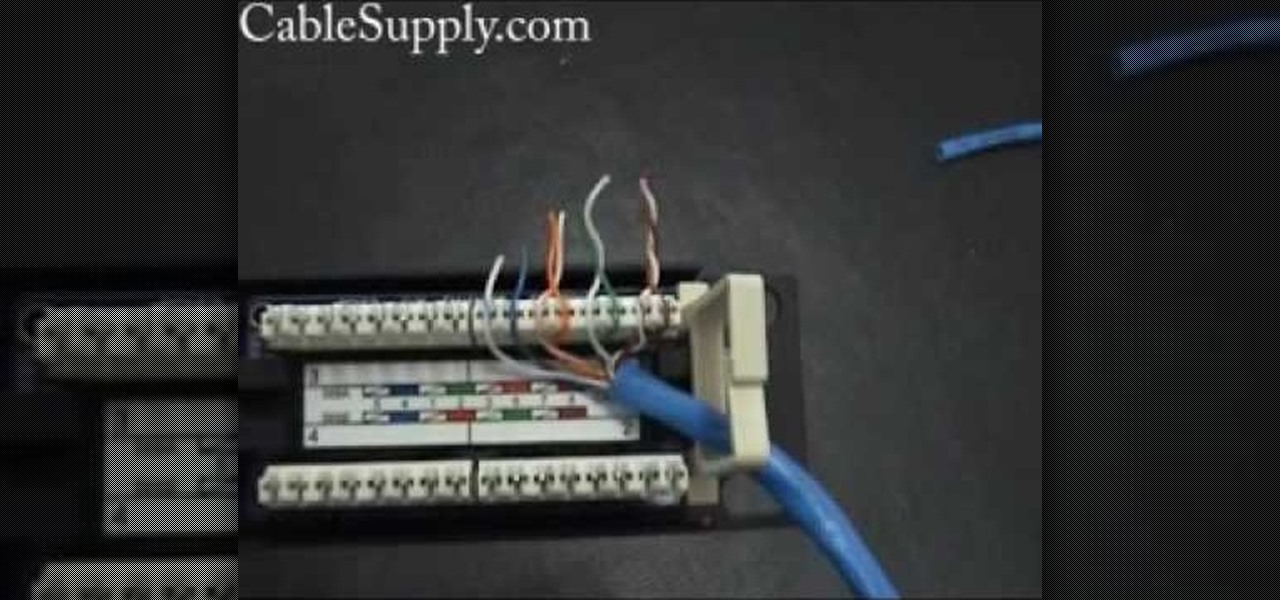
How To: Punch down a 12 port patch panel
In this video, we learn how to punch down a 12 port patch panel. Start off by grabbing your cable and using scissors to cut off the outer covering of the cable. Next, use the wire scissors to cut off the end of the wires (about 1-2 inches). After this, place the stripped down wires into the appropriate spots that correspond to the colors that are on the 12 port patch panel. After you finished this, you will need to grab your punch down tool. Use this tool to push down on the wires, then it wi...
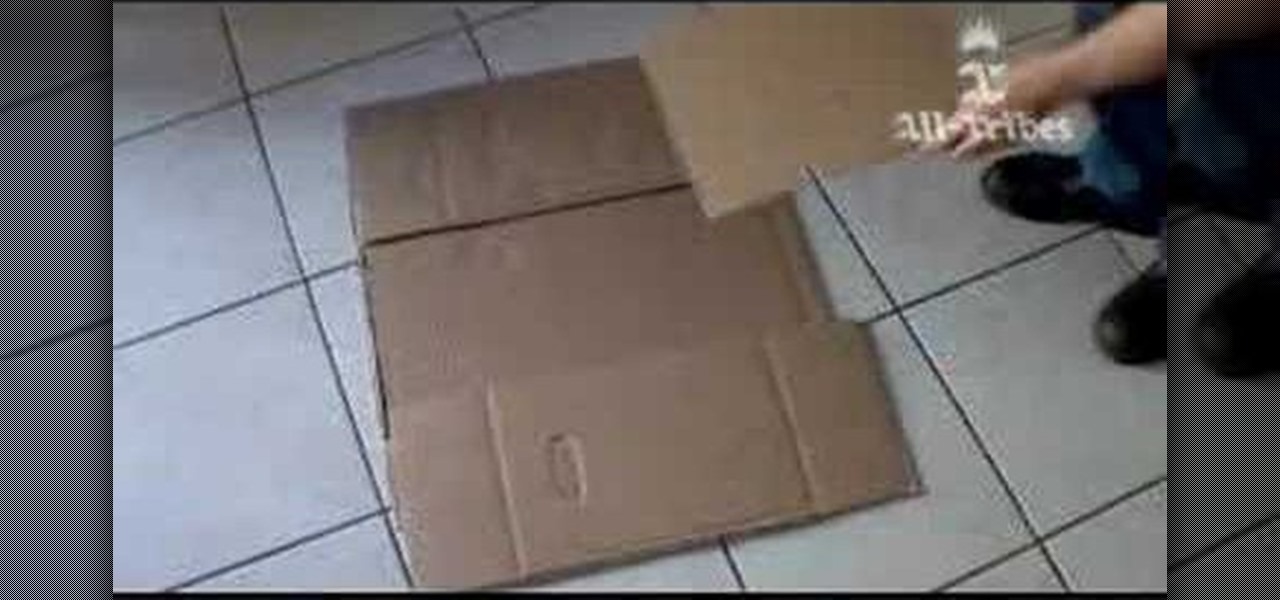
How To: Fold a t-shirt using cardboard
In this tutorial, we learn how to fold a t-shirt using cardboard. First, cut out a piece of cardboard so the it's 72 cm x 25 cm, and make sure it's completely flat. Next, place two flaps on the side of the cardboard and one underneath. Now, place your shirt inside of it and fold the top down, then the sides. After this, fold up the bottom and you will have a nicely pressed and folded shirt! This will save you time over folding the shirt by yourself and it will also come out more nicely than f...
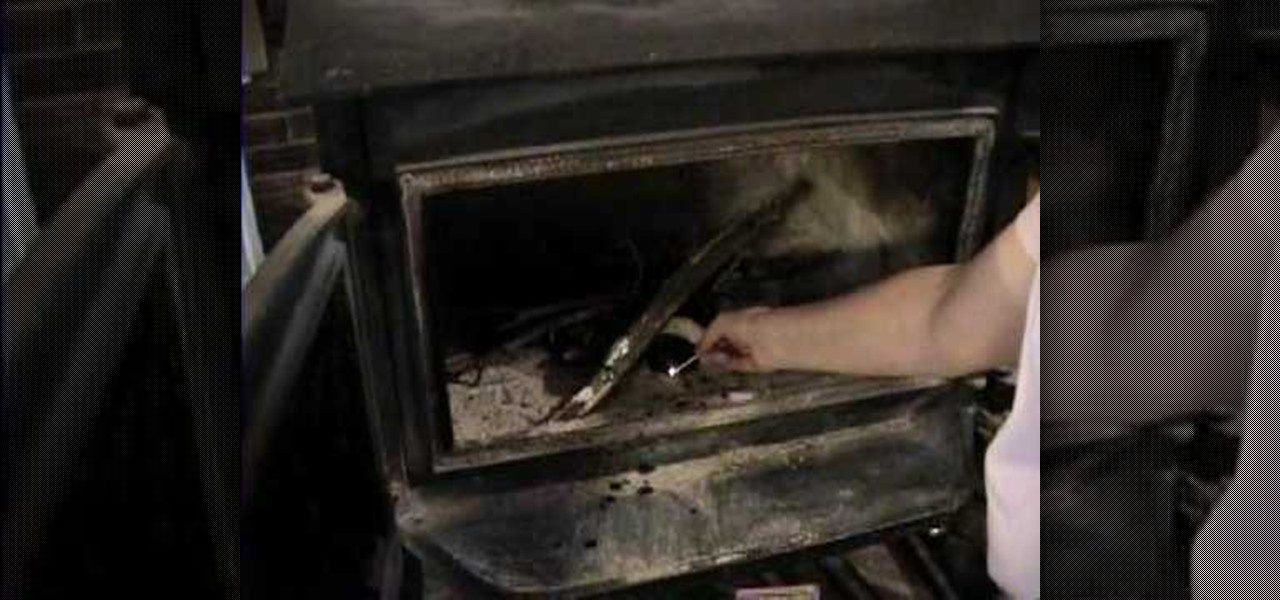
How To: Start a cozy fire with lava rocks soaked in oil
In this tutorial, we learn how to start a cozy fire with lava rocks soaked in oil. First, grab your lava rocks and place them in a tin can, then fill it up with oil. Now, throw some wood into your fireplace while these are soaking. Use an old pair of metal tongs to take the rocks out of the can, then place them in the fireplace as well. After this, throw a match in with the rocks and wood and then close the fireplace. Let the rocks burn for about 5 minutes the you can take them out and you wi...

How To: Screw drywall to studs with a drywall screwgun
Bob Schmidt teaches us how to screw drywall to studs with a drywall screw gun. A countersink bit is a great option to help you screw drywall studs in. This will fit in a variable speed drill for setting counters and drywall. Use a DeWalt screw gun, which is specifically made to install drywall. It has a clutch driven head with different adjustments on the head for different screws. The gun should be inexpensive and doesn't have a very large motor, so it's perfect for a homeowner. If you just ...

How To: Make a butter knife out of sycamore wood
In this tutorial, we learn how to make a butter knife out of sycamore wood. First, you will take a log then you would split it in half. After this, cleave off a flap off of this. Next, take a knife to flatten it out. Take the width down so it isn't thick anymore. Use a knife to sharpen out the knife so it will be sharp enough to cut into something. Mark the shape so it is in an arrow shape, then make the end of it into a handle shape so you can hold it. When finished, you will have a homemade...
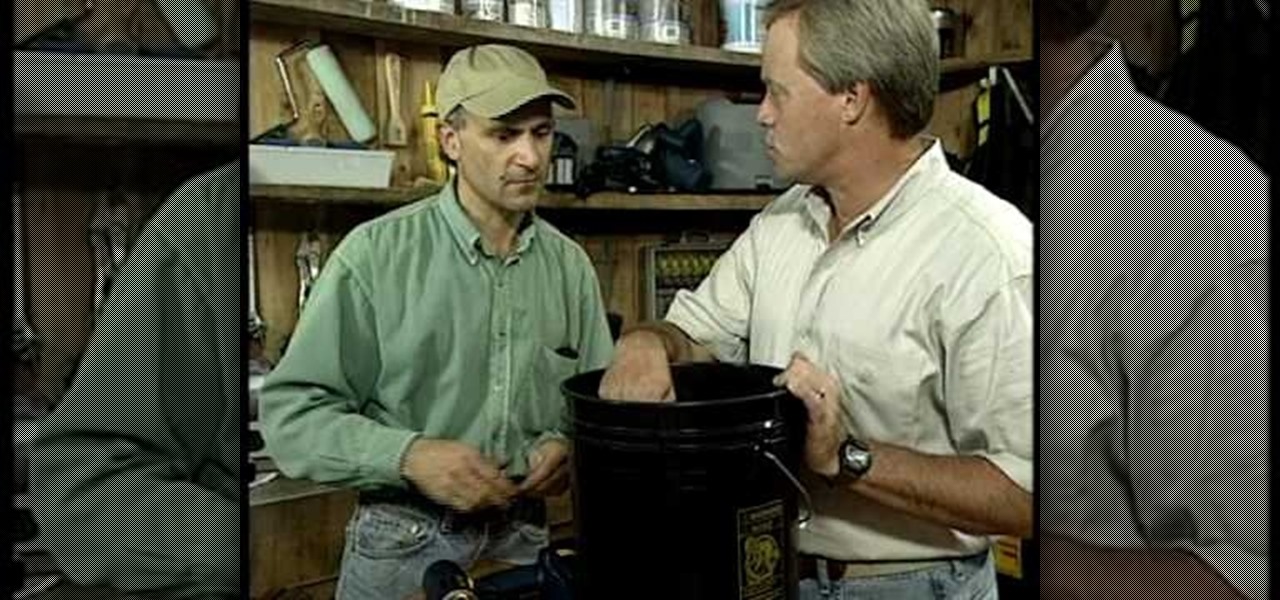
How To: Make your own extension cord caddy out of a bucket
In this tutorial, we learn how to make an extension cord caddy out of a bucket. First, you will need an old bucket that you aren't using for anything else. Then, drill a 1" hole into the bucket on the bottom with a drill. Then, feed your extension cord through the hole in the bottom and place your extension cord in the bucket for transport. You can also place tools you need into the bucket. This is a lot more convenient than having to run around to pick up different tools. This is also a grea...
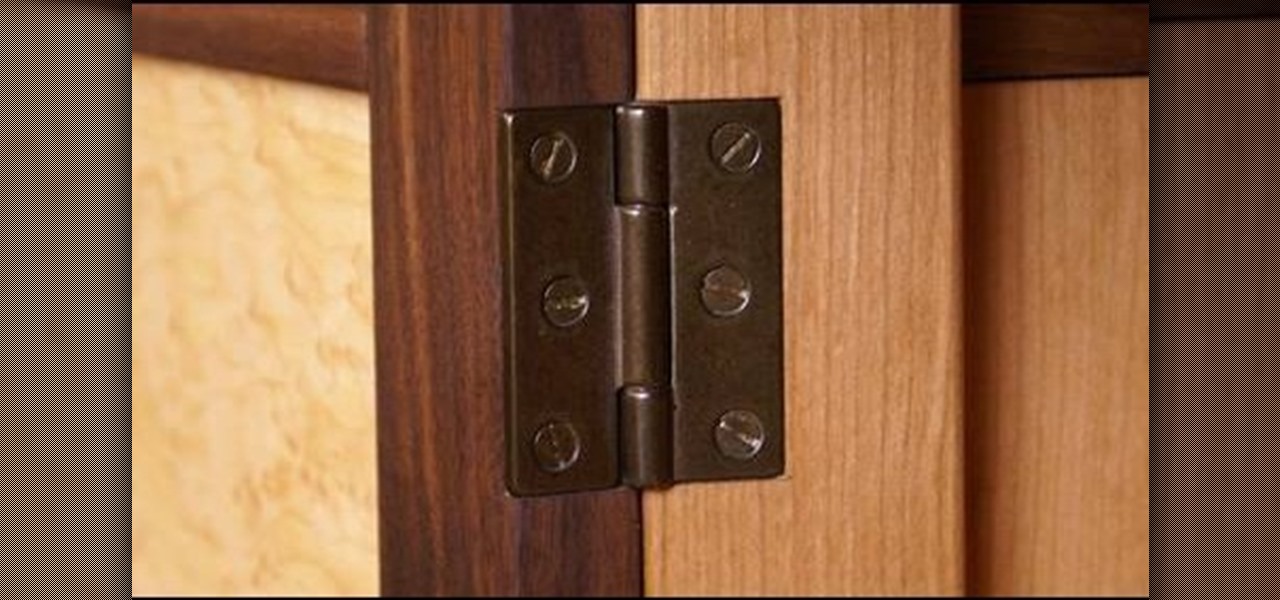
How To: Install a butt hinge mortise
If you've been working on a project and need to know how to put up a door using a butt hinge, this video should help. In the tutorial, The Wood Whisperer, will let you know what tools you'll need to determine how to properly install a butt hinge mortise. Installing it incorrectly can result in an off balance door and can be tedious to try and fix. So check out the video for more information, take notes, and good luck!
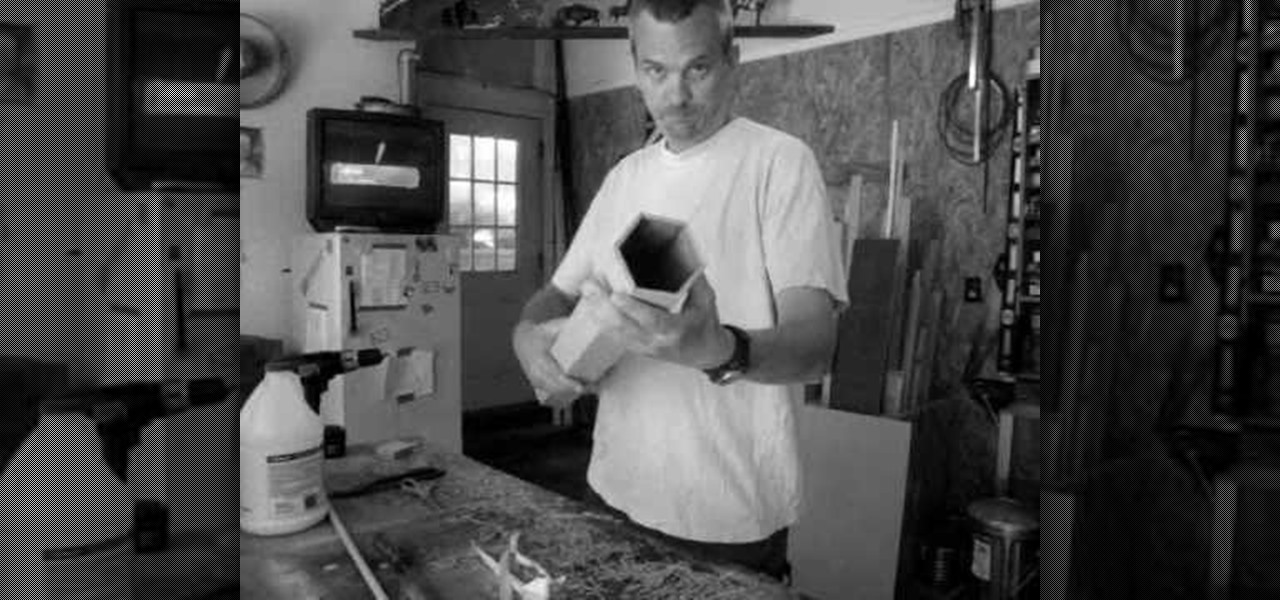
How To: Make a beautiful wood rainstick
If you ever wanted to make your own rainstick from scratch, you've clicked the right video. In this tutorial, you'll be taken step-by-step on what supplies you'll need to make this cool looking trinket. It can take up to a day or less depending on your level of handiness in the garage, so check out the video, take notes, and enjoy!
How To: Grow delicious fava beans
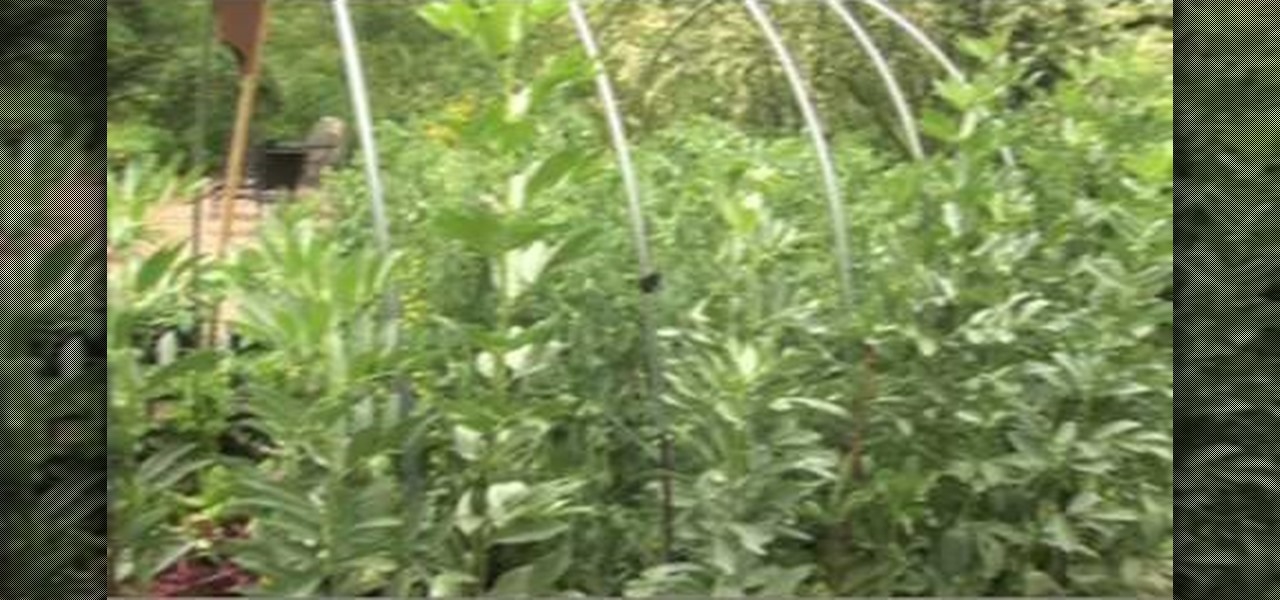
Fava beans have been around for about 5,000 years and continue to be grown to this day. They can be used in many different kinds of dishes and are relatively easy to grow.

How To: Recycle old windows into new decorations
In this video, we learn how to recycle old windows into new decorations. First, you can make a coffee table by using the old window and adding legs onto the bottom of it. You can also place a box around the bottom and hinge the window to make a display case. This is simple to make and doesn't cost much, you only need to pay for the legs of the table! You can also use the window to make a pot rack, but make sure you have strong hooks in the ceiling to hold the rack tightly and it will be able ...

How To: Design a fall centerpiece in a watering can for a home
In this tutorial, we learn how to design a fall centerpiece in a watering can for a home. Start off by cutting branches off of a willow and placing it into a watering can. Next, arrange Japanese lanterns around. After this, cut alstromeria and seeded eucalyptus and place them around the can where you feel they fit best. The best part of this arrangement is that you can arrange it however you want! You can add different types of fall flowers and add more or less of flowers you prefer. When fin...
How To: Style an old yamadori bonsai
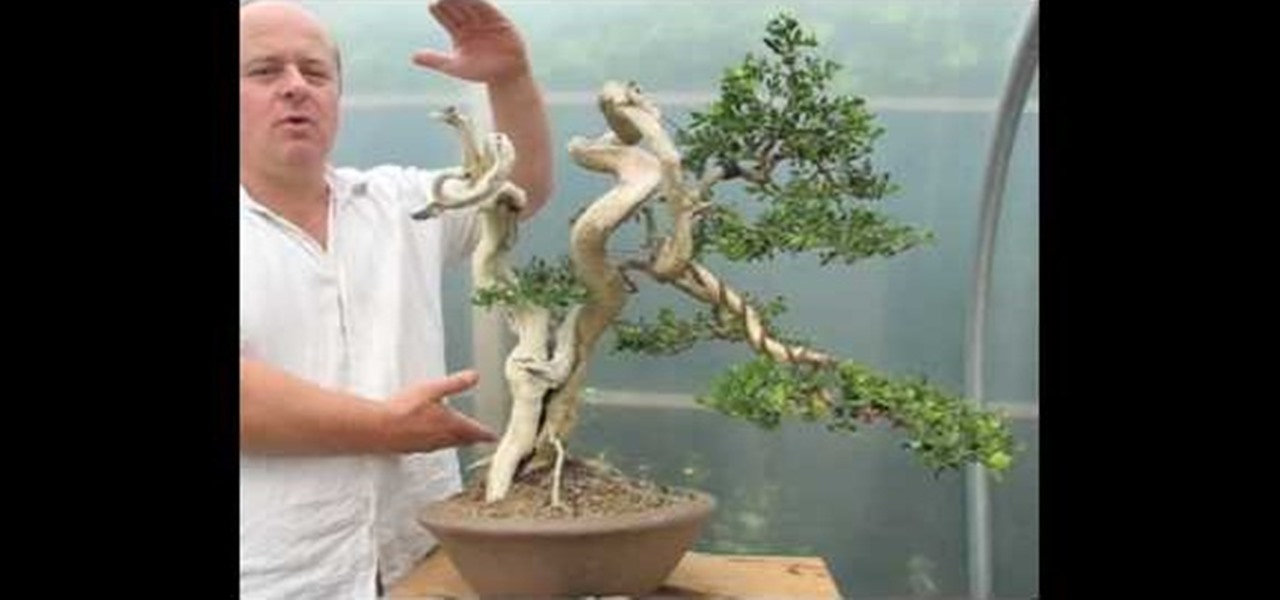
The previous owner chose this view. The trunk is naturally hollow. Dead wood is coming toward us. Branches are coming to the back so we will have to do some manipulation. The two parts of deadwood play together in an interesting dance. The piece of deadwood can be improved and the branches can be moved more to this side of the tree as a front. This is what we'll go with. (Using various tools, the bark is removed from the left side deadwood). Height has been added to the branches. Lots of torn...

How To: Use a stud finder to locate your wall studs
In this tutorial, we learn how to use a stud finder to locate your wall studs. First, you will use your stud finder tool and place it against a wall. It will go off when it has found the edge of a stud. Place the finder against the wall then slowly move it until the red light on the top beeps. Move it around to make sure you know exactly where the stud would be located. The finder will go off wherever the edges of the studs are to help you pinpoint exactly where the stud is. You could get wro...
How To: Take sticky labels off easily
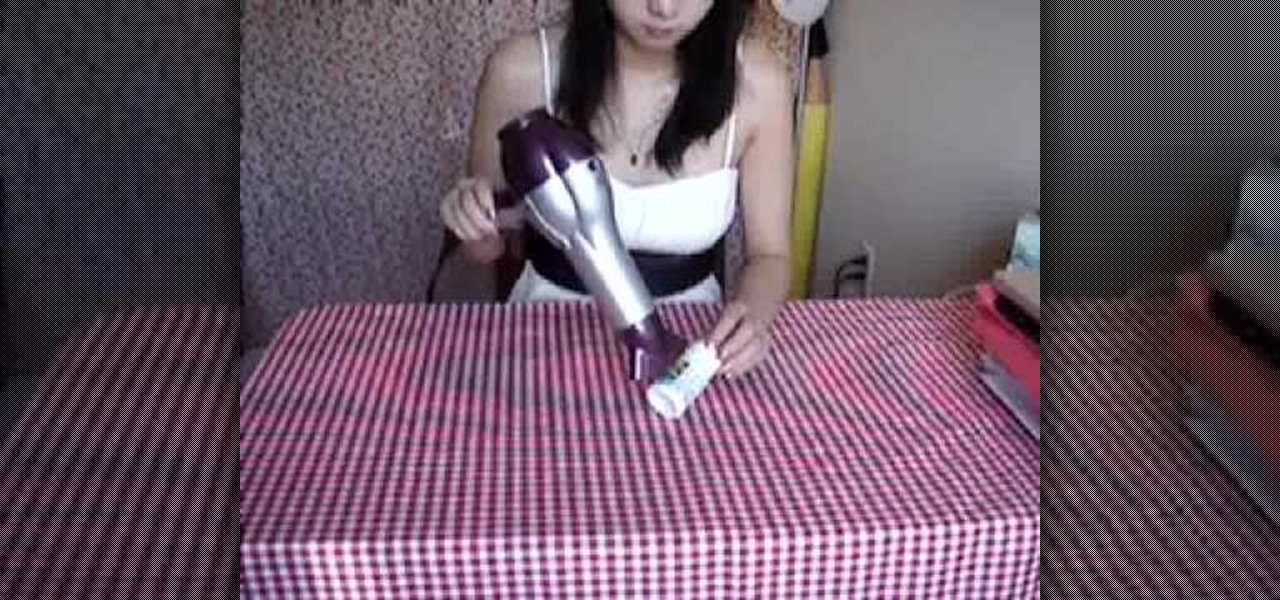
In this tutorial, we learn how to take sticky labels off easily. All you need to do this is a blow dryer. First, set your dryer to the highest heat setting possible, then blow the air onto your label for 2-3 minutes. Keep the heat in constant contact with the label, then after a few minutes, you will be able to pull the label off right away. You can use this on anything from lotion bottles and aspirin bottles to water bottles and plastic containers! This is a great way to remove the labels wi...
How To: Fix a sticky cast iron pan
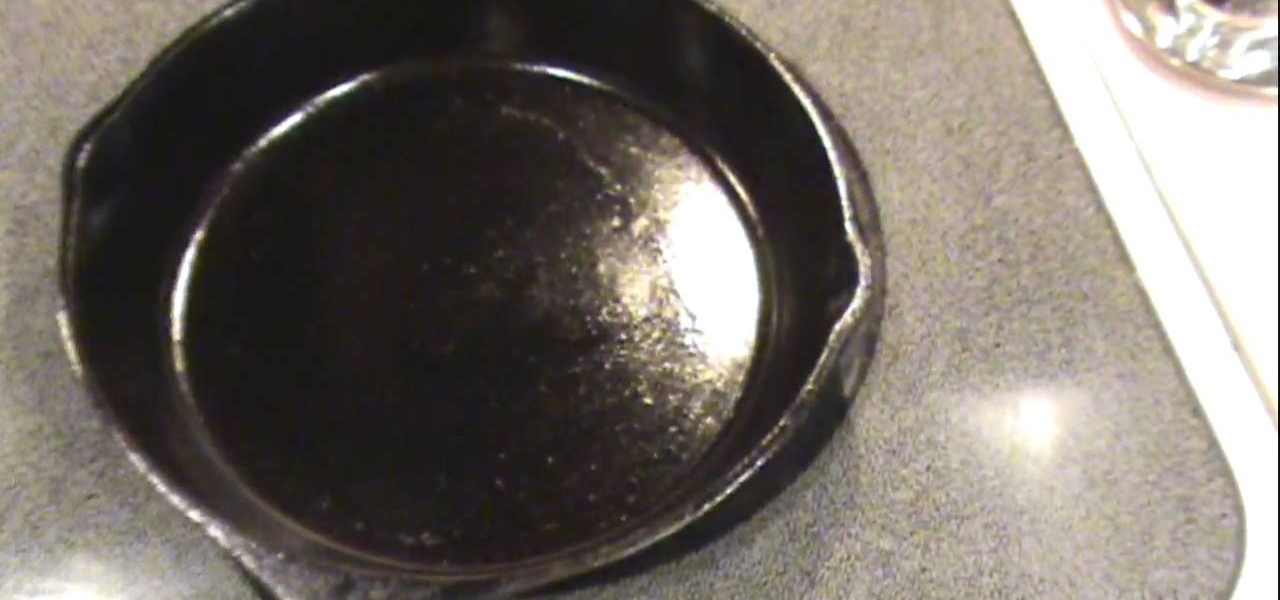
If your cast iron pan is sticky, you will need to place the pan on top of the stove. Turn the heat on high for 30 seconds to less than one minute. Then, turn it down to medium heat. This will loosen up the oil. Then, you'll need to buff out the creases and the spots. Place a little oil in the pan, approximately 1 tablespoon. Spread the oil around with a paper towel. Continue smoothing the pan. You may need to get a new paper towel, if it gets to hot.

How To: Make light using a stepper motor generator
In this tutorial, we learn how to make light using a stepper motor generator. First, take the motor out of an old printer that you don't use anymore. After this, find a few LED lights. You will need to solder the LED lights, then connect them with a soldering iron to the printer motor. Now connect these to a generator, and the light should now shine so that you can see in the dark! This won't use any additional electricity, so you are helping the environment. All of the pieces used to make th...
How To: Use micro-misters for drip irrigation systems
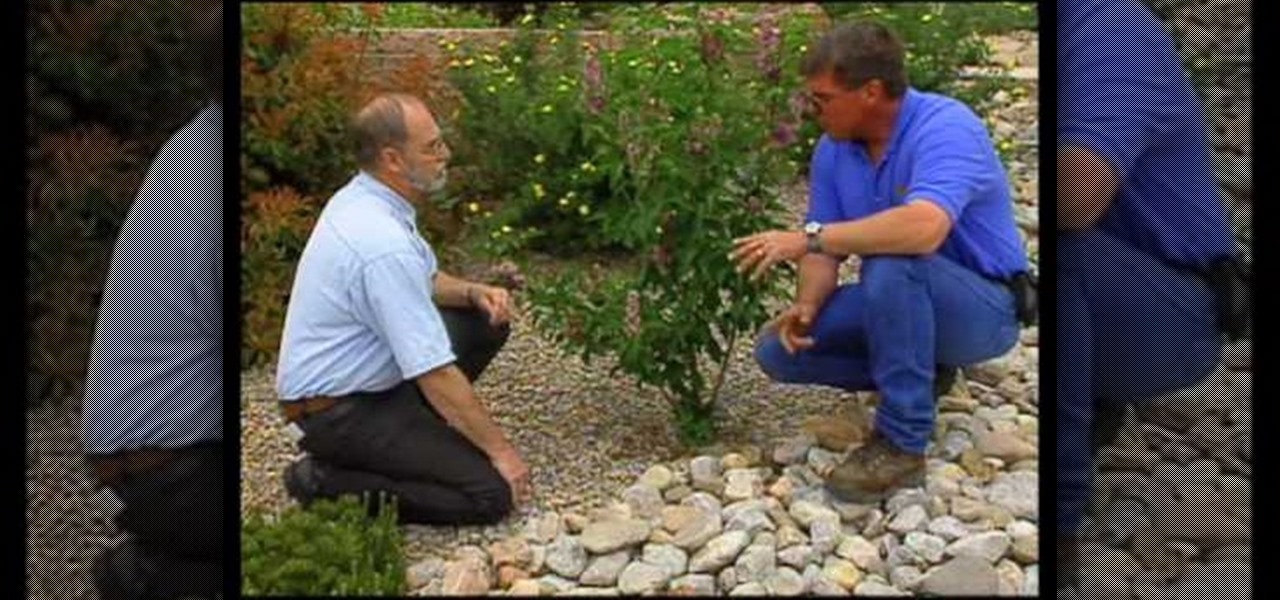
Micro misters allow for low volume of water over a wide area. They give good moisture coverage. Systems can be pulled up, changed and made into what you need it to be. Keep potted plants separate from other plants. They should have their own system. There is a system to encourage growth of root systems of various plants. Shrubs get two emitters in case one clogs up, the plant still has moisture. Having the water at the base of the plant limits weed growth. There is a temporary system to get t...
How To: Properly prune roses in the summer
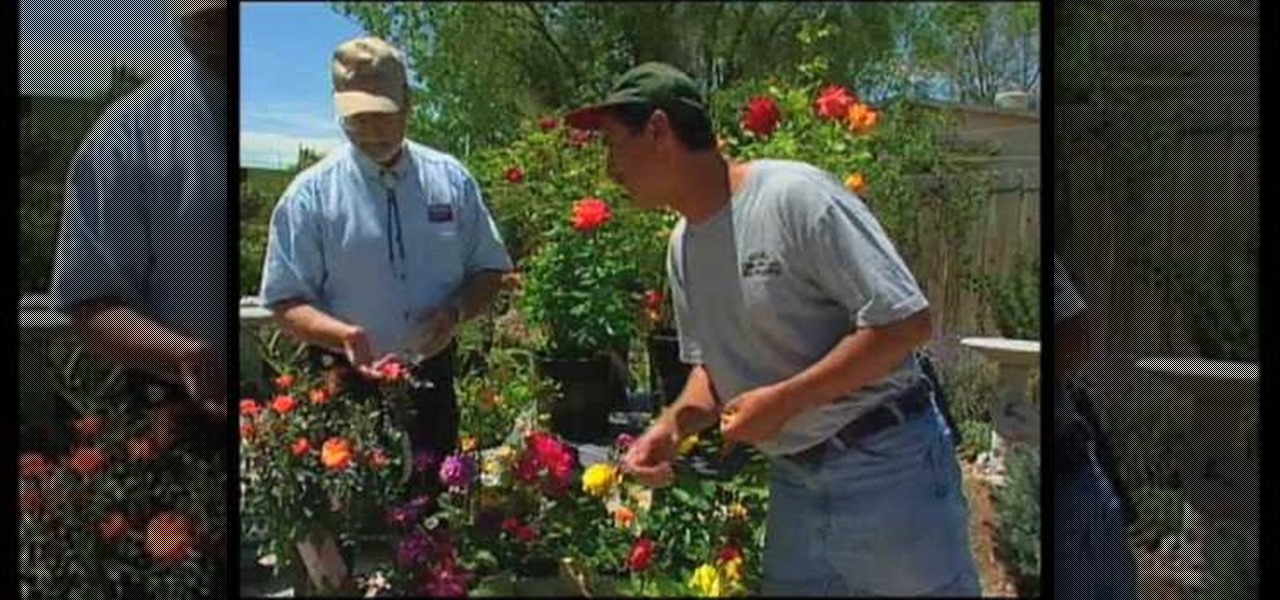
In order to properly prune a rose bush in the summer, you will need the following: shears, water, fertilizer, and mulch.
How To: Punch down a 24 port patch panel
Jim teaches us how to punch down a 24 port patch panel in this tutorial. You will need: cable scissors, a punch down tool, and 24 port patch panel. Now, strip the cable by cutting it and stripping down the wires. Now, attach the wires to the port punch panel by following the pattern of where the different colors are at. When you have these connected, use the punching tool to punch the wires down, then it will cut off the excess wire from the panel. When this is all done, you will want to tie ...
How To: Grow strawberries easily in a container
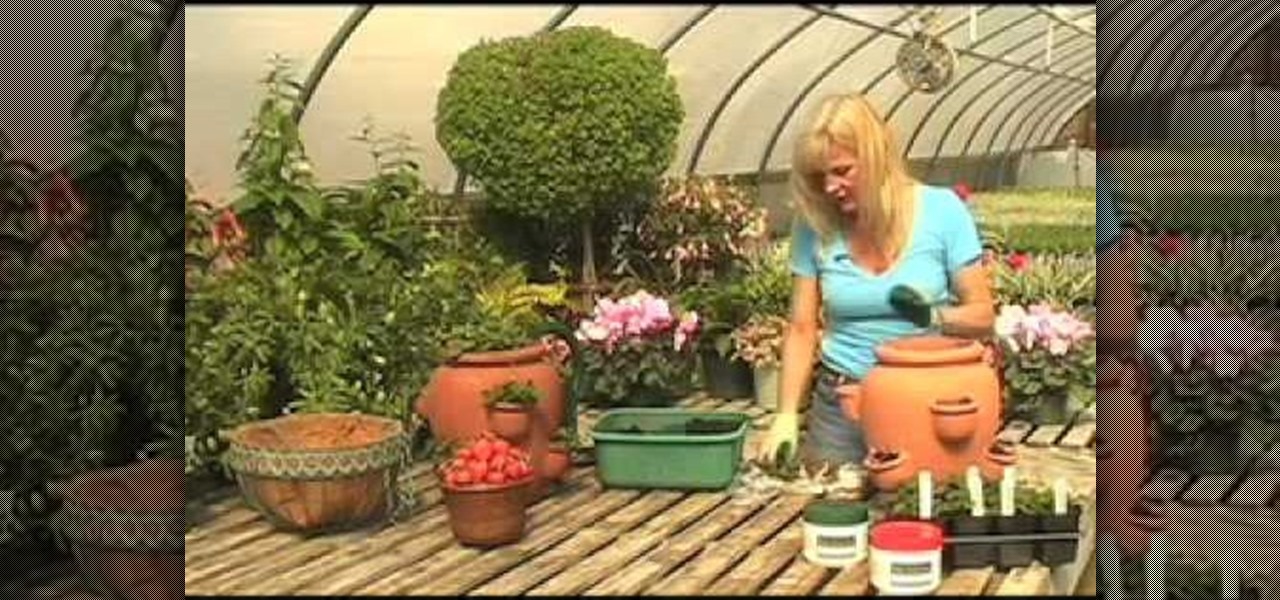
In this tutorial, we learn how to grow strawberries easily in a container. First, you will need your refrigerated bare root strawberries laid out in front of you. Next, prepare your soil by using a high quality potting mix and adding 1/3 compost to the mixture. Take your soil and place it into a plastic bin, then add in some water. Mix the water with a trowel, then place your soil into a strawberry jar up to the first row of pockets. Next, plant your strawberries into the pockets on the side ...
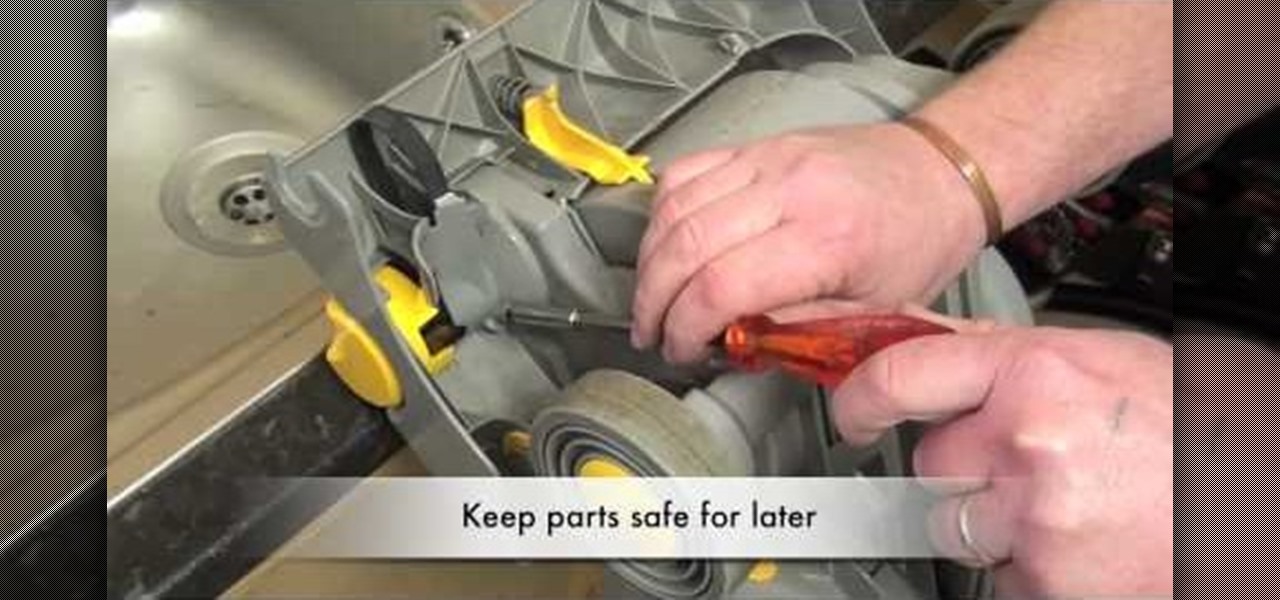
How To: Fit the clutch to a Dyson DC04 vacuum cleaner
If you're having a problem with your vacuum's clutch and need it replace, don't go pay someone for their service, do it yourself. Not only will you be saving yourself an arm and a leg, but you'll be able to understand how your machine works and what to do next time it breaks.

How To: Make wood roof shingles by hand
In this video, we learn how to make wood roof shingles by hand. Start off with round oak wood, then split it with a splitting axe. Then, use a mallet to split them out further. Make sure to use clean and straight grained oak to do this. Now, remove the bark from the wood and split into thin sheets. Then, place into a cleaver brake and use a mallet to split down the different wood shingles. From each piece of wood, you should get 4-5 different shingles. When finished, you can hammer these toge...

How To: Prepare your home for winter snow fall
In this video tutorial, viewers learn how to winterize their home. Users should begin by cleaning the gutters on the side of their house. Scoop out all the debris and seal it with caulk. Then change the batteries of the smoke detector and clean it. It must be replaced if it is over 10 years old. Prepare the lawn mower for the spring season by sharpening the blades, clean it and drain all the gas out. It is a good idea to trim off the shrubs and trees. This video will benefit those viewers who...
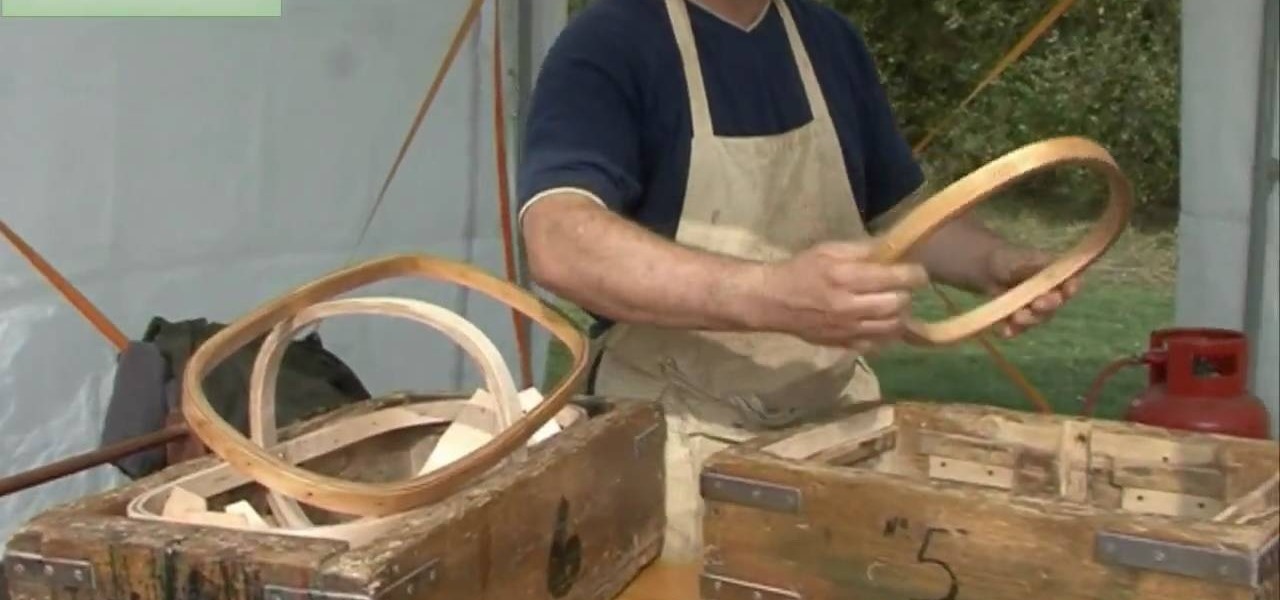
How To: Make a traditional trug
The trugs are made from finished birch and lamium (sp)birch plywood. 1 inch wide and 4 millimeters thick plywood in three thickness. Laminate three pieces together to make a handle. Make a rim in the same way. It is made in two halves, put in a drying rack overnight and then trimmed and pinned together at the side with solid brass pins which won't rust. They are placed in a former where the boards are plced into the trug. The boards are 1 1/2 millimeter aircraft ply. The handle and rim are so...

How To: Get rid of Japanese beetles
In this video tutorial, viewers learn how to get rid of Japanese beetles. This task is very easy, fast and simple to do. Begin by filling a bucket with some water and liquid soap. Then simply shake the leaves and catch the beetles in the bucket. Another way to is attach a funnel on top of the bucket's lid. Place a 4 wall trap on top of the funnel. This will allow the beetles to instantly fall through the funnel when they hit the wall. This video will benefit those viewers who have a backyard ...
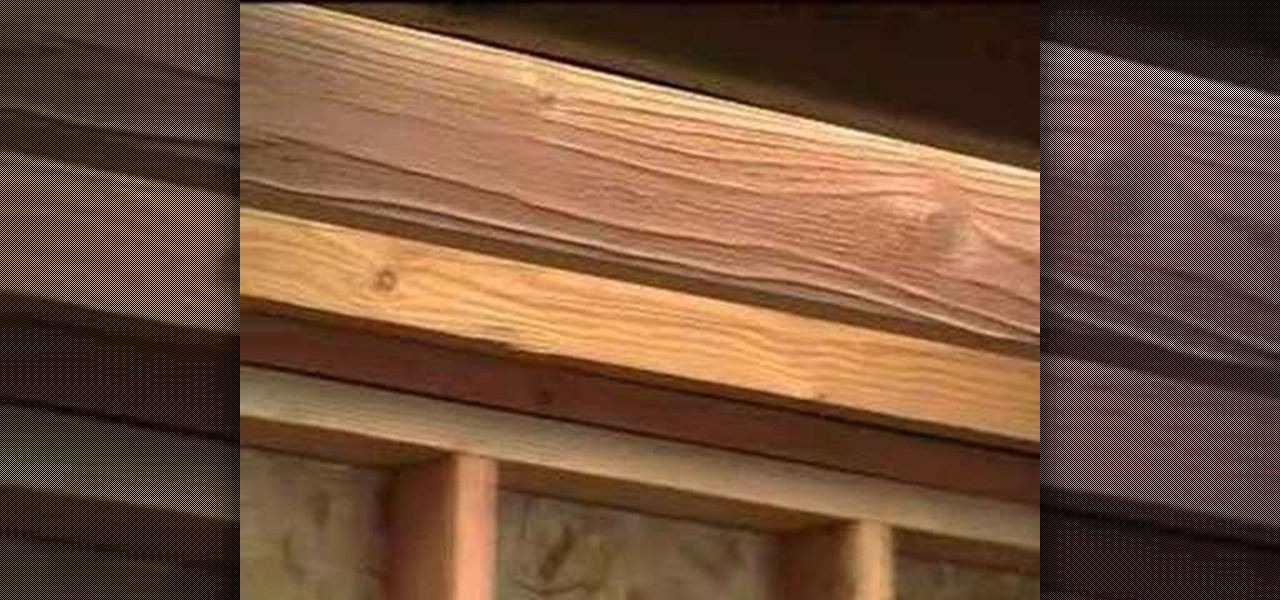
How To: Layout and plan your drywall
In this tutorial, we learn how to lay out and plan your drywall with Myron Ferguson. First, check the wall to make sure there is proper access inside to see what layout you're dealing with. Next, plan out what kind of materials you are going to have to deal with. Measure the ceiling and windows that are in the building and do the math to figure out how much drywall you need. Next, check for possible problems with the wall, so you can make sure your drywall will attach correctly and not pop ou...

How To: Make a window valance
In this tutorial, we learn how to make a window valance. If you have a drop down shade, a valance will help cover up the hardware that is located underneath it. Start out with your choice of fabric, then add in 1 inch to the top, bottom and sides. Next, line the fabric and place Velcro on the top. Now, use a wrap around and mark where you want to fold the fabric in at. After this, sew the valance and then use the Velcro to stick it onto the metal part of the drapes. When finished, enjoy your ...

How To: Make your own laundry soap
In this tutorial, we learn how to make laundry soap. First, grate soap up into a large bowl. After this, pour the soap into a large pot. Add in 6 c water, then heat this up on medium heat for 40 minutes, not letting the soap boil. Next, add in washing soda and borax into the pot and mix together until well combined and dissolved. By now, the heat should be off so the mixture doesn't come to a boil. Now, dump your mixture into a large bucket and then add in 1.5 gallons of water. Over time, thi...
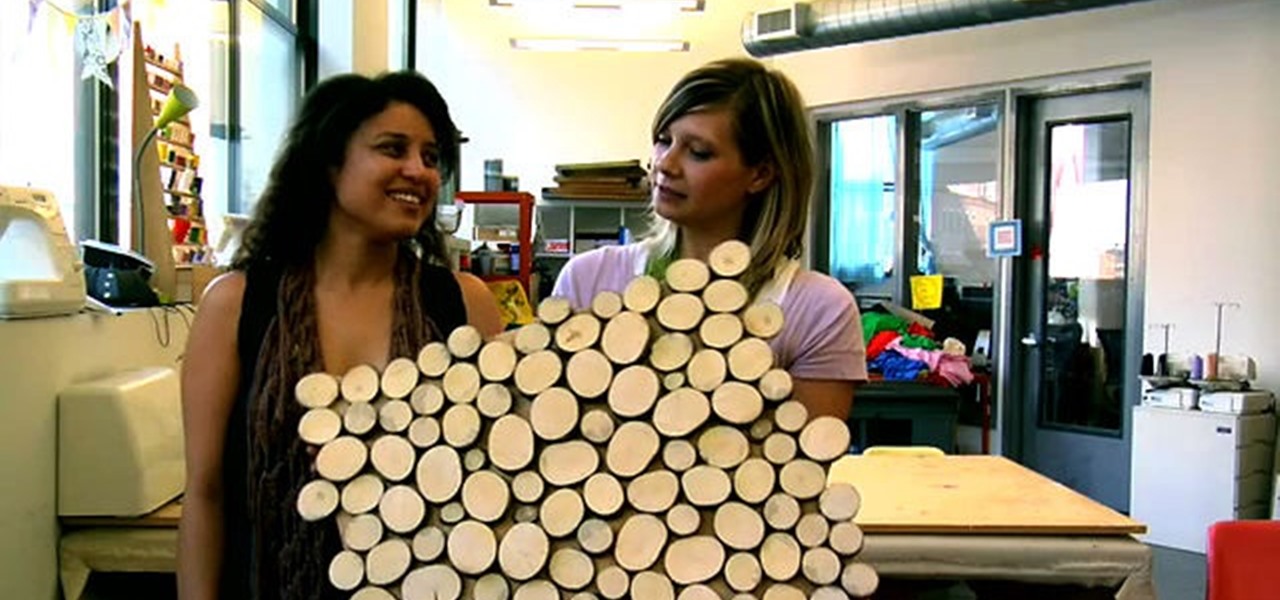
How To: Create a mid-century modern wood wall hanging piece
Remember summer camp? Remember the smell of the log cabins? The feel of the treated wood? Well, you can create something for your home that's perfect for a nostalgic summer camp aesthetic. Meg Allen Cole (recently of Threadbanger) was inspired to make this mid-century modern wall hanging piece made from a small wooden log (or branch) when she was at a relaxing, wooded vacation spot in Maine. And she shows you how to make one, too!

HowTo: Clean Your Designer Jeans (Hint: No Detergent or Dry Cleaning Necessary)
Nowadays designer jeans cost anywhere between 100 and 200 bucks (or even more). Consumers have been converted to the concept that the fit and quality is just plain better. This is old news- everybody and their mother has joined the madness. However, what surprises me, is apparently you are not supposed to wash them.


