


Difficulty: Moderate
Time: 30-60 minutes (depending on the issue)
Cost: Free for basic troubleshooting; $50-200 for professional repairs
Cold shower on a Monday? Hard pass. When your water heater's pilot light keeps going out, this small disruption can throw your entire routine off track. Your gas-powered water heater depends on that tiny flame to ignite the main burner, and when it fails repeatedly, you're left without the consistent hot water your household depends on.
Here is the plan. We will walk through the usual culprits, lay out a clear, safety-first troubleshooting path, and point out the visual cues that tell you what is actually happening. Most pilot light problems have simple fixes you can handle with the right prep and a steady hand.
What is making your pilot light go out?
To understand why the flame keeps dying, take a quick look at the safety system behind it. The thermocouple acts as a crucial safety device that produces a small electrical voltage when heated by the pilot flame. Think of it as your water heater's sentinel, when working properly, this voltage signals the gas valve to keep gas flowing to maintain the pilot light.
Over time, that thermocouple tip attracts combustion byproducts. Buildup of soot, carbon, or mineral deposits on the thermocouple's tip can act as insulation, preventing proper voltage generation. The system reads the weak signal as unsafe and shuts off gas, even if the flame is still hanging on.
What to look for: a clean, metallic tip sitting in the pilot flame's blue zone. See black or white deposits, or a tip bent out of the flame? A careful cleaning or small realignment can do the trick.
The pilot tube is a different beast. This incredibly narrow passage is designed to deliver precise gas amounts for that small, steady flame. Dust, lint, rust flakes, spider webs, or carbon buildup can block this critical pathway. When you notice weak, yellow, or flickering flames, or frequent extinguishing, a blocked pilot tube is often the culprit.
Why it works: the pilot system needs steady gas flow and reliable heat detection. Interrupt either one, and the safety shutoffs step in, just as designed.
Environmental factors that kill pilot lights
Location matters. A lot. Drafts or uncontrolled airflow can easily blow out the pilot light or interfere with its operation. Common sources include open windows and doors, exhaust fans, furnace blowers, and structural gaps or cracks. Water heaters in basements or garages are particularly vulnerable to these airflow issues.
Quick draft check: hold a lit match or lighter near, not on, the pilot area. If the flame wobbles hard, airflow is the first problem to fix.
Weather can pile on. Strong winds can extinguish pilot flames, especially on outdoor units without protective wind guards. Heavy rain, flooding, or garden debris can affect pilot lights in low-lying areas.
Even condensation can play spoiler. While modern energy-efficient water heaters normally produce some condensation, excessive moisture can drip into the pilot light's tube and extinguish the flame. This shows up more in humid stretches or on units that are oversized for their hot water demand.
Timing clue: if problems line up with windy days, sticky humidity, or big temperature swings, the environment is likely the culprit.
Your step-by-step troubleshooting guide
Start simple. Check the gas supply first by ensuring the gas valve near your water heater is fully open and in the "ON" position. Then scan for air currents near vents, doors, or windows that could be kicking up drafts.
Visual cue: the valve handle should be parallel to the pipe when open. Perpendicular means closed. Angled means partially closed, which can starve the flame.
For thermocouple cleaning, power down fully. Turn off the gas, then let everything cool for at least 10 minutes. You can gently clean the thermocouple using fine sandpaper, a soft cloth, or wire brush to remove buildup. Light pressure, small circular motions. Clean, do not gouge.
The pilot tube can be cleared using compressed air or a thin needle to remove debris. Short bursts of air are enough. If you use a needle, be careful not to widen the opening, that tiny size is calibrated for a reason.
Ready to relight? Try holding the gas control knob down for up to 90 seconds to ensure proper thermocouple heating. That extra time helps the sensor reach full temperature so the valve stays open.
Safety First
- Turn off gas at the main valve before any maintenance
- Wait 10+ minutes for gas to dissipate before starting work
- Never use matches or lighters if you smell gas, call a professional immediately
- Wear safety glasses when cleaning components
When to call the professionals
Some symptoms point to deeper issues. If your pilot light won't stay lit after cleaning the thermocouple and clearing blockages, the thermocouple may be faulty and need replacement. The swap is not complicated, but it involves gas connections and safety controls.
Gas control valve malfunctions can cause erratic flame behavior, difficulty lighting, or complete gas flow failure. Working with gas control valves is dangerous and requires professional expertise. These components control the primary gas supply, mistakes here can create serious hazards.
Cost check: professional thermocouple replacement typically runs $150-250 including labor. Gas control valve replacement ranges from $200-400 depending on the unit. Weigh those numbers against your water heater's age and overall condition before you greenlight repairs.
Venting problems are a different level of risk. Backdrafting occurs when combustion byproducts get pulled back into your home instead of venting outside. That can mean carbon monoxide indoors. Professional inspection and repair of venting systems are necessary when backdrafting is suspected.
Older water heaters, especially those over 10 years old, may have components that no longer function reliably. A full assessment can tell you whether targeted repairs or a replacement makes more financial sense.
When to Stop and Call a Pro:
- Gas smell (rotten egg odor) anywhere near the unit
- Pilot light will not stay lit after basic troubleshooting
- Soot buildup or yellow or orange flame colors
- Water heater is over 10 years old with recurring issues
Keep your pilot light burning bright
Prevention beats repair. Schedule proactive inspection and maintenance services to keep your system's pilot lights functioning properly. Annual checkups catch problems before they leave you shivering.
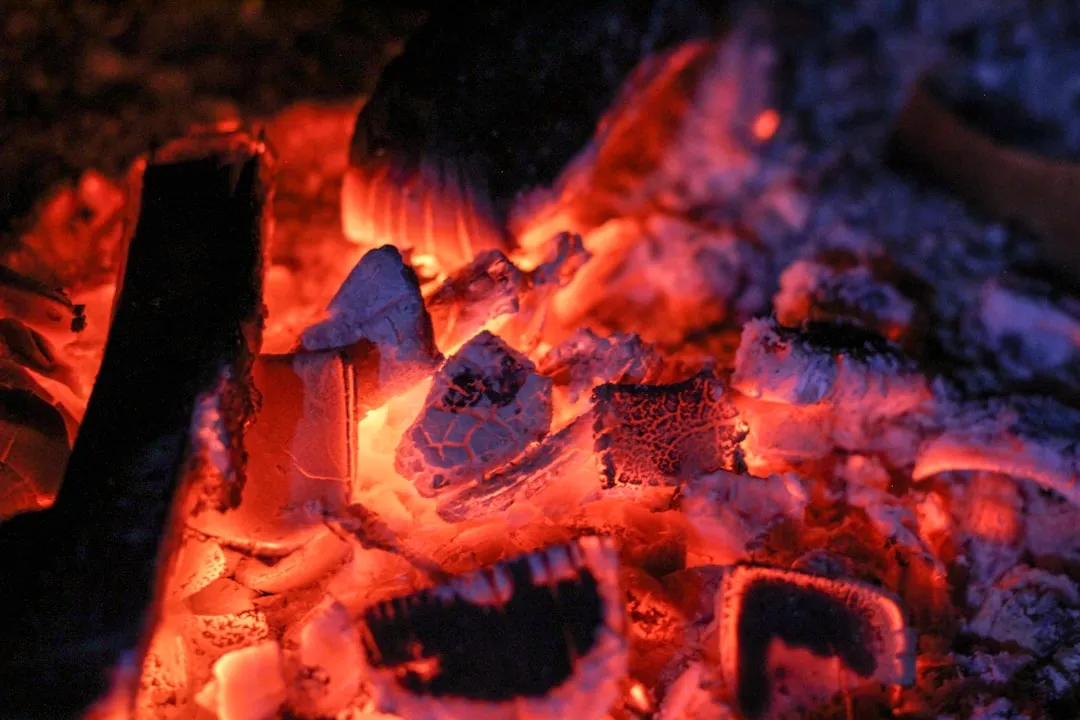
Seasonal checklist: every few months, clear clutter around the heater, look for new drafts, and check the pilot flame for color and steadiness. A healthy flame is mostly blue with a small yellow tip, and it burns without flicker.
Small habits go a long way. Keeping the area around your water heater clear of debris and ensuring proper ventilation prevents many environment-driven outages. Skip storing flammables nearby, keep air pathways open, and sweep up dust and lint.
Annual inspections help identify potential problems before they become serious failures. A qualified technician can spot thermocouple wear, pilot tube blockages, gas pressure quirks, and venting issues while they are still easy fixes.
Bottom line, persistent pilot light issues after basic troubleshooting warrant professional diagnosis and repair. Your safety and your hot showers depend on a system that runs correctly. When in doubt, a professional assessment can save money by preventing bigger failures and keeping everything operating safely and efficiently.


Comments
Be the first, drop a comment!