


Stop Paying for Repairs You Can Fix in 30 Minutes
Difficulty: Novice to Moderate
Time: 15-60 minutes per repair
Potential Savings: $150-$300 per avoided service call
You have half an hour and basic household tools, so tackle repairs that usually cost hundreds but take just a few straightforward steps. Family Handyman shows that most toilet issues are solved with a quick replacement part and a bit of tinkering. HowStuffWorks notes that the average home wastes about 11,000 gallons of water every year from assorted leaks and drips. Not mysteries, not emergencies, just worn two to five dollar parts traded for a $150 service call. That toilet that hisses at 2 a.m.? Fixable.
Start with the biggest money savers
Safety first: Wear gloves and safety glasses. Turn off water at shutoff valves for plumbing repairs. Switch off circuit breakers before any electrical work.
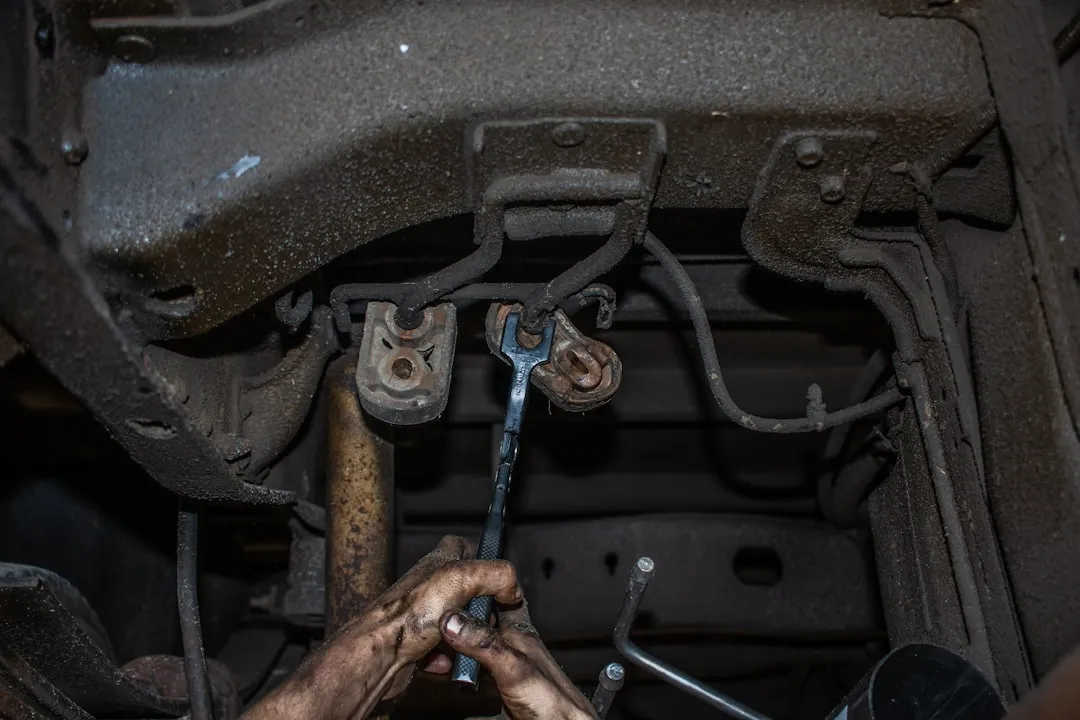
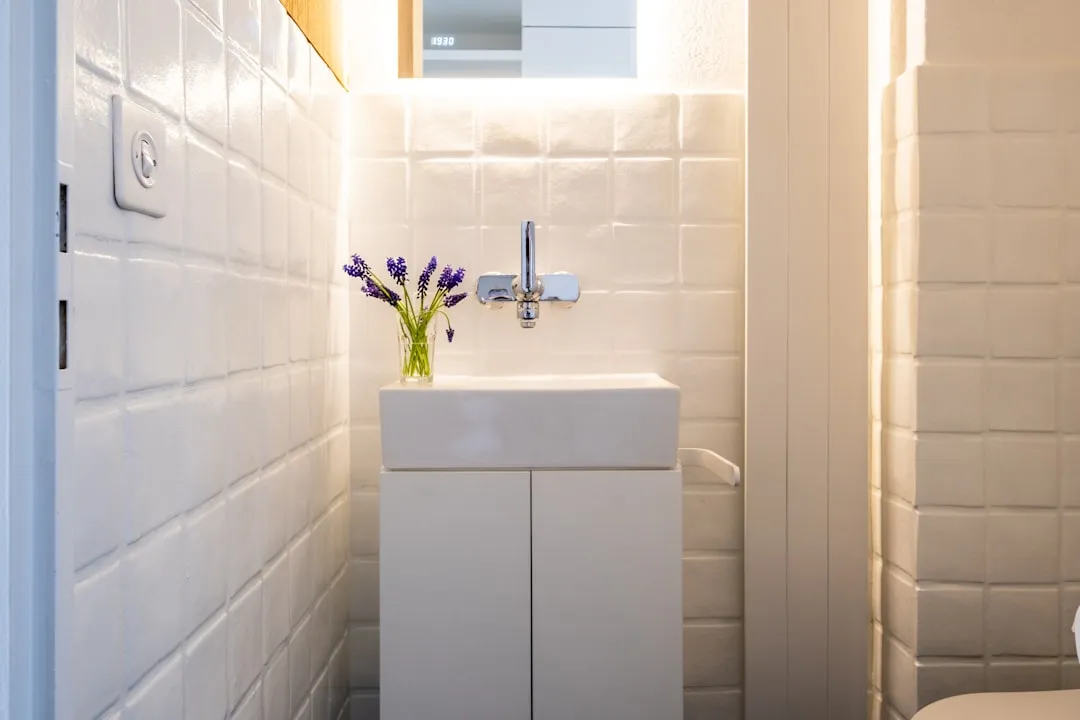
Aim for the most common failure points in your home. Family Handyman confirms that clogs usually come from hair or greasy grime and often clear with a plunger, no chemical drain cleaners required. The same source notes that a leaky or malfunctioning faucet can be fixed or replaced by a novice. HowStuffWorks adds that deteriorated washers account for most faucet leaks, a two dollar part that avoids a $150 callout.
Why it works: Most so-called mysterious home problems come from wear on inexpensive parts. You are not replacing entire systems, you are swapping a tired component.
Start here for immediate wins:
- Running toilets: usually a faulty flapper, chain, or fill valve, 15-minute fix
- Dripping faucets: typically deteriorated washers or O-rings, 20-minute swap
- Clogged drains: hair and grime buildup, 10 minutes with a plunger or snake
Total Fix It Guide points out that a running toilet often comes from a malfunctioning flapper, chain, or fill valve. Once you know what to look for, it is a 15-minute fix instead of a $200 service call.
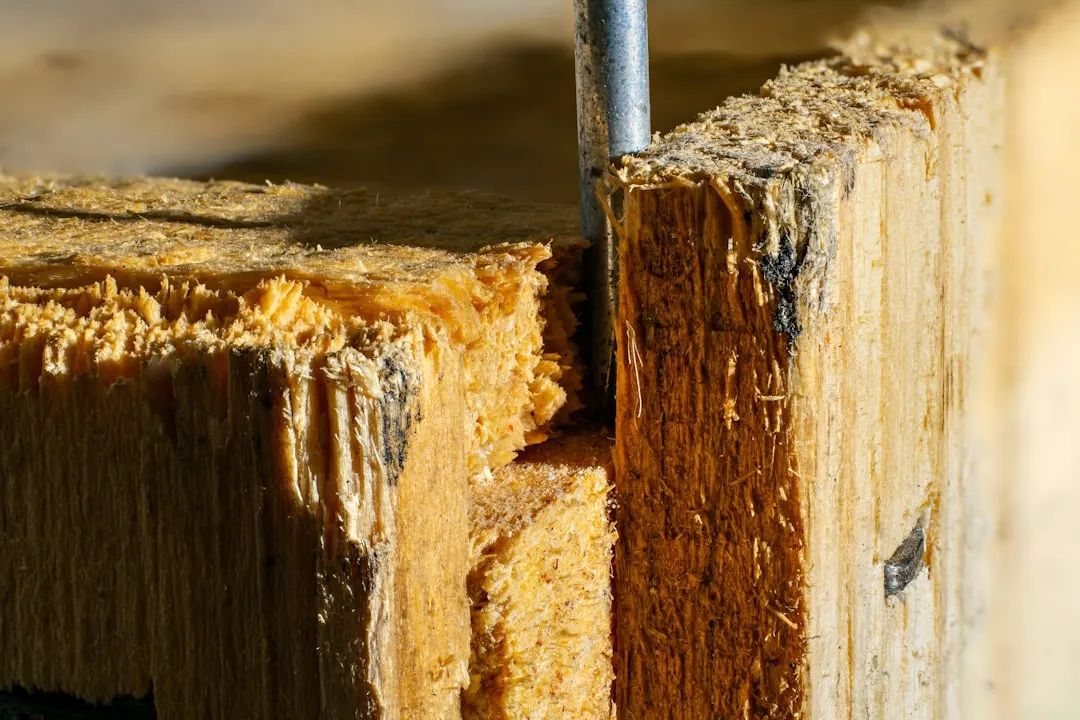
Wall and ceiling repairs that look professional
Materials needed:
- Joint compound or spackling paste
- Fine-grit sandpaper (120-220 grit)
- Putty knife (4-6 in. wide)
- Primer and matching paint
Safety: Wear a dust mask when sanding. Ventilate the area to clear dust particles.
Family Handyman recommends spraying water stains on ceilings with a bleach and water solution, 10 percent bleach, and waiting a day or two. For wall damage, Listopology explains that minor nail holes can be spackled, while bigger holes need drywall patches. Hackslifestyle notes that a professional may charge $200 to patch a hole, while DIY costs about $20.
Steps:
- Clean loose debris from the hole or crack
- Apply joint compound in thin layers, slightly overfilling the damage
- Let dry completely, 4-6 hours, then sand smooth with fine-grit paper
- Apply a second coat if needed, sand again when dry
- Prime and paint to match the surrounding area
Tip: Listopology suggests applying compound in layers and sanding between coats for refinement. A bead of flexible caulking before repainting can conceal deeper fissures.
Quick kit solution: Hackslifestyle confirms that a drywall repair kit includes patching material, sandpaper, and a putty knife, so you can skip hunting for individual components and get to work.
Safe electrical and plumbing basics for beginners
Tools needed:
- Non-contact voltage tester
- Wire nuts and electrical tape
- Adjustable wrench and pliers
- Drain snake or wet-dry vacuum
Safety first: Always turn off the circuit breaker before beginning any electrical work, as Total Fix It Guide emphasizes. For plumbing repairs, turn off the water supply first, according to Listopology.
Novice-level wins:
- Light switch replacement: Family Handyman confirms that replacing a standard light switch with a dimmer is doable, as is replacing a three-way switch
- Drain clearing: Listopology recommends a drain snake or a baking soda and vinegar mix with boiling water. A wet-dry vacuum also works well for tough clogs
Electrical troubleshooting steps:
- Turn off power at the circuit breaker
- Use a non-contact tester to verify power is off
- Remove the switch plate and inspect wiring connections
- Replace the switch if connections are secure but the switch does not function
Total Fix It Guide explains that you can identify minor issues such as a faulty light switch or dead outlet to perform basic electrical repairs. A multimeter can help diagnose dead outlets and whether the issue sits in the outlet or the broader circuit.
Weatherproofing that cuts energy bills immediately
Materials for maximum savings:
- Weatherstripping, foam or rubber
- Caulk gun and exterior-grade caulk
- Utility knife for clean cuts
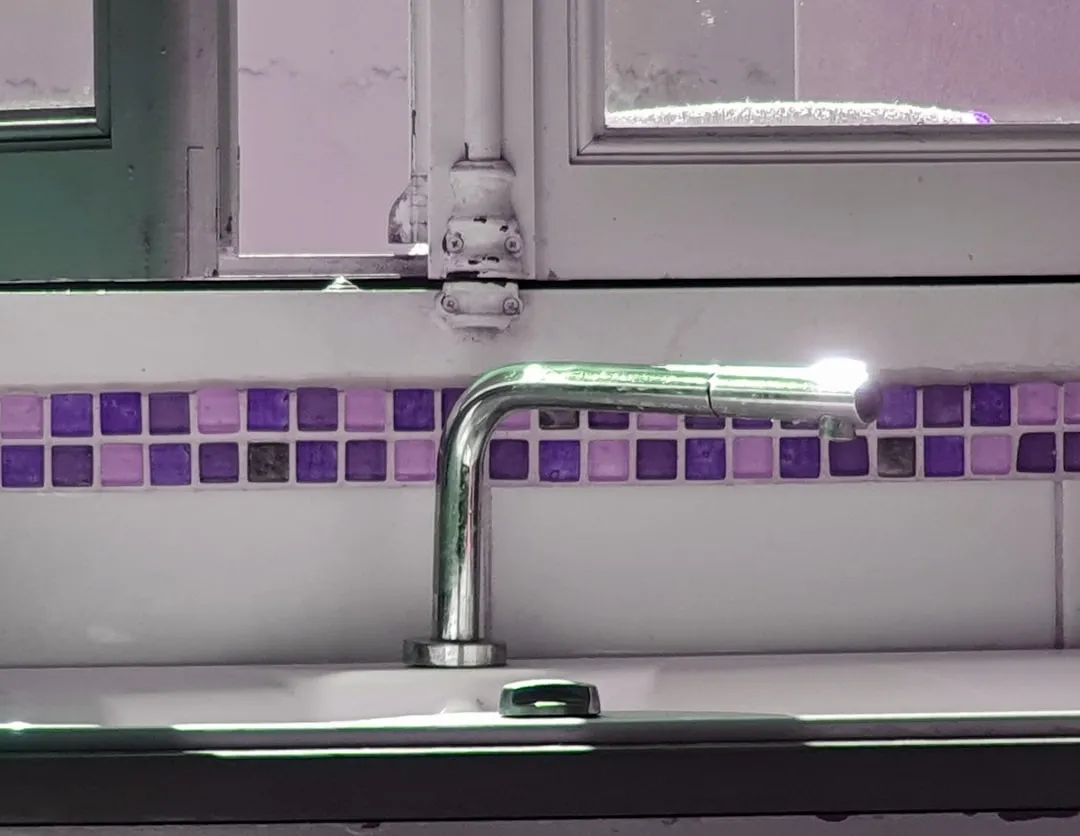
These repairs pay you back with lower energy bills. If light creeps beneath exterior doors, air is escaping, and weatherstripping seals these gaps, according to Family Handyman. Missing caulk around a bathtub or broken grout between tiles can be repaired without a pro. Lending Club research shows you can save up to 10 percent on annual energy bills by replacing caulking around bathtubs, faucets, and windows.
Steps for professional results:
- Remove old caulk completely using a utility knife
- Clean the surface with degreaser or rubbing alcohol
- Apply new caulk in smooth, continuous lines
- Tool the bead with your finger for a clean finish
- Allow 24 hours of cure time before water exposure
HowStuffWorks confirms that applying caulk is simple enough for anyone. Remove fixtures that might interfere, clean thoroughly, apply in smooth lines.
Why the immediate payback matters: Hackslifestyle explains that re-caulking windows and doors seals gaps and improves insulation. Lending Club confirms that weatherstripping drafty doors and windows is an easy, cost-efficient way to save energy and make your home more comfortable.
Your 30-minute action plan
Essential starter toolkit:
- Hammer and screwdrivers, Phillips and flathead
- Adjustable wrench and pliers
- Tape measure and utility knife
- Safety equipment: gloves, goggles, dust masks
Hackslifestyle confirms the biggest benefit of DIY repairs is saving money, and most jobs are easy to learn and do not take much time. Total Fix It Guide recommends essentials like a hammer, both screwdrivers, pliers, and a tape measure. Add safety gear like gloves and goggles to protect yourself during improvements.
Build your skills strategically:
Week 1, Novice: Tackle caulking and weatherstripping. Low risk, immediate energy savings, quick wins with basic tools.
Week 2, Novice: Wall patching and touch-up painting. Visible improvements that build momentum.
Week 3, Moderate: Simple plumbing like faucet washers and toilet adjustments. Higher savings with manageable complexity.
Week 4, Moderate: Basic electrical like switch replacement. Solid cost avoidance when you follow safety steps.
Total Fix It Guide suggests other useful additions, a utility knife, adjustable wrench, and a stud finder. Power tools such as a cordless drill or a jigsaw can streamline your home maintenance.
Focus on repairs with the biggest return: fix leaks to cut water bills, seal gaps to reduce energy costs, and handle small problems before they grow. Snappy Services puts it simply, maintenance is the best way to avoid the most costly home repairs. A 30-minute investment today can prevent the $300 emergency call tomorrow.
The confidence multiplier: Hackslifestyle notes that DIY repairs improve your home, and small jobs like patching holes or replacing fixtures can increase your home’s value. Once you have caulked a bathtub or patched a wall, replacing a faucet washer feels manageable. One win leads to the next.


Comments
Be the first, drop a comment!