


Remove Your Window Screen in 10 Minutes (No Wrestling Required)
Difficulty: Novice
Time: 10 minutes
Cost: Free
Got 10 minutes? Pop that screen out without the guesswork. Most screens are built for easy removal, no special tools, no wrestling with stubborn hardware. The trick is knowing what you are working with before you tug. Cleaning, repair, or just craving a clear view, this simple approach keeps you safe and your screen in good shape.
Window screens have come a long way since their early development in the 19th century, when they revolutionized indoor comfort. Today’s removal friendly design means most residential screens can be taken out from inside your home. Modern screens typically last 10 to 12 years with proper care, so a little routine maintenance pays off.
Know your screen's attachment style
Before touching anything, look closely at how the screen connects to the frame. That quick scan saves time and prevents damage, it is basically the right map for your project.
Most window screens fall into one of these categories: Tabs, Spring-Loaded Frames, Friction Fit, Clips or Latches. Spring loaded systems use compression to stay snug, tab mechanisms rely on small plastic or metal pulls at the bottom edge. Some screens use friction fit, they are sized precisely and sit tight without added hardware. Older models might have clips or even small screws.
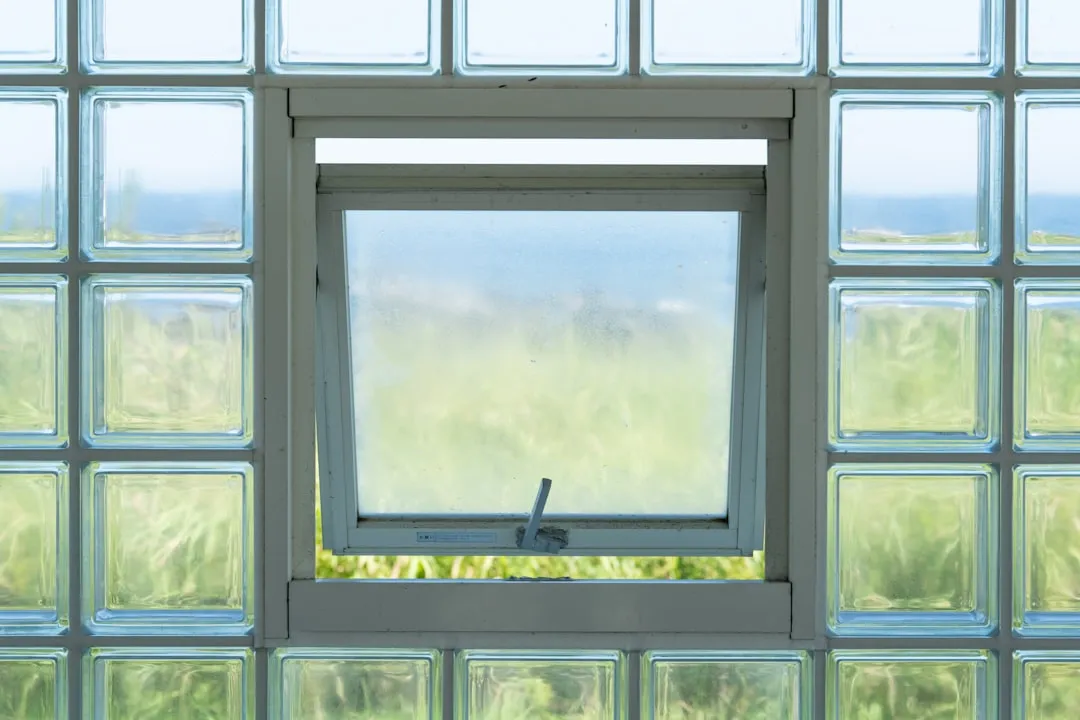
Use a flashlight to examine the screen frame for tabs, clips, or spring edges. Check all four sides and pay special attention to the bottom edge where tabs are common. Most double-hung and vinyl windows allow interior removal, which is a lifesaver in high rise apartments or on second stories.
The tell is simple, most screens have their primary attachment along one edge. You might see metal leaf springs on one side and plastic tabs on the other, or clips tucked into specific corners. Once you spot the mechanism, the sequence to remove it becomes obvious.
What you'll need and safety prep
Materials
- Work gloves, to protect from sharp aluminum edges
Tools
- Flathead screwdriver, for stubborn screens
- Pliers, if clips need gentle persuasion
- Small container, for loose screws or clips
Safety first
- Always wear gloves, aluminum screen frames can have sharp edges
- Use good light, a flashlight helps you spot tabs and latches
- Clear your workspace below the window to catch dropped hardware
- Open the window fully for best access
Steps
-
Open your window completely. Keep the sash out of the way so you can reach the attachment points.
-
Identify the attachment points. Look for tabs along the bottom edge, spring clips on the sides, or small screws in the corners. Most screens anchor on a single side, so find that primary edge before you pull it often runs along one edge. Ten seconds of scouting beats ten minutes of prying.
-
For tab-style screens: Pull the tabs toward the center while gently lifting the screen bottom outward. The screen should pivot out at the bottom, then lift free from the top track.
- If tabs are stiff: Use steady, gentle pressure rather than quick jerks.
-
For spring-loaded screens: Locate the spring edge, usually one side of the frame. Push the screen toward the spring side to compress it, then pull the opposite edge inward and out. Work with the tension, not against it.
-
For clip or screw attachments: Remove fasteners carefully with appropriate tools. Keep screws in your container. Tiny parts vanish fast.
-
Lift the screen out gently. Support the frame, not the mesh. If it resists, pause and recheck for a missed clip or tab before adding force. If the screen is difficult to remove, it may be helpful to gently tap the frame with your hand to loosen it.
Why it works: most screens use spring tension or simple mechanics to stay put. Find the mechanism, release it, then let the frame come to you.
Cleanup & storage
- Inspect for damage before storing. Look for bent frames, tears, or loose hardware
- Store in a dry location away from direct sunlight to prevent warping or material deterioration
- Keep screens upright or flat. Avoid leaning them at angles that could warp the frame
- Save all hardware in labeled containers for easy reinstallation
Troubleshooting
Problem: Screen won't budge → Fix: Check for hidden clips or tabs you missed. Use a flashlight to examine all edges.
Problem: Frame feels stuck → Fix: Gently tap around the frame perimeter or use a flathead screwdriver to carefully pry.
Problem: No visible tabs or springs → Fix: You likely have a friction-fit screen. Try gentle pressure on different edges to find the release point.
When to call for help
If your screen has complex hardware, multiple attachment points, or if you are working on upper floors without safe access, consider professional help. Some exterior mounted screens require ladder work that is better left to pros.
Ready to put it back?
Reinstallation is the reverse. Align the screen in its track, engage the attachment mechanism, then test for a secure fit. Go slow to go fast. Rushing bends frames and sparks frustration. After a screen or two, you will be quicker than you think.


Comments
Be the first, drop a comment!