


Install a Ceiling Fan: Your Complete Step-by-Step Safety Guide
Difficulty: Moderate
Time: 2-3 hours
Cost: ~$75-200 (fan + materials)
Skill Level: Basic electrical knowledge required
Why You’ll Like This
Install your own ceiling fan and feel the air move the same day. You also keep the $100-300 you would spend on professional installation. A properly installed ceiling fan can reduce air conditioning usage by up to 15% during summer months, according to U.S. Department of Energy research, real money back in your pocket. Here is the part that really counts, this project demands precise safety steps to prevent serious injury. The U.S. Consumer Product Safety Commission documented over 1,800 injuries from falling ceiling fans between 2018 and 2022, as reported by electrical safety experts. Follow this systematic approach and you will get professional results with confidence.
What You’ll Need
Materials
- Ceiling fan kit with mounting hardware
- Fan-rated electrical box if the current box is not rated
- Wire nuts, usually included with the fan
- Electrical tape
Tools
- Voltage tester, non-negotiable for safety
- Screwdriver set, Phillips and flathead
- Wire strippers or cutters
- Adjustable wrench or pliers
- Sturdy ladder, tall enough to work comfortably
- Cordless drill with bits
Safety First
- Power off at the breaker. Never trust only the wall switch. Use your voltage tester on the existing wires to confirm zero power.
- Fan-rated electrical box required. Standard light fixture boxes cannot support a ceiling fan’s weight and vibration forces. Non-negotiable if you want to avoid dangerous failures.
- Adult supervision required if kids are helping at any point.
- Clear the work area so you have safe ladder access and room for parts.
Steps
-
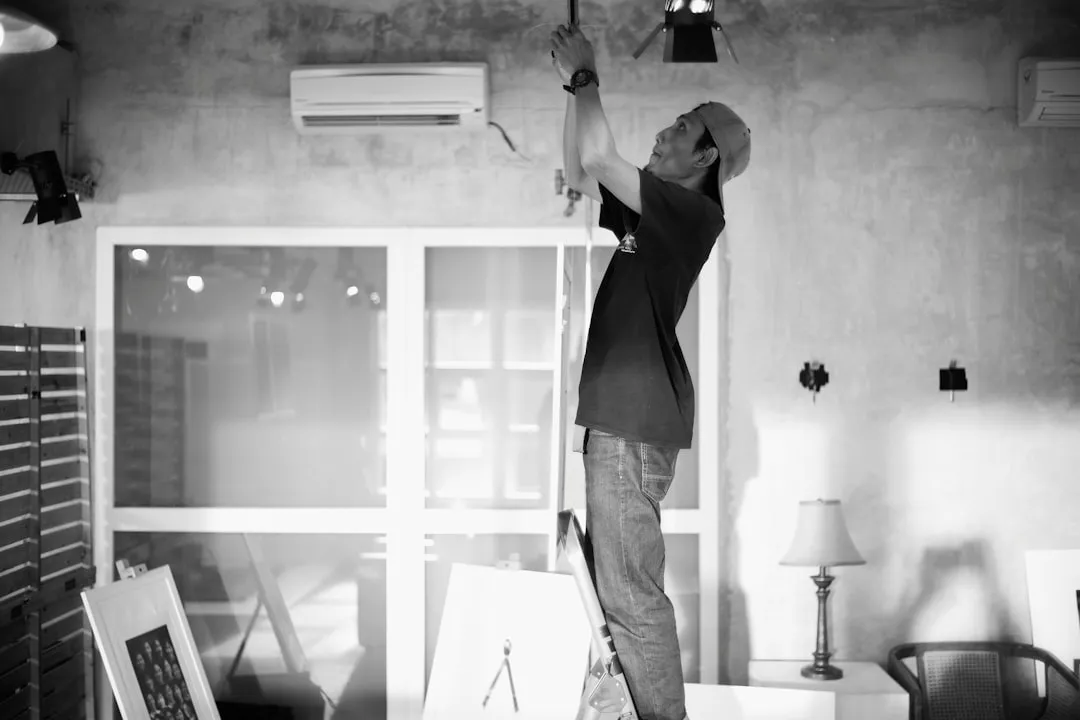
Cut power at the electrical panel and verify it is off. Locate the correct circuit breaker and switch it off, as emphasized by professional installers. Test the existing fixture wires with a voltage tester. Nothing should register before you proceed.
- Tip: Take a photo of which breaker you flipped. Future you will be grateful.
-
Remove the existing fixture while supporting its weight. Take out bulbs and shades first to prevent breakage, then unscrew the fixture from the ceiling, as recommended by installation guides. Keep one hand under the fixture as you disconnect the wires.
- Why this matters: Supporting it prevents drops, ceiling damage, and a shower of glass.
-
Verify your electrical box can handle a fan. Look for labeling that says "Approved for Ceiling Fans" or "Rated for 70lbs," as specified by safety standards. A fan-rated box resists constant motion forces, a standard light box does not.
- If not fan-rated: Install a proper fan-rated box before continuing. This step prevents catastrophic failures that cause most fan-related injuries.
-
Install the fan’s mounting bracket securely. Attach the mounting bracket to the fan-rated box using the screws provided with your fan, following manufacturer assembly guides. Many brackets include a small hook that holds the fan motor while you make connections.
- Pro tip: That hook gives you hands free space to work on wiring without juggling the motor.
-
Connect wires using the color match system. Black fan wire to black ceiling wire, white to white, green or bare copper to ground, following standard wiring practices. If your fan includes a light kit, the blue wire typically connects to either the ceiling’s blue wire or joins with the black connection.
- Wire connection technique: Twist matching wires together clockwise, screw on wire nuts until snug, then wrap with electrical tape.
-
Mount the fan motor using the hanger ball system. Lift the assembled motor housing onto the mounting bracket and seat it in the hanger ball connection, following standard installation procedures. It should feel solid, no wobble.
-
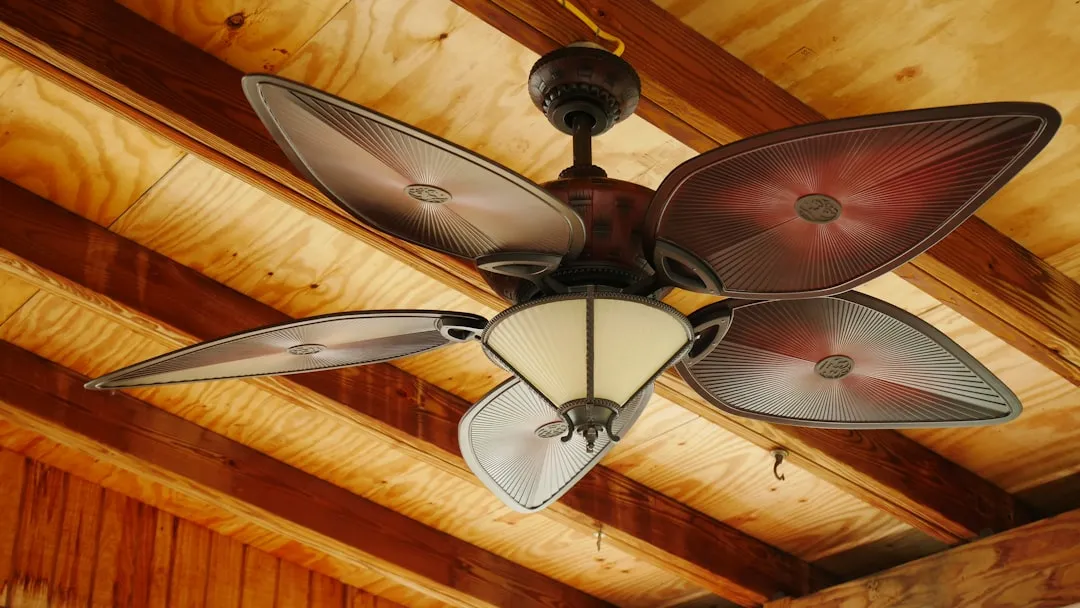
Install fan blades with balance in mind. Attach each blade using the provided screws and brackets, tightening each connection evenly, as specified in installation guides. Even attachment keeps wobble at bay.
- Balance check: Measure from each blade tip to the ceiling and verify equal spacing.
-
Add the light kit following manufacturer specifications. If your fan includes lighting, wire it as instructed, then secure the light assembly to the fan motor, following standard procedures.
-
Test operation before declaring success. Turn the circuit breaker back on and test each fan speed and the direction switch, as recommended by professionals. Most fans include a reverse switch for seasonal use, counterclockwise for summer cooling and clockwise for winter circulation.
Why it works: This approach locks in three essentials for safe, smooth operation, a properly rated box for support, correct wire connections, and balanced blades.
Cleanup & Disposal
- Store leftover screws and hardware in a labeled bag for future maintenance.
- Dispose of the old light fixture according to local recycling guidelines, many components are recyclable metals.
- Keep your fan’s instruction manual and warranty information in an easy to find spot.
Troubleshooting
Problem: Fan wobbles during operation → Fix: Tighten all blade screws first, then use the included balancing kit if wobbling persists, note troubleshooting guides.
Problem: Humming or rattling noise → Fix: Turn off power and check for loose screws or wires touching the canopy, according to maintenance experts.
Problem: Fan will not turn on → Fix: Verify the circuit breaker is on and all wire connections are secure with properly tightened wire nuts.
Variations & Upgrades
- Budget-friendly option: Choose a basic fan without lights to reduce complexity and cost while still gaining the energy benefits.
- Sloped ceiling adaptation: Most fans include angled mounting adapters for ceilings up to 20 degrees.
- Smart home integration: Install a smart-enabled fan for app control and automation system compatibility.
FAQ
Can I use my existing wall switch? Yes, your current light switch will control the fan. For separate fan and light control, you will need additional wiring or a remote-controlled fan.
Will this work on a sloped ceiling? Most fans include adapters for sloped installations, as noted by installation professionals.
When should I call a professional? If you discover unfamiliar wire colors, need to install a new fan-rated electrical box, or feel uncertain about any safety aspect, emphasize safety experts.
A properly installed ceiling fan should give you years of reliable comfort and energy savings while operating safely. The key is slow and steady, verify the electrical box, make precise wire connections, and keep the blades balanced. Most DIYers find this methodical path more manageable than they expected.


Comments
Be the first, drop a comment!