


Fix Engineered Hardwood Scratches: The Renter-Safe Way to Restore Your Floors
Difficulty: Moderate
Time: 1-2 hours
Cost: $15-40
Why You'll Like This
Floor scratches are inevitable, pets, furniture moves, daily foot traffic, they all leave their mark (Coohom). Here is the good news. Most surface-level damage on engineered floors can be handled without calling in professionals or voiding your lease (Coohom). With today's improved repair products, what used to be an afternoon project often takes just an hour to complete (Coohom). Quick fix, big sigh of relief.
What You'll Need
Materials
- pH-neutral wood cleaner (8 oz)
- Color-matched touch-up markers or wax sticks
- Repair putty designed for engineered floors (not regular wood filler)
- Microfiber cloths (3-4 pieces)
- Rubbing alcohol (small bottle)
Tools
- Plastic putty knife (never metal, it can worsen damage)
- Cotton swabs
- Soft cotton cloth for buffing
- Painter's tape (for marking multiple scratches)
- Broom or vacuum
Safety First
- Test all repair materials in an inconspicuous area first to avoid color mismatches (Coohom)
- Work in well-ventilated area when using alcohol-based cleaners
- Never mix cleaning chemicals
- Adult Supervision Required if children are helping with cleanup
Steps
1. Identify Your Enemy: The Fingernail Test
Run your fingernail across each scratch. If it does not catch, you are dealing with surface damage, the easiest fix (Coohom). If your nail catches in the groove, you have deeper scratches that penetrate the wood veneer (Flooring Clarity).
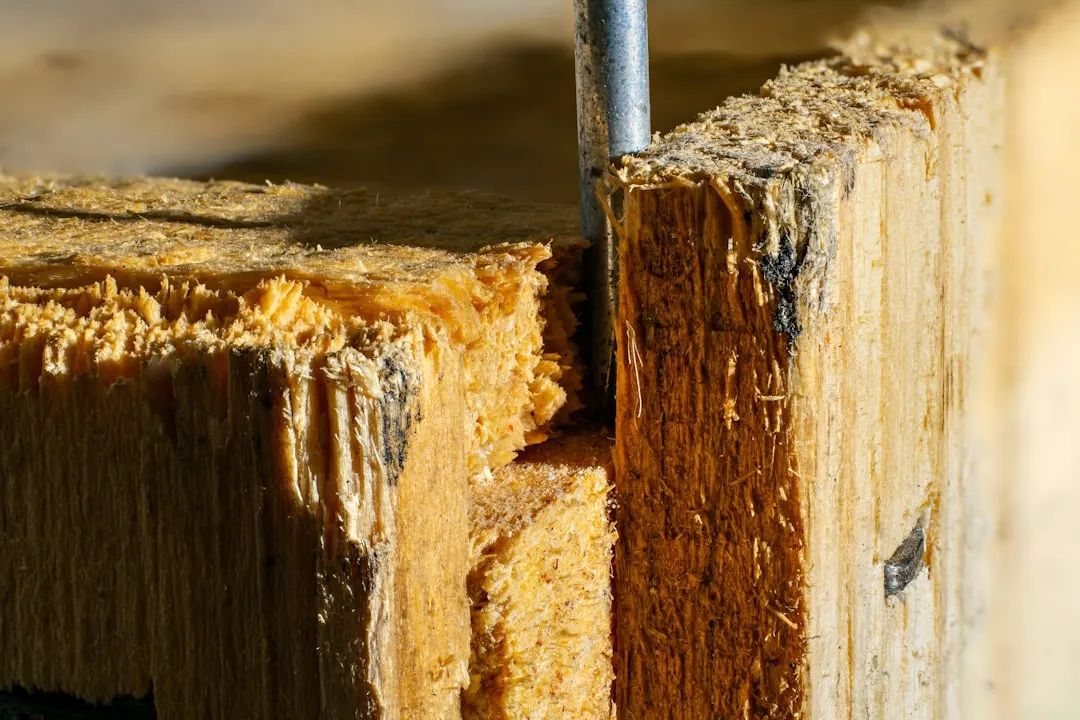
Critical insight: Engineered floors have a thinner wear layer than solid hardwood, typically just 2-6mm thick, so aggressive sanding will cause permanent damage (European Flooring).
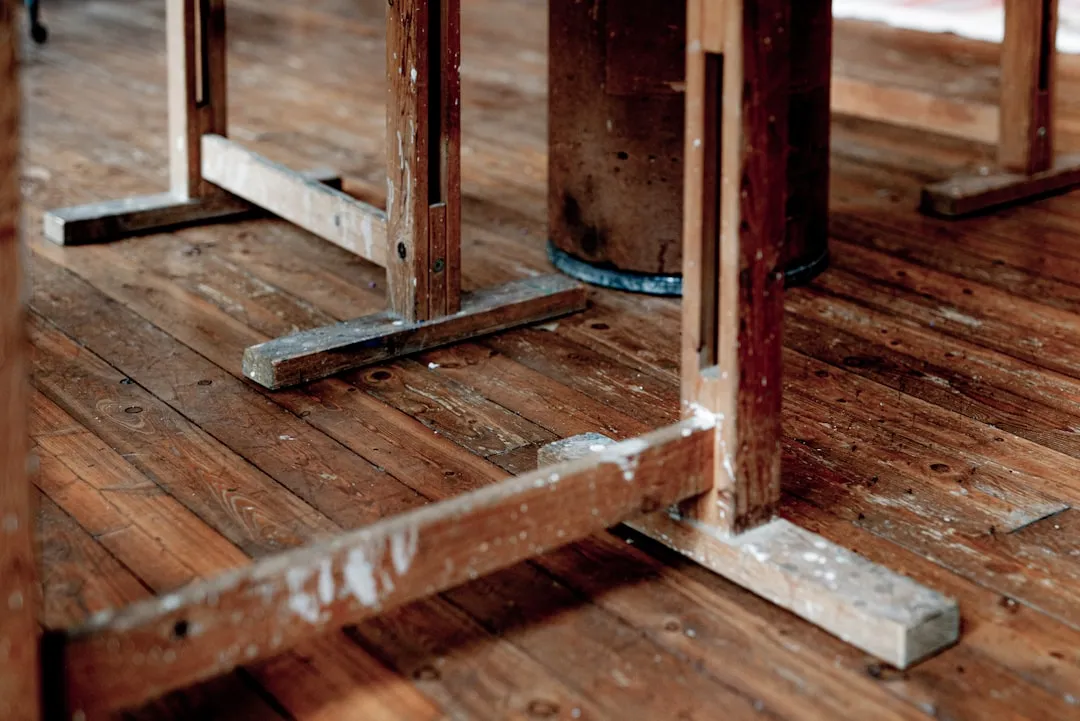
2. Prep Your Work Area
Clear the area completely and sweep away all debris, any dirt left behind will interfere with your repair (Ultimate Home DIY). Mark multiple scratches with painter's tape so you do not lose track (Build Direct). A few seconds spent here saves frustration later.
3. Deep Clean the Scratches
Clean each scratch with a damp microfiber cloth, then let it dry completely (Coohom). For stubborn residue, use a cotton swab dipped in rubbing alcohol, it removes oils and grime that prevent proper repair adhesion. Think of it as primer for your fix.
4. Fix Surface Scratches
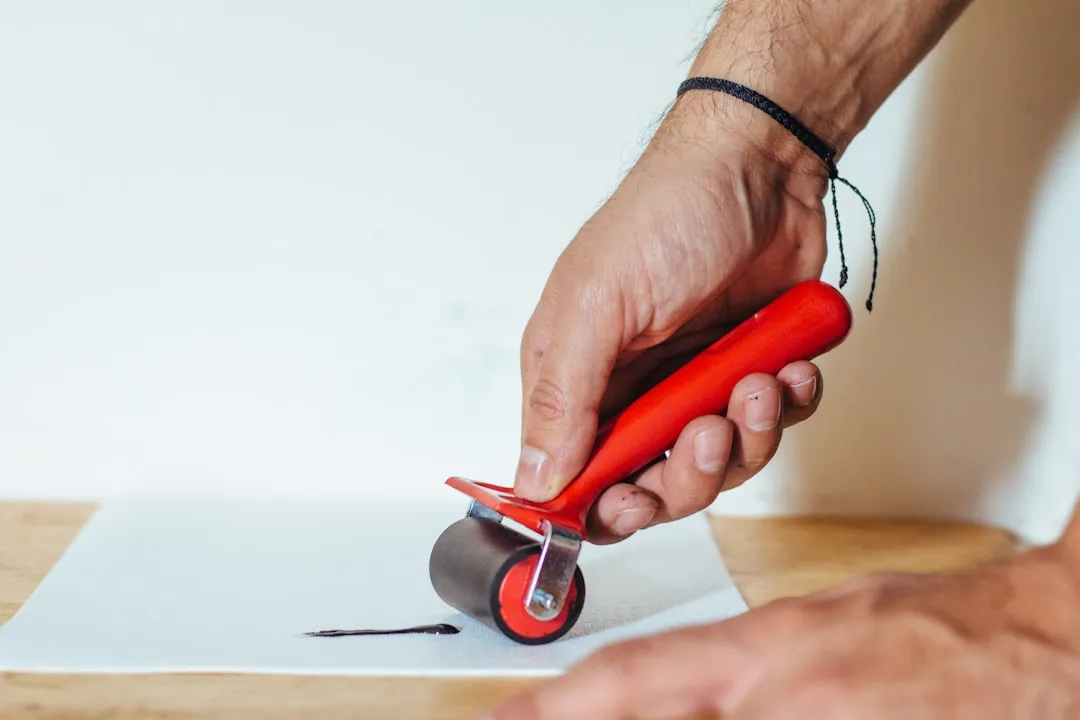
Apply your color-matched marker or wax stick directly into the groove, working with the wood grain direction. Light buffing with a soft cloth helps blend the repair (Coohom).
Pro tip: For complex floor tones, layer two similar shades for better color matching. Feather the edges, then buff again. Done.
5. Repair Deeper Scratches
Fill the groove slightly above floor level using your plastic putty knife, work with the grain. Smooth the application, then let it cure according to manufacturer instructions, typically 2-4 hours (Coohom). Sand very lightly if needed, then apply matching stain and let it cure 24 hours.
If this happens: Repair looks too dark → Apply lighter shade on top and blend
If this happens: Wax will not adhere → Clean again with alcohol and let it dry completely
Cleanup & Disposal
- Store leftover wax sticks in a cool, dry place for future touch-ups
- Dispose of alcohol-soaked rags in a metal container, never leave in piles (fire hazard)
- Clean tools with warm water immediately after use
Troubleshooting
Problem: Color does not match → Fix: Layer a second, lighter shade over the repair
Problem: Repair feels rough → Fix: Very light sanding with 220-grit sandpaper, following grain direction
Problem: Wax keeps coming off → Fix: Deep clean area with alcohol, ensure completely dry before reapplying
When to Call the Pros
If scratches expose the floor's core material or cross multiple boards, professional help is your best bet (Flooring Clarity). Water damage causing swelling or buckling also requires expert assessment (European Flooring).
Cost reality check: Professional repairs for minor scratches run $100-200, while deeper damage costs $300-600 (Coohom). However, over 62% of homeowners successfully handle basic repairs themselves (Coohom).
Variations & Upgrades
Budget option: Natural walnut oil can minimize light surface scratches, rub walnut meat directly on the scratch, then buff (Flooring Clarity)
Renter-friendly: All these methods are reversible and will not damage underlying floor structure
Professional upgrade: For extensive damage, screen and recoat the entire floor, but only if veneer is 3mm+ thick
Prevention That Actually Works
Furniture pads are your first line of defense, check and replace every 6 months since they wear down (Flooring Clarity). Keep pet nails trimmed and set no-shoes policies in high-traffic areas (Ultimate Home DIY).
Door mats at every entrance catch 80% of grit before it reaches your floors (European Flooring). Clean weekly with pH-neutral, engineered-wood-specific cleaners to maintain the protective finish (Flooring Clarity).
Why it works: Engineered floors are highly repair-friendly when you respect their thin veneer construction (Coohom). The key is treating small problems before they become expensive replacements, and now you have the knowledge to do exactly that.


Comments
Be the first, drop a comment!