


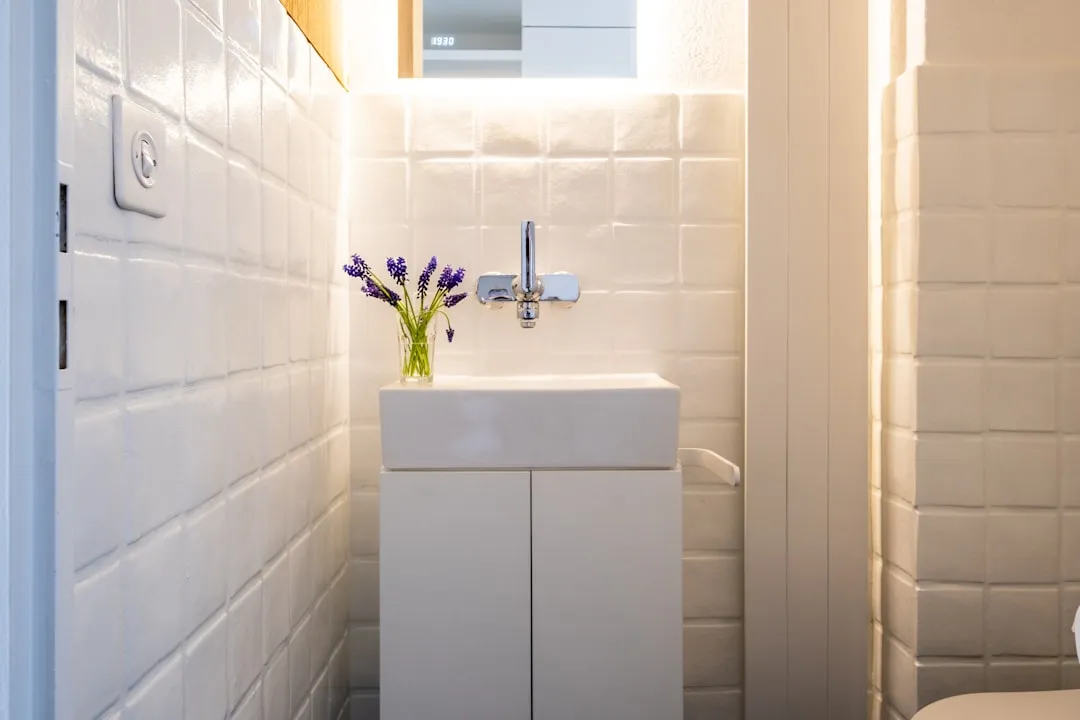
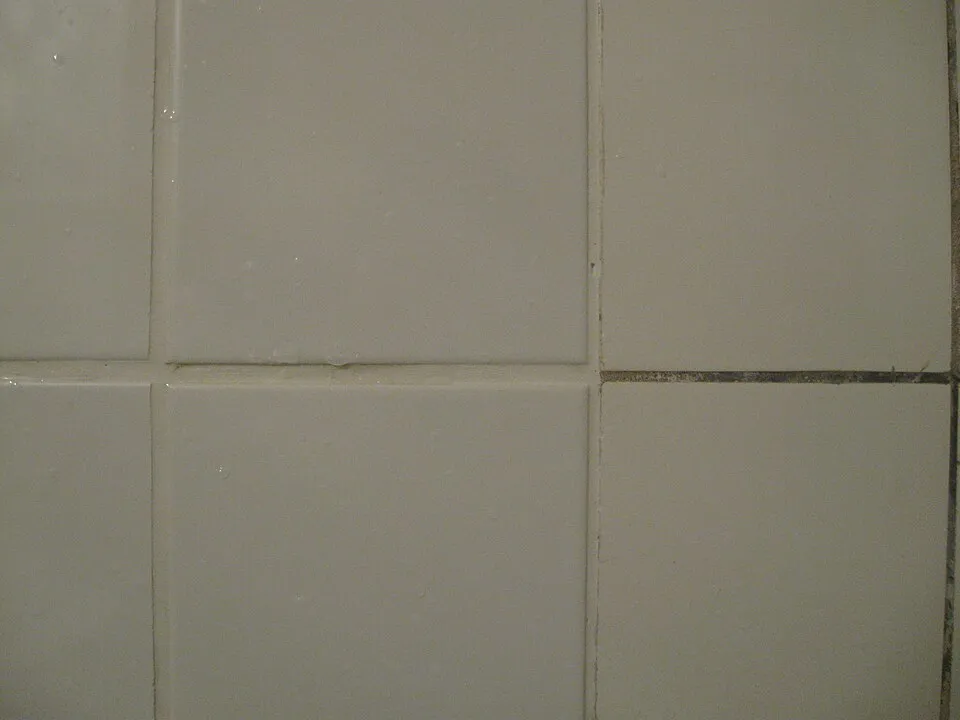
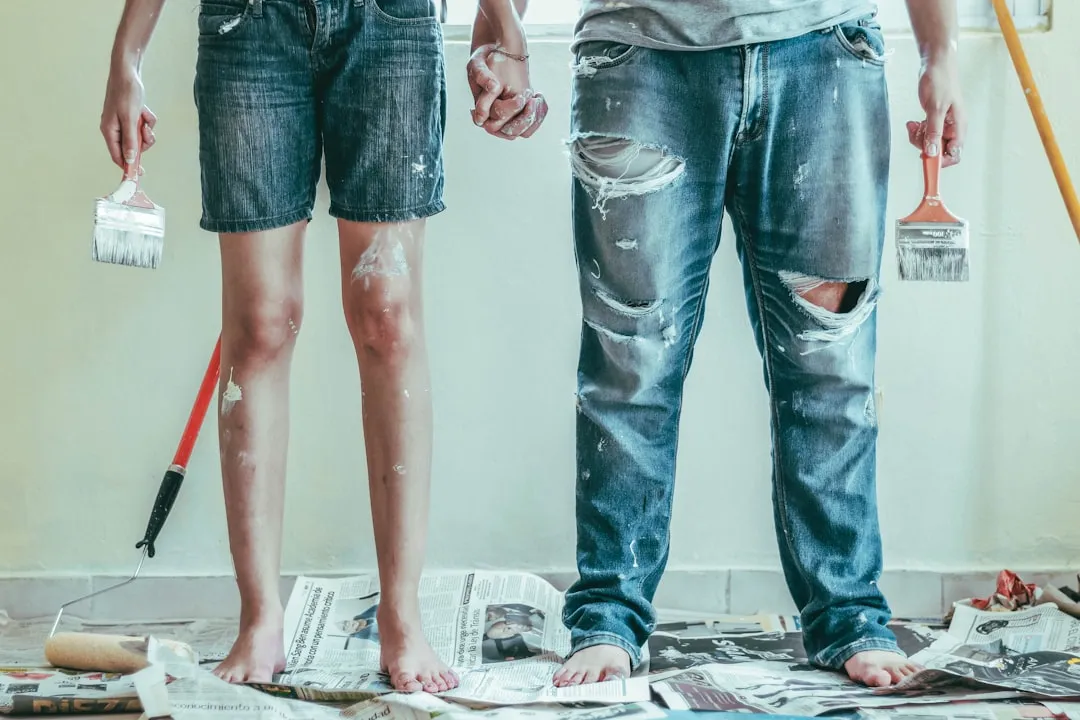
Got a dingy bathroom or kitchen that’s making your whole space look dated? Skip the demolition and dust. Regrouting the tiles in your home can prevent tile from falling out and support the overall structure of tiled surfaces, and fresh grout lines dramatically refresh tired-looking spaces. Even spotless tiles can make an entire room feel dirty when grout is stained or dingy.
Difficulty: Moderate
Time: 6-8 hours (over 2-3 days including curing)
Cost: ~$50-75
Why You’ll Like This
The transformation from fresh grout is one of those wow, I can’t believe that’s the same room moments. While professional grout repair typically costs between $3-25 per square foot, tackling this project yourself means you’re only paying for materials, and trust me, the satisfaction of seeing those clean, crisp lines is worth the effort.
You’re not just improving appearances. Cracked or crumbling grout is unsightly, and it also compromises your tile installation’s structural integrity. Do the work once, enjoy the results for years. Worth a Saturday? Absolutely.
What You’ll Need
Materials
- 2 lbs new grout (sanded for gaps over 1/8", unsanded for smaller gaps)
- 1 bottle grout sealer
- Clean water (2-3 buckets worth)
Tools
- Grout removal tool (oscillating multitool with grout blade or manual grout saw)
- Rubber grout float
- Large tile sponges (get 4-5, you’ll go through them)
- Margin trowel for mixing
- Safety glasses and dust mask
- Drop cloths or plastic sheeting
- Painter’s tape
Safety First
- Wear safety glasses and a dust mask during grout removal, this creates more dust than you’d expect
- Use ear protection with power tools
- Ensure good ventilation, especially when using sealers
- Cover delicate surfaces below the work area with cardboard and tape to prevent scratching from falling debris
Getting Your Workspace Ready
Success in regrouting starts before you even touch the old grout. Begin by testing a small area with a grout saw or utility knife to see if the existing grout easily comes out. This tells you whether you’re dealing with standard cement grout or something more stubborn.
Here’s a pro tip that saves real headaches: cover that tub or sink drain with masking tape. Grout debris in a P-trap is a bad day.
Protect your space: Cover nearby surfaces with drop cloths or plastic sheeting to prevent damage. For delicate surfaces like countertops or tubs, use thick cardboard secured with tape. Apply painter’s tape to mask off edges where you’ll be working, and remove any items that could interfere with your work, like toiletries or decorations. Future you will thank you.
The goal is a workspace that lets you focus without worrying about collateral damage.
Removing Old Grout the Right Way
Here’s where patience becomes your best tool. You cannot successfully apply fresh grout directly over existing material because it won’t bond properly. I’ve seen DIYers try this shortcut, and the results never last.
Remove at least 1/8 inch of existing grout to create proper depth for new material. An oscillating multitool is the most efficient removal method for most projects.
Power tool technique: Fit your oscillating tool with a grout removal blade and carefully cut along grout joints, keeping the blade perpendicular to tile surfaces. The key is letting the tool do the work. Work patiently and avoid forcing the blade. Let the tool’s oscillation do the cutting work rather than applying pressure, which can chip tiles.
Focus on removing grout from the center of joints rather than edges near tiles. This approach minimizes tile damage while still clearing the necessary depth.
Manual cleanup: After power removal, use a carbide-tipped manual grout removal tool to scrape away remaining material. These specialized tools are designed to remove grout without scratching tile surfaces, though you still need careful technique. Vacuum thoroughly throughout the process and finish with complete debris removal from all joints.
Mixing Grout for Professional Results
Getting grout consistency right is the difference between smooth application and a frustrating struggle. Mix grout to resemble cake frosting with the ability to hold soft peaks, this visual cue is spot-on. The mixture should be thick yet barely pourable. Too thin and it will run from grout lines before setting.
Smart mixing approach: Start with half the recommended water in a clean bucket, add half the dry grout powder, then mix thoroughly. Gradually add remaining water and powder until reaching smooth, paste-like consistency.
Here’s a critical step many beginners miss: Let mixed grout rest (slake) for about 10 minutes to allow chemical bonding. This allows the cement particles to fully hydrate, creating stronger bonds. After slaking, grout will feel stiffer, but resist adding more water. Remix by hand to loosen the mixture.
Work in manageable batches: Work with small batches and pay attention to working time specifications from manufacturers. Most grouts give you 20-30 minutes of working time once mixed.
Applying New Grout Like a Pro
Application technique separates amateur from professional results. Use a rubber grout float held at 45-60 degrees from tile surfaces, approaching joints at a diagonal angle. This angle allows grout to fill joints completely without the float pulling material back out. You are packing grout in, not scraping it away.
Application sequence: Scoop grout onto your float and spread it across tile surfaces, pressing firmly to pack material into joints. Apply grout diagonally across tile joints to ensure thorough filling, then make a second pass in the opposite direction to guarantee uniform joint filling. This cross-hatching motion helps you avoid air pockets that weaken the joint.
Initial cleanup: Tilt the float on its edge to gently scrape away excess grout from tile surfaces. Use a dampened grout sponge to wipe away remaining excess material. Work efficiently: clean excess before it starts hardening on tile surfaces.
Cleaning and Finishing Touches
Timing is everything in this final phase. Wait for grout to begin hardening (typically 20-30 minutes) before starting the sponging process. Use a barely damp sponge, too much water will pull grout out of joints.
Professional technique matters here: hold the sponge in your palm and gently press with your index finger while running it over uneven grout joints. This fingertip pressure gives you precise control for smoothing high spots.
Multi-stage cleaning process: After initial sponging, step away for about 30 minutes to let surfaces dry and form a haze. Once grout has completely dried, a faint haze will remain on tile surfaces. Remove this haze by buffing tiles with a soft, dry cloth.
Final curing and sealing: Allow grout to cure for 24-72 hours according to manufacturer specifications. Standard powdered grout should be sealed for stain resistance after full curing. Apply grout sealer following manufacturer instructions to protect your work and extend the life of new grout lines.
Cleanup & Disposal
- Rinse all tools immediately after use, dried grout is nearly impossible to remove
- Dispose of grout waste in regular trash, not down drains
- Save small amounts of mixed grout in a sealed container for future touch-ups
- Clean and store tools properly for the next project
Troubleshooting
Problem: New grout cracking within days → Fix: You likely mixed it too thin or didn’t pack it properly into joints, look for grout that’s the consistency of thick peanut butter
Problem: Grout haze won’t come off tiles → Fix: Use commercial haze remover product, following label directions carefully
Problem: Grout color looks uneven → Fix: This usually indicates inconsistent mixing or application technique, affected areas may need regrouting
What to Expect: Results and Value
Here’s what makes this project so rewarding: most bathroom regrouting projects can be completed in a weekend, and the transformation from dingy, cracked grout to fresh, clean lines can make tiles look completely new without replacement costs. When you factor in that regrouting offers significant savings compared to full tile replacement in both materials and labor costs, you get a high-impact, budget-friendly upgrade.
Be realistic about limitations: if you discover cracked or missing tiles during the process, regrouting alone won’t solve structural problems, and full retiling becomes the better choice. Professional contractors recommend regrouting tiles every six to eight years to maintain optimal condition. Think of this as preventive maintenance that keeps your surfaces looking their best.
With proper technique and patience, you’ll get professional-looking results that make your bathroom or kitchen feel completely refreshed. Take your time, then stand back and enjoy the glow-up.


Comments
Be the first, drop a comment!