


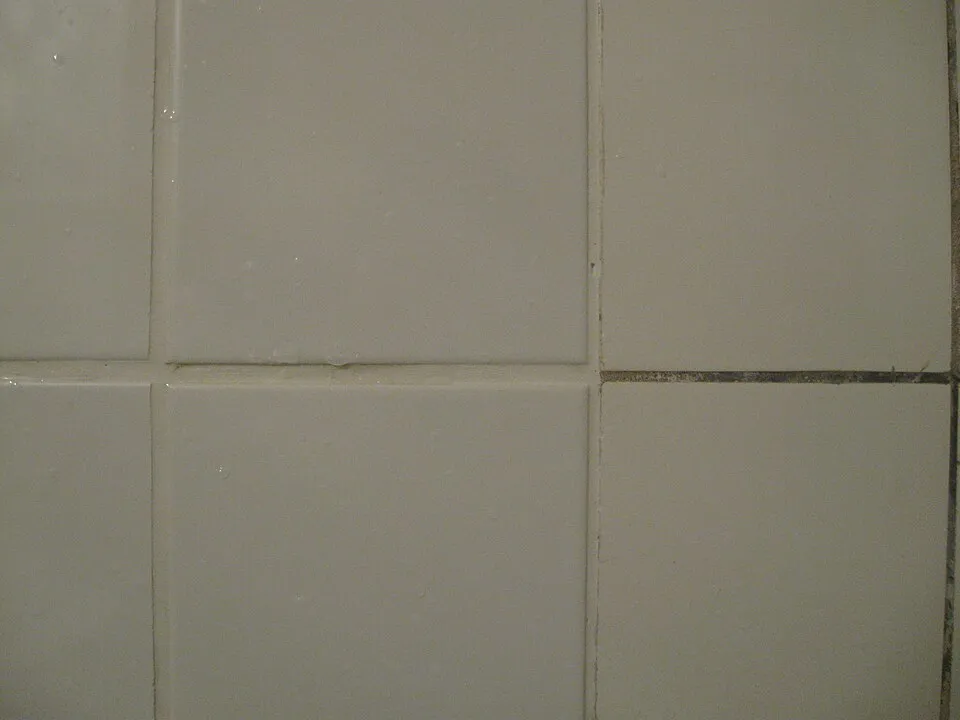
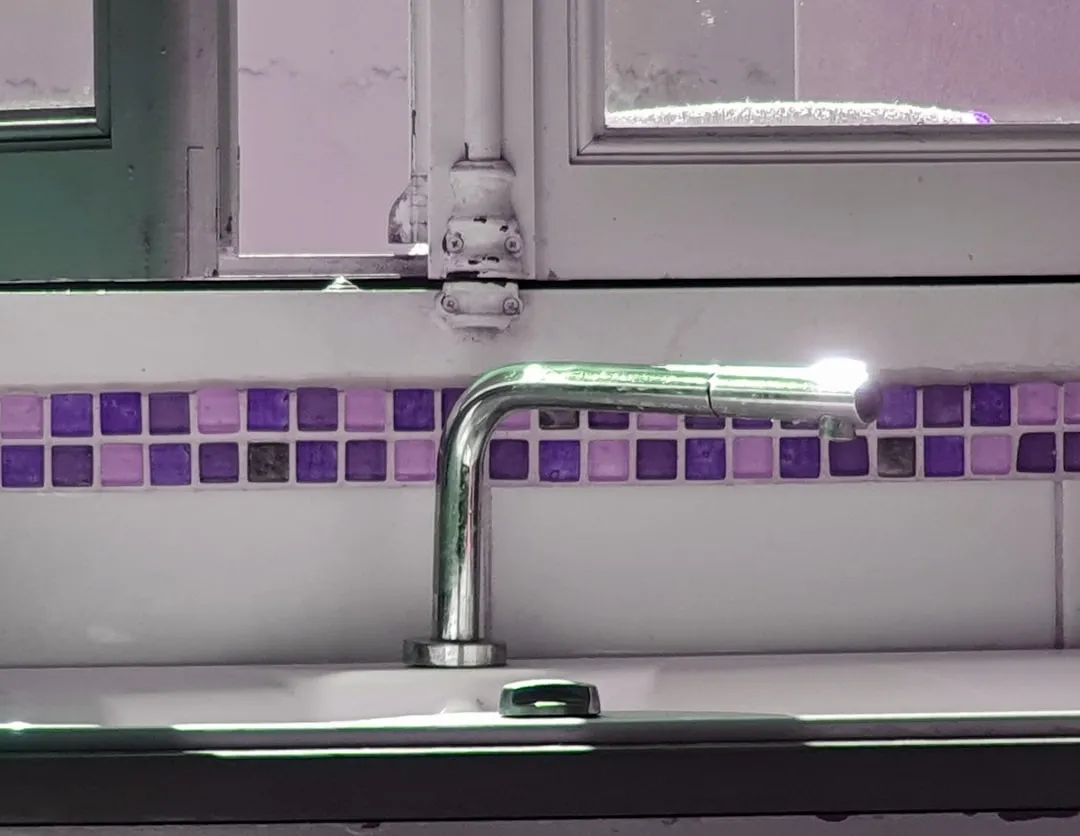
Got a cracked or moldy caulk line around your tub? Do not let it turn into a bigger problem. Proper waterproofing is crucial, water damage accounts for up to 50% of home insurance claims according to the National Association of Home Builders. Re-caulking your bathtub is an easy DIY project that cleans up the look and restores a waterproof barrier. This simple task can make your bathroom look fresh, clean, and protected for years to come.
Difficulty: Moderate
Time: 2-3 hours
Cost: ~$15-25
Why You'll Like This
Fresh caulk is not just about looks, it is your bathroom's first line of defense against water sneaking behind tile. Old, cracked lines let moisture creep into the walls where mold and mildew love to grow. Nobody wants that.
The payoff is twofold. Instantly, the edge around the tub looks crisp and cared for. Long term, proper sealing helps head off the kind of hidden water damage that can turn into big, expensive repairs.
What You'll Need
Materials
- 1-2 tubes 100% silicone bathroom caulk (mold-resistant)
- Painter's tape (blue, 1 in/25 mm wide)
- Rubbing alcohol or white vinegar
- Clean rags or paper towels
Tools
- Caulk gun (or squeeze tube)
- Utility knife or caulk removal tool
- Shop vacuum (or regular vacuum)
- Caulk smoothing tool (or your finger)
Safety First
- Wear latex gloves to protect hands from chemicals and mold
- Ensure good ventilation, old caulk may contain mold and irritants harmful to your health
- Use eye protection when scraping old caulk
- Adult Supervision Required if children are helping with cleanup
Steps
Getting the right caulk matters most
-
Choose waterproof silicone caulk specifically designed for bathrooms. Selecting the correct caulk type is the most important part of this project. For bathroom waterproofing, silicone caulk is the way to go rather than acrylic versions used for woodworking.
Bathroom-grade silicone contains antifungal additives that general-purpose caulk lacks, extending lifespan from 2-3 years to 7-10 years. Look for tubes labeled "bathroom," "tub and tile," or "kitchen and bath" with mold resistance built in.
- Tip: Buy two tubes just to be safe, though you'll likely only need one for a standard bathroom.
Remove every bit of old caulk
-
Score the edges of existing caulk with your utility knife. Start by cutting the edges of the old caulk so it's easier to scrape out. Make clean cuts along both the top and bottom edges.
Scoring creates weak points so the bead releases cleanly instead of tearing randomly. It also helps you avoid gouging the tub or tile.
-
Scrape out all the old material using your removal tool. This is the hardest and sweatiest part of the project, but thoroughness is key. You never want to put new caulk over old caulk since it won't stay on very long.
Leftover bits create weak spots where new caulk cannot bond. Take your time, then take another pass.
- Note: A dedicated caulk removal tool works great to scrape everything out.
-
Clean and dry the surface completely. Use your shop vac to remove debris, then wipe down with rubbing alcohol to eliminate soap scum and mold residue. Let it dry really well, you can even use a hairdryer to speed things along.
The alcohol step removes invisible spores and soap film that can block adhesion. Even tiny contamination can cause failure.
Set up for professional-looking results
-
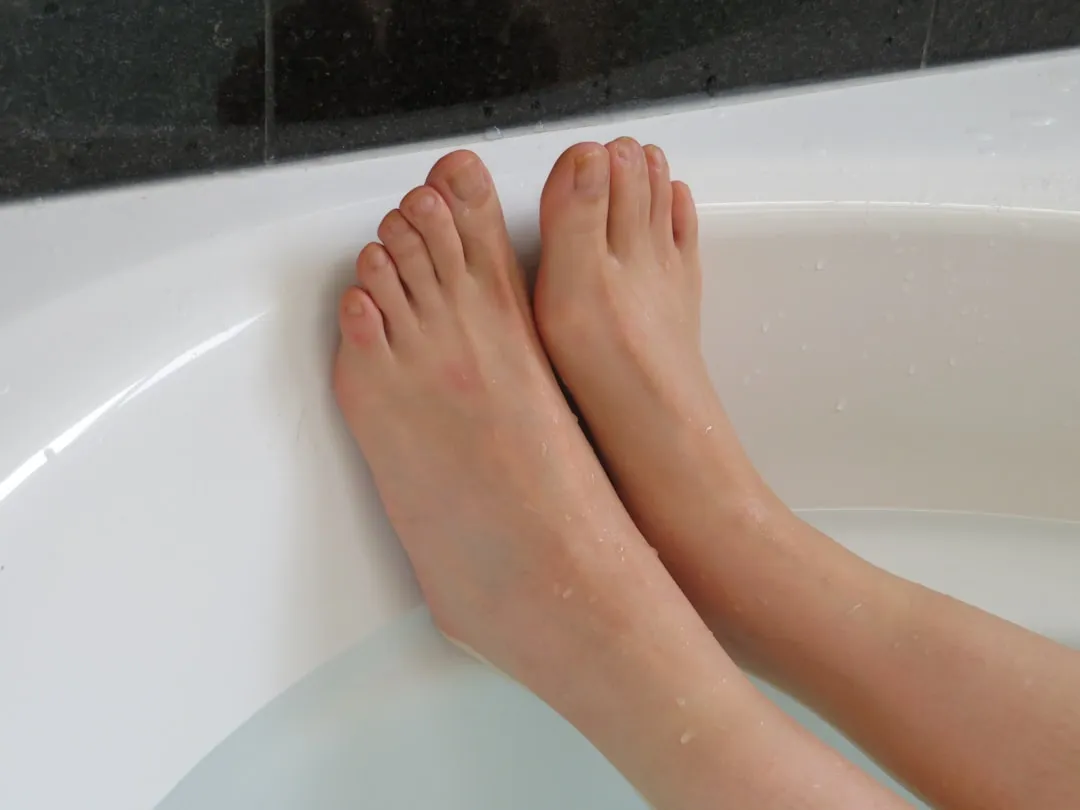
Fill the bathtub with water before caulking. This weights down the tub so the caulk line doesn't pull when used later.
Acrylic and fiberglass tubs can flex up to 1/8 inch (3 mm) under a full load. Caulk while it is flexed, and it stays put when the tub moves in daily use.
-
Apply painter's tape for clean lines. If you take anything away from this guide, it's to use painter's tape for neat, straight lines. Place tape about 1/8 inch (3 mm) wide on both sides where you want the caulk to go.
This simple setup makes the work look pro. The tape guides your bead and keeps smears off the tile.
- Tip: The game changer for crisp edges.
Apply the new caulk
-
Prepare your caulk tube. Cut the silicone caulk tip at an angle with a 1/4 inch (6 mm) opening. Load it into your caulk gun and test the flow on scrap material first.
The angled cut gives control and helps in tight corners. Start small; you can always widen the opening later.
-
Apply steady, continuous pressure while moving the gun. Apply a continuous line around the tub with steady pressure. Keep the gun moving at a consistent speed, stopping and starting creates uneven beads.
Push the gun forward instead of pulling it. This push technique improves control and helps prevent air gaps.
- Note: Silicone caulk is harder to work with than acrylic and quite messy, these habits make it manageable.
-
Smooth immediately with a wet finger. Run a wet finger along the line to smooth the caulk before it starts to skin over. Work in sections if needed.
Keep a bowl of soapy water nearby and dip your finger often. The soap reduces friction and creates a clean, slightly concave profile that sheds water.
-
Remove tape right away. Carefully remove the painter's tape after smoothing but before the caulk begins to cure.
Do not wait. Silicone begins to skin in 10-15 minutes. Pull tape at a 45-degree angle away from the bead for the cleanest edge.
Cleanup & Disposal
- Clean wet caulk from tools immediately with mineral spirits
- Dispose of old caulk in regular household trash
- Store leftover caulk tubes by inserting a nail in the nozzle tip
- Wipe down all surfaces with a damp cloth
Why it works: Silicone caulk stays flexible while forming a waterproof barrier. Unlike rigid materials, it moves with your tub's expansion and contraction and keeps the seal intact.
Troubleshooting
Problem: Caulk won't stick properly → Fix: Surface wasn't completely clean and dry; remove and start over
Problem: Uneven bead width → Fix: Cut nozzle tip smaller and maintain steady gun speed
Problem: Caulk pulls away from surface → Fix: Tub wasn't weighted down; remove and refill tub before re-caulking
Problem: Caulk tears when removing tape → Fix: Remove tape immediately after smoothing, before skin forms
Problem: Air bubbles in bead → Fix: Maintain steady pressure and consistent gun speed during application
Variations & Upgrades
- Budget option: Use squeeze tubes instead of cartridges (no caulk gun needed)
- Color matching: Match your grout color for seamless appearance or use clear caulk where colors change
- Fast cure: Some products cure in 6 hours vs. standard 24 hours
Curing: Patience Pays Off
Wait 24 hours before using the shower or bath. Most caulks need at least 24 hours to fully cure, though some fast-dry versions work in as little as 6 hours. Following the product label's recommendations gives you the best results, rushing can undo all your careful work.
Silicone cures from the outside in, so even if the surface feels dry after a few hours, the interior remains soft. Use the tub too early and the uncured bead can compress or shift, leaving gaps that only show up later.


Comments
Be the first, drop a comment!